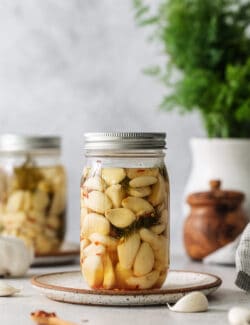
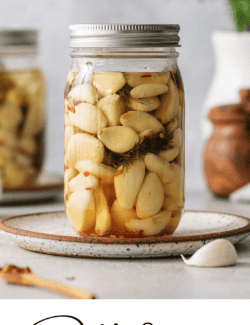
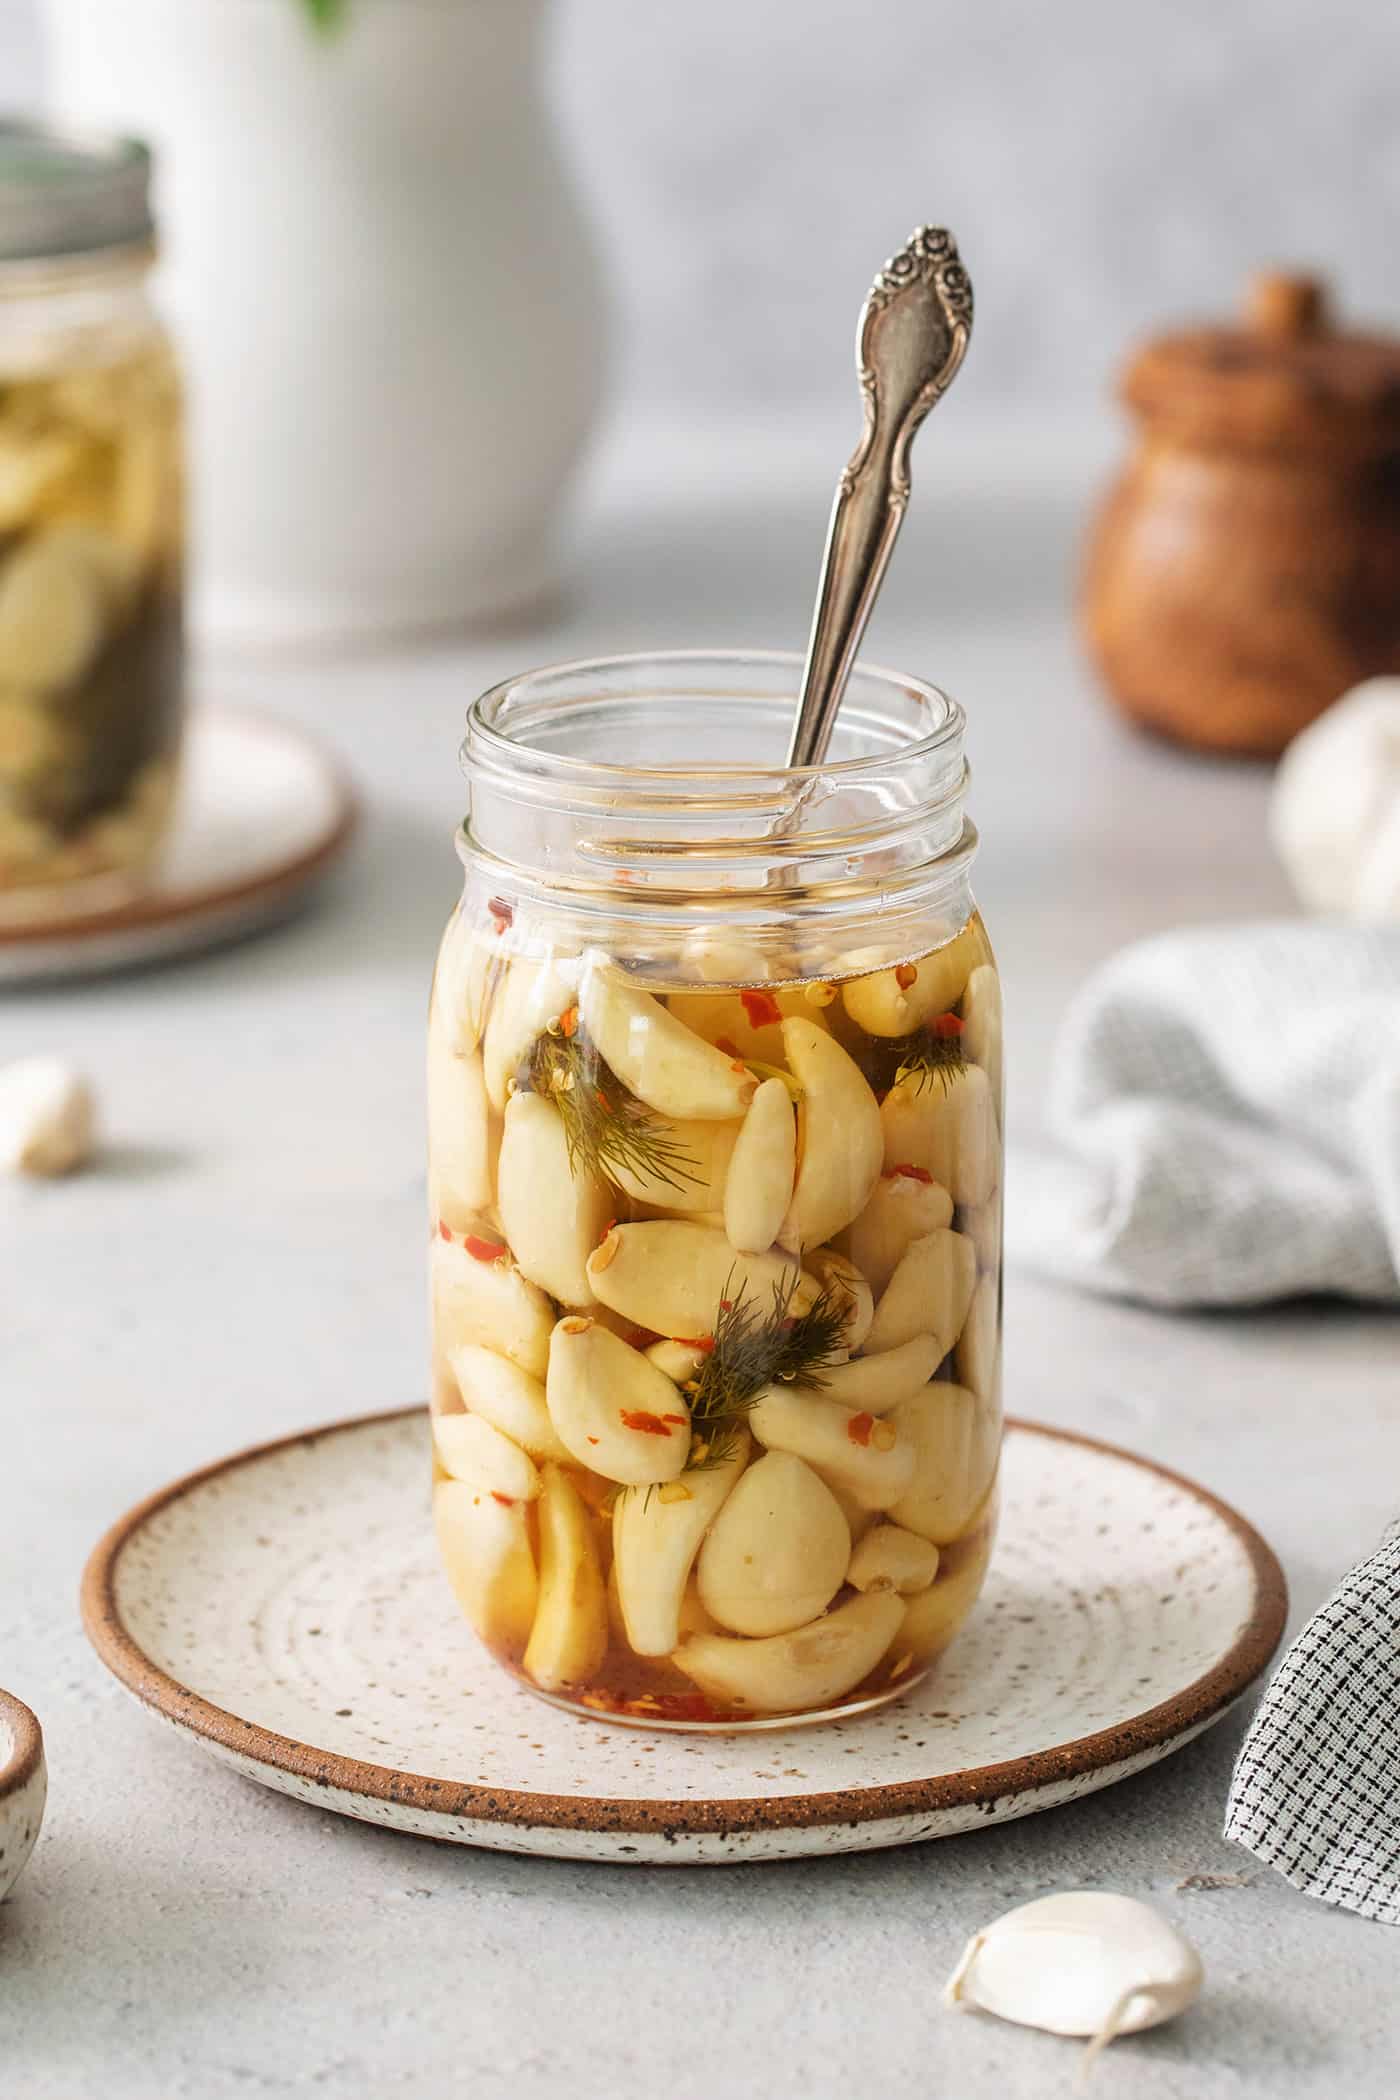
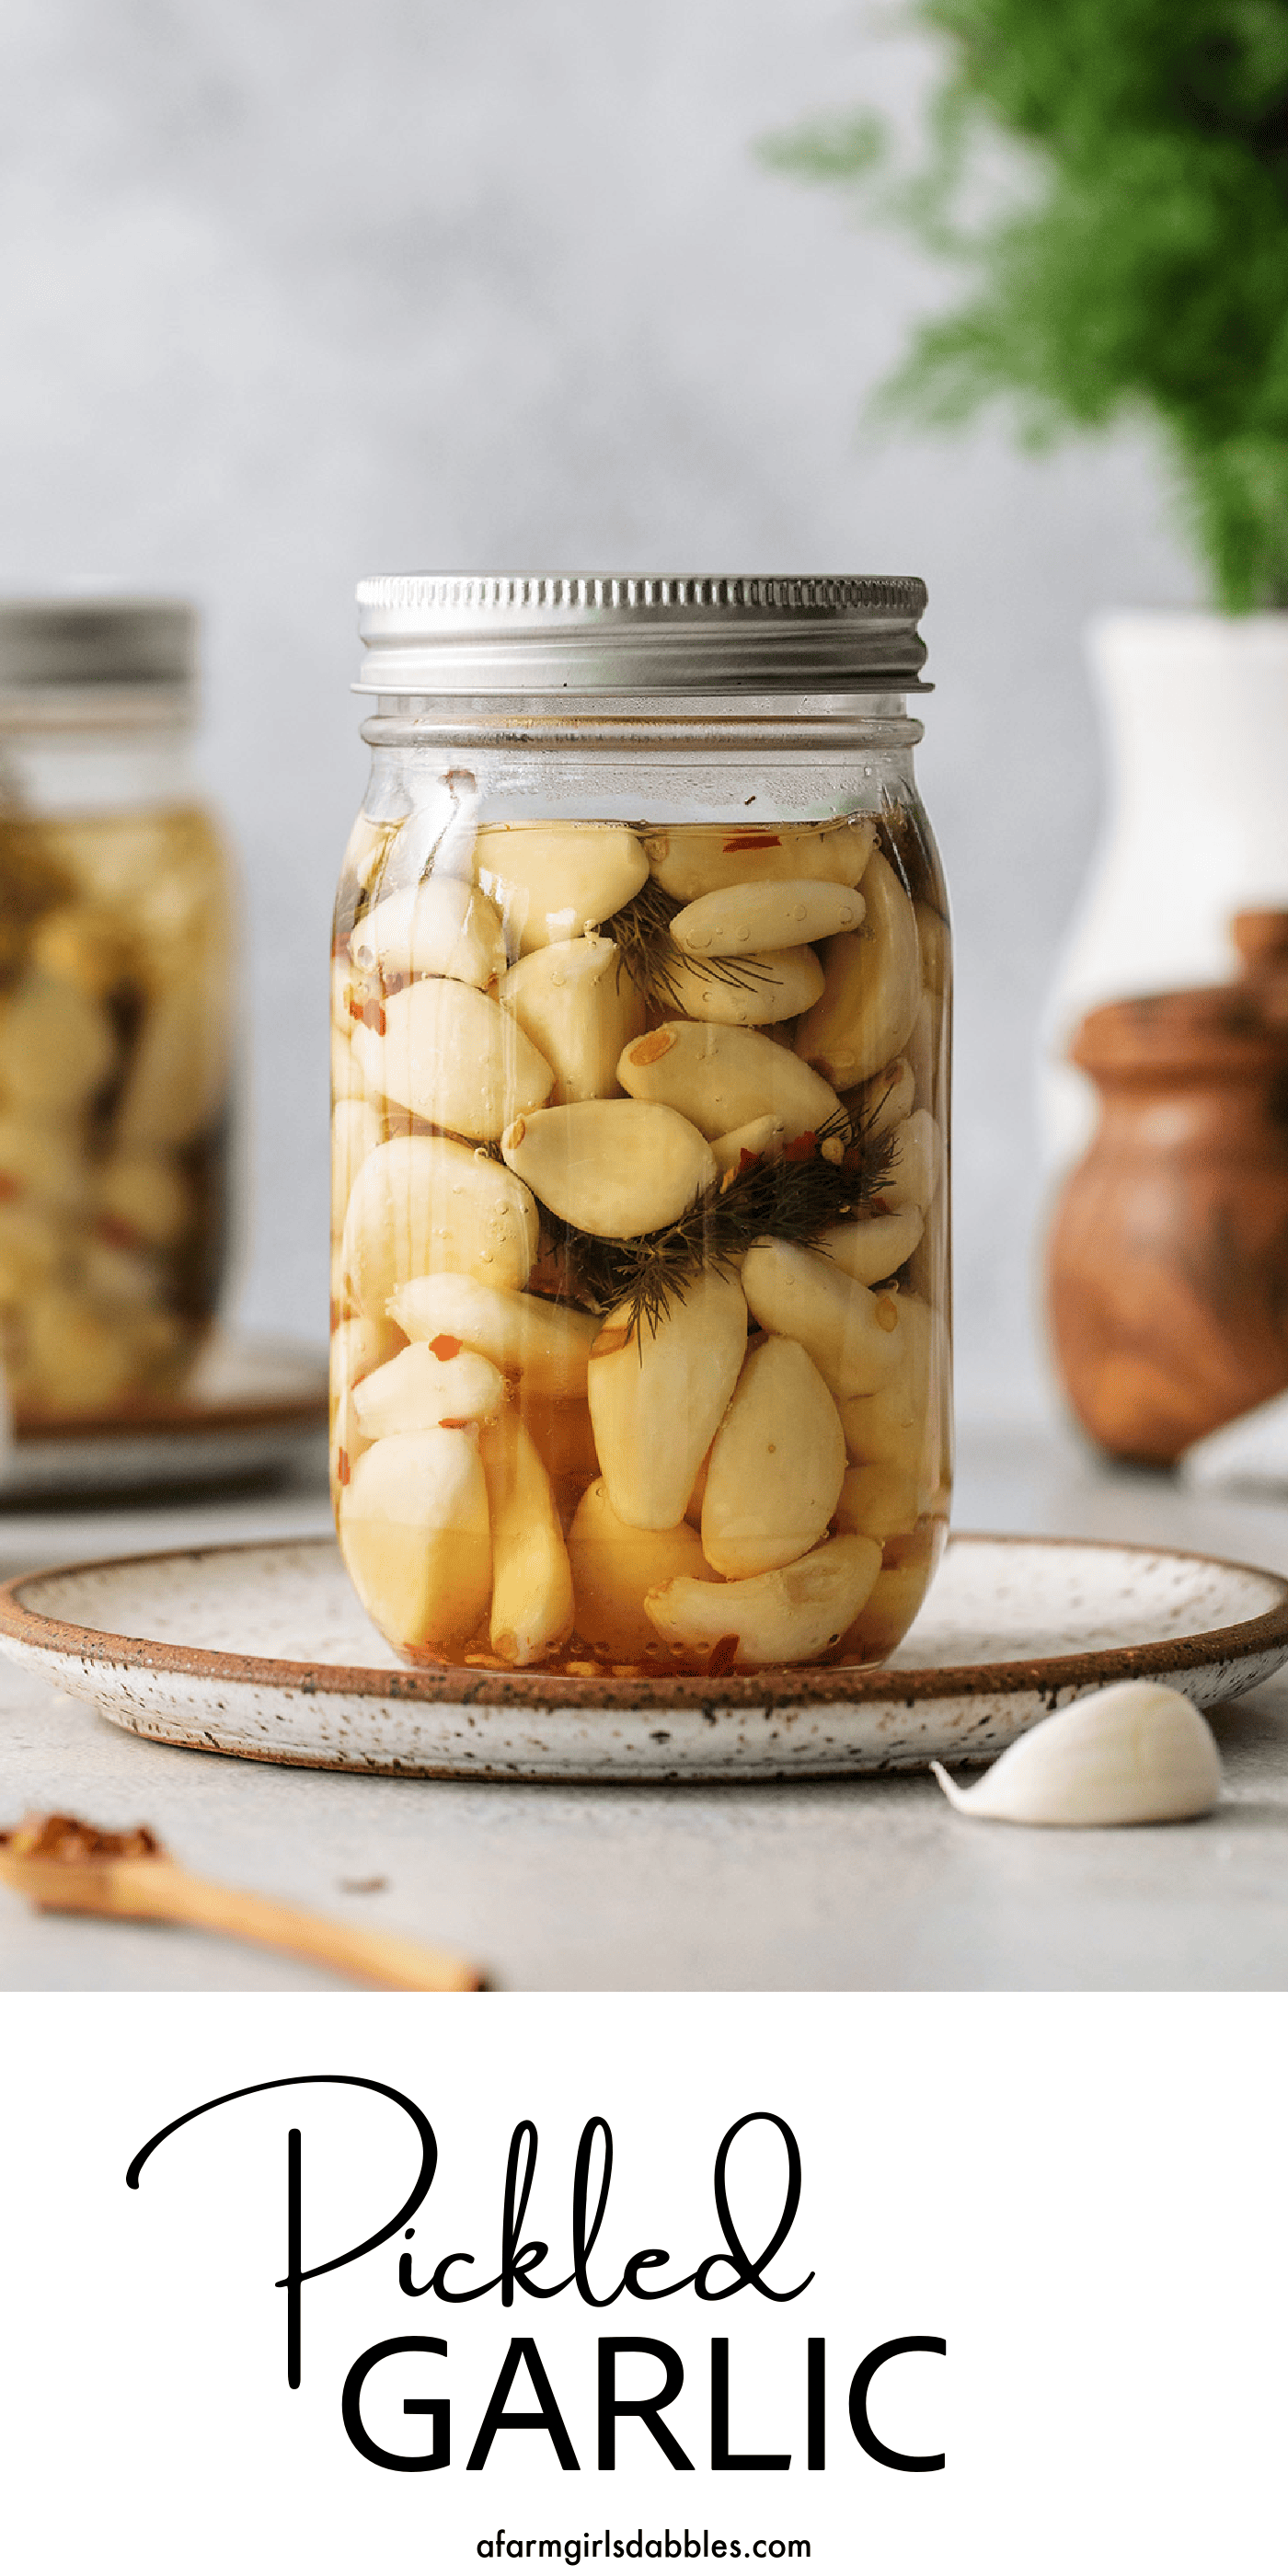
This quick Pickled Garlic recipe is a great way to add a bright and tangy flavor twist to salad dressings, sauces, dips, and so much more. It’s super easy to make and keeps well for up to 3 months!

Easy Pickled Garlic Cloves
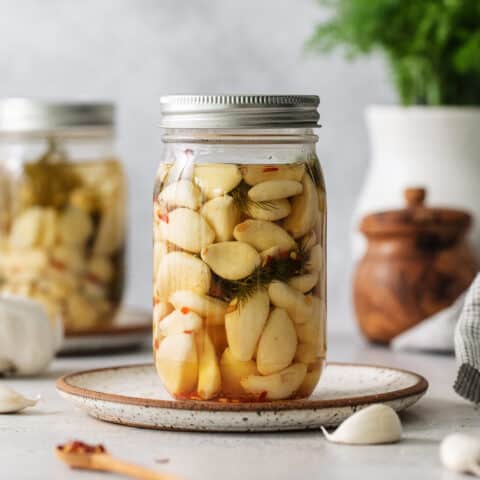
My latest homemade pickles obsession? This quick Pickled Garlic recipe!
I use garlic daily – it adds delicious flavor to so many dishes. So just image what pickled garlic can add to the table!
This is a quick pickled recipe, with no need for the full canning process. Just pour a simple hot brine over fresh peeled garlic cloves and put the jar in the fridge. Enjoy it super pungent the following day or wait a week or two after the garlic bite has mellowed into tangy cloves with a touch of sweetness.
Pickled garlic cloves are a delightfully tangy snack. Enjoy them straight from the jar – or mix them in with some fancy olives or add them to your next charcuterie board or butter board for your next best appetizer!
We also like to mince the pickled cloves and add them to dips, sauces, and salad dressings – or fold them into steamed vegetables and pasta salads. Thinly sliced cloves are wonderful on sandwiches, wraps, and pizza – and fun to serve with warm crusty bread and oil. You can even add pickled garlic cloves to your bloody mary – or just use the brine in bloody marys and salad dressing – this adds so much fantastic flavor!
Why This Recipe Works
Once you try this quick pickled garlic recipe, you’ll find yourself adding it to everything!
- Quick & easy. It takes less than 20 minutes to boil the pickling liquid and assemble. The rest of the time is just waiting for the flavors to mingle in the fridge.
- Incredible flavor. Pickled garlic has a softer flavor than raw garlic, with a fun punch of pickled acidity. If you already love garlic and pickled things, you’re going to love this!
- Super versatile. Pickled garlic can be used in all the same ways as raw garlic and then some. You can literally eat it straight from the jar. I’ve included lots of serving suggestions below!
- Economical. With such a simple, small ingredients list, this recipe delivers a HUGE amount of flavor for very little money.
- Long lasting. This quick pickle recipe keeps well for up to 3 months in the fridge.

What You’ll Need
Grab just 5 simple ingredients to make this pickled garlic recipe.
Check the recipe card below for exact ingredients measurements and full instructions.
- Vinegar – I always use white vinegar for this recipe, but you could use apple cider vinegar for more of an earthy sweetness.
- Water – Water dilutes the pickling brine just a bit.
- Salt – Salt helps flavor and preserve the pickled garlic.
- Garlic – You’ll need whole, peeled fresh garlic cloves for this recipe.
- Fresh dill – Dill is a wonderful fresh ingredient that pairs well with so many pickling recipes – this garlic is no exception!
- Red pepper flakes – Red pepper flakes add a little heat to the pickled garlic. Of course you can add as little or as much as you like. Black peppercorns could also be used.

Can I Use Pre-Peeled Garlic?
You can – but know that the end result won’t be as flavorful. Buying a package of pre-peeled garlic will definitely save you some time but it tends to not have the same pungent flavor as fresh garlic, which means that the final result won’t have quite as much flavor either.
How to Easily Peel Garlic
Peeling the garlic is the most time-consuming part of this recipe. There are many tips and hacks out there, but this is what I do:
- Whack, cut, and peel. Give the whole head of garlic a good whack on the counter to separate the cloves, then cut the tips (both ends) off from each one. If the peel doesn’t release and come away from the clove easily, then press on the cloves gently with the flat side of a chef’s knife. This should loosen the peel a bit – just be careful to not press too hard, as you don’t want to crush the cloves.
- Shake in a jar. If you have especially stubborn cloves, put them in a jar and screw on the lid. Then shake vigorously to loosen the peel.


How to Make Pickled Garlic
These pickled garlic cloves require only a few minutes of prep.
- Make the pickling brine. Bring the vinegar, water, and salt to a boil over medium-high heat and cook until the salt has dissolved.
- Add the garlic to the jar. Layer the garlic, dill, and pepper flakes into a pint-size jar.
- Add the brine. Pour the pickling liquid over the garlic. Be sure to leave 1/2 inch of space at the top.
- Chill. Cool to room temperature, then store jar in the fridge. Pickled garlic can be enjoyed after 2 hours but it will take 48 hours for them to be fully pickled. I think they’re even better after 1-2 weeks!

Why Did My Garlic Turn Blue?
If your garlic turns blue (sometimes a greenish-blue), don’t panic. You didn’t do anything wrong and the garlic is still completely safe to eat!
This isn’t something that happens all the time, and nobody knows exactly why it happens. But if your garlic turns blue or greenish-blue, it’s likely due to a reaction between the garlic and vinegar. You can follow the recipe exactly each time, and it may turn blue one time and may not the next time.
To lessen the chances of this happening, I do find that it’s helpful to use the freshest garlic possible and to not use pre-peeled garlic.
Just know that even if some of your garlic turns blue, it’ll still taste perfectly delicious. And it’s absolutely safe to eat!

Ways to Use Pickled Garlic
There are so many fun ways to use your pickled garlic cloves! Here are a few ideas:
- Minced and added to dips, sauces, salad dressings, and German potato salad
- Grated into guacamole
- Thinly sliced and served with crusty bread and oil (it would also be great on this roasted tomato bread!)
- Mixed into pasta dishes (like these garlic pasta nests) or pasta salads
- On garlic bread and pizza
- On charcuterie boards, butter boards, or mezze platters
- Chopped up and added to salsa
- Folded into steamed green veggies
- In a bloody mary!
How Long Will This Last?
Store pickled garlic in a glass jar with a lid in the fridge for up to 3 months.
More Pickled Recipes:
- Pickled Jalapenos
- Pickled Red Onions
- Mom’s Refrigerator Sweet Pickles
- Quick Pickled Asparagus
- Easy Pickled Rhubarb
- Quick Pickled Beets
- Pickled Squash
- Pickled Mustard Seeds
- Pickled Celery
- Pickled Carrots
Like this Recipe? Save to Pinterest
Pickled Garlic
Ingredients
- 1 cup white distilled vinegar
- ½ cup water
- 1 tablespoon kosher salt
- 2 cups whole peeled garlic cloves
- ¼ cup fresh dill
- 1 teaspoon red pepper flakes or to taste
Instructions
- Combine the vinegar, water, and salt in a medium saucepan set over medium-high heat. Bring to a boil and cook until the salt has dissolved, about 5 minutes.
- Layer the garlic cloves, fresh dill, and red pepper flakes into a wide-mouth pint size jar.
- Carefully pour the pickling liquid over the garlic, leaving ½” of room at the top of the can.
- Allow to cool to room temperature, cover tightly, and then store in the fridge.
- The garlic will be quick pickled after 24 hours in the fridge, however I think it has the best flavor after 1-2 weeks.
Notes
Nutrition Information:


get new posts via email: