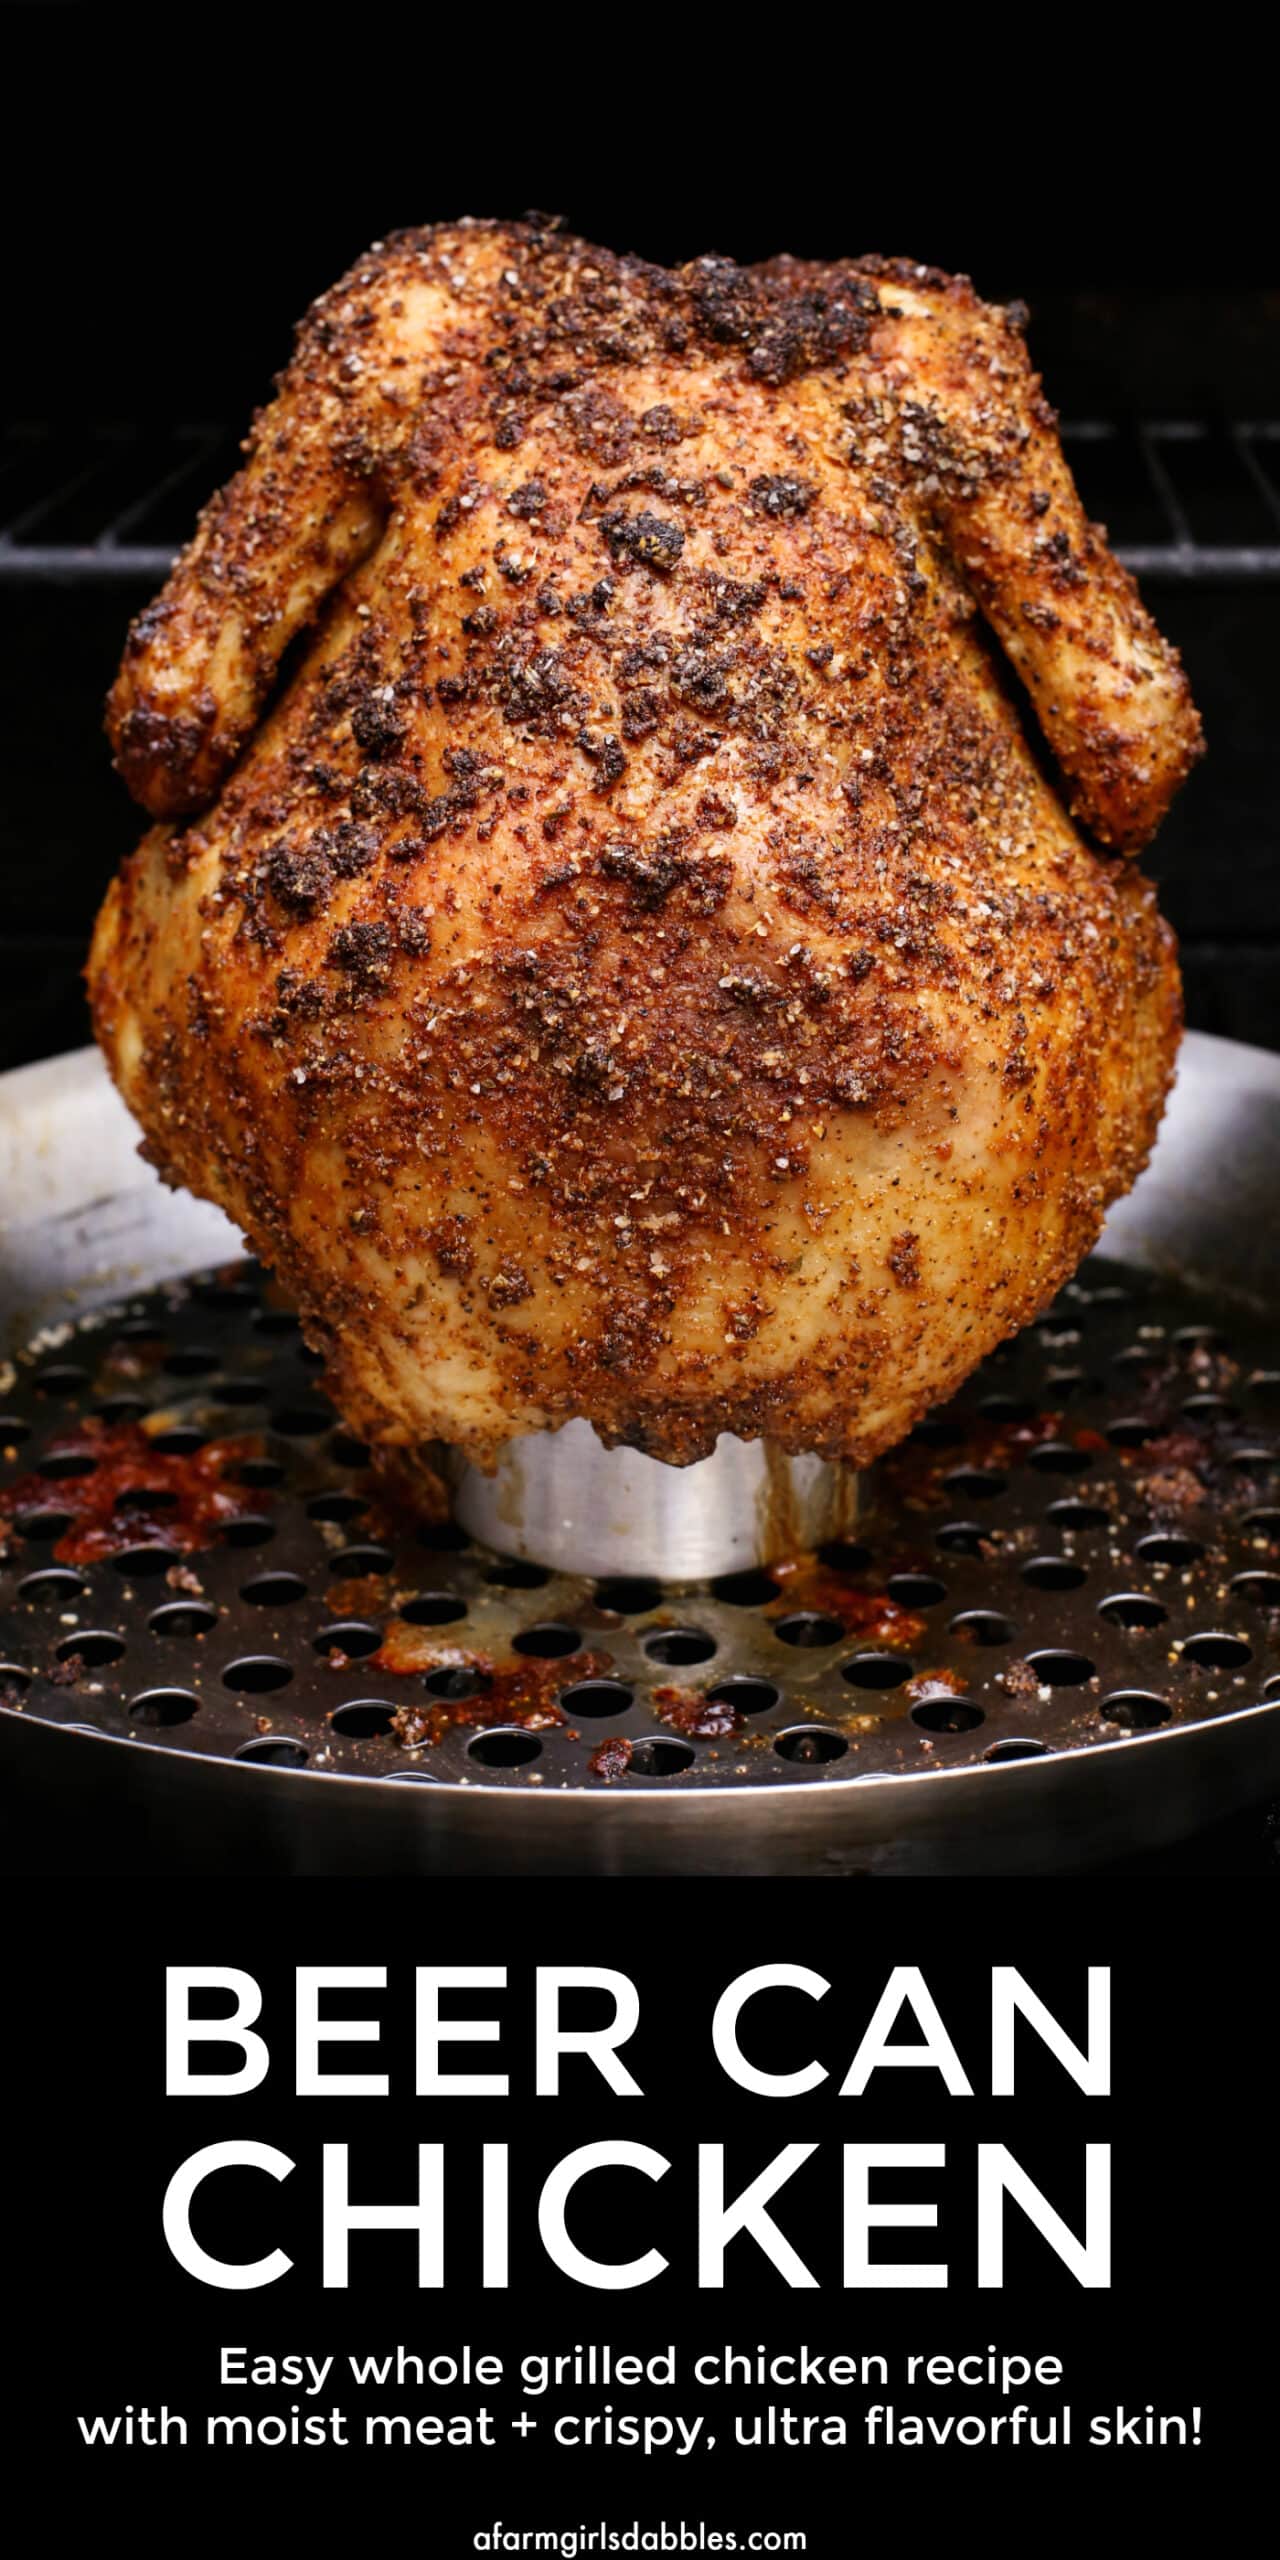
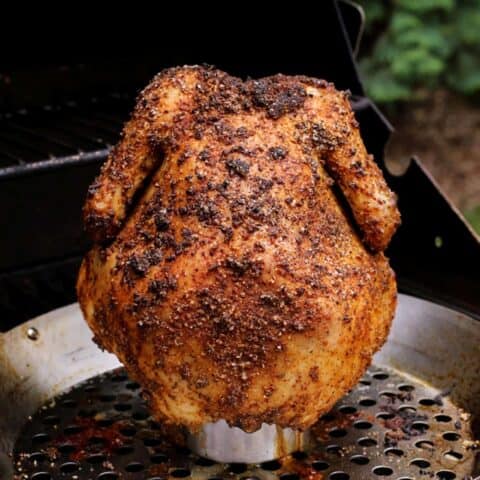
This easy Beer Can Chicken Recipe guarantees moist meat that falls off the bone and crispy, ultra flavorful skin. It’s our go-to recipe for a grilled whole chicken!
Easy Beer Can Chicken Made on the Grill!
During that stretch of extreme heat here in Minnesota recently, I was suddenly craving a whole chicken. Moist and fall-off-the-bone tender, with crispy skin that was super charged with flavor.
Well, I knew I wasn’t going to turn on the oven with those temps in the upper 90’s. And, “Hey Blake, don’t we have a beer can chicken holder around here somewhere?”
My husband found the specialty grill pan out in the garage, stored with the rest of our grilling and smoking supplies. I knew this was going to turn into an obsession for me, as I started to recall why we haven’t used that pan in at least five years. (The reason? Flabby grilled chicken skin. Ack. No can do!)
I was bound and determined. We were going to perfect how to grill a whole chicken.
You’re gonna love this Beer Can Chicken!
We Have Officially Perfected Beer Can Chicken!
Over the past few weeks, we’ve gone through quite a few whole chickens, trying to get this beer can chicken recipe juuuuuust right.
Just ask our daughters.
Our oldest might be questioning why she was so excited to get her drivers license, when she’s been asked to run for a chicken every other day.
Ha!
(But totally not joking.)
How to Make Beer Can Chicken
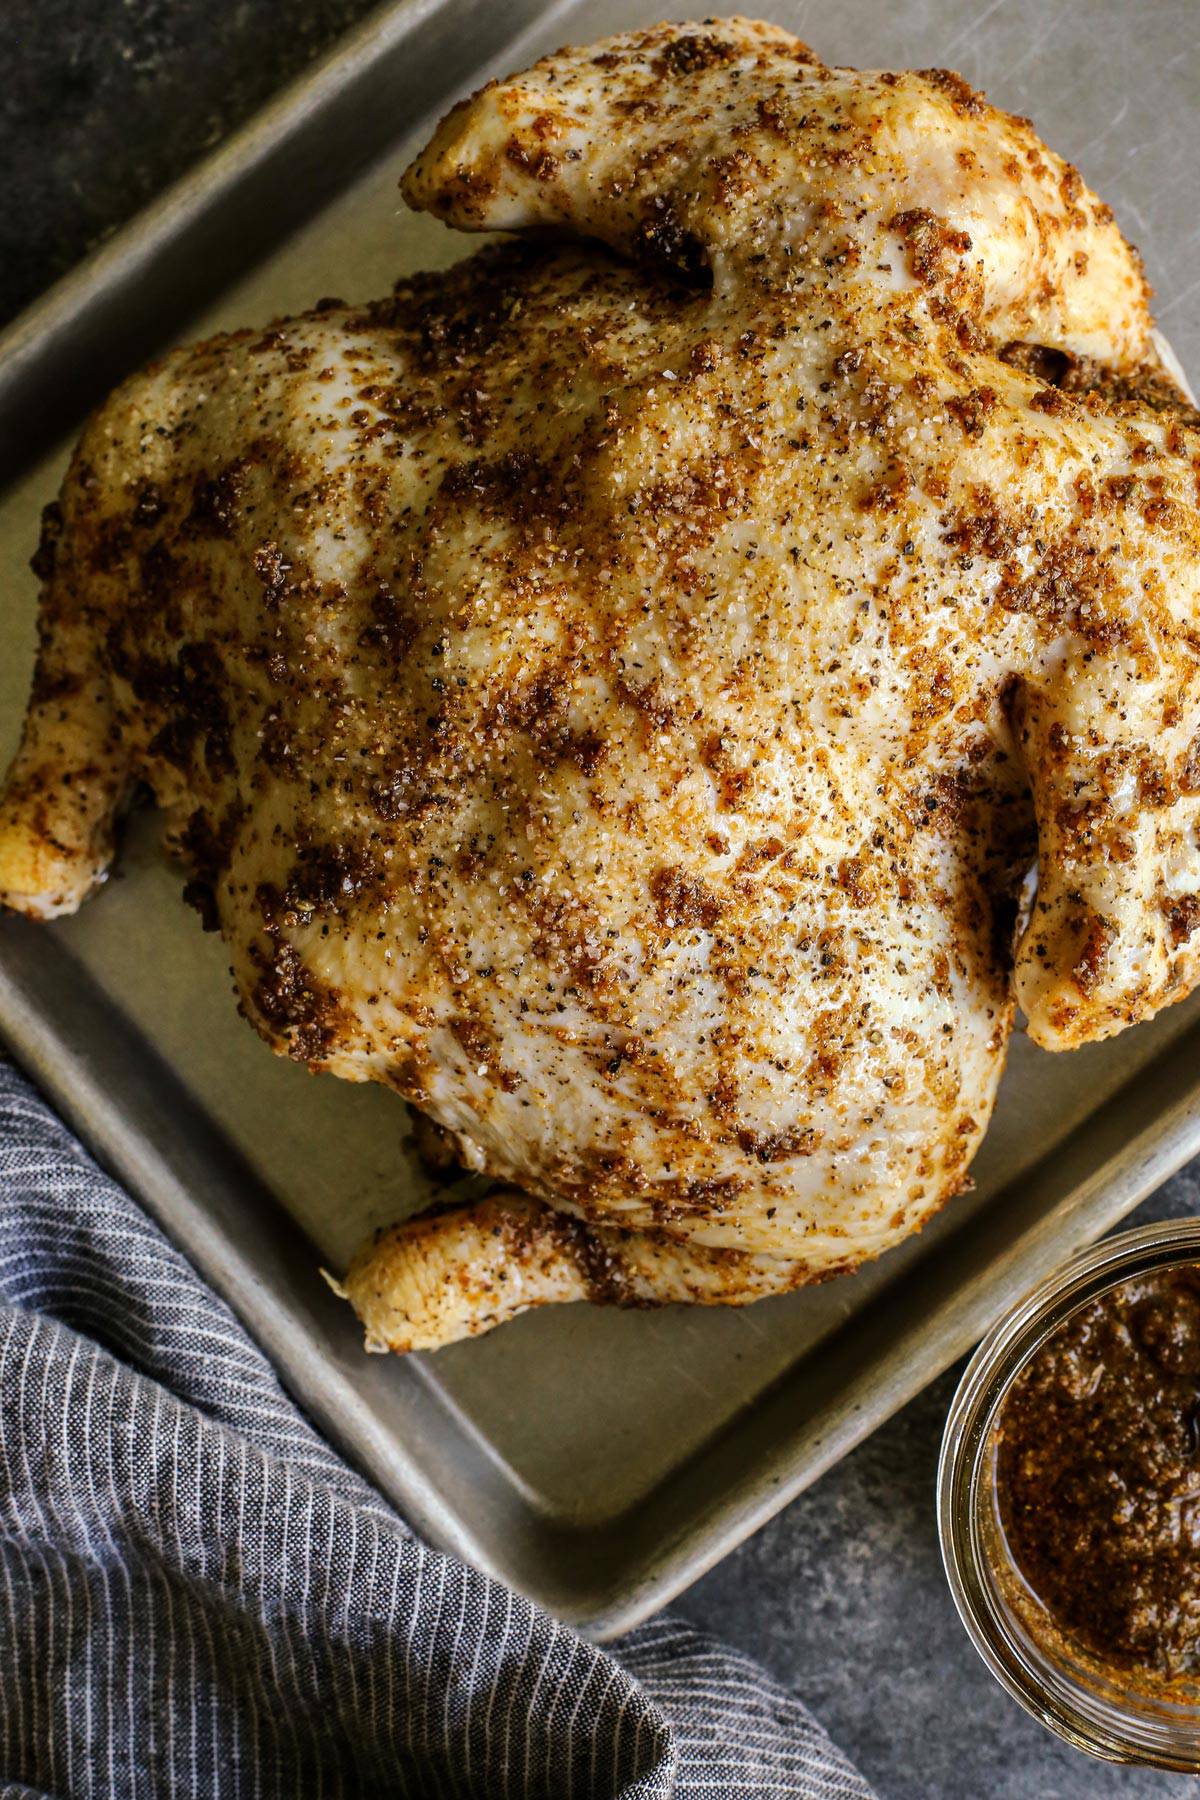
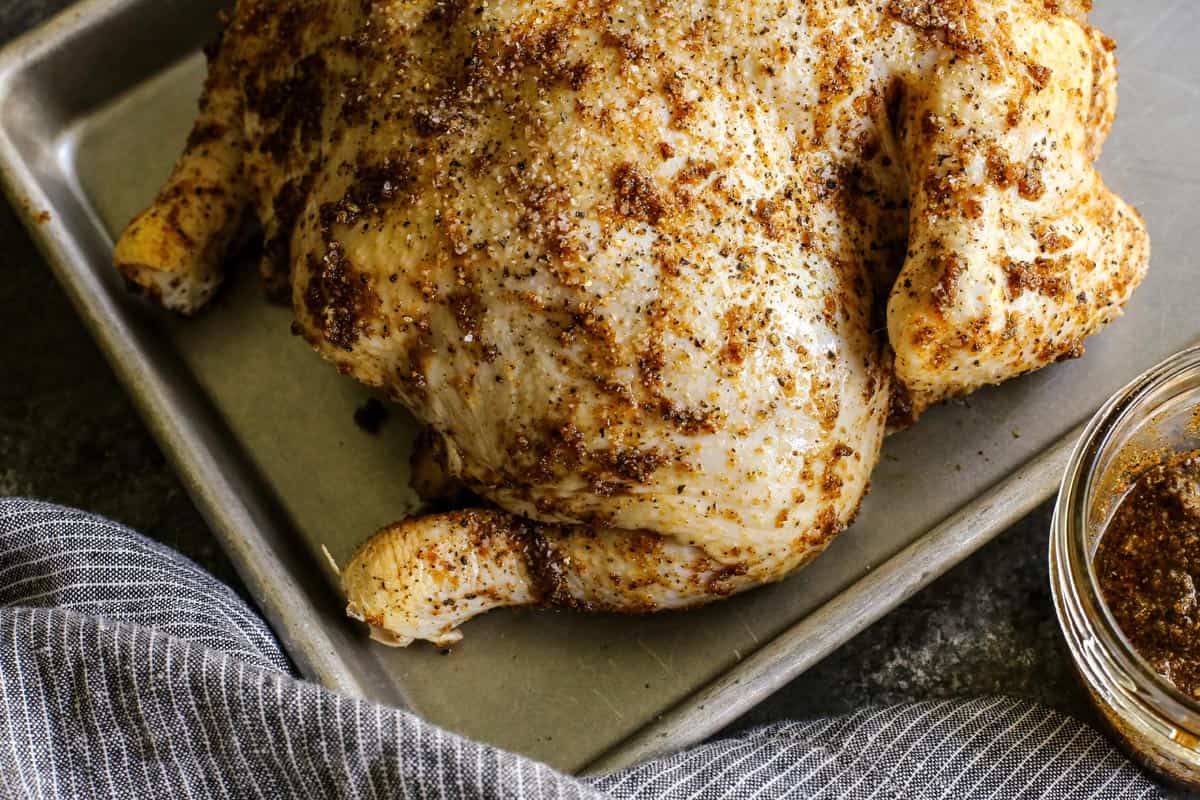
- First, dry the skin of your chicken really well. It’s crucial to get the chicken skin as dry as you can. Wetness is the enemy of crispy grilled chicken skin. We use paper towels to pat and gently squeeze every single inch of the chicken.
- Rub the chicken skin with seasonings. Make a beer can chicken rub with vegetable oil and a homemade chicken seasoning blend (see recipe card below). Rub every last bit of it over the skin and inside cavity.
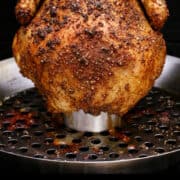
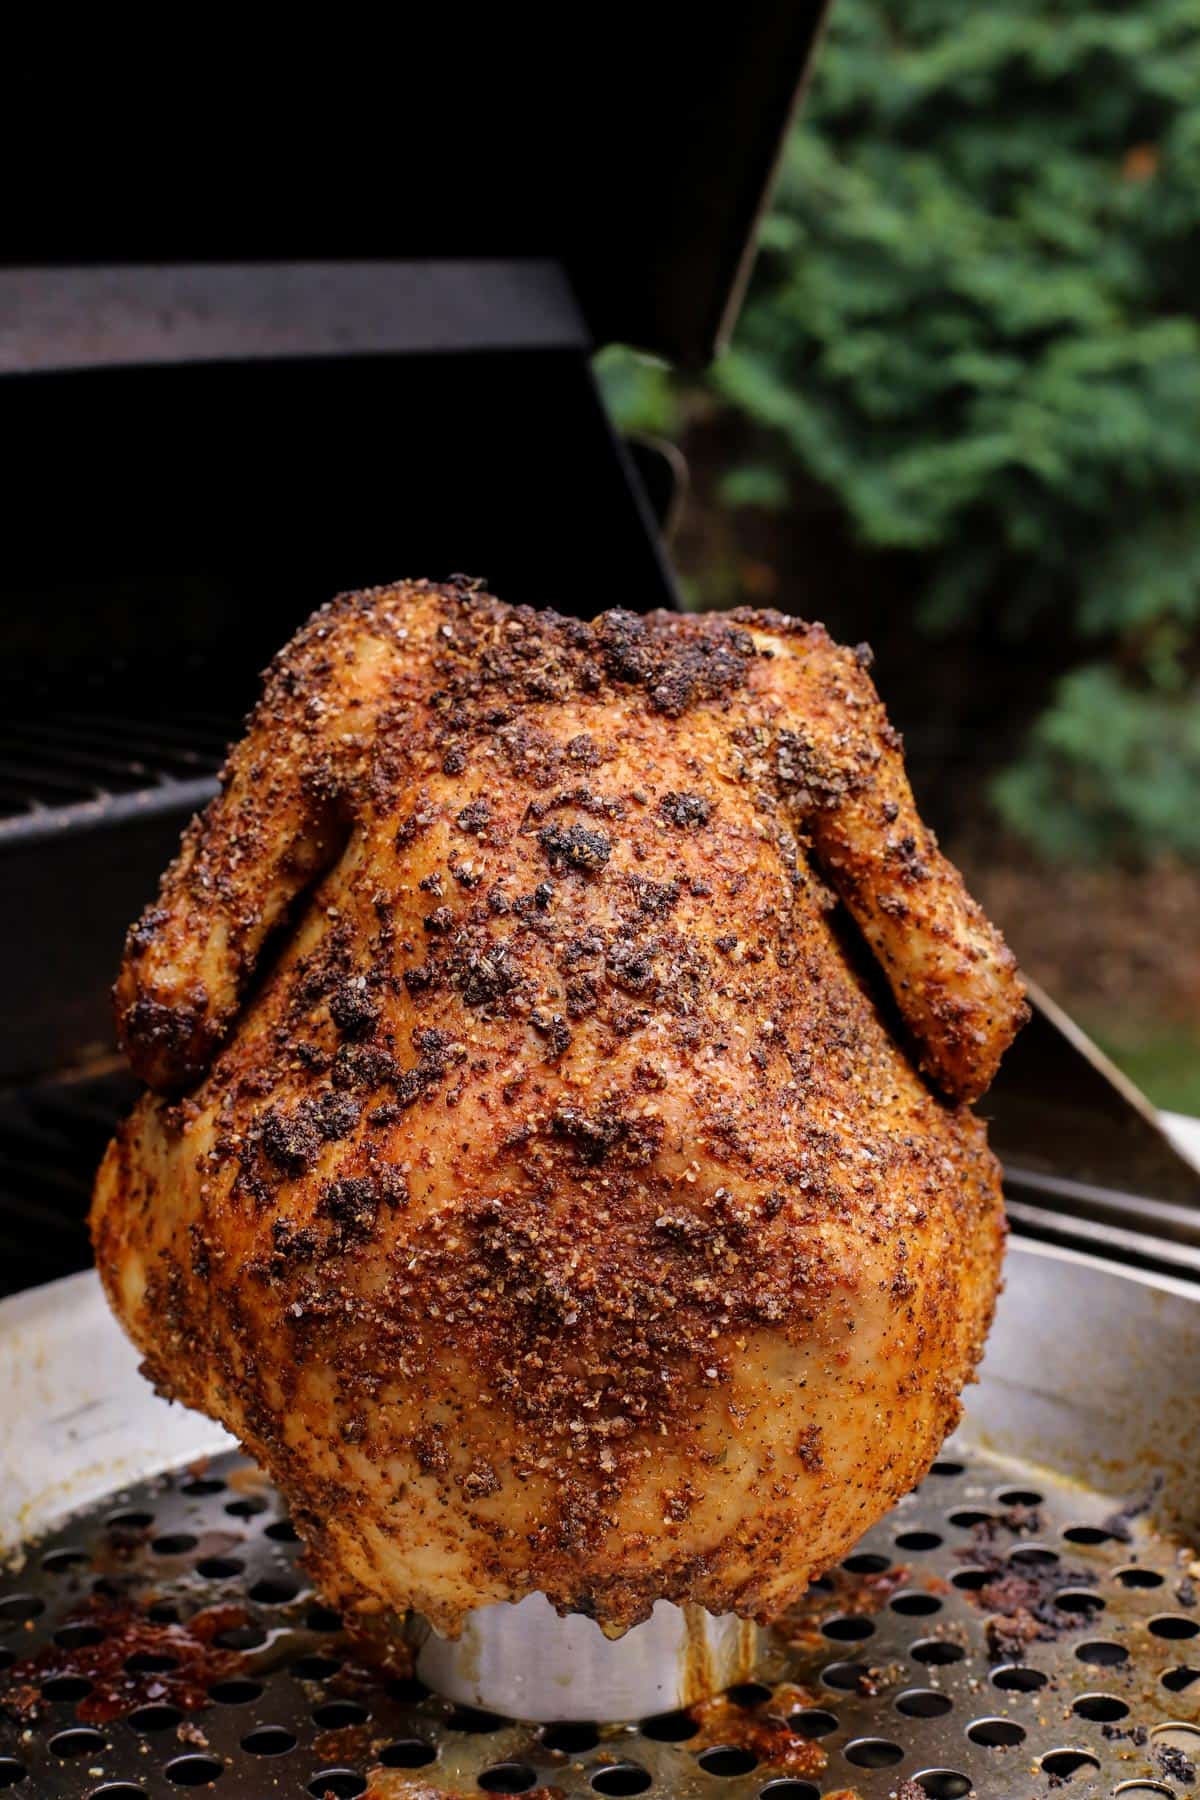
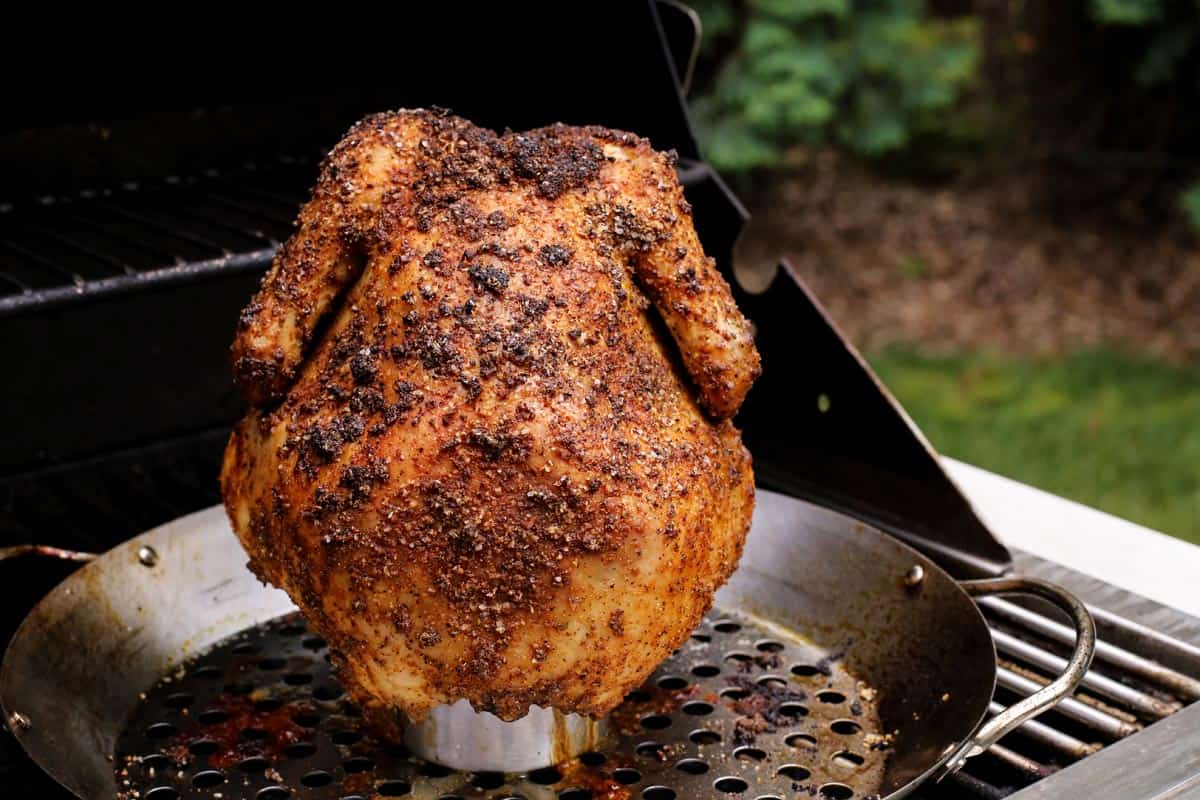
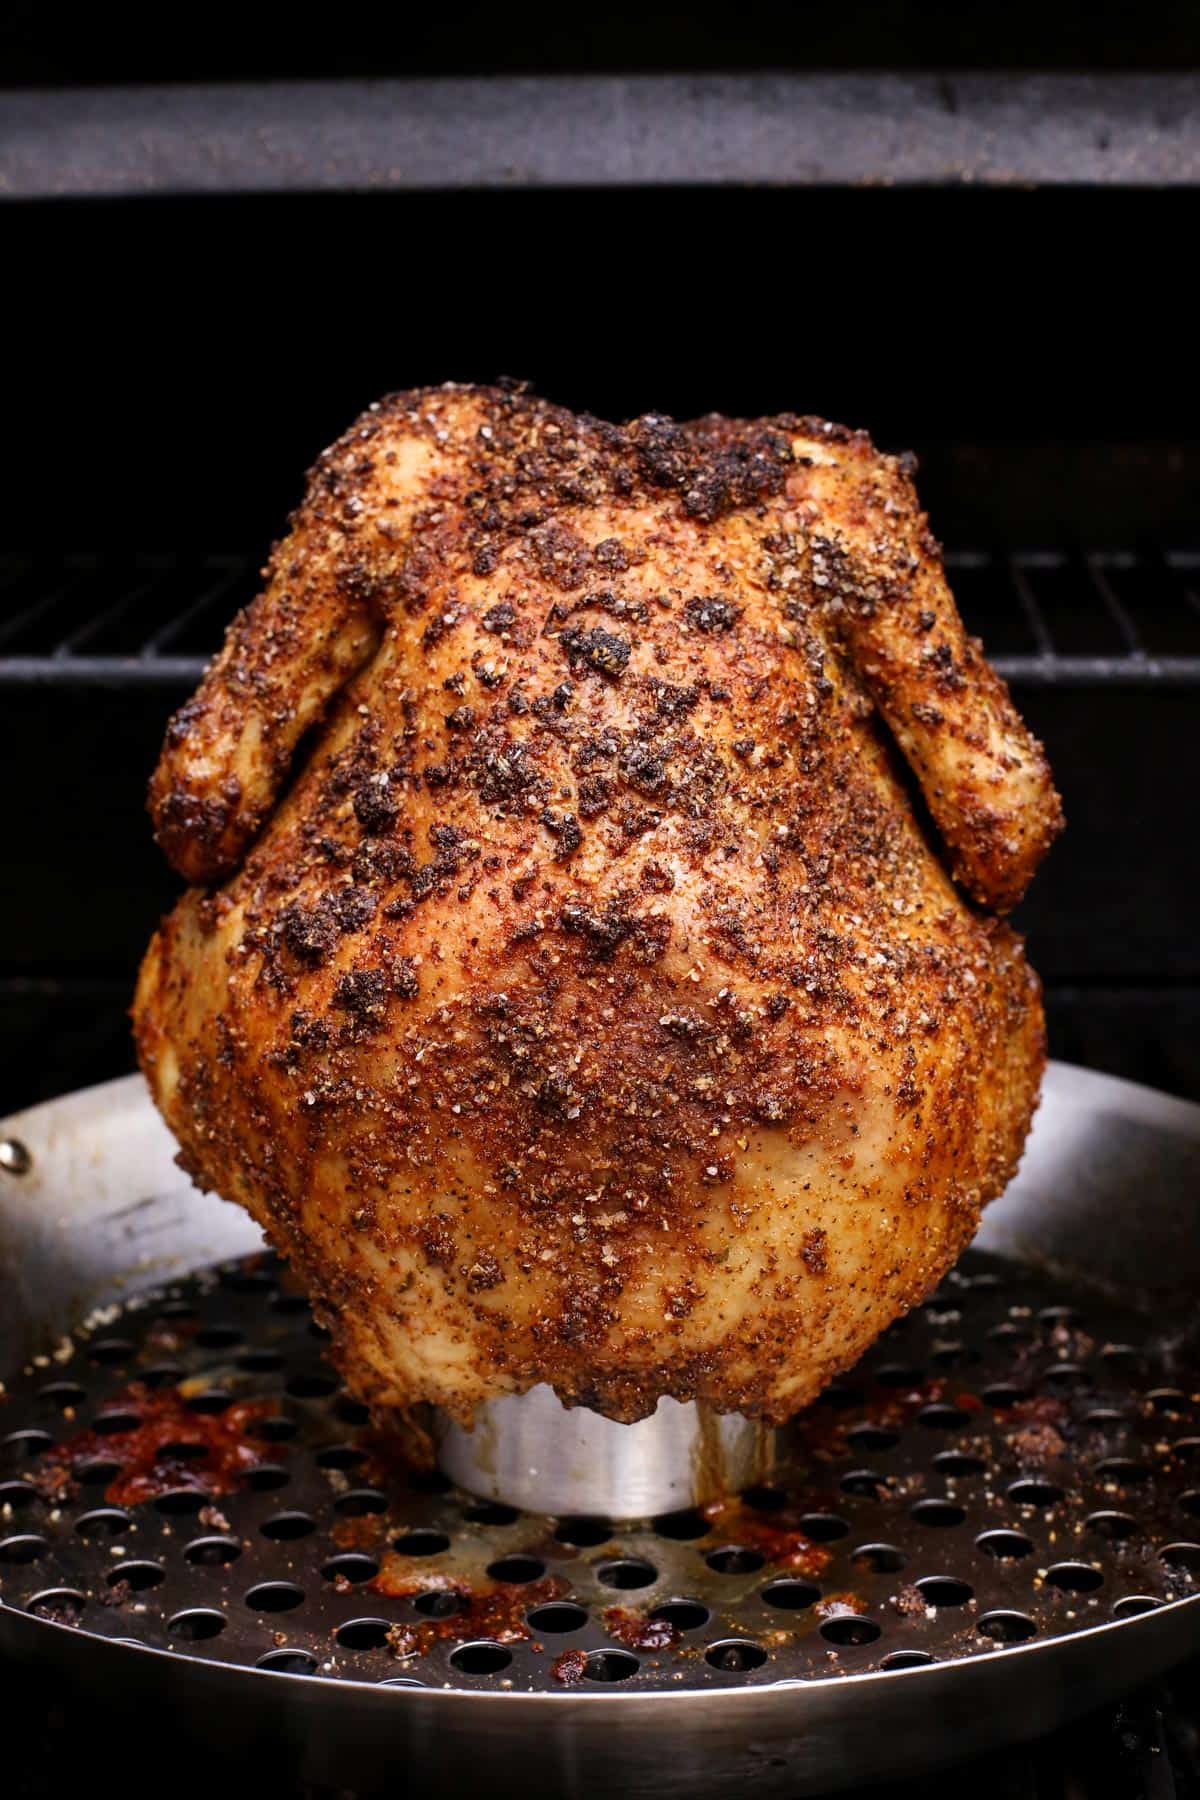
- Set up your beer can holder. Place a half-full beer can into the can attachment of the beer can chicken holder.
- Set up your chicken. Lower the chicken onto the open can so that that chicken is sitting upright with the can in its cavity. Tilt the chicken a bit to the side and sprinkle all over with a bit more salt and black pepper.
- Cook the chicken on the grill. Turn off one grill burner and place the chicken over it for indirect cooking. Reduce heat to between 325° to 350° F. Shut the lid and walk away. Let your chicken cook for 1 hour and 15 minutes.
- Test for doneness. Insert an instant-read thermometer into the thickest part of a thigh. Without touching bone, the thermometer should read 165° F.
- Let your chicken rest. Carefully transfer chicken to a rimmed pan and let it rest for 10 minutes.
- Serve! Carefully lift chicken off the beer can, gently wiggling the chicken back and forth if it sticks. Cut chicken into pieces with a meat knife and serve immediately.
Beer Can Chicken FAQs
We get a lot of questions about this grilled beer can chicken recipe and thought it would be helpful to put some of the most common ones here! Do you have more questions? Share yours in the comments!
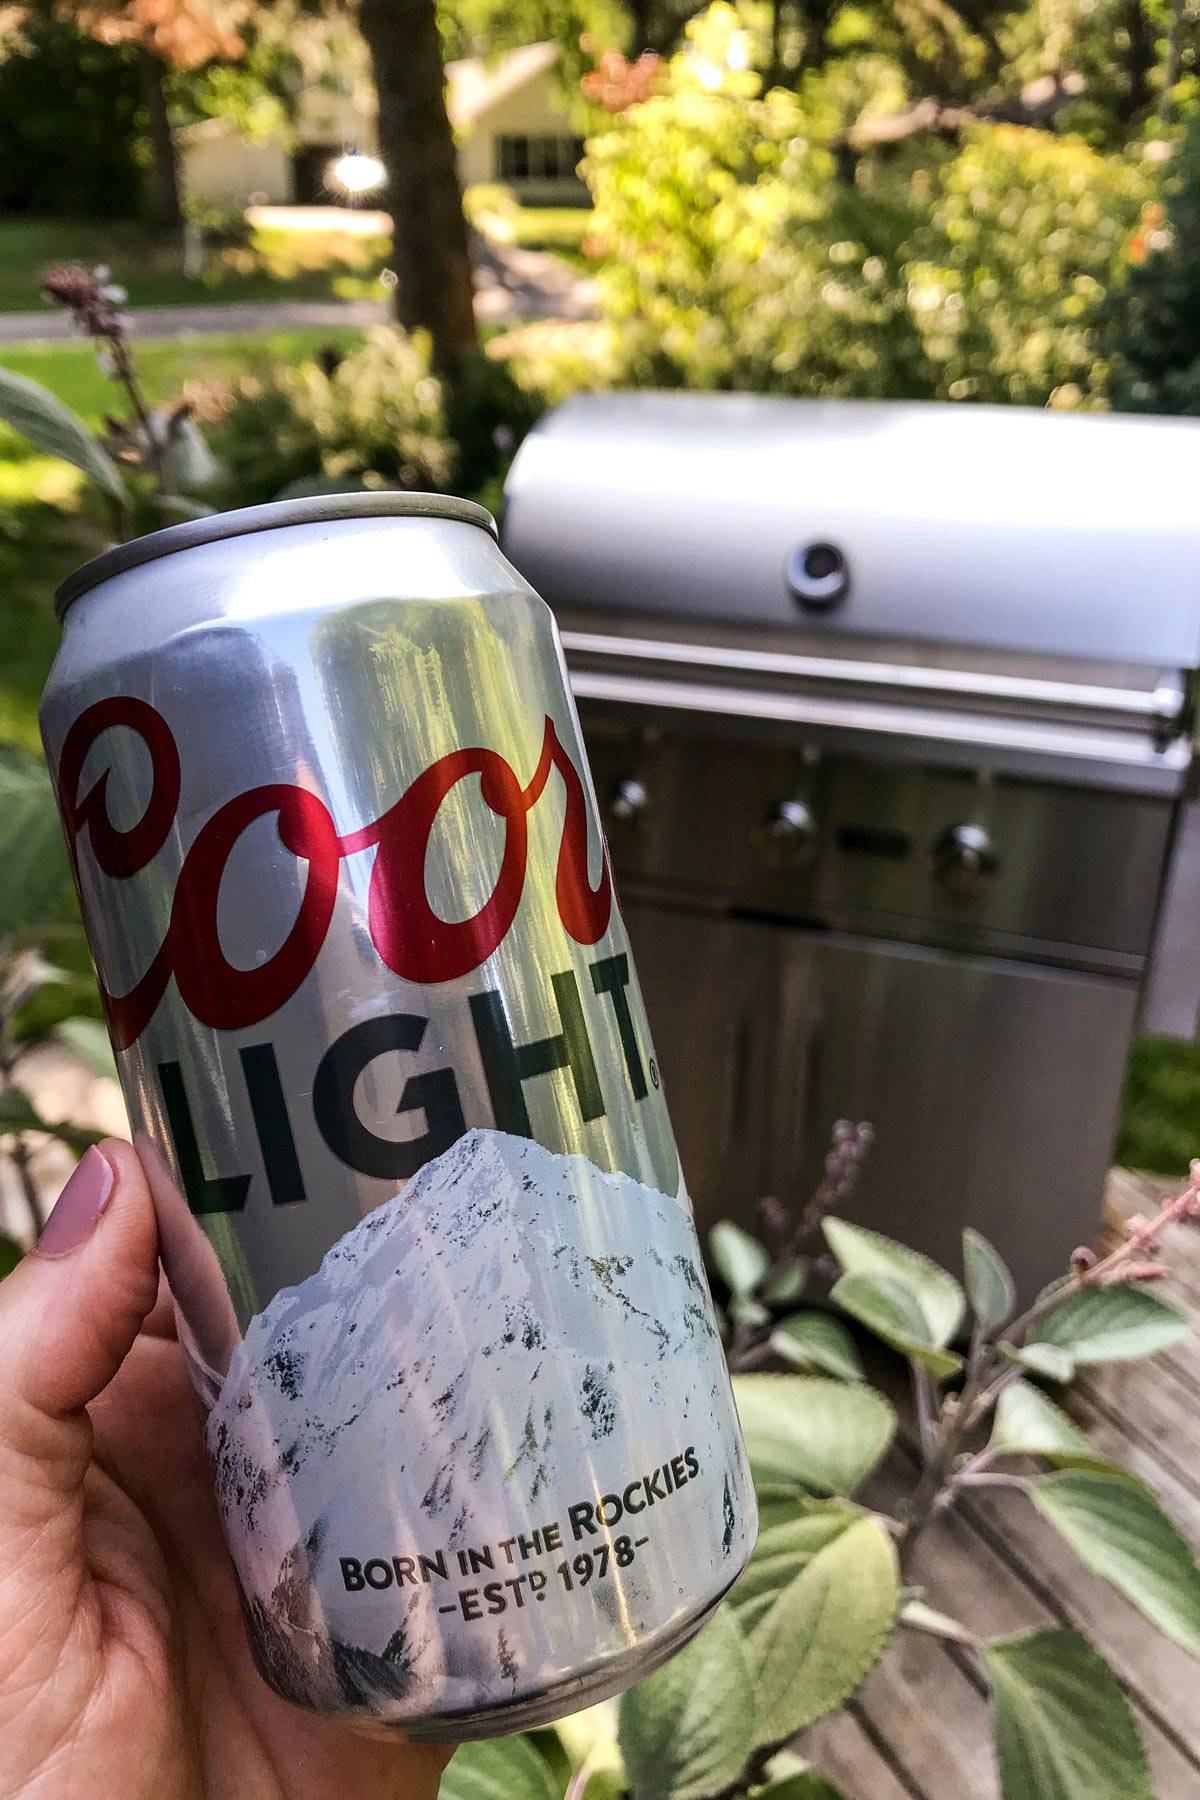
What kind of beer is best for beer can chicken?
There’s no need to be all fancy and money-wasting here, using your favorite craft beer. Although your beer butt chicken (I don’t prefer this name, but I know many people who call it this!) will most certainly still turn out wonderful if you do.
We’ve been using Blake’s “lawn mowing beer”. We keep it cold in our second fridge every summer, solely for the purpose of having a light beer to quench Blake’s thirst after mowing the yard.
A bonus with this particular beer, is that it has a tall, skinny can. There are other lawn mowing beers that feature this kind of can, too. I like how the taller can sits inside the beer can chicken holder, helping to prop the chicken up just a bit higher.
What is the benefit of cooking chicken on a beer can?
A half-full can of beer not only helps prop up the chicken on the grill, but it also steams the meat. While the skin is dry roasting on the outside of the bird, the inside is all hot and steamy, ensuring incredibly moist meat.
What size chicken is best for beer can chicken?
For our family of four, we’ve found that a five-pound chicken is ideal. It gives us a nice amount of meat for a meal, plus a bit of leftovers for an easy lunch the following day.
How to Store Leftovers
Let any leftover chicken cool completely. Then store it in an airtight container and refrigerate for up to a few days.
Use leftovers for any dishes that call for shredded or cubed chicken (I’ve included some suggestions in the next section.) Otherwise, just reheat in the microwave or eat it cold. I love a simple cold chicken sandwich with mayo!
To freeze, wrap leftover beer can chicken tightly in plastic wrap and then place it in a freezer bag or container. Place in the freezer for up to 3 to 4 months.
How to Use Leftover Beer Can Chicken
You know me. I live for leftovers. I think they’re the biggest gift to our busy schedules. You might even want to consider grilling TWO chickens at the same time, for even more leftovers love!
The chicken breasts are the easiest pieces to slice and save for later.
Here are some suggestions for using the leftover chicken:
- Soup: Oh how I love a good bowl of soup! Try my Thai Chicken Soup, Creamy Chicken Wild Rice Soup, or this super fun End of Summer Chicken Chili that’s loaded with garden harvest goodness. If your family likes pasta and cheese, try my Lemon Chicken Tortellini Soup.
- Salad: Blake and the girls go crazZzZzy for Chinese Chicken Salad. This Chopped Chicken and Couscous Salad with Sweet Basil Dressing is also wonderful. Or top some fresh greens with slices of leftover grilled chicken and drizzle over the top this beautiful Herby Lemon Vinaigrette or my grandma’s Fresh Ginger Dressing (I LOVE IT!).
- Mexican: This recipe for Autumn-Spiced Cheddar Chicken Tacos with Apples always gets great reviews. And my sister’s Taco Salad with Creamy Taco Dressing and Doritos is on our menu ALOT – just swap out the ground beef or turkey for leftover chicken. Or do like our girls do, and make cheesy chicken quesadillas!
- Total comfort: Have you tried this cheesy Chicken Cheesesteak Baked Ziti yet? It’s loaded with flavor, so darn good!
Serving Suggestions
What to eat with beer can chicken? A few suggestions would be MY FAVORITE coleslaw or grilled romaine with THE BEST buttermilk ranch dressing (a family favorite!). Honey Cornbread Muffins would also be great. And before the summer is over, I want to try this pasta salad from my friend Mary.

Give Beer Can Chicken a Try!
I can’t even describe how much I like this beer can chicken. It makes me happy. And it makes the entire rest of my family happy.
It’s a total win-win.
Like this recipe? Save it to Pinterest!
Beer Can Chicken
Ingredients
- 1 opened half-full can of beer at room temperature (I like to use the tall, skinny cans)
- 1 5- pound whole chicken neck and giblets removed
- 2 T. canola oil
- 1 T. cumin
- 2 tsp. garlic powder
- 2 tsp. onion powder
- 2 tsp. kosher salt plus a bit more sprinkling over entire chicken
- 1 tsp. sweet paprika
- 1 tsp. chili powder
- 1 tsp. dried oregano
- ½ tsp. ground black pepper
- freshly cracked coursely-ground black pepper
Instructions
- Preheat gas grill to medium-high heat, with all burners lit.
- With paper towels, pat chicken as dry as you can. I even go so far as to somewhat squeeze around the legs and wings with the paper towel.
- In a small bowl, combine oil, cumin, garlic powder, onion powder, kosher salt, paprika, chili powder, oregano, and black pepper. Rub it all over the chicken and inside the chicken cavity. Use every last bit.
- Place half-full beer can into can attachment of beer can chicken holder. We have a beer can chicken holder similar to this one. Lower the chicken onto the open can, so the chicken is sitting upright, with the can in its cavity. Then tilt the chicken a bit to the side, and sprinkle chicken all over with a bit more kosher salt and a generous sprinkling of just-cracked, coarsely ground black pepper. It works best to have someone tilting and rotating the chicken as you add this final sprinkle of flavor and texture.
- Turn off one grill burner and place chicken over this area, for indirect cooking. Reduce heat to medium and maintain a temperature of 325° to 350° F. Shut the lid and walk away. Let cook, without opening the grill lid, for at least 45 minutes. Let cook for 1 hour and 15 minutes total before inserting an instant-read thermometer into the thickest part of a thigh. Without touching bone, the thermometer should read 165° F. For every single 5-pound chicken we have grilled, this takes 1 hour and 15 minutes – but grills and temperatures vary, so just keep an eye on the temperature. Now turn heat up to high and let cook for 10 minutes longer, to amp up the crispiness of the skin. Every chicken we have grilled this way has turned out ultra juicy and moist, so we’ve let go of worrying about a dry chicken – we are more interested in producing a crackly, crisp skin at this point. With grilling gloves (we love these!!) or a heavy-duty set of oven mitts, carefully transfer chicken on the chicken holder to a rimmed pan and let rest 10 minutes. Then carefully lift chicken off the beer can, gently wiggling the chicken back and forth if it sticks. Cut chicken into pieces with a meat knife and serve immediately.
Notes
Nutrition Information:
You might also like these chicken recipes!
We like chicken drumsticks around here – these Grilled Chicken Shawarma Drumsticks sound like a winner. As well as Grilled Chicken Fajitas in Foil and Southwestern Grilled Chicken with Lime Butter. And I bet my family would LOVE this Crispy Cheddar Chicken (baked in the oven)!
Here are a few more grilling recipes I’m loving right now:
Have you tried this Grilled Vegetable Salad yet?! And these Grilled Mini Sweet Peppers with Goat Cheese – our kids can never get enough. And we recently served these Grilled Cheesy Stuffed Mushrooms at a little gathering in the backyard – they disappeared FAST!
Brenda, Thanks for sharing your recipe. I used a 7.5 pound oven roaster and a 16 oz beer (can was probably 3/4 full). Your seasoning blend was very good and the skin super crispy. Super delicious!
So awesome to hear, glad you liked the chicken! Thanks for coming back to let me know. :)
Can I use chicken broth instead of beer? My husband cannot have beer
Hi Brenda, yes you can use broth. I’ve made this several times and have used various liquid like chicken broth, beer or even apple juice and they all turned out great.
My response was meant for Cathy and not Brenda. I was so excited to share my experience, lol.
I didn’t want to search for a stand and just shoved the can into the chicken and balanced it like that (I’m in Canada, I used a Pilsner tall boy). It didn’t tip, but maybe the chicken would have been protected from flaring with the stand. As the fat and juices dripped down there was a fair amount of charring in the tail/back of the chicken. The crispness and flavor is amazing though.
I leave out the oregano and use cayenne instead of chili powder, Soooo good!!!!
Grilled chicken beer can recipe
We made this tonight, it could have not been more delicious! What a great seasoning mix…I can’t wait to make more of your recipes!!!
Great recipe and instructions! Turned out perfect for our 4th of July party.
I’m so glad you liked the chicken!!
Brenda, I just made this. So moist, and we really like the rub. Your detailed instructions made it easy. The timing does take some planning if you want to serve it at a certain time, but it all worked as you said. Yummy!
So glad you liked this!! xo
I have always found this recipe to be super intimidating, but after reading through this you made it so easy. Thanks for sharing such a great recipe. Cheers!
Not intimidating at all. It’s so easy!!
nice reminder of a long forgotten recipe! Now I won’t have to try to look in the garage for that tool, just use a beer can, never knew before that it had to be half full, so thank you for the recipe and for that tip (or fact)! This recipe is DELICIOUS!
For me, it was all about getting the seasoning right and a crispy skin. I just hadn’t played around with making these chickens enough. But now that we have a recipe that our whole family likes, we’ll be making this ALOT! Enjoy the chicken!