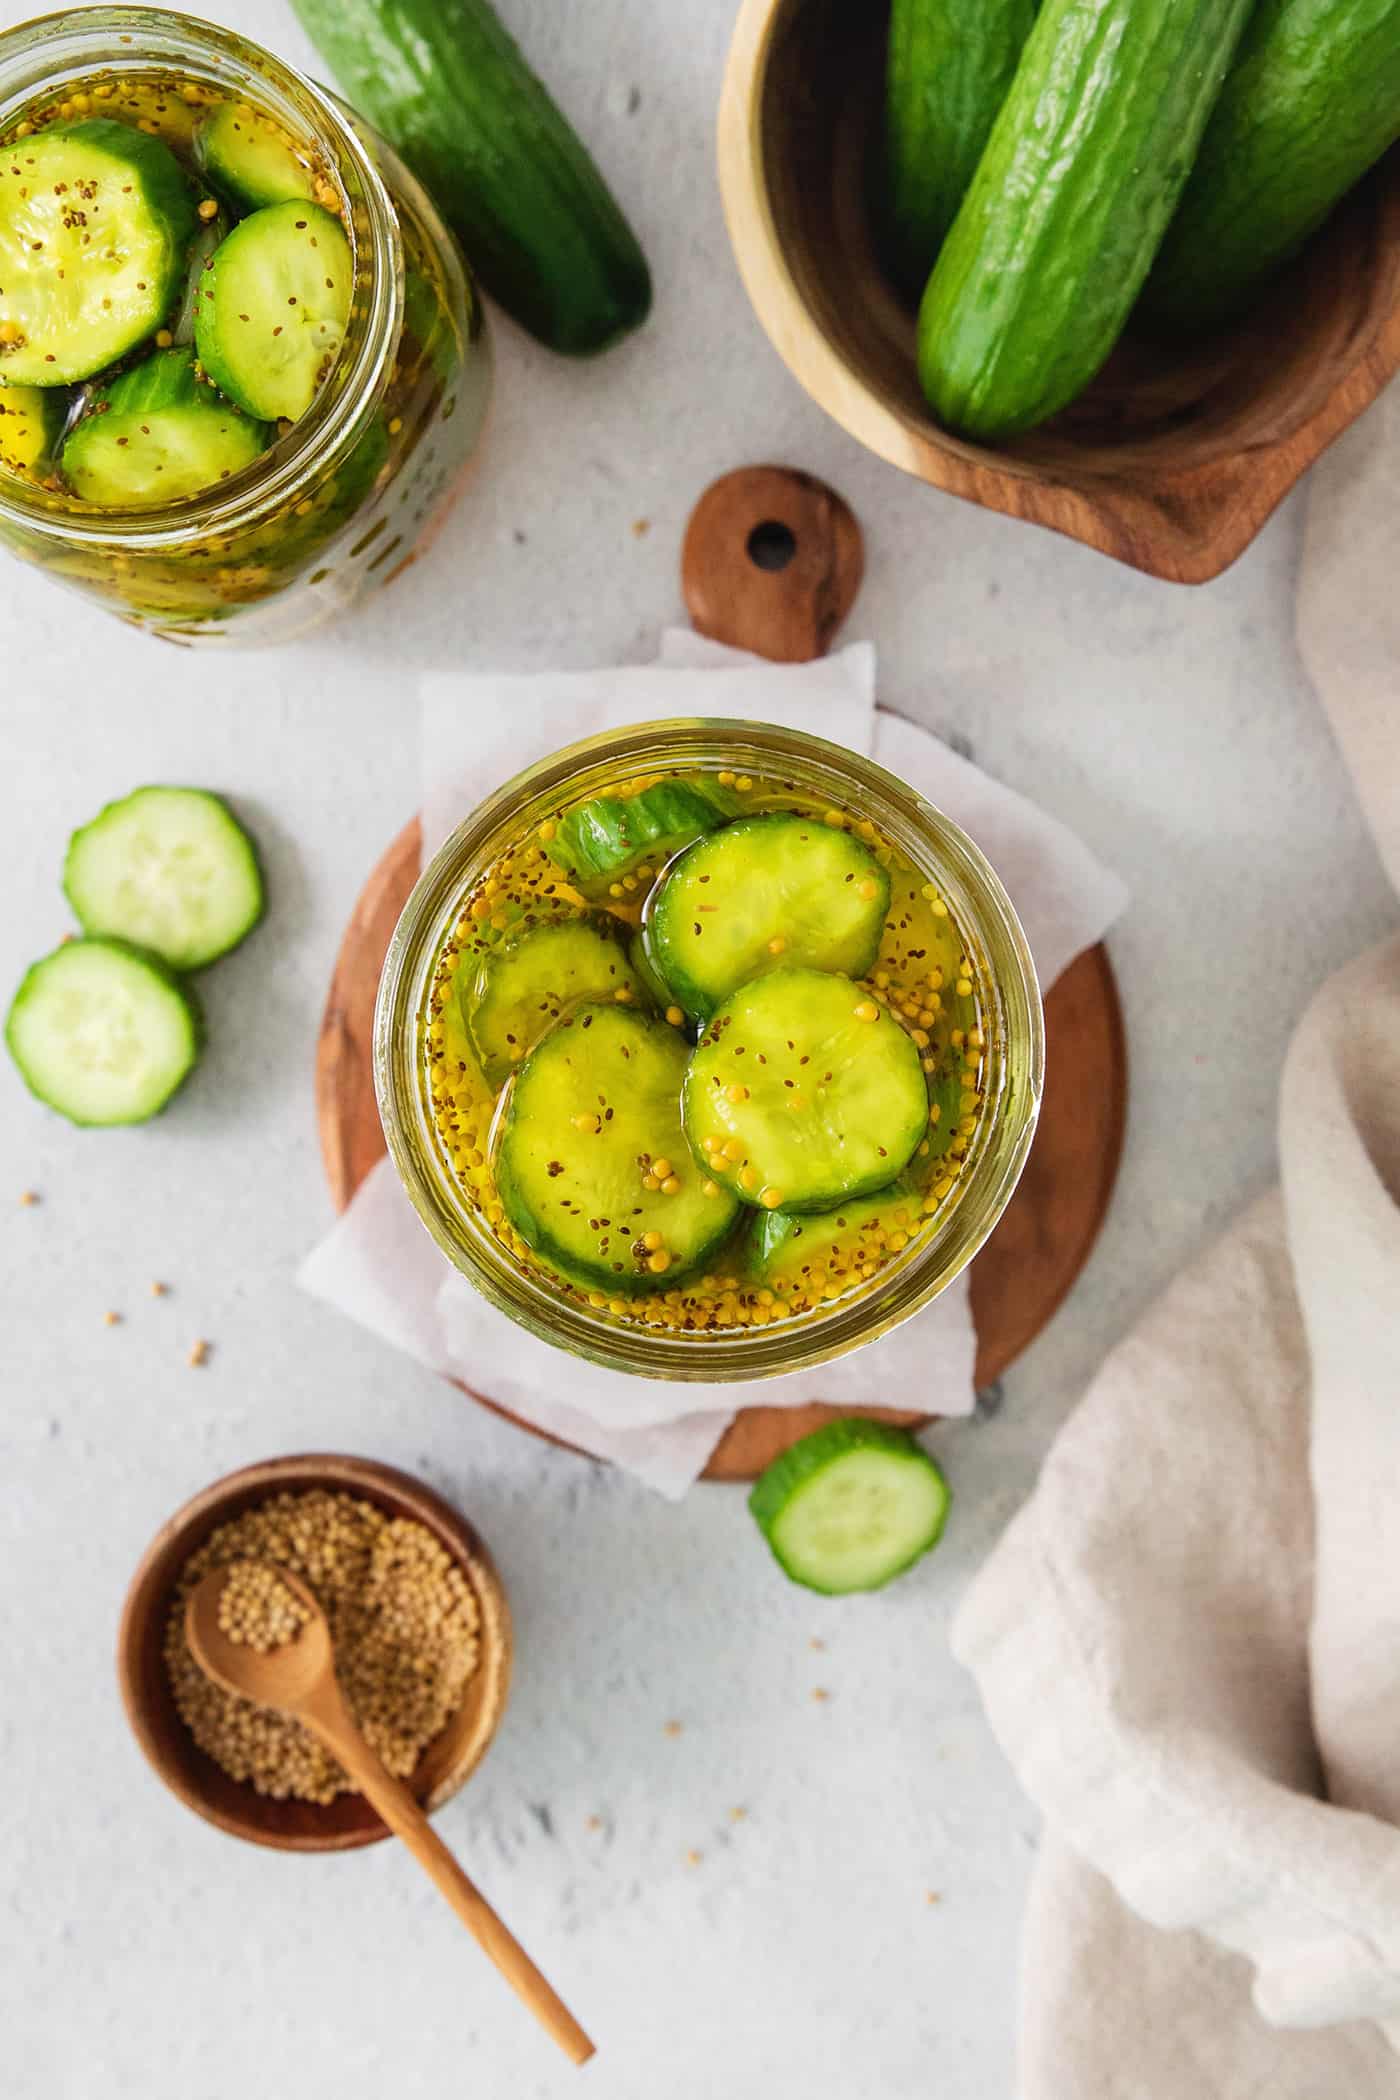
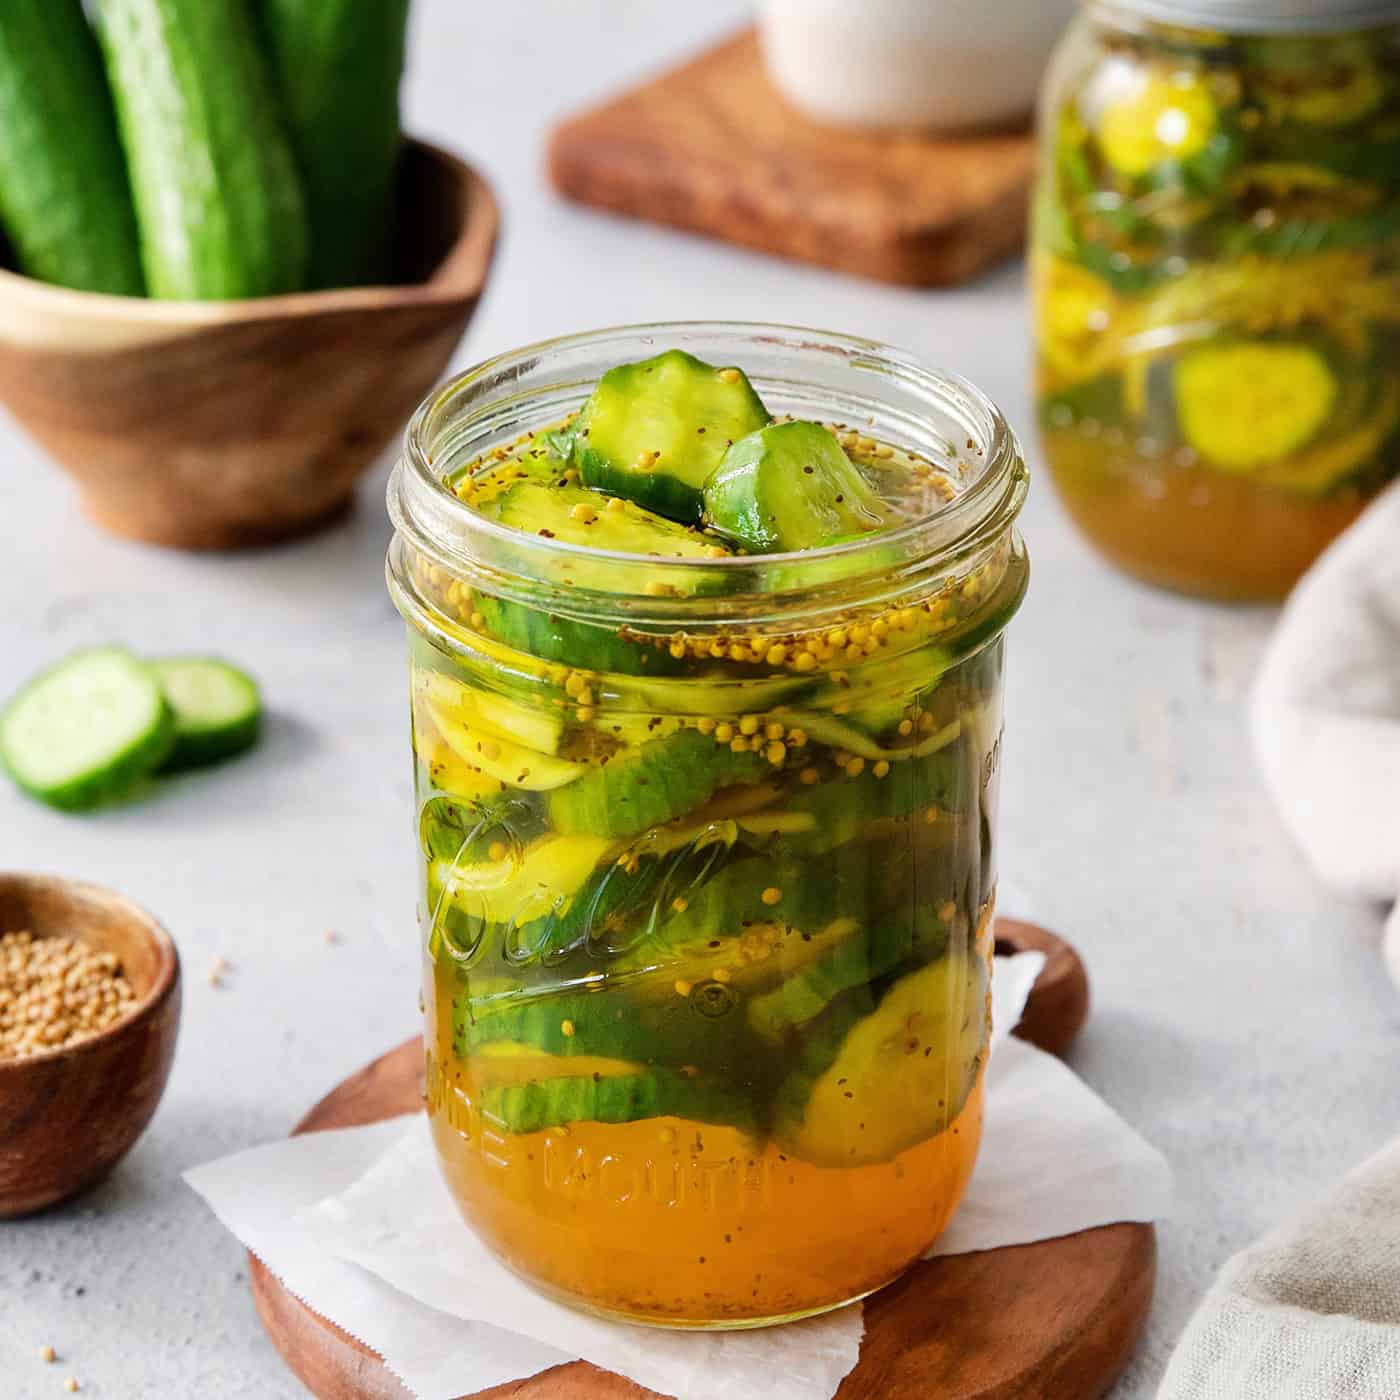
This refrigerator Bread and Butter Pickles recipe is a quick and easy way to make your own pickles, no fancy equipment required. The fresh-tasting pickles are delightfully crisp, sweet, and tangy. Pile them on burgers, sloppy joes, sandwiches and wraps, and so much more!
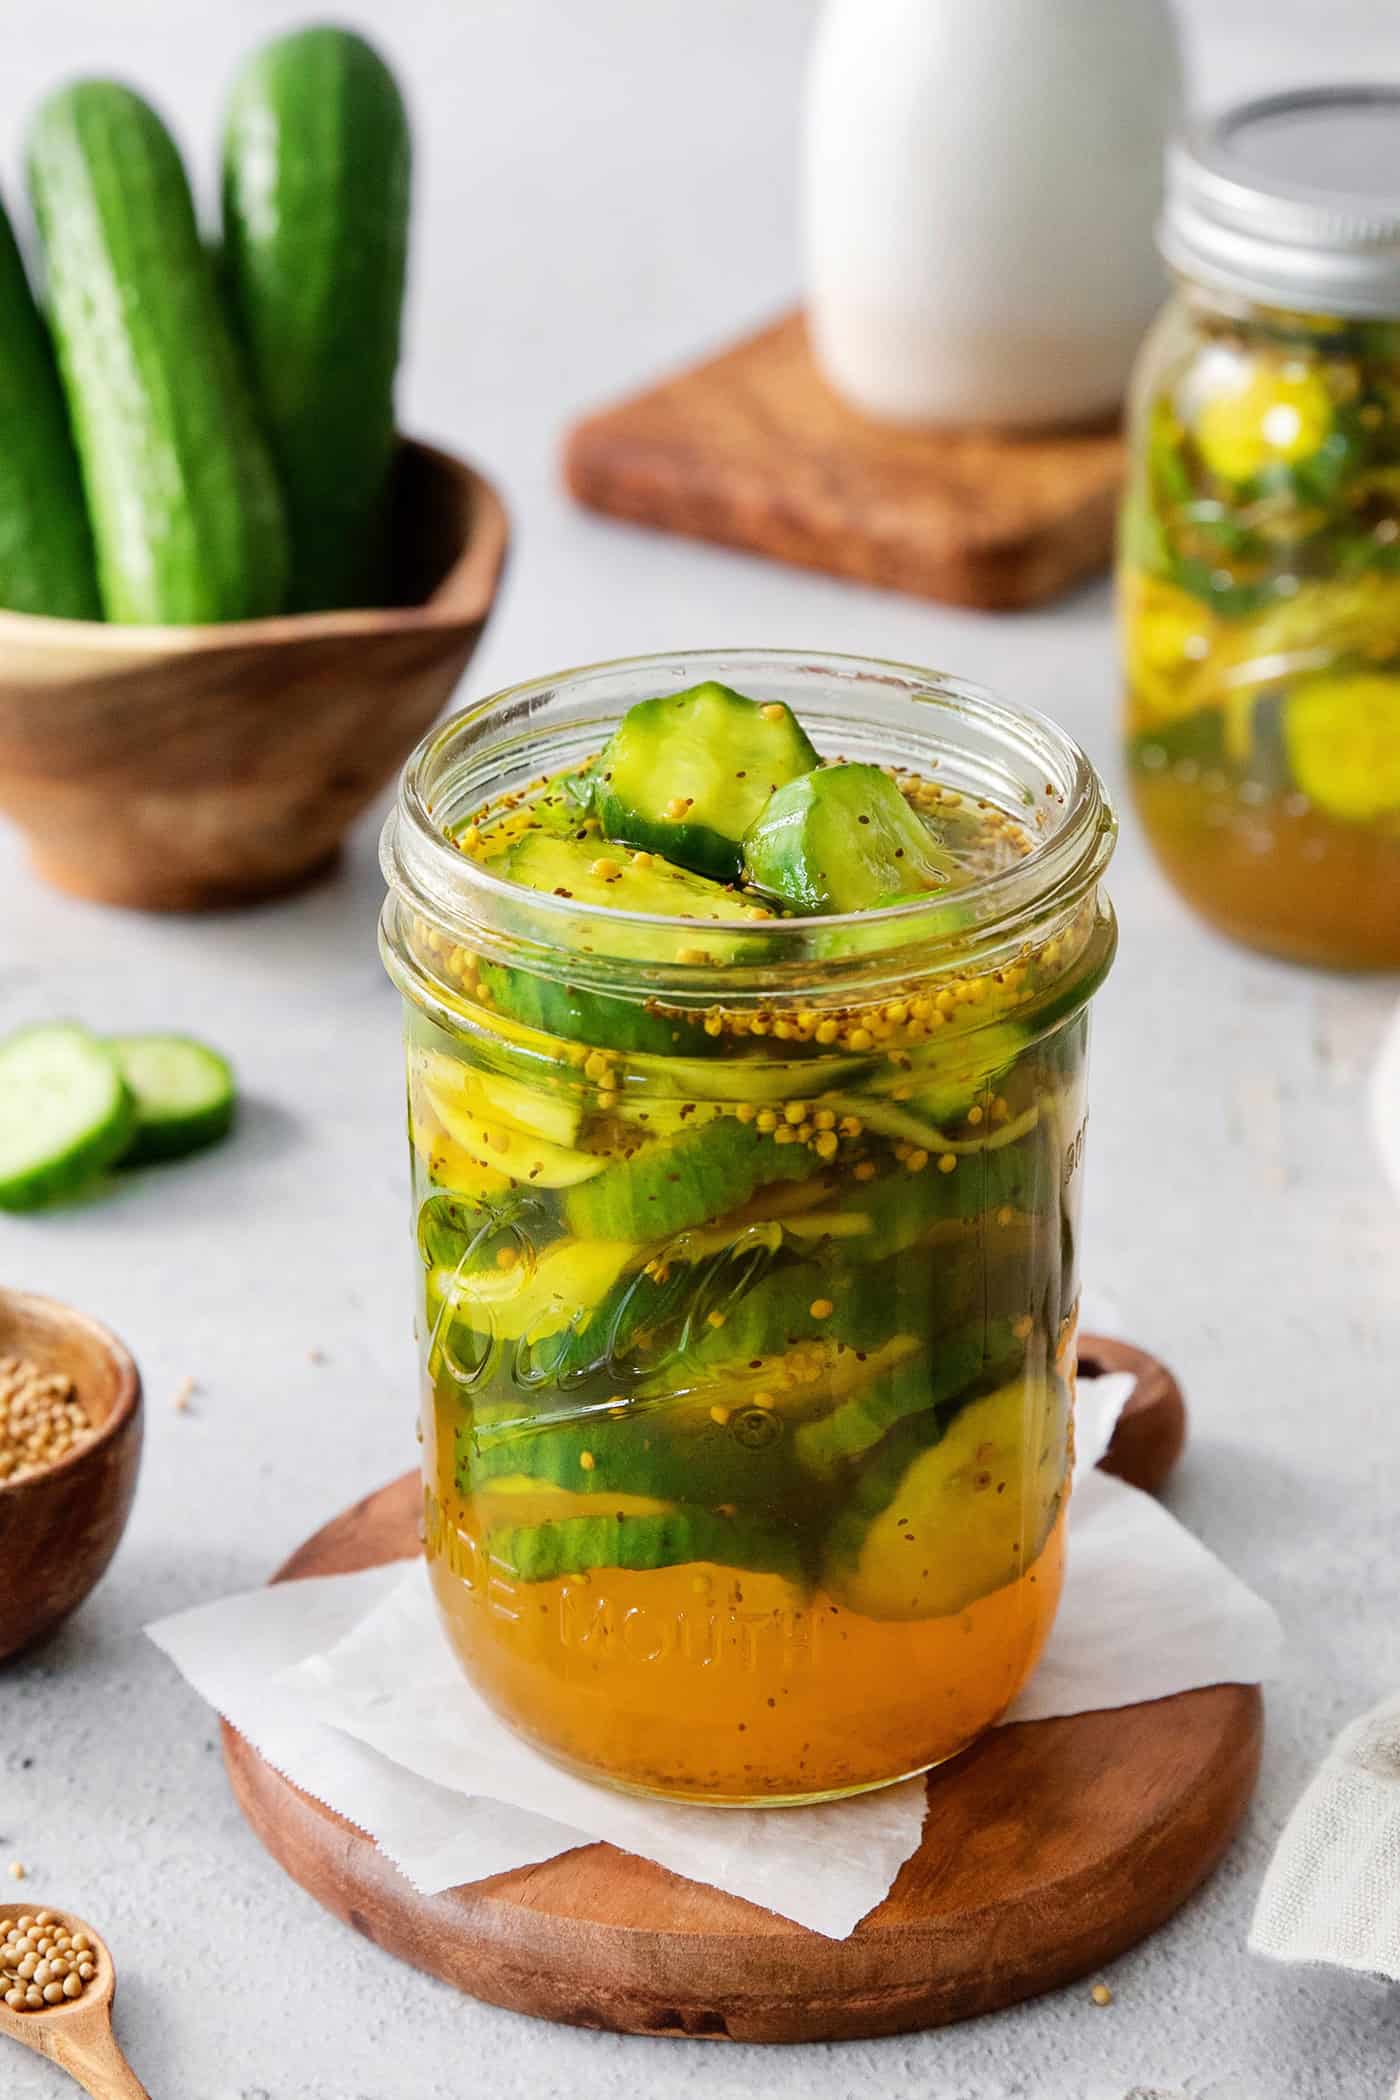
Refrigerator Bread and Butter Pickles
Summer is here! And easy refrigerator Bread and Butter Pickles are part of my delicious summertime fun!
Bread and butter pickles have been a longtime favorite of mine. They have a softer, sweeter flavor than the more tart dill pickles, which is a fun option for those who aren’t fond of dill and/or sharp vinegary pickle flavor. If you haven’t yet tried my mom’s sweet refrigerator dill pickles that combine the flavors of sweet pickles and dill – they’re fantastic, too!
I love to make pickles from scratch, especially refrigerator pickles. They’re especially fresh-tasting and beyond easy to make – I can put a batch together in less than 30 minutes!
Bread and butter pickles are made with a simple vinegar brine that’s much sweeter than dill pickles – and the brine is packed with mustard seeds and celery seeds, plus a bit of turmeric, for contrasting savory flavor.
Enjoy these pickles just like you’d enjoy any other pickle. They’re great served alongside burgers, sloppy joes, brats and hotdogs, macaroni salad, and a plethora of other picnic favorites.
If you like pickles, be sure to check out more of my pickle recipes! There’s a lot to choose from, including pickled beets, pickled squash, pickled carrots, and pickled garlic too!
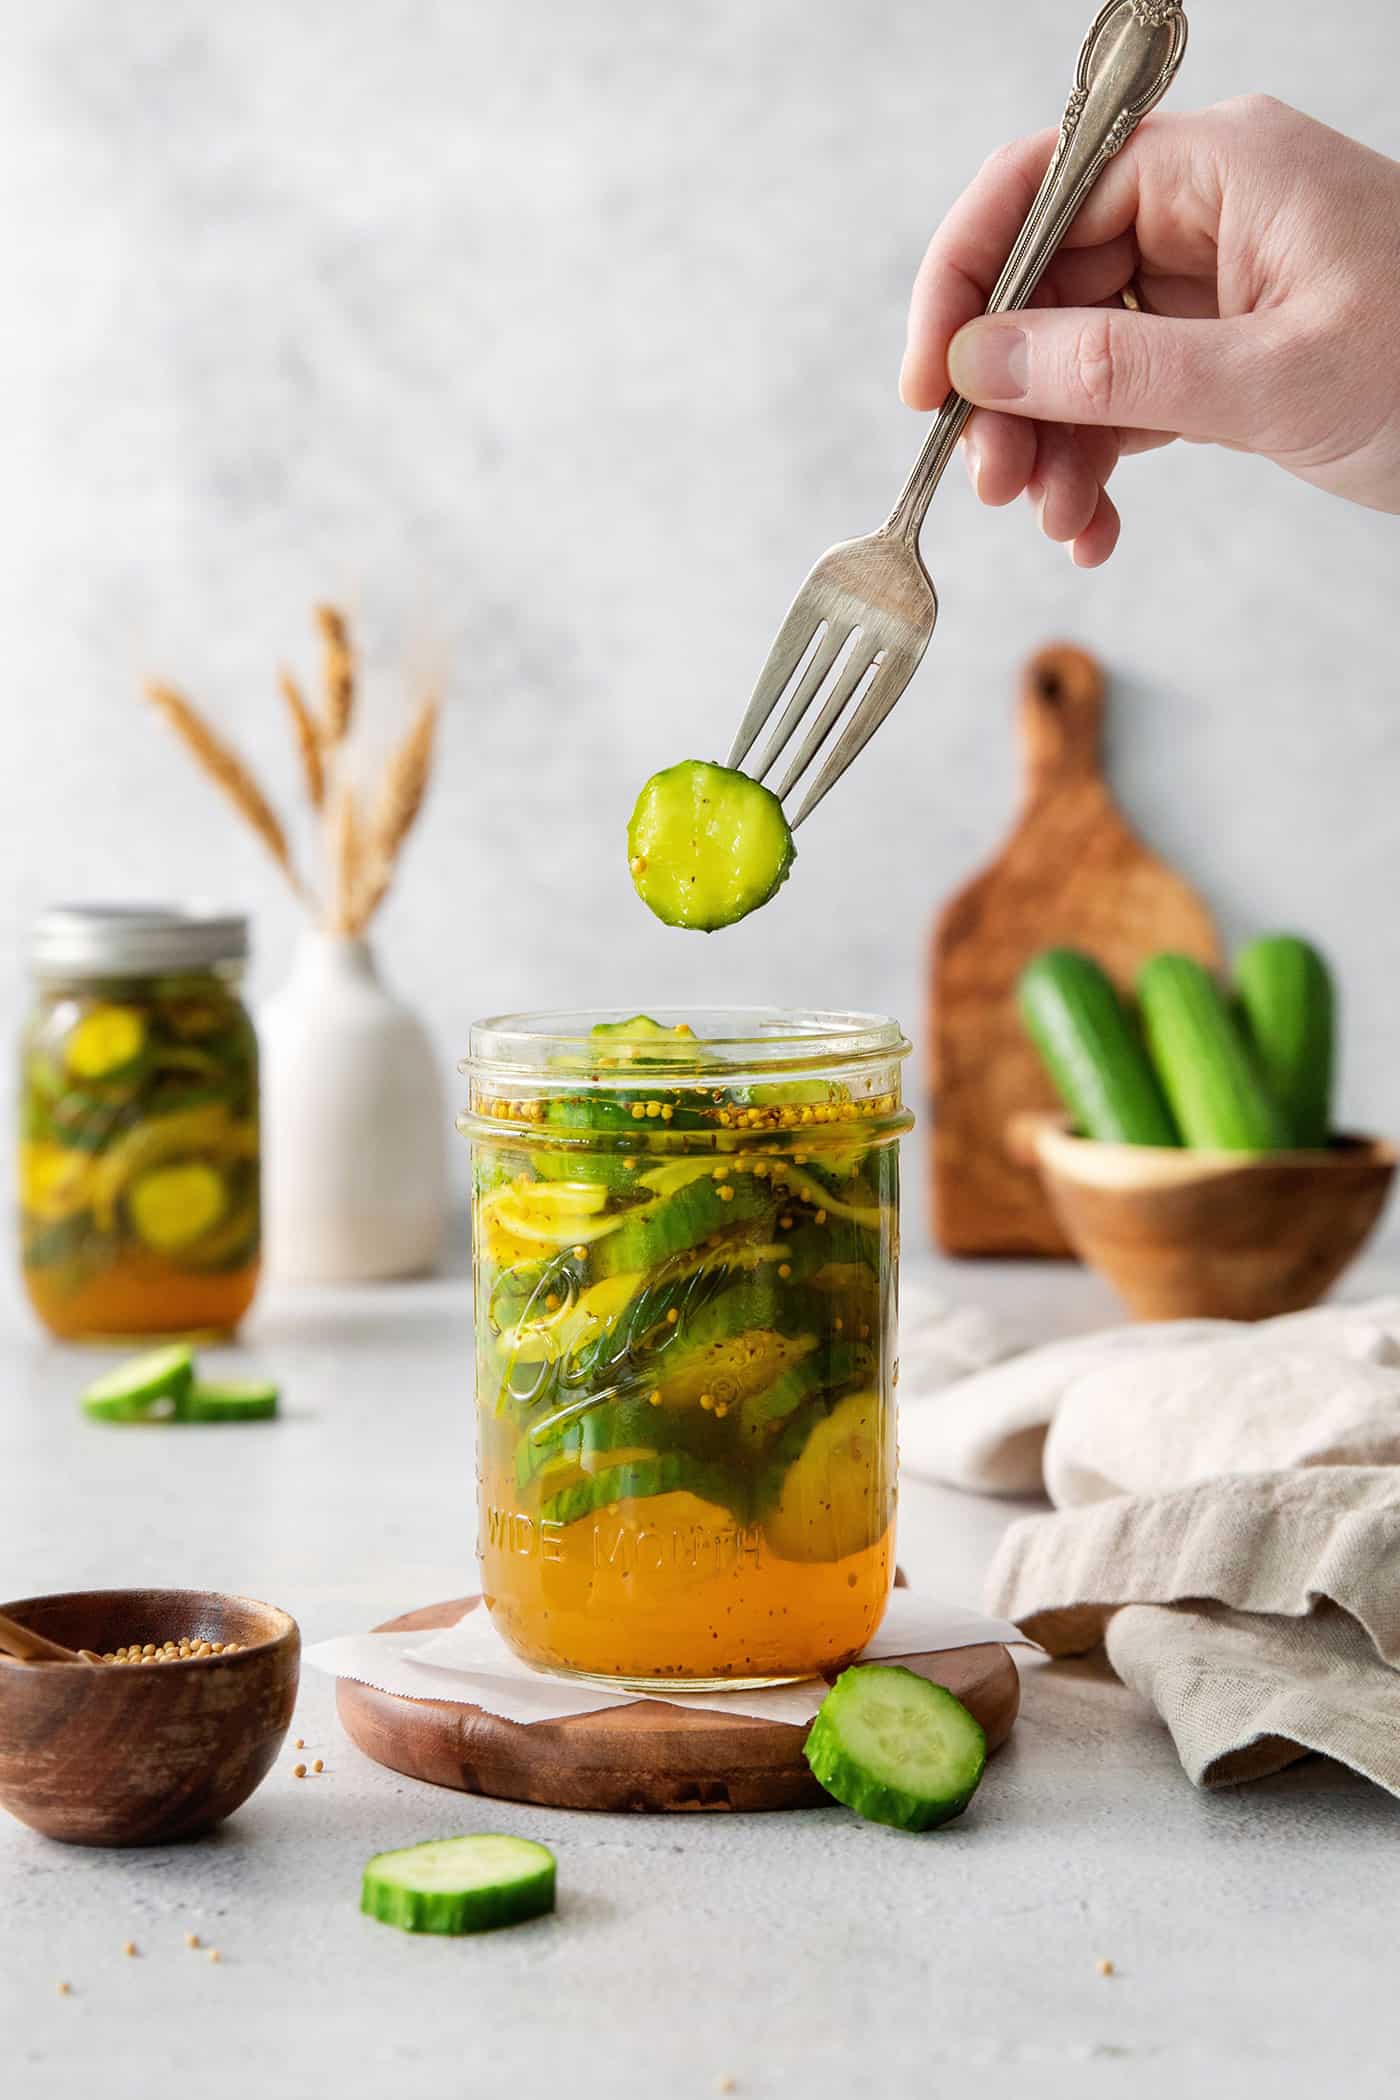
Why You’ll Love These Quick Pickles
There’s a lot going for these refrigerator pickles. Here are my top reasons to make them:
- Quick to put together. Just gather a few ingredients, slice the cucumbers, and make a simple brine on the stovetop. Then let the pickles steep in the brine, in the fridge, for a day or two. This rest time infuses the cucumbers with the brine, for that wonderful flavor that makes them into pickles!
- Homemade is best. Sure, you can always buy a jar of bread & butter pickles at the store. But homemade pickles are so much better, so very fresh-tasting.
- Easy to alter. A bonus to making your own pickles is that if you want to change up the flavor, you can. Everything’s easy to adjust, from the sugar and salt, to the vinegars and spices!
- Make the most of your garden. If you garden, this is a delicious, easy way to use cucumbers.
- You keep them in the fridge. Yes! This is one of the beauties of this recipe – you won’t need to deal with canning them because these pickles need to be stored in the fridge. This does mean they won’t last quite as long as traditionally canned pickles, but honestly, they’re so good they won’t last long anyway!
- Makes a fantastic gift. I love to gift things I make. And many people swoon over homemade pickles. They make a great hostess gift and are a wonderful way to say to a new neighbor, “Welcome to the neighborhood!”
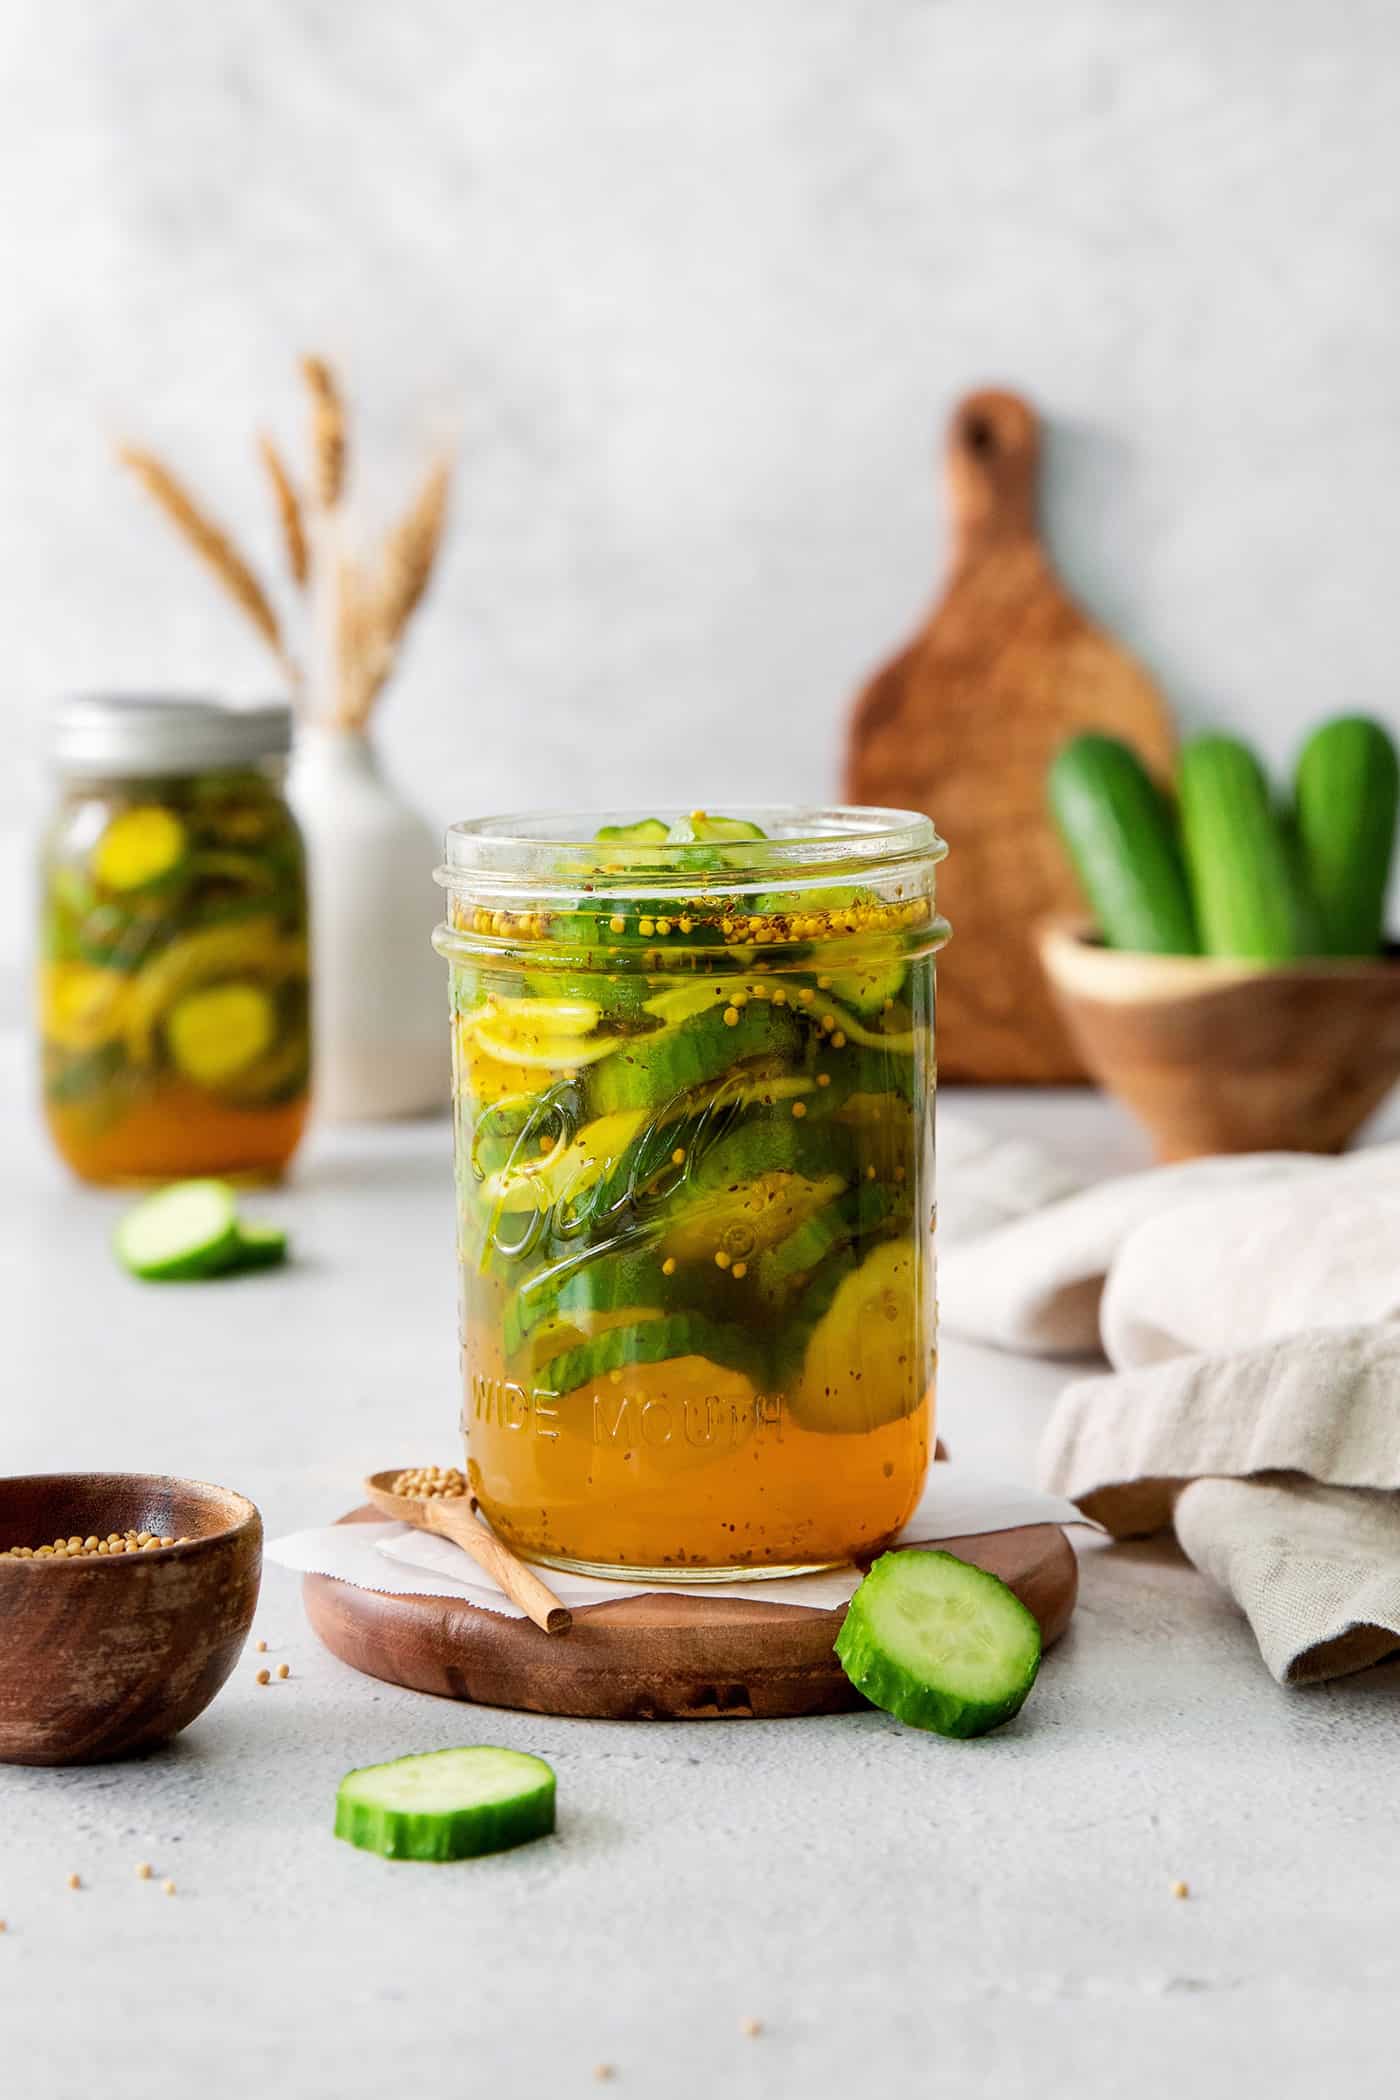
What Are Bread & Butter Pickles?
Bread and butter pickles are a sweeter, non-dill version of dill pickles.
The brine for the bread and butter pickles includes sugar, which makes them sweeter than dill pickles (although you might find a little sugar in some dill pickle recipes). Bread and butter pickles ingredients also include turmeric, which gives the brine a bit of earthy flavor and a slightly golden appearance.
Otherwise, the preparation method is very similar.
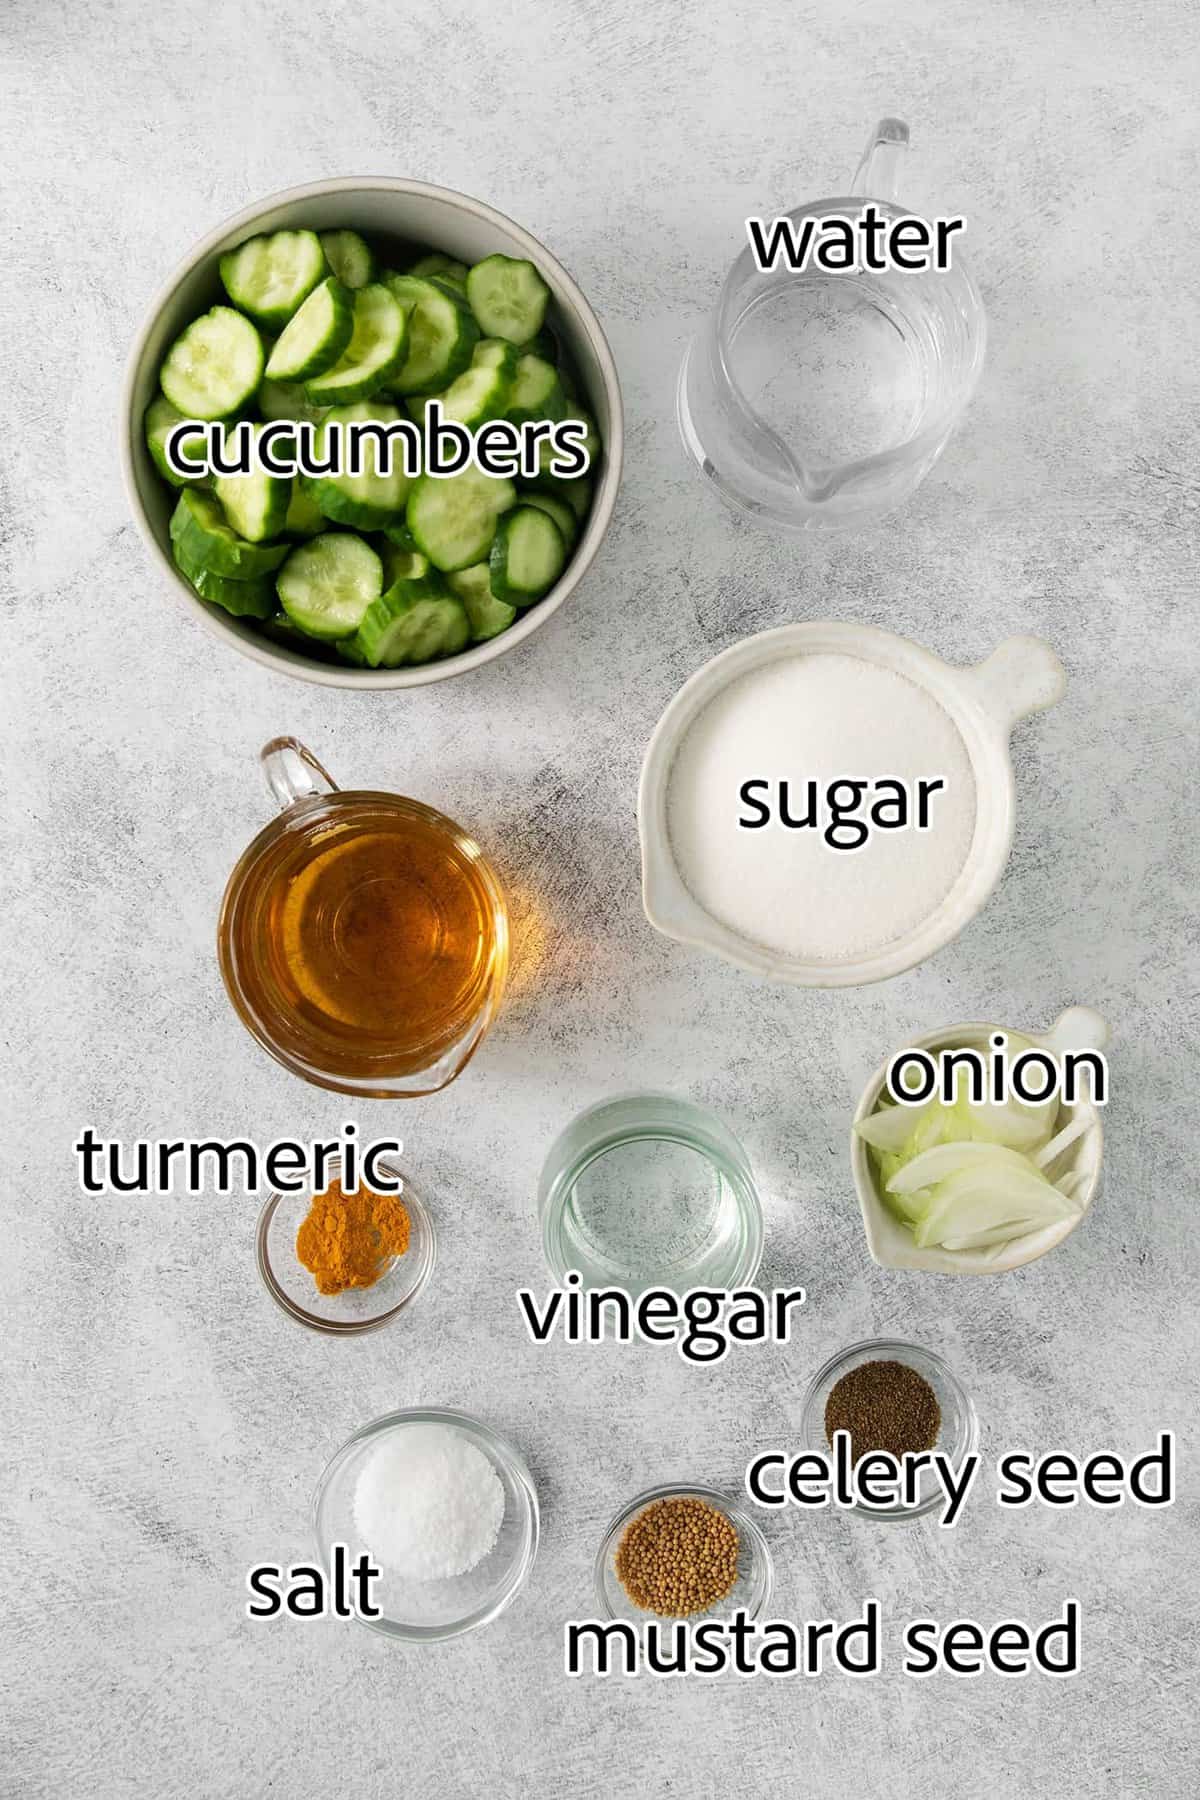
Recipe Ingredients
It’s so easy and satisfying to make refrigerator bread and butter pickles. Here’s an overview of what you’ll need to make this recipe.
Make sure to read the recipe card at the end of this post for the exact ingredient amounts and full instructions.
- Apple cider vinegar – This easy-to-find vinegar adds a slightly sweetened depth of flavor to the pickles. If you really need to substitute this vinegar, you could use white wine vinegar instead.
- White vinegar – Your classic white vinegar, available in every supermarket.
- Water – This is part of the pickling liquid/brine.
- Sugar – This distinguishes bread & butter pickles from the more tart dill pickles.
- Salt – A common ingredient in pickles that gives flavor and texture to the pickles.
- Turmeric – Ground turmeric adds an earthy, smoky flavor and a little golden color to these pickles.
- Cucumbers – I mostly use smaller Persian cucumbers or larger English cucumbers. But when I can get my hands on some in-season pickling cucumbers, that’s definitely preferred!
- Onion – You can use a white or yellow onion.
- Celery seeds – This ingredient adds a bit of pungent celery flavor to the brine.
- Mustard seeds – These add a hit of sharp, zingy flavor to the pickles.
How to Make Bread and Butter Pickles
As mentioned, this is a quick and easy recipe to make. Here’s how to make your own refrigerator bread and butter pickles:
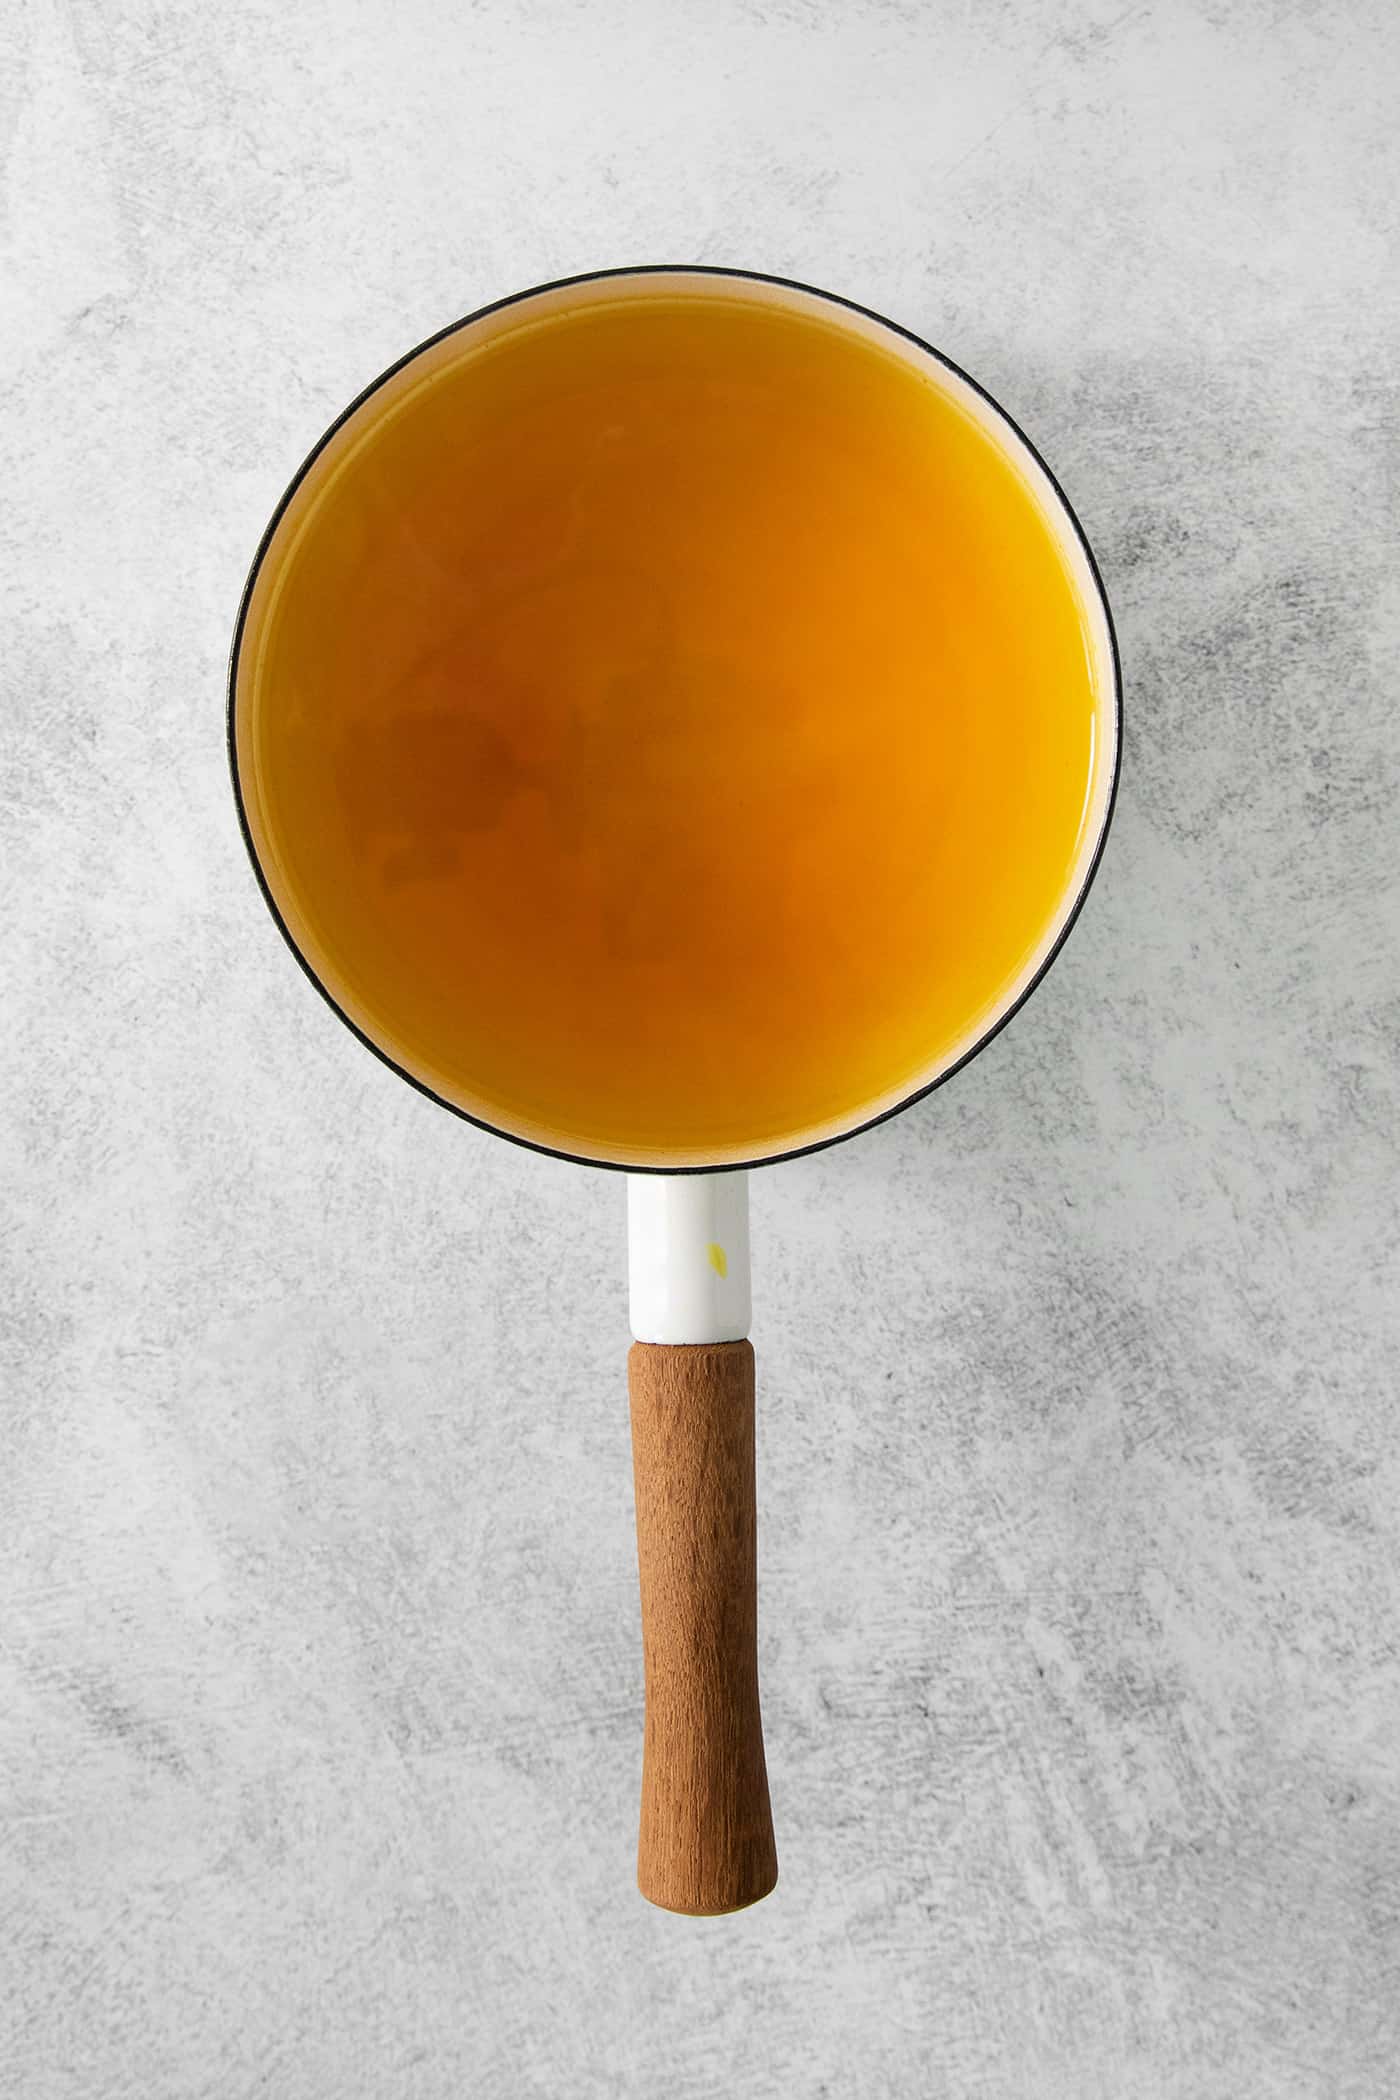
- Prepare the pickling brine. Place apple cider vinegar, white vinegar, water, sugar, salt, and turmeric in a saucepan and bring to a boil. Once sugar and salt have dissolved, let brine cool to room temperature. (To speed up the cooling process, place brine in fridge or freezer to cool it down faster.)
- Prepare the jars. Wash two wide-mouth 1-pint jars (or 1 quart jar) and their lids in very hot, soapy water. Set aside.
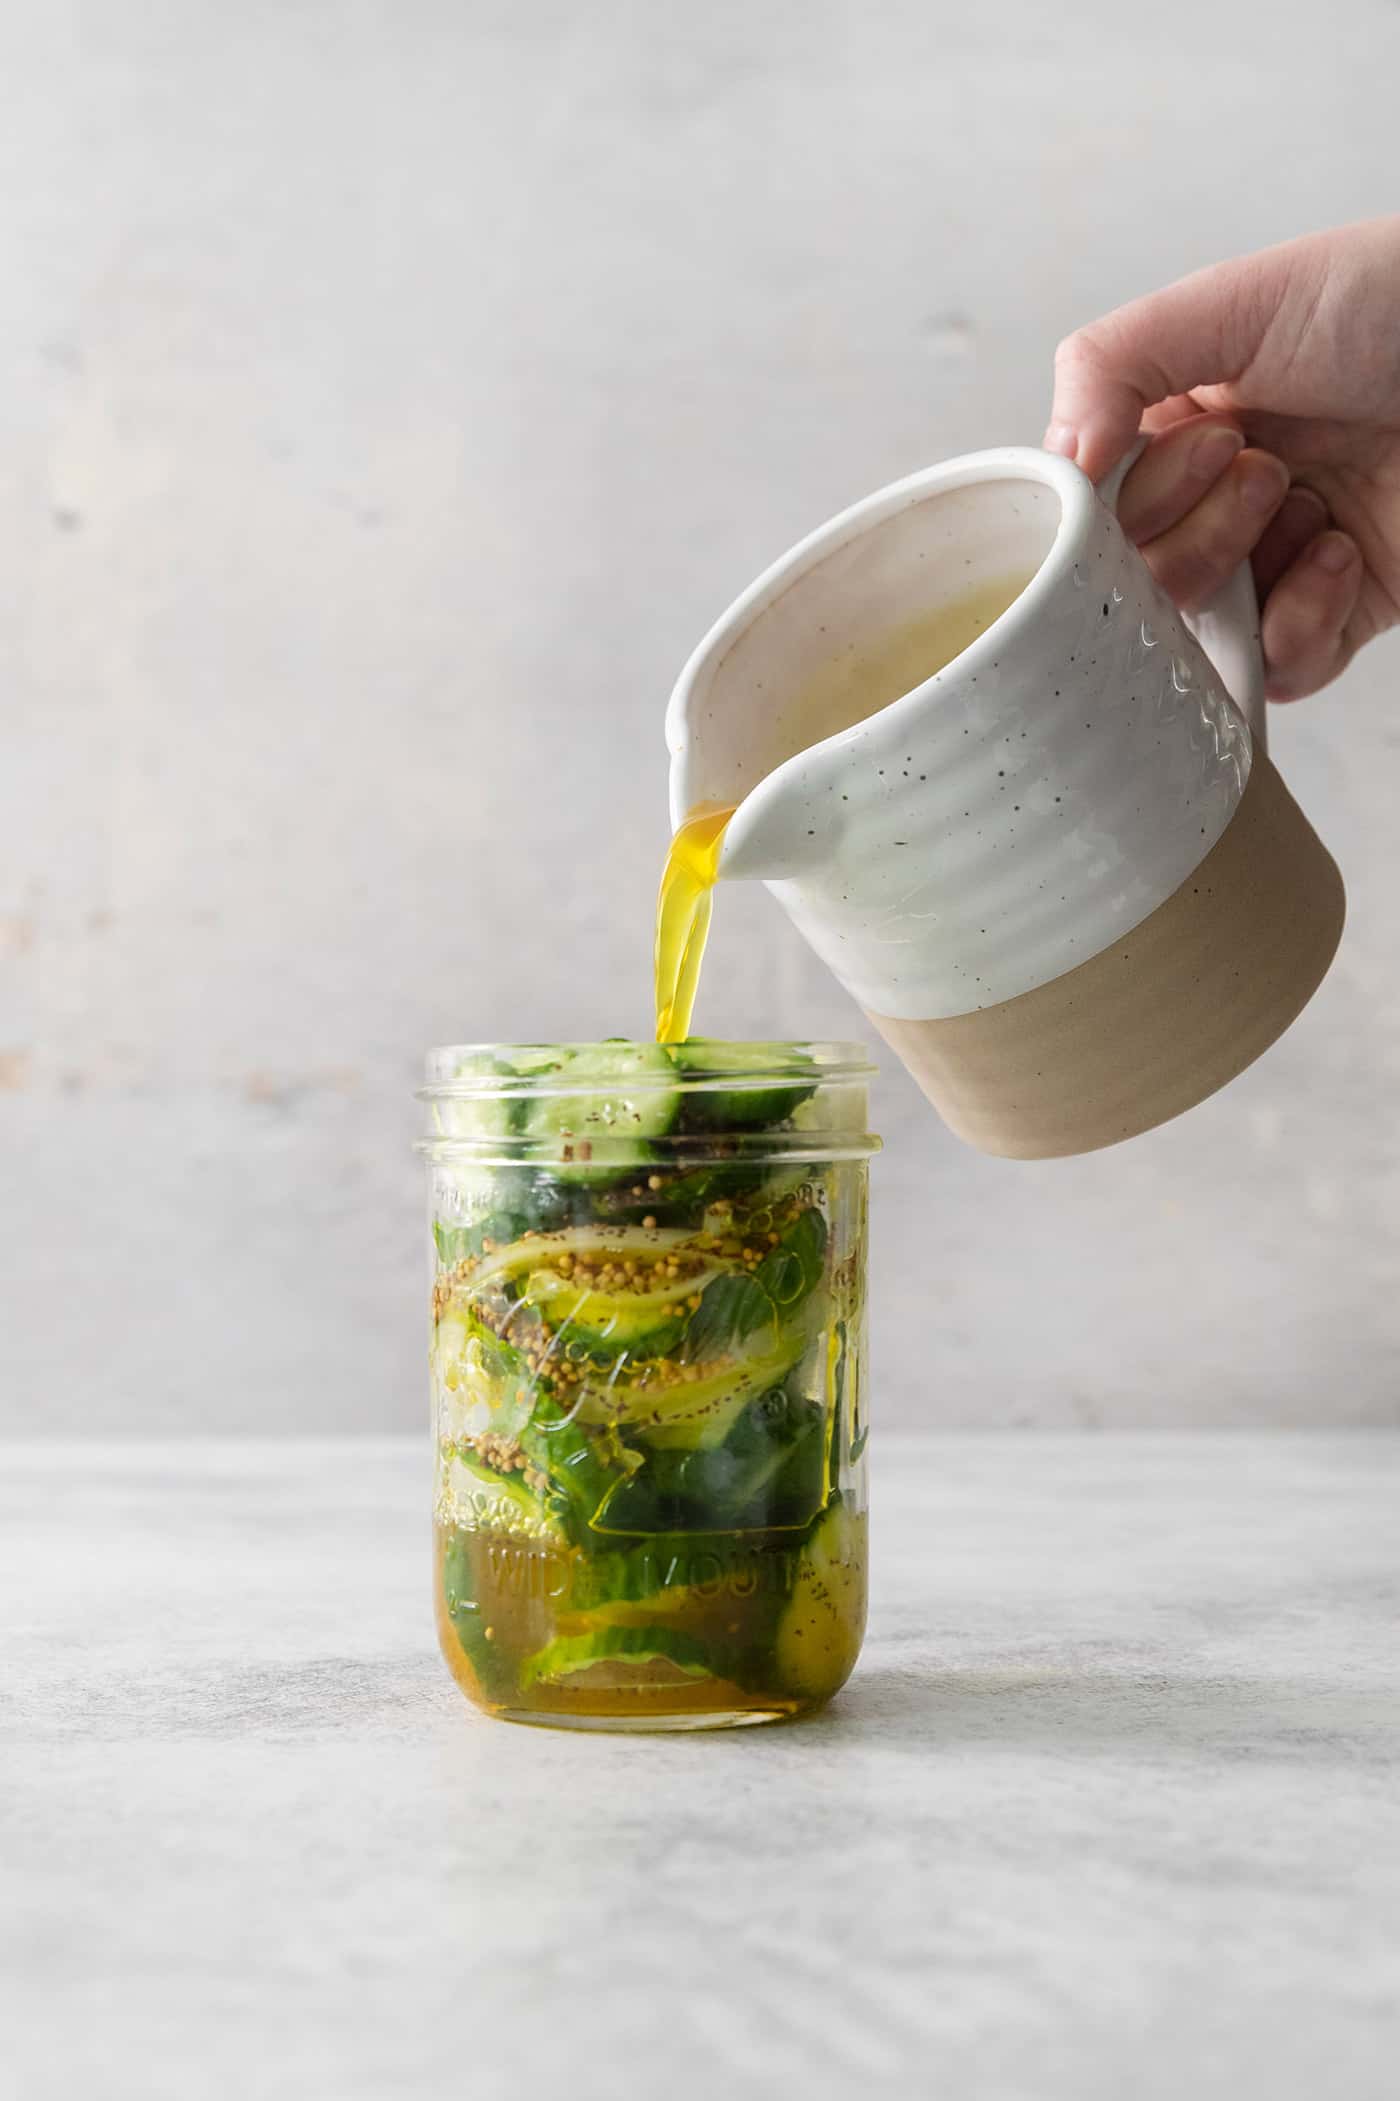
- Prepare the cucumbers and onion. Wash and dry the cucumbers – then cut off the ends and slice cucumbers into coins. Slice the onion.
- Pack the jars with the cucumber mix. Add the celery seeds and mustard seeds to the jars, followed by the cucumbers and onion.
- Add the pickling brine. Pour the cooled brine over the cucumbers and onion.
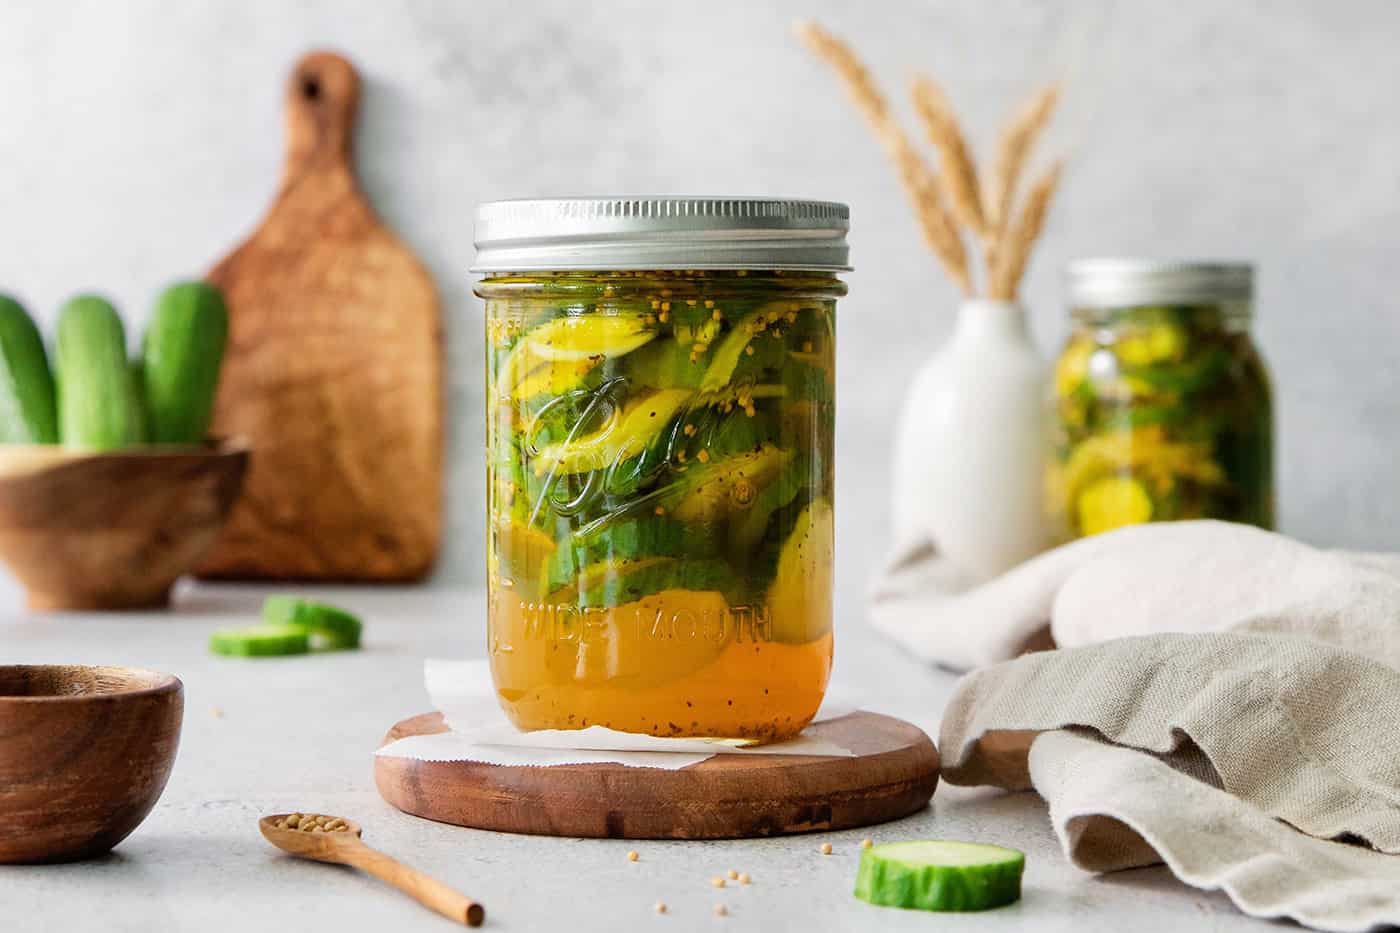
- Store the pickles in the fridge. Twist lids tightly onto jars. Store in the refrigerator at least 24 hours before eating to let the flavors develop.
Tips for Success
This is a simple recipe to prepare, but you might find these tips helpful:
- Use fresh, firm cucumbers. This means that you shouldn’t use pickles that are even the slightest bit soft. Pickles taste the best when they’re made with the freshest produce. If using your own garden cucumbers, plan to make this recipe soon after you pick the cucumbers.
- Try to choose cucumbers that are similar in size. If you’d like your pickles to be uniform in size, use cucumbers that are a close size match to each other.
- Clean the cucumbers well. Most cucumbers are fairly clean when you buy them at the grocery store, but definitely give them a good scrub to make sure they’re absolutely clean. If you are using homegrown cucumbers, give them a good wash and scrub to remove any dirt.
- Sterilize your jars and lids. Even though this is not a canning recipe, it’s important to make sure your jars are very clean before you fill them with the pickles and brine. A run through in the dishwasher should do the trick, or if you don’t have a dishwasher, wash the jars and lids thoroughly in very hot, soapy water.
- Let the pickles sit longer for the best flavor. I’m always impatient and dig into the pickles the next day – but the flavor will increase the longer they sit, and will be even better after 48 hours. If you’re planning to serve these when entertaining, I recommend making the pickles 48-72 hours in advance, for the best pickled flavor. They will keep well for up to 2 months.
- Store pickles in the fridge only. Unlike fermented vegetables, which sit out on the counter during the fermentation process, these are quick refrigerator pickles that need to be stored in the refrigerator. Do NOT store these in the pantry.
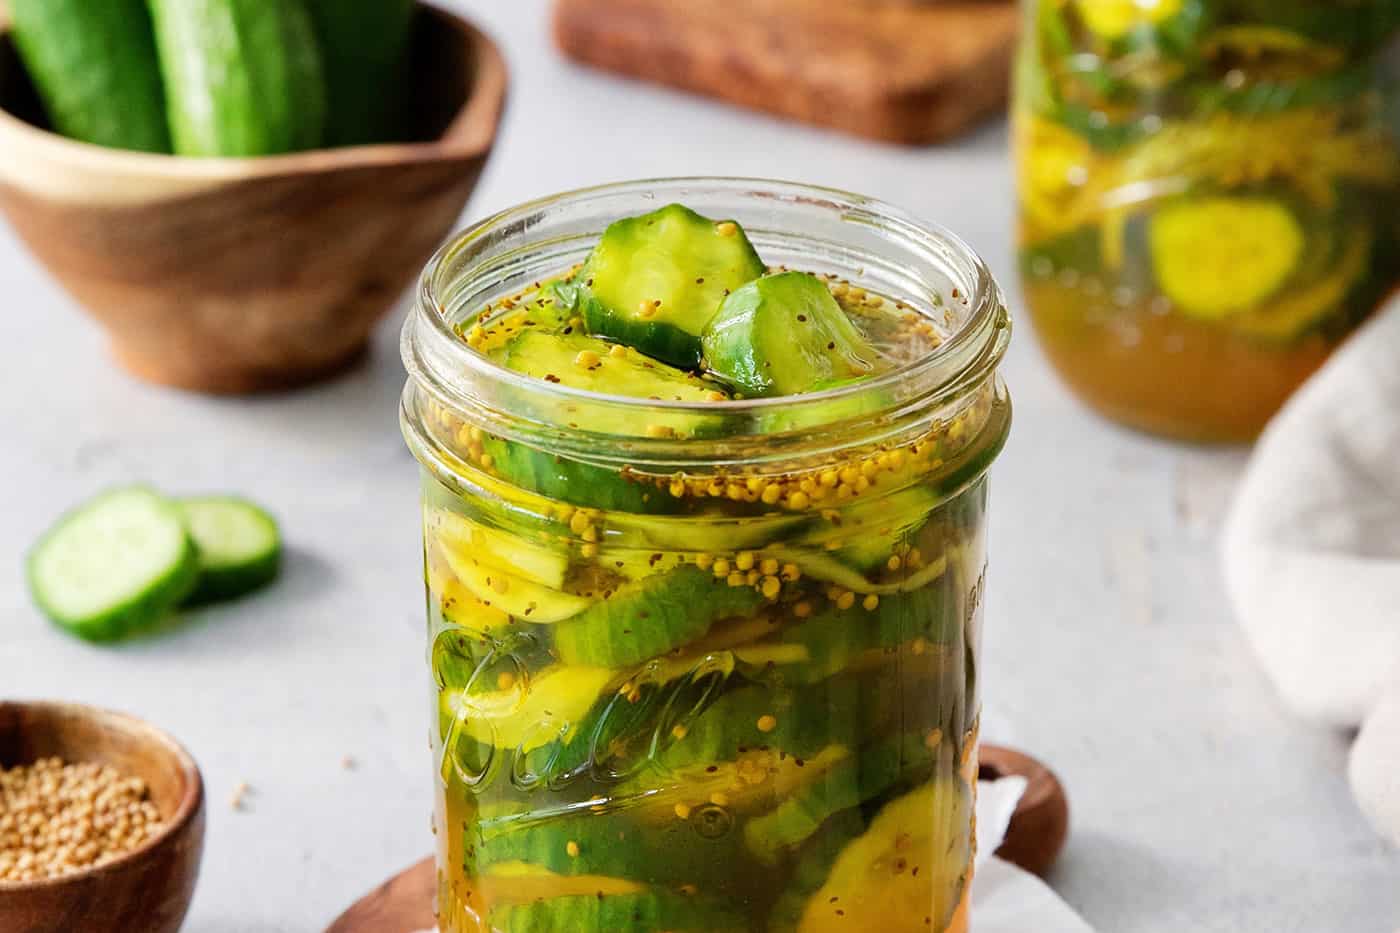
Ways to Enjoy
You just might catch me nibbling on cold bread and butter pickles straight from the fridge for a savory-sweet snack. They’re basically like cucumber salad to me!
But bread & butter pickles go so well with so many dishes. Here are some of my favorite ways to serve these homemade pickles:
- On burgers. Burgers are the obvious choice for pickles! You could top my juicy lucy burgers with bread and butter pickles for crunch and flavor. Or pile them on my goat cheese stuffed turkey burgers for a fun flavor contrast.
- With macaroni salad. Serve my Hawaiian macaroni salad or macaroni salad with ham and cheese with a cold bowl of bread and butter pickles for garnish!
- As fried pickles. Use homemade bread and butter pickles in my fried pickles recipe – YUM!
- With sandwiches. Pickles are a natural choice with a wide variety of sandwiches. My chopped cheese sandwich, Italian beef sandwich, sloppy joes, or turkey grilled cheese sandwich would be wonderful served with bread and butter pickles. They’re also wonderful with egg salad!
- With grilled entrees. Think grilled pork chops, sriracha honey mustard beef kebabs, and beer can chicken!
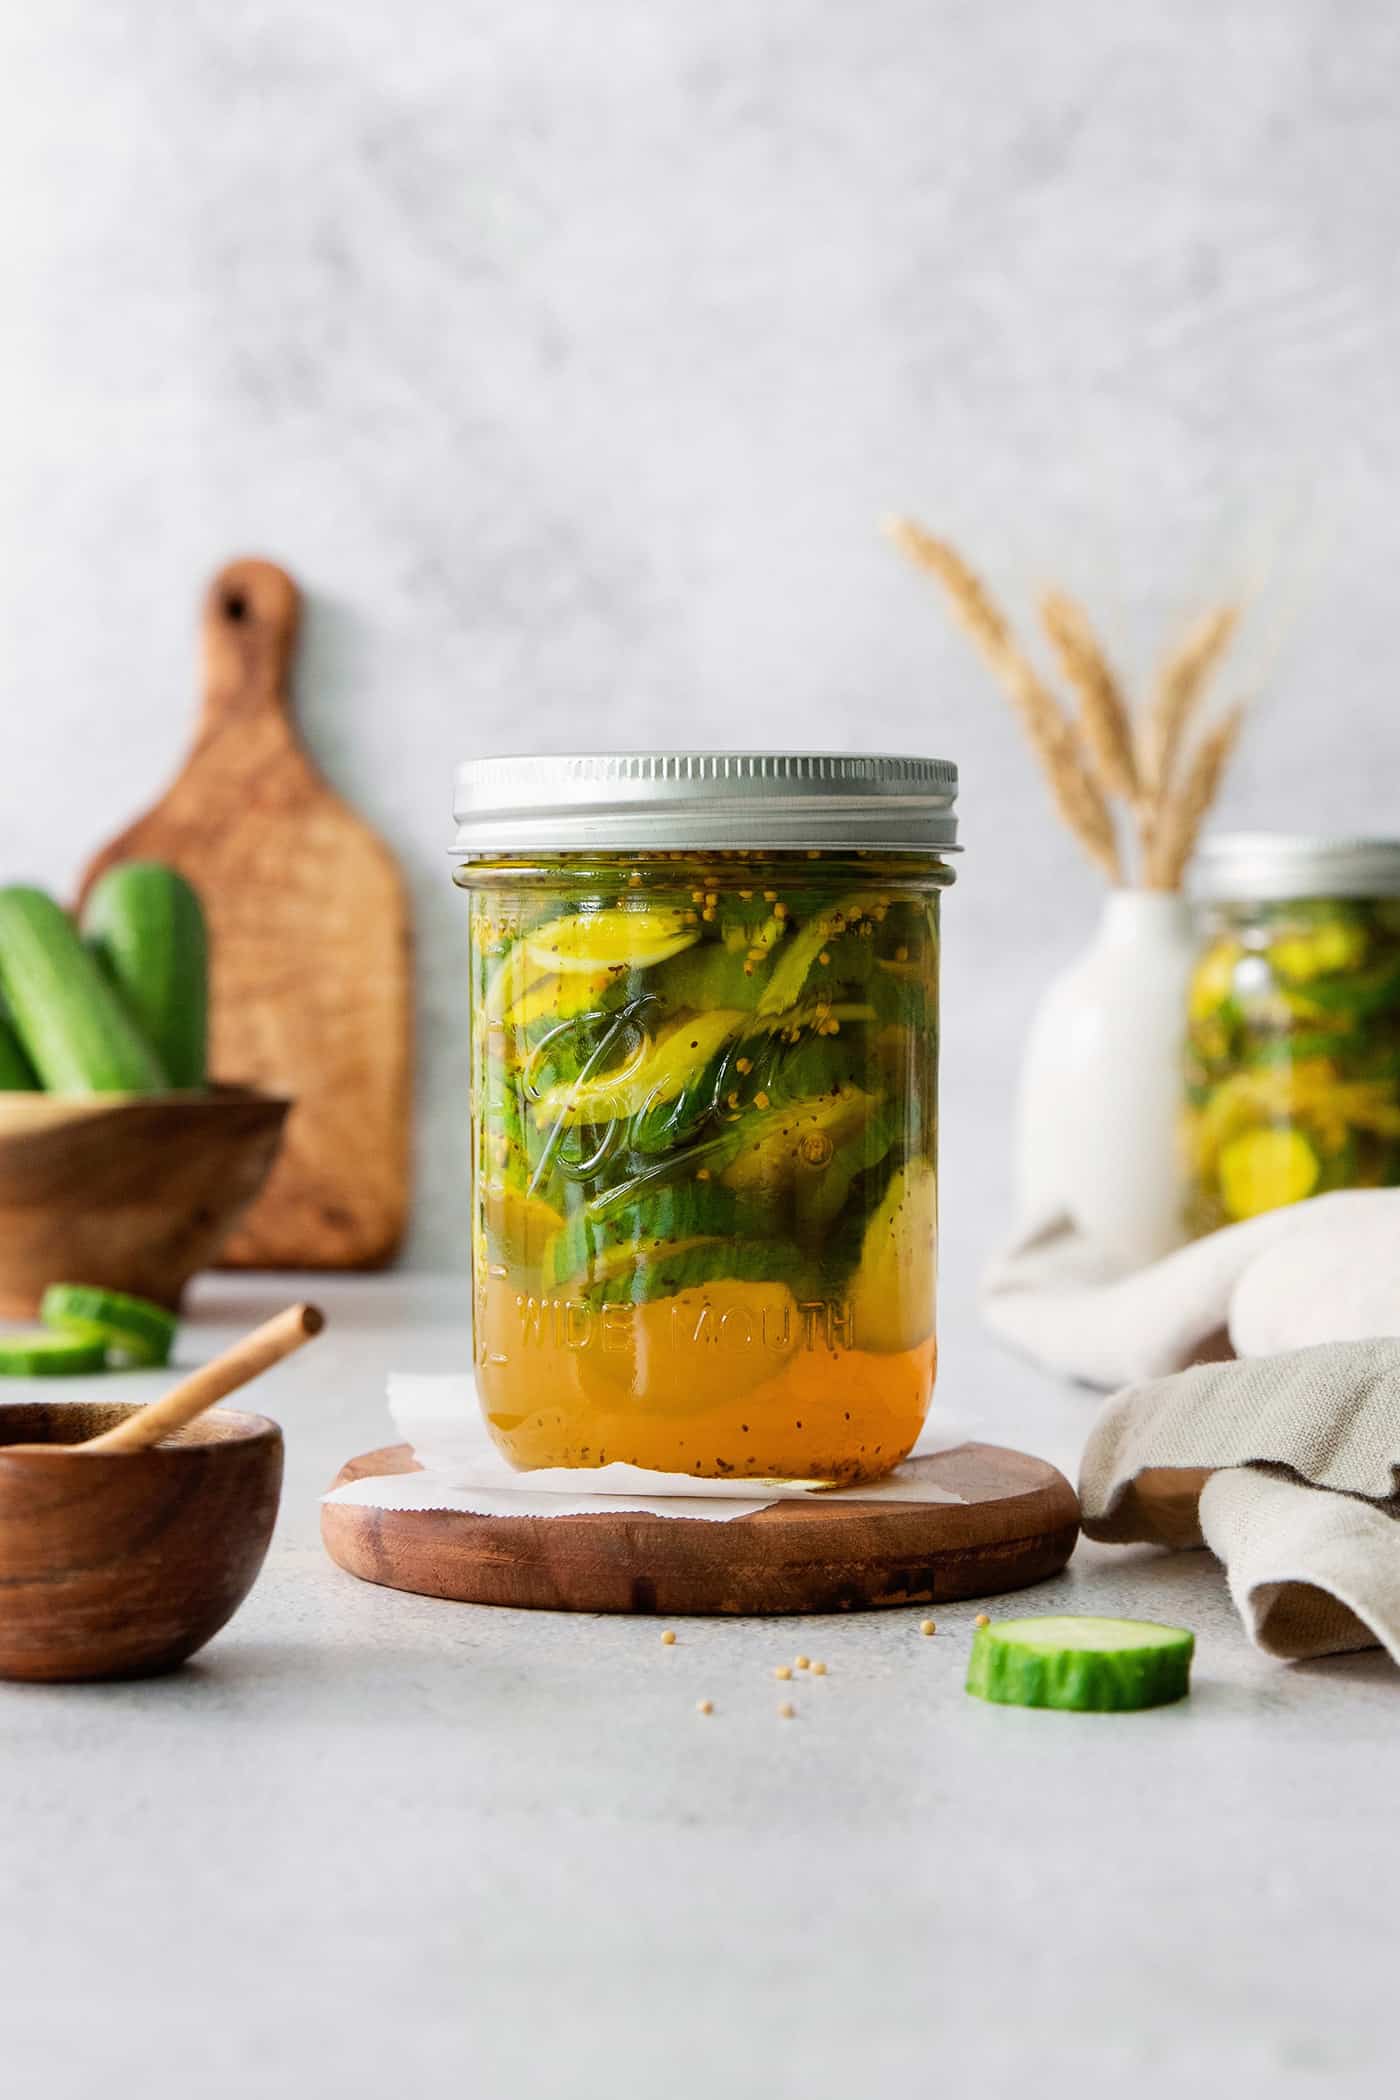
How Long Do Refrigerator Pickles Last in the Fridge?
You can store bread and butter pickles in the fridge for up to 2 months.
Serve them straight from the fridge.
Like this Recipe? Save to Pinterest
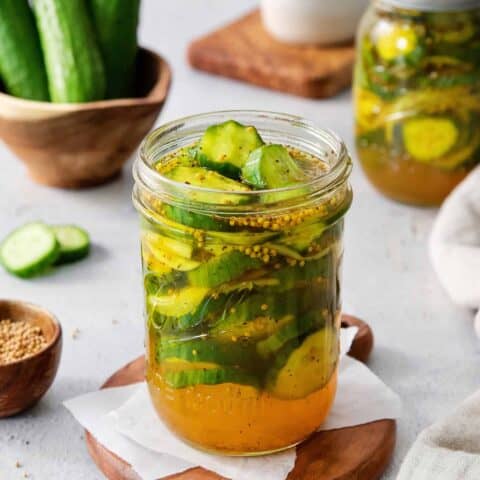
Bread & Butter Pickles
Ingredients
- ¾ cup apple cider vinegar
- ¾ cup white vinegar
- ½ cup water
- 1 cup granulated sugar
- 1½ tablespoons kosher salt
- ½ teaspoon ground turmeric
- 1¼ pounds Persian cucumbers or other mini cucumber or pickling cucumber
- ¼ cup thinly sliced white or yellow onion
- 1 teaspoon celery seeds
- 1 teaspoon mustard seeds
Instructions
- Prepare pickling brine: Place apple cider vinegar, white vinegar, water, sugar, salt, and turmeric in a small saucepan over high heat and bring to a boil. Whisk rapidly until sugar and salt dissolve. Remove pan from heat and let cool to room temperature. If you want to speed up the cooling process, carefully transfer hot brine to a heat-proof jar or bowl and place in fridge or freezer to cool it down faster.
- Prepare jars: While brine is cooling, wash two wide-mouth 1-pint jars and their lids in very hot, soapy water. Set aside.
- Prepare cucumbers & onion: Wash and dry the cucumbers. Cut off the ends of the cucumbers and discard. Then slice cucumbers into coins, aiming for about ⅛" thickness – a mandoline works great for even slicing. Or slice them into spears. Then slice the onion about ⅛" thick as well.
- Pack jars: Divide the celery seeds and mustard seeds between the two jars. Then add the cucumbers and onion to both jars. Pack them in as tightly as you can without smashing the cucumbers. Then gently but firmly tap the bottom of the jars on a wooden cutting board or thick kitchen towel to settle everything into the jars as solidly as possible. Add more cucumbers if needed to leave ½" of space at the top of the jars. If using spears, trim the ends if needed, to leave ½" of space at the top.
- Add pickling brine: Once brine has cooled to room temperature, pour it over cucumbers, filling each jar within ½" of the top. Gently tap the jars against a wood cutting board or thick towel again, to remove air bubbles. Top off with additional brine to cover the cucumbers. Twist lids tightly onto jars. Then turn jars upside down and shake to distribute spices. Turn jars right-side up and gently tap again on a cutting board to settle cucumbers solidly into the brine.
- Store in refrigerator: These are quick refrigerator pickles that need to be stored in the refrigerator, and keep well for up to 2 months. Do NOT store these in the pantry.
Notes
Nutrition Information:
More Quick Pickled Recipes
- Pickled Vegetables – a medley of different veggies, in a delicious pickling brine!
- Pickled Jalapenos
- Quick Pickled Asparagus
- Pickled Rhubarb
- Quick Pickled Red Onions
- Pickled Celery

Made these pickles two days ago and just tasted them tonight. I’m in love!! These are the best bread and butter pickles I’ve ever tasted, thank you so much. This will be a frequent repeat recipe. Better than anything Grandma made. ❤️
This makes me smile a LOT! Thank you so much!
Great recipe! My husband request these often. Thank you for sharing. I have also used this brine for sliced onions. So so good.
SO HAPPY to hear this! Thank you!
This was the first time I made pickles, and this recipe was a hit! Everyone loved them.
Helpful for beginner to get traffic from social sites and improve site traffic.I also learn something new from you post and next time I will try to on my blogging methods,thanks again for sharing awesome blogging tips. Your cookbooks are a staple in my kitchen! I’m excited to try this new product you mentioned. Thanks for the recommendation. If you’re interested in coffee, I highly recommend to Coffee