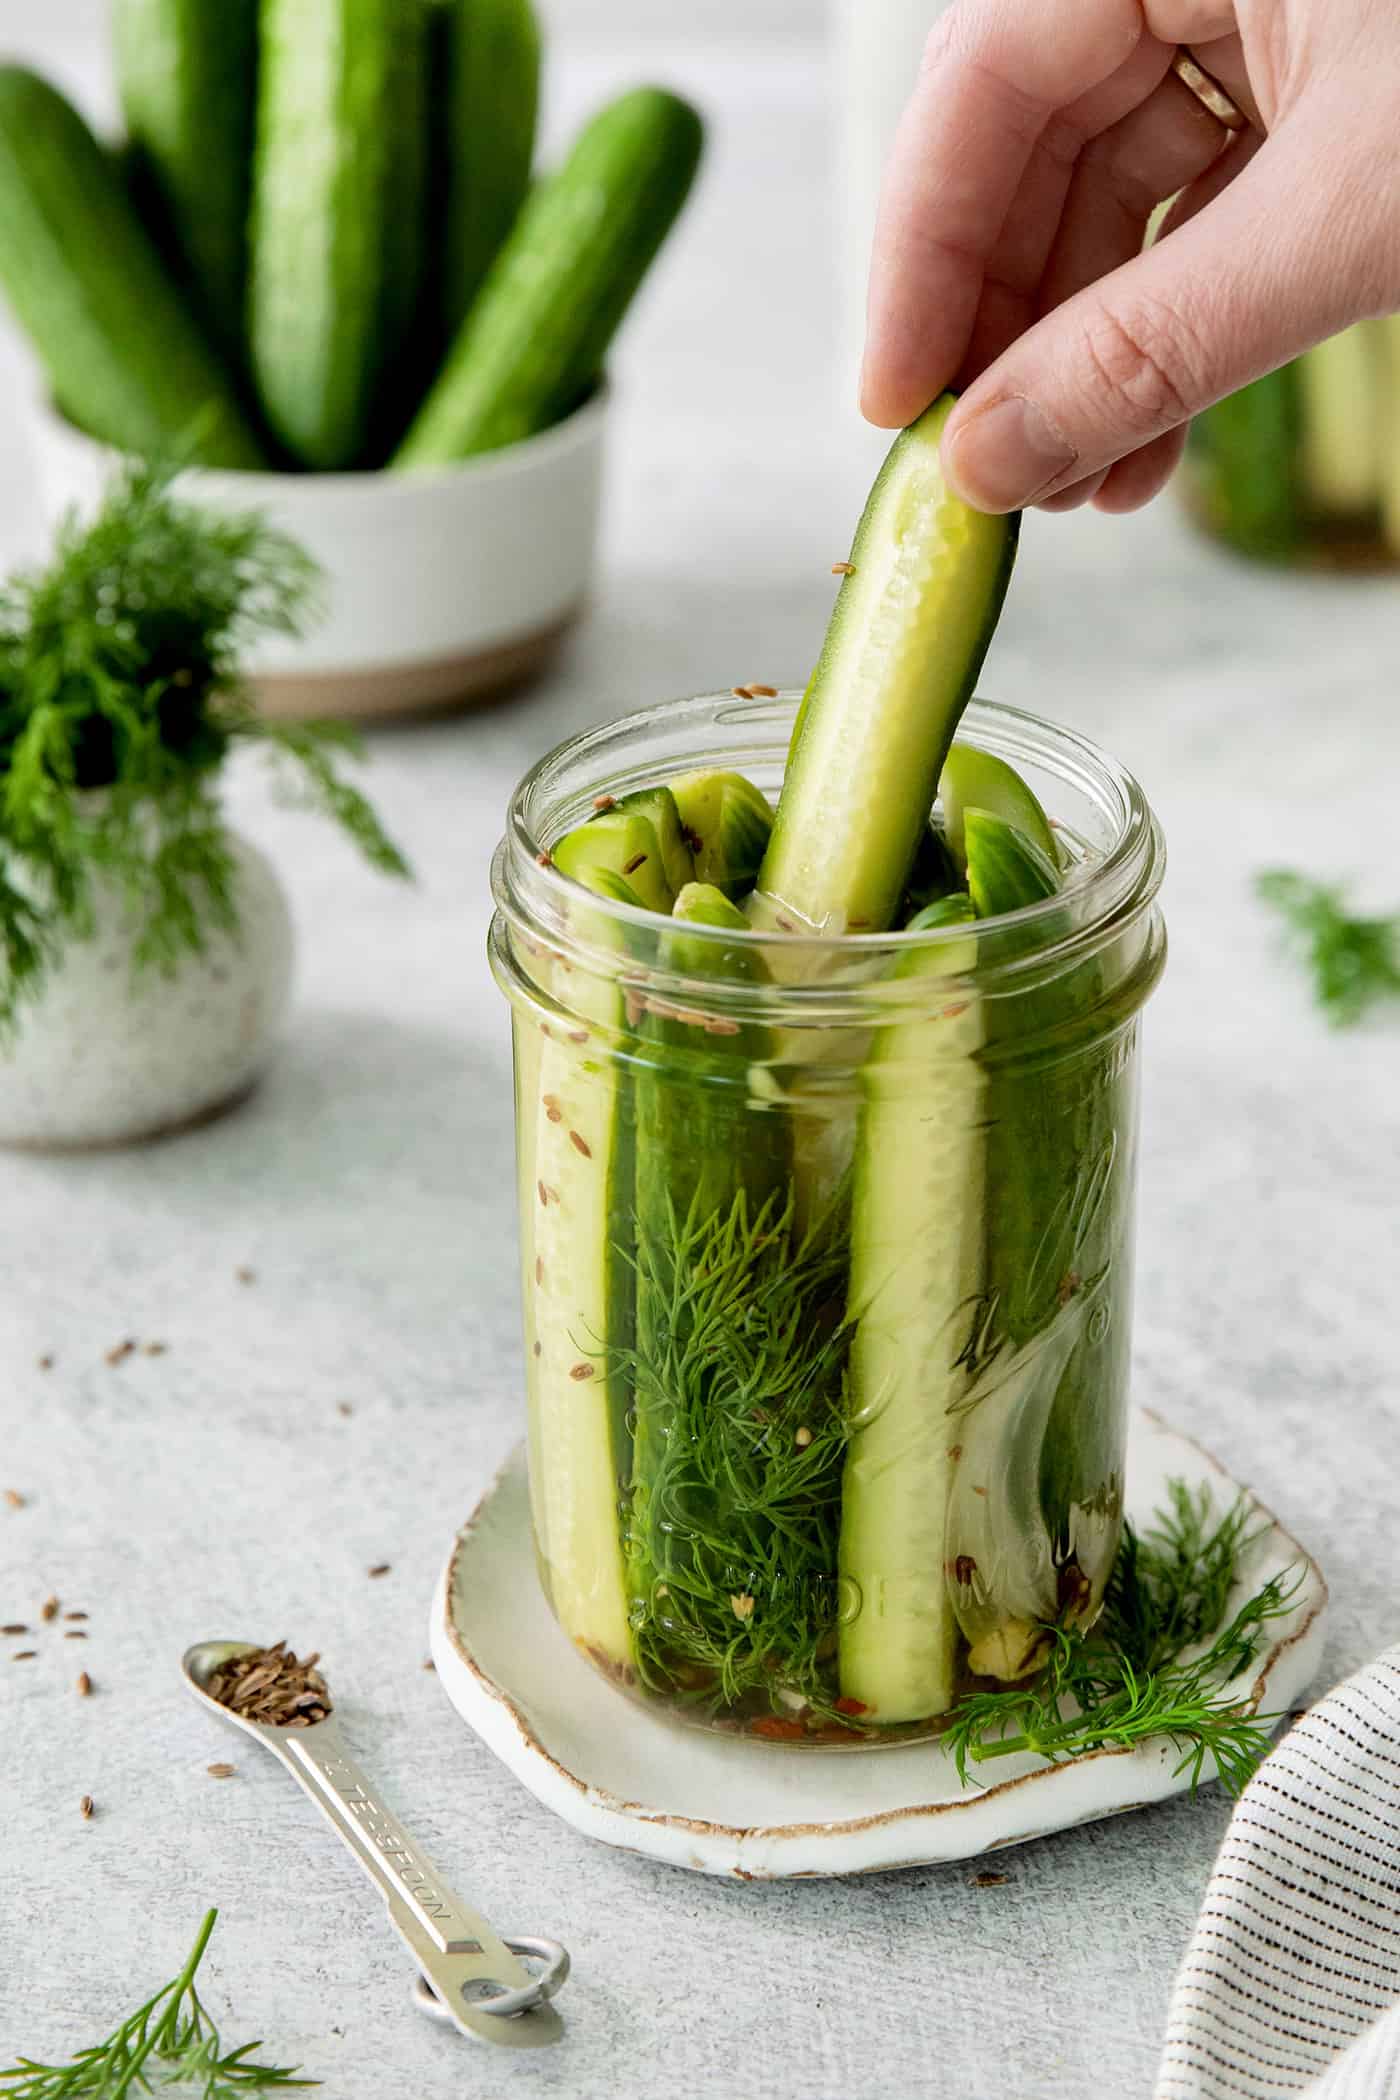
This easy Refrigerator Dill Pickles recipe requires no canning or special equipment. The pickles, cut into spears or round slices, are perfectly puckery and packed with fresh dill and garlic flavor. Enjoy with burgers and sandwiches, or snack on them straight from the jar. They’re simple yet extraordinary!
Easy Refrigerator Dill Pickles
We’re a pickle-loving family. And these easy Refrigerator Dill Pickles are our latest obsession!
Quick pickling is my favorite kind of pickling. It’s so easy to do, with no fancy equipment – and I love how fresh it tastes.
I’ve quick-pickled a lot of things. Red onions (a reader favorite), jalapenos, asparagus, rhubarb, hard boiled eggs, beets (another top reader favorite), carrots, squash, celery, garlic, and more!
But it recently dawned on me that I didn’t have a regular dill pickles recipe in my archives. I had bread and butter pickles and Mom’s sweet pickles, which are both on the sweeter side. So I set up some dill pickles recipe testing awhile back when my parents were staying with us – and this is the recipe we happily landed on.
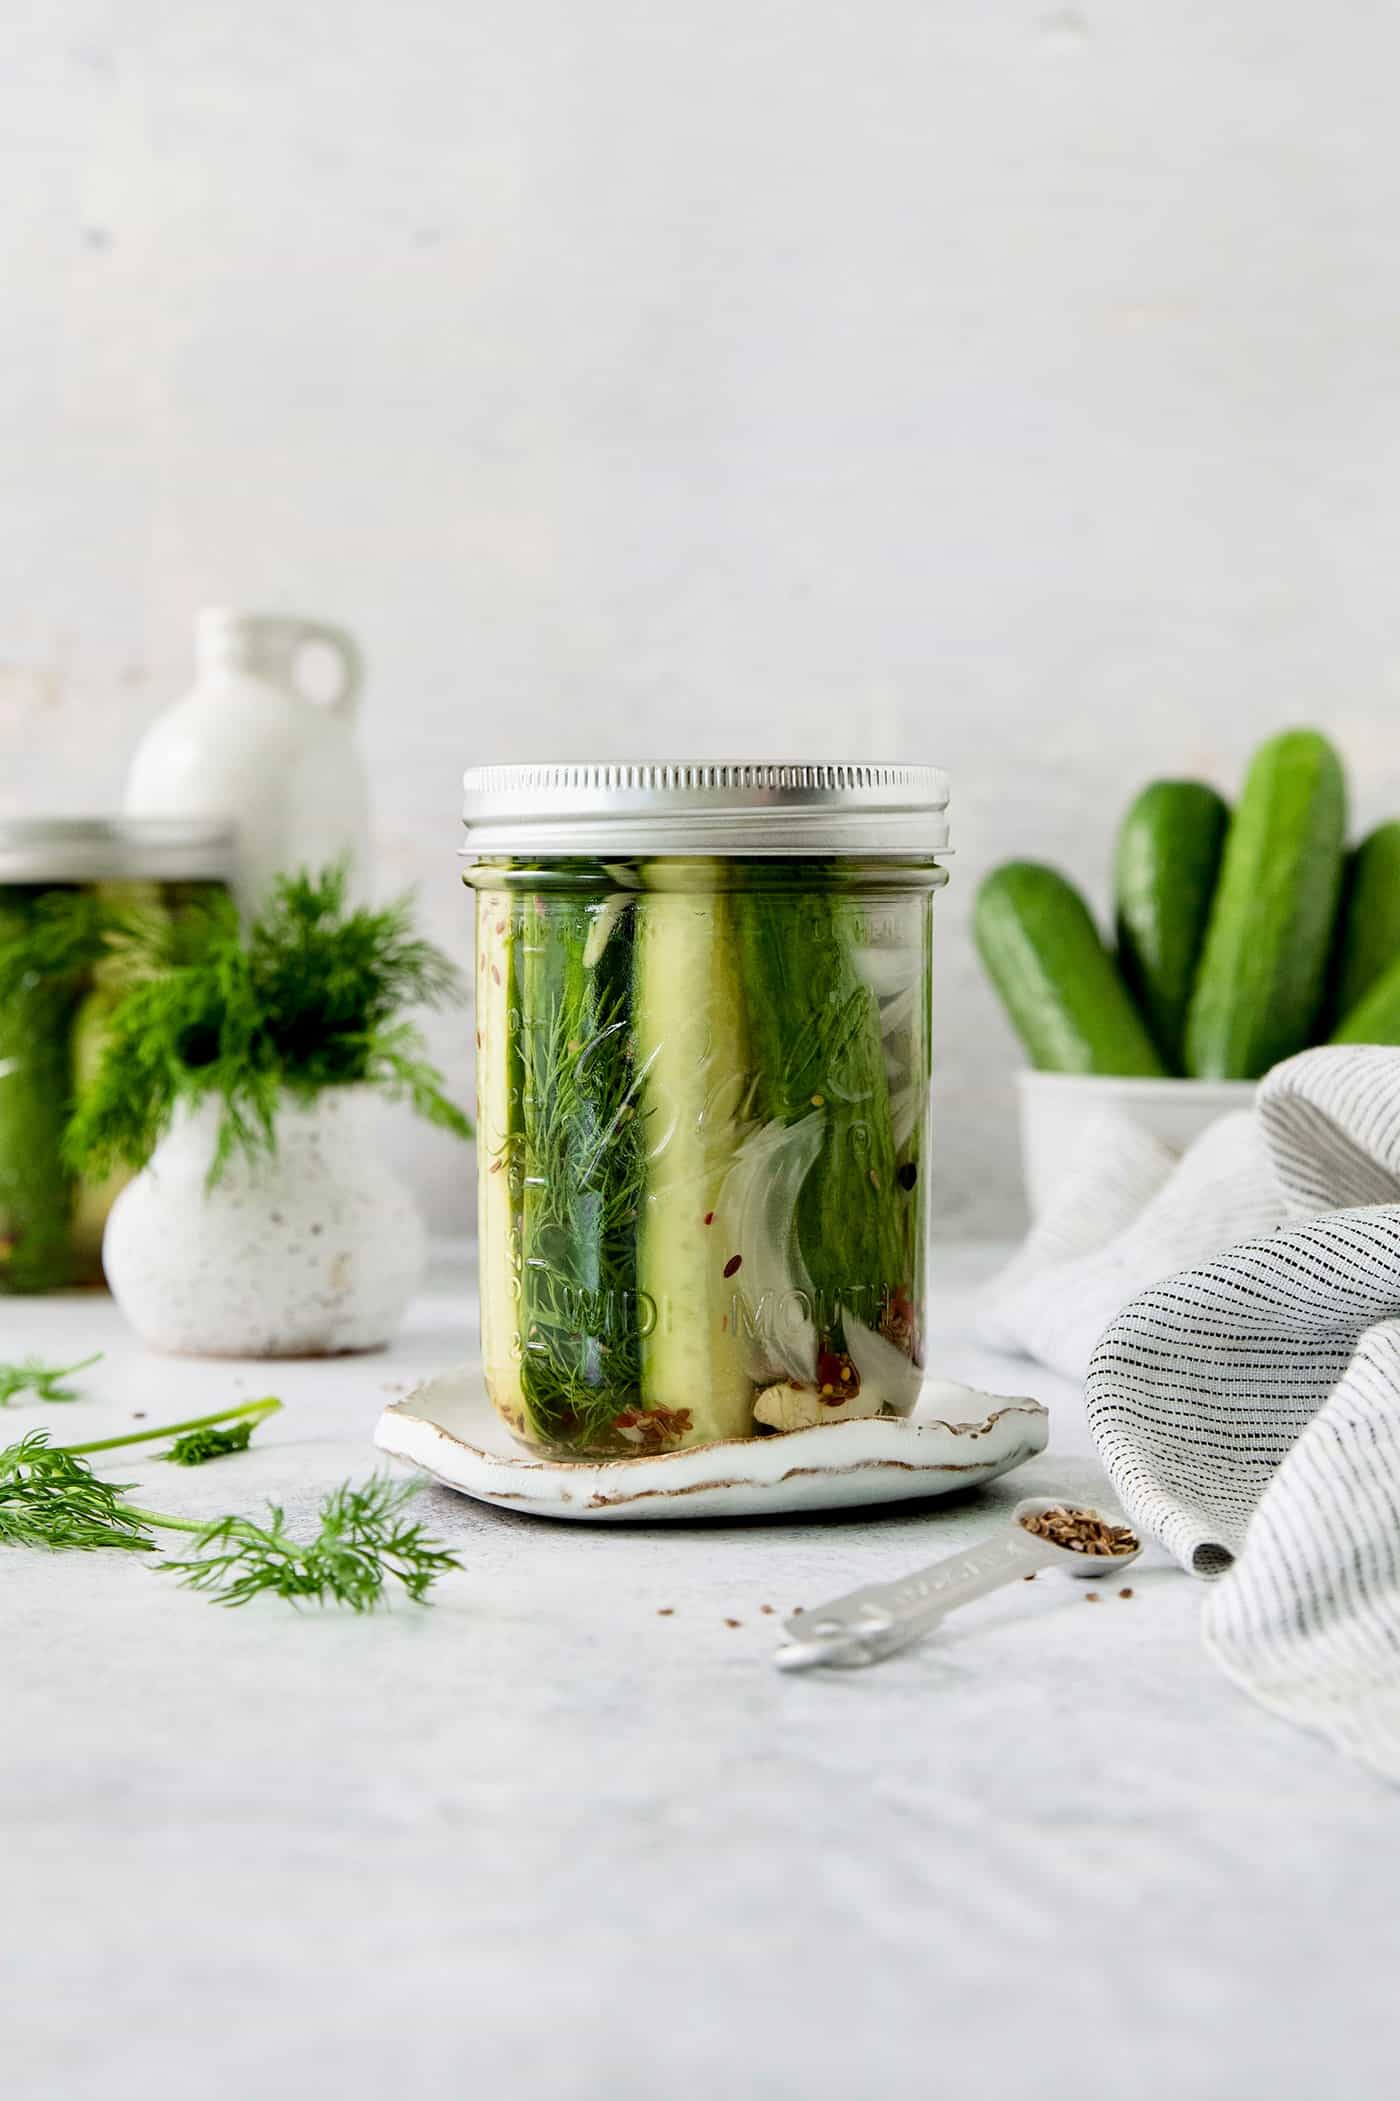
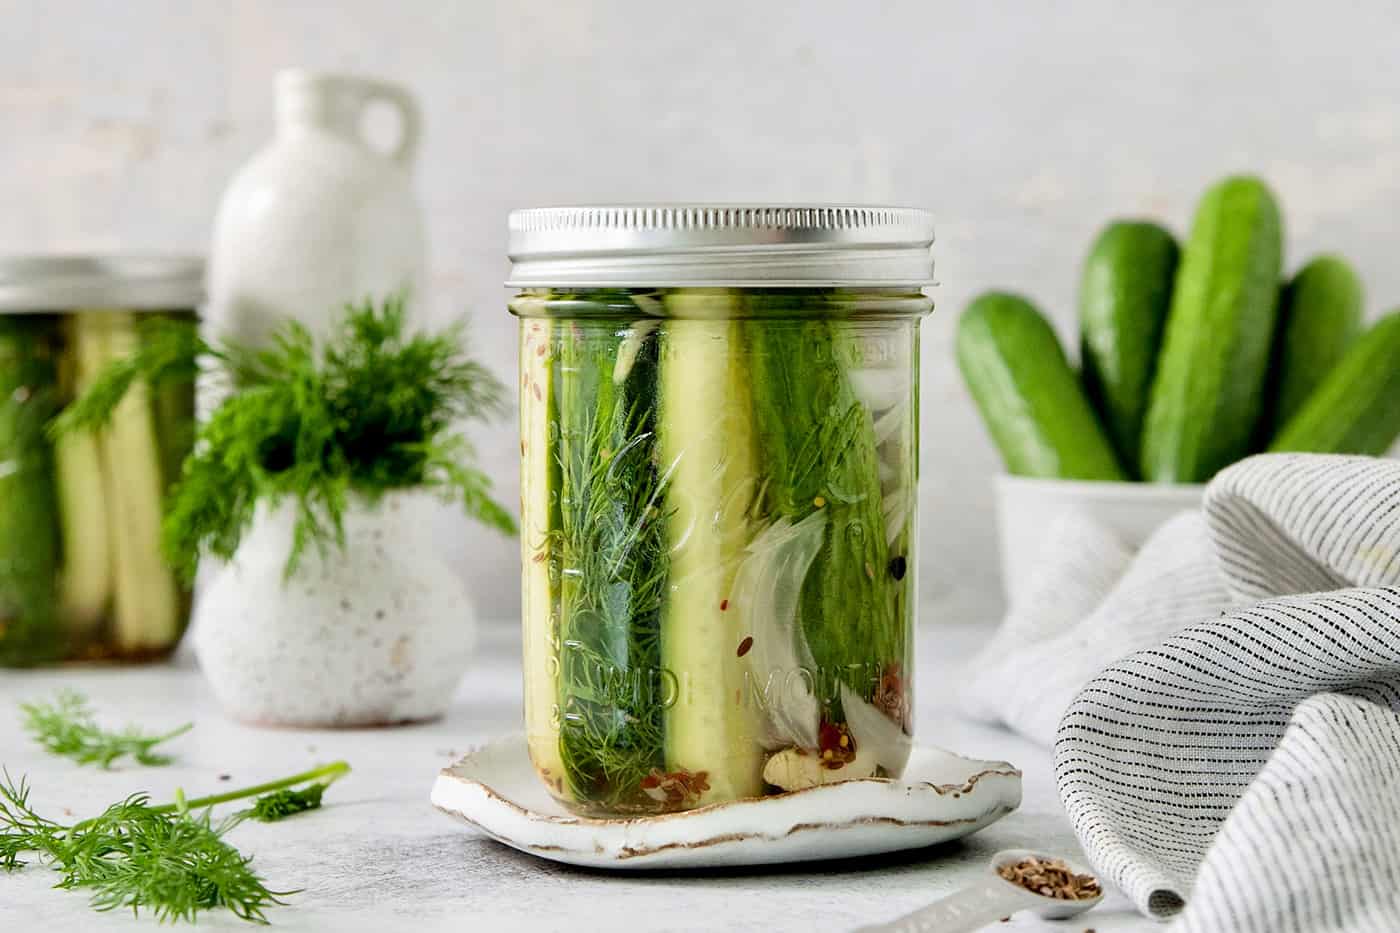
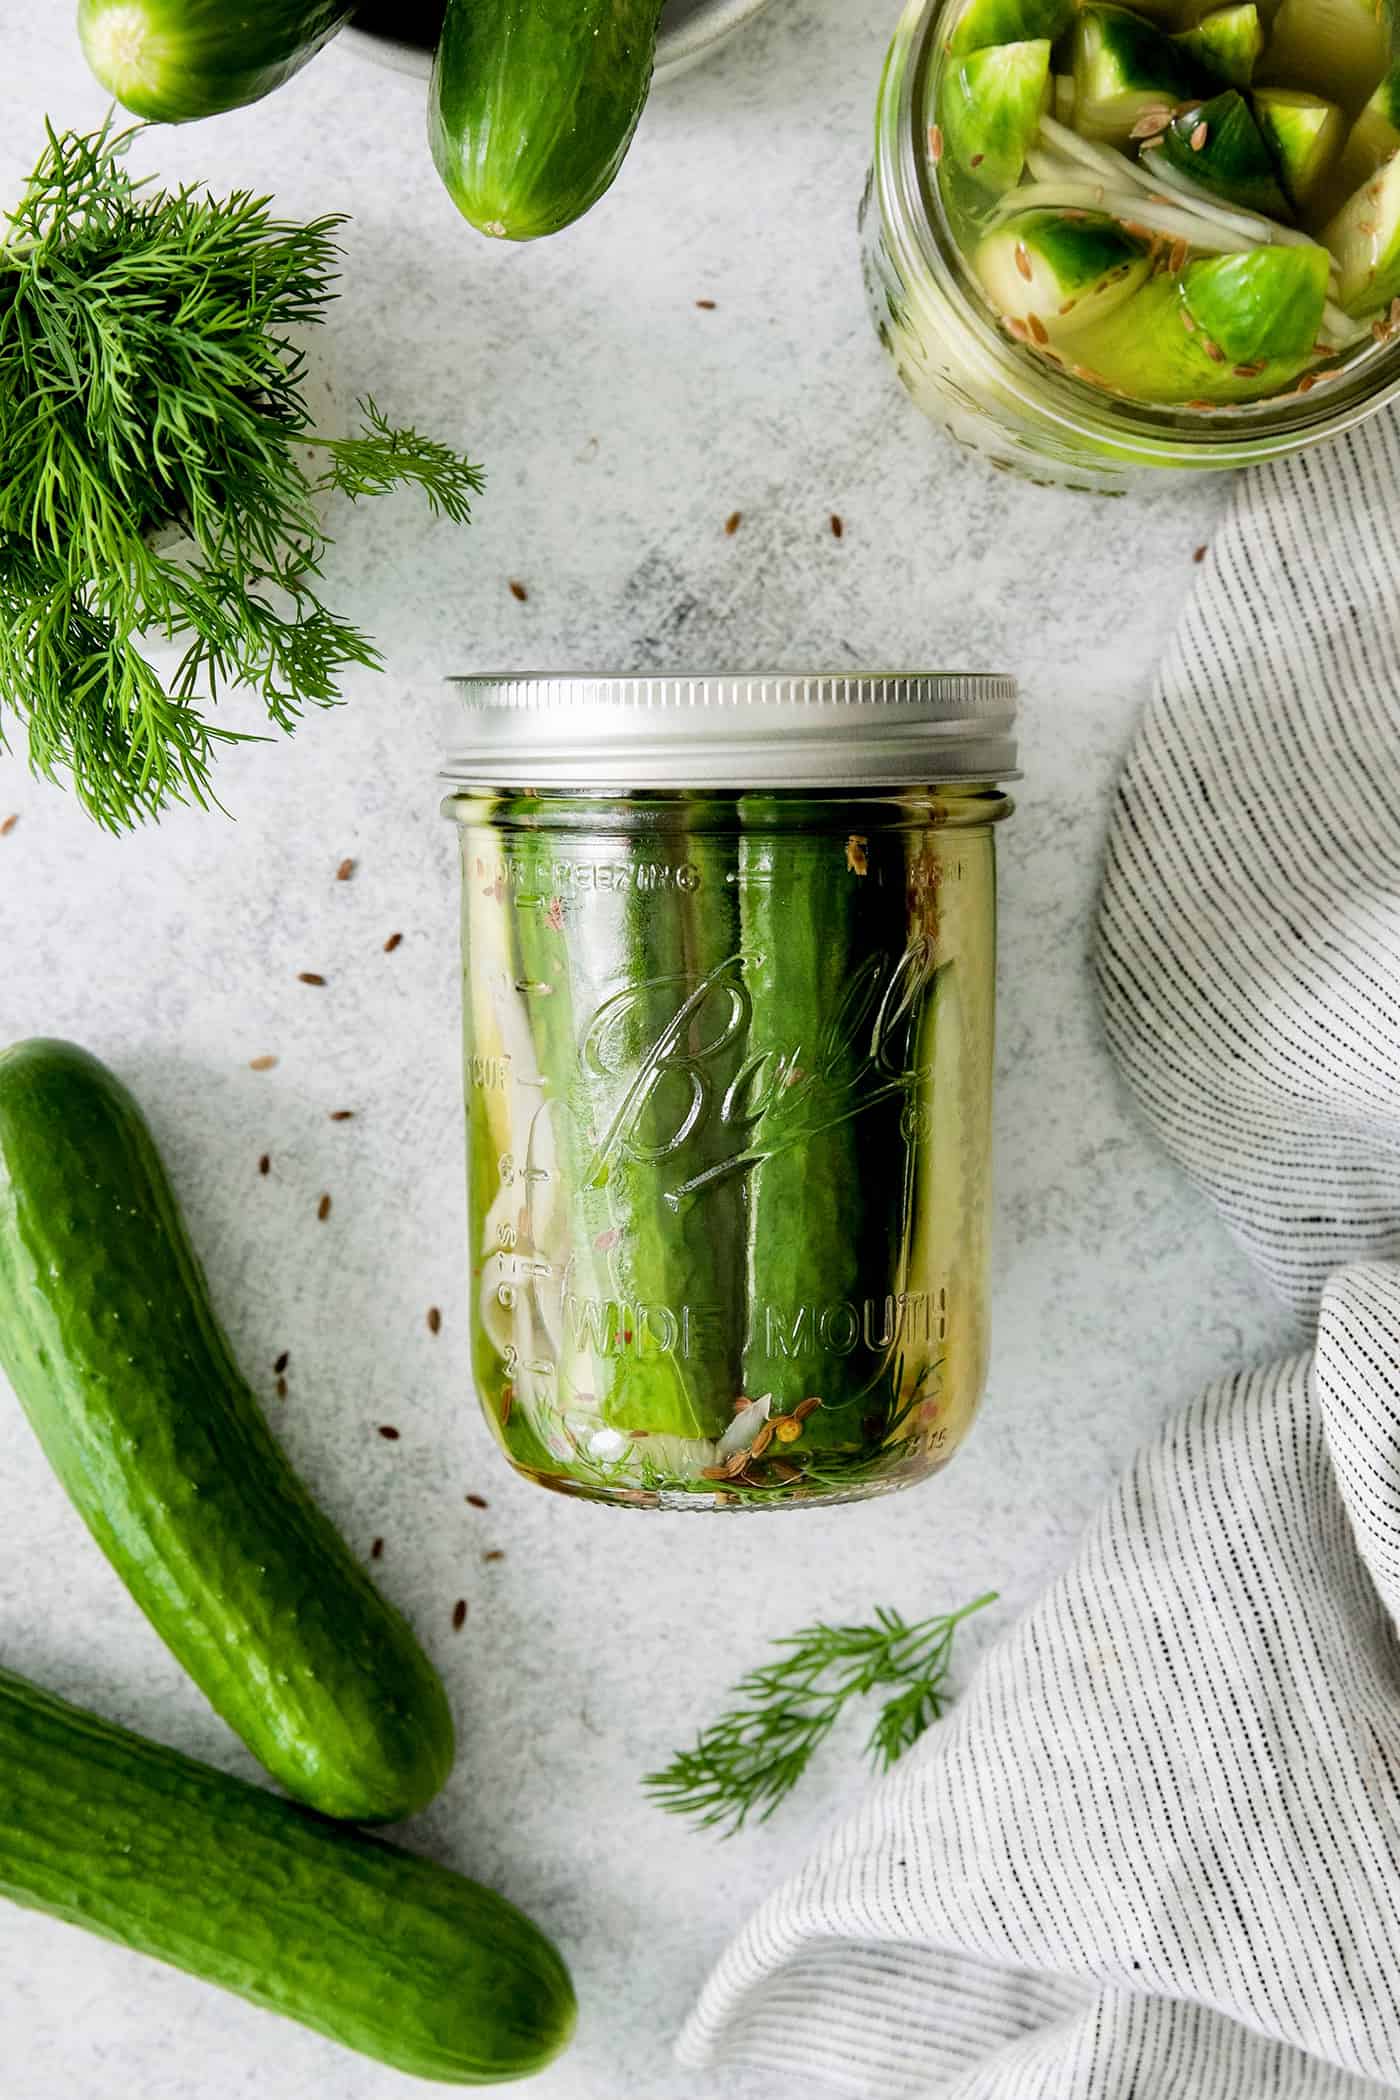
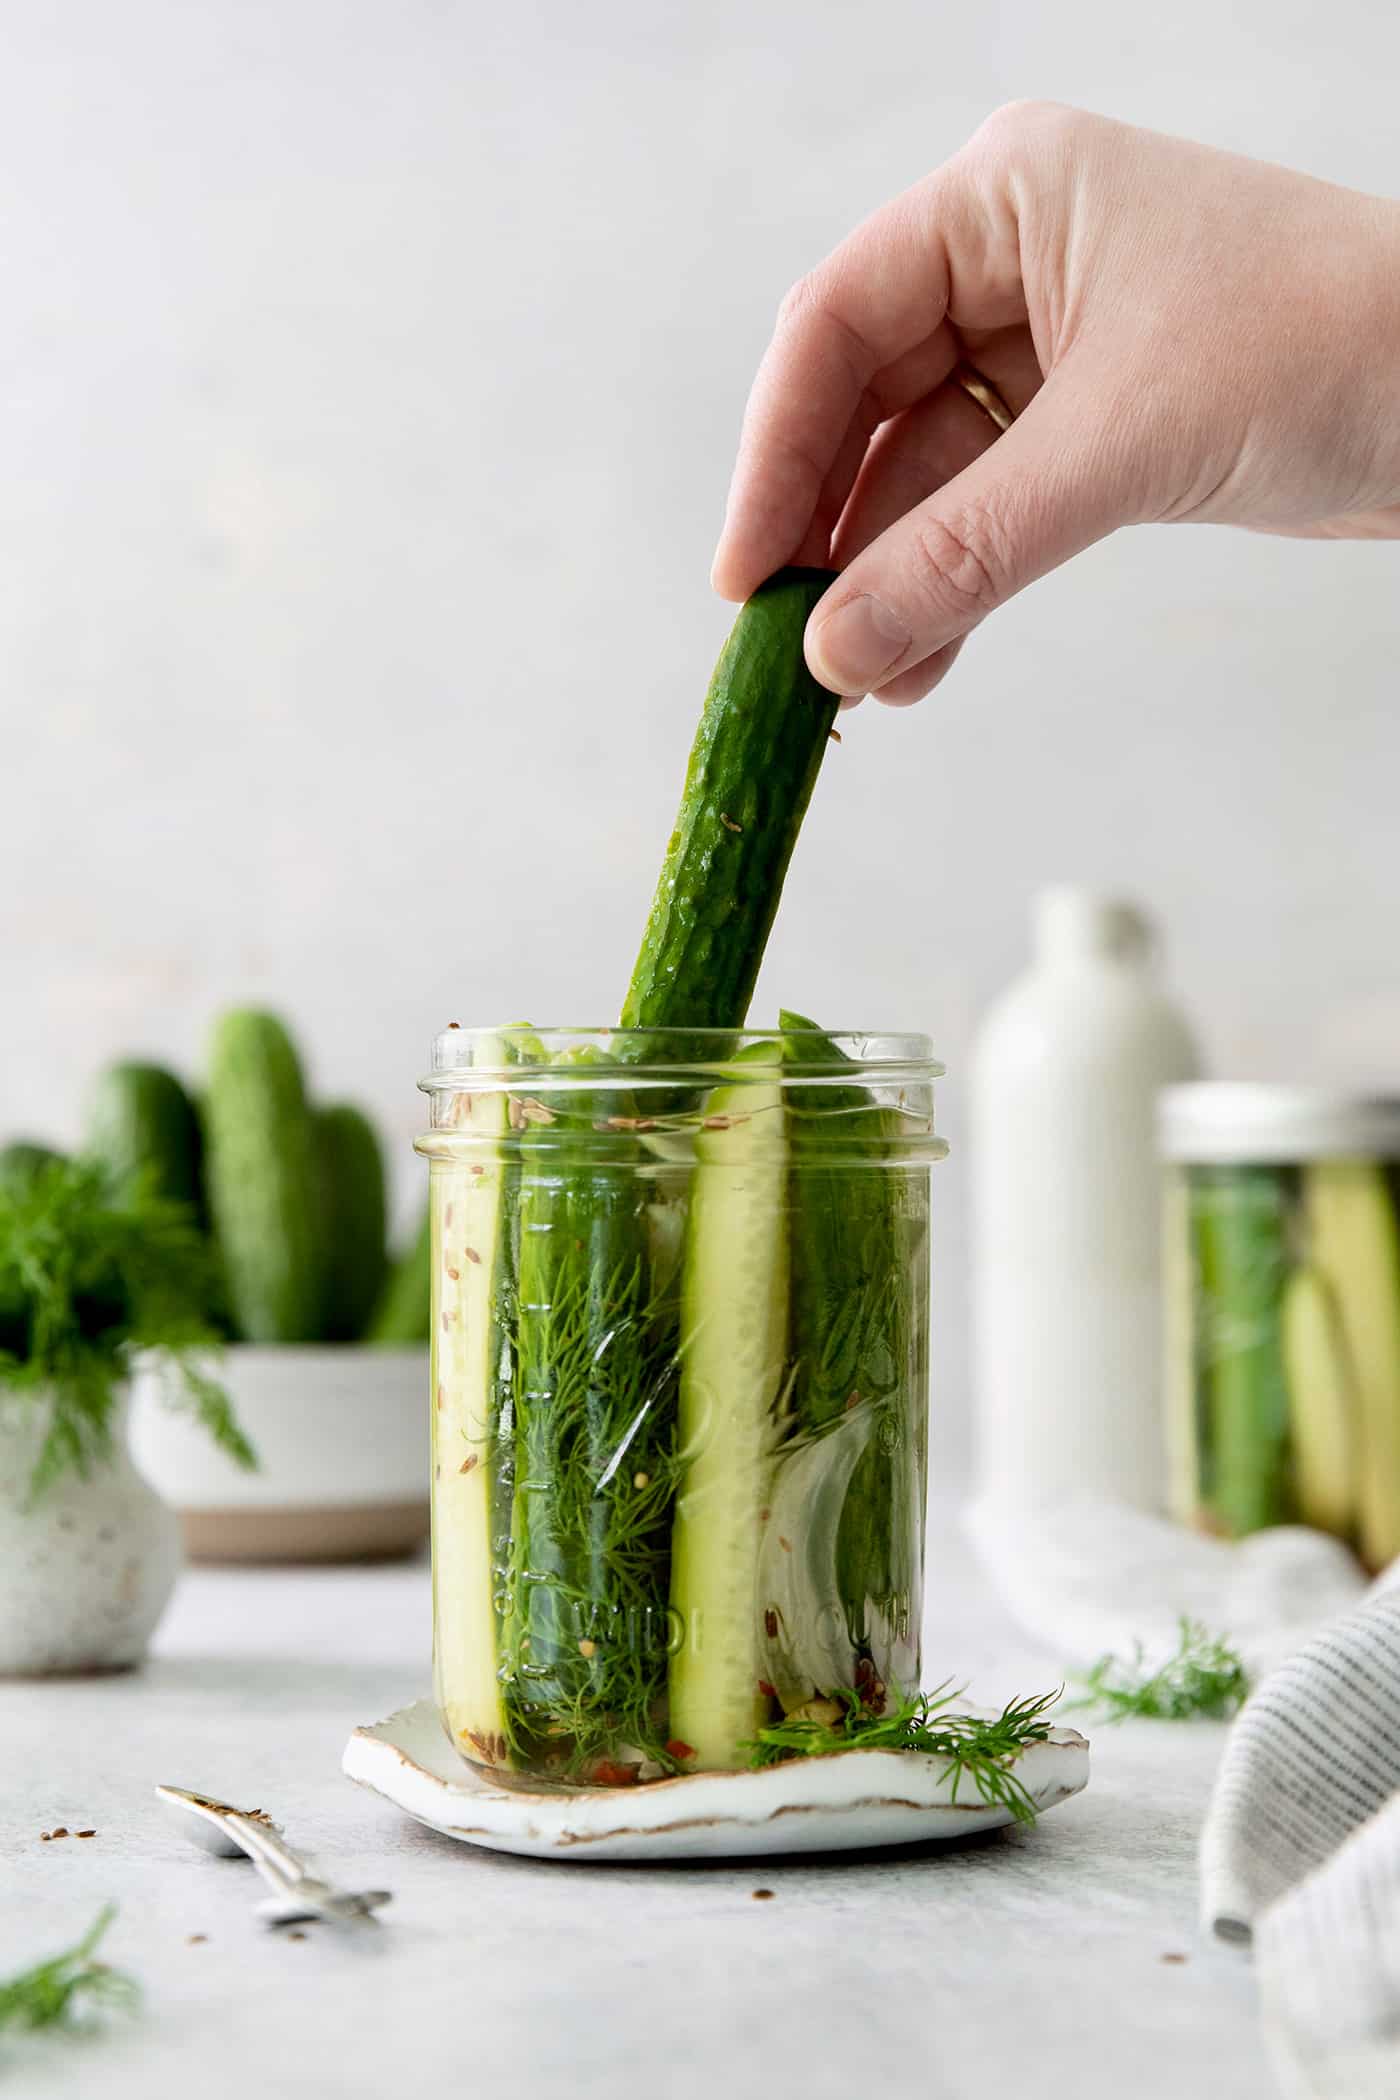
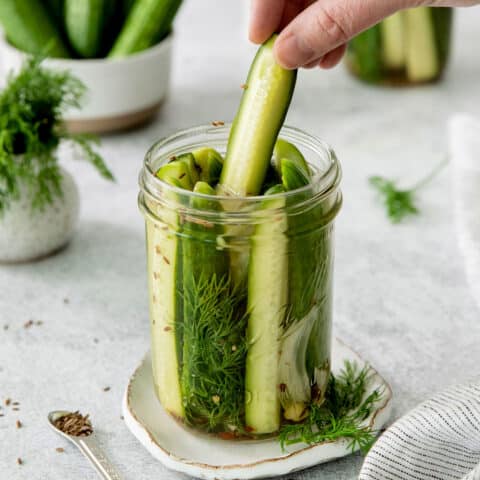
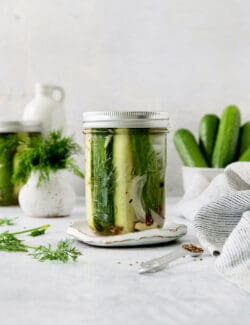
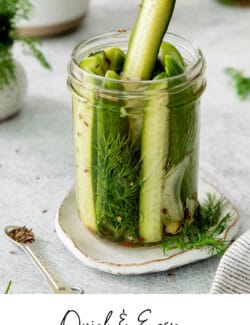
These refrigerator dills are simple yet extraordinary. They’re perfectly puckery and packed with fresh garlic and dill flavor. Sometimes we cut the cucumbers in spears (as shown in these photos), sometimes in round slices. We add them to burgers and sandwiches, and snack on them straight from the jar.
Our oldest daughter has even gifted jars of these pickles to her college friends on their birthdays. For a girl who never liked pickles until she ate this dill pickles recipe, that’s saying quite a lot!
Why You’ll Love These Quick Dill Pickles
Here are a few reasons to love these quick refrigerator pickles.
- No canning required = quick & easy. These dill pickles are made with an easy vinegar-based pickling brine and stored in the fridge, so there’s no need for a complicated canning process.
- Fantastic flavor. Fresh dill, dried dill seeds, and other seasonings like peppercorn, mustard seeds, and plenty of fresh garlic give these quick refrigerator pickles incredible flavor.
- A perfect side dish (or snack). These dill pickles are the perfect garnish and/or side for burgers, chopped cheese sandwiches, wraps, and sloppy joes. I like to eat them with fried eggs and serve them with every grilled meal of the summer. They also make a great snack, straight from the jar!
What You’ll Need
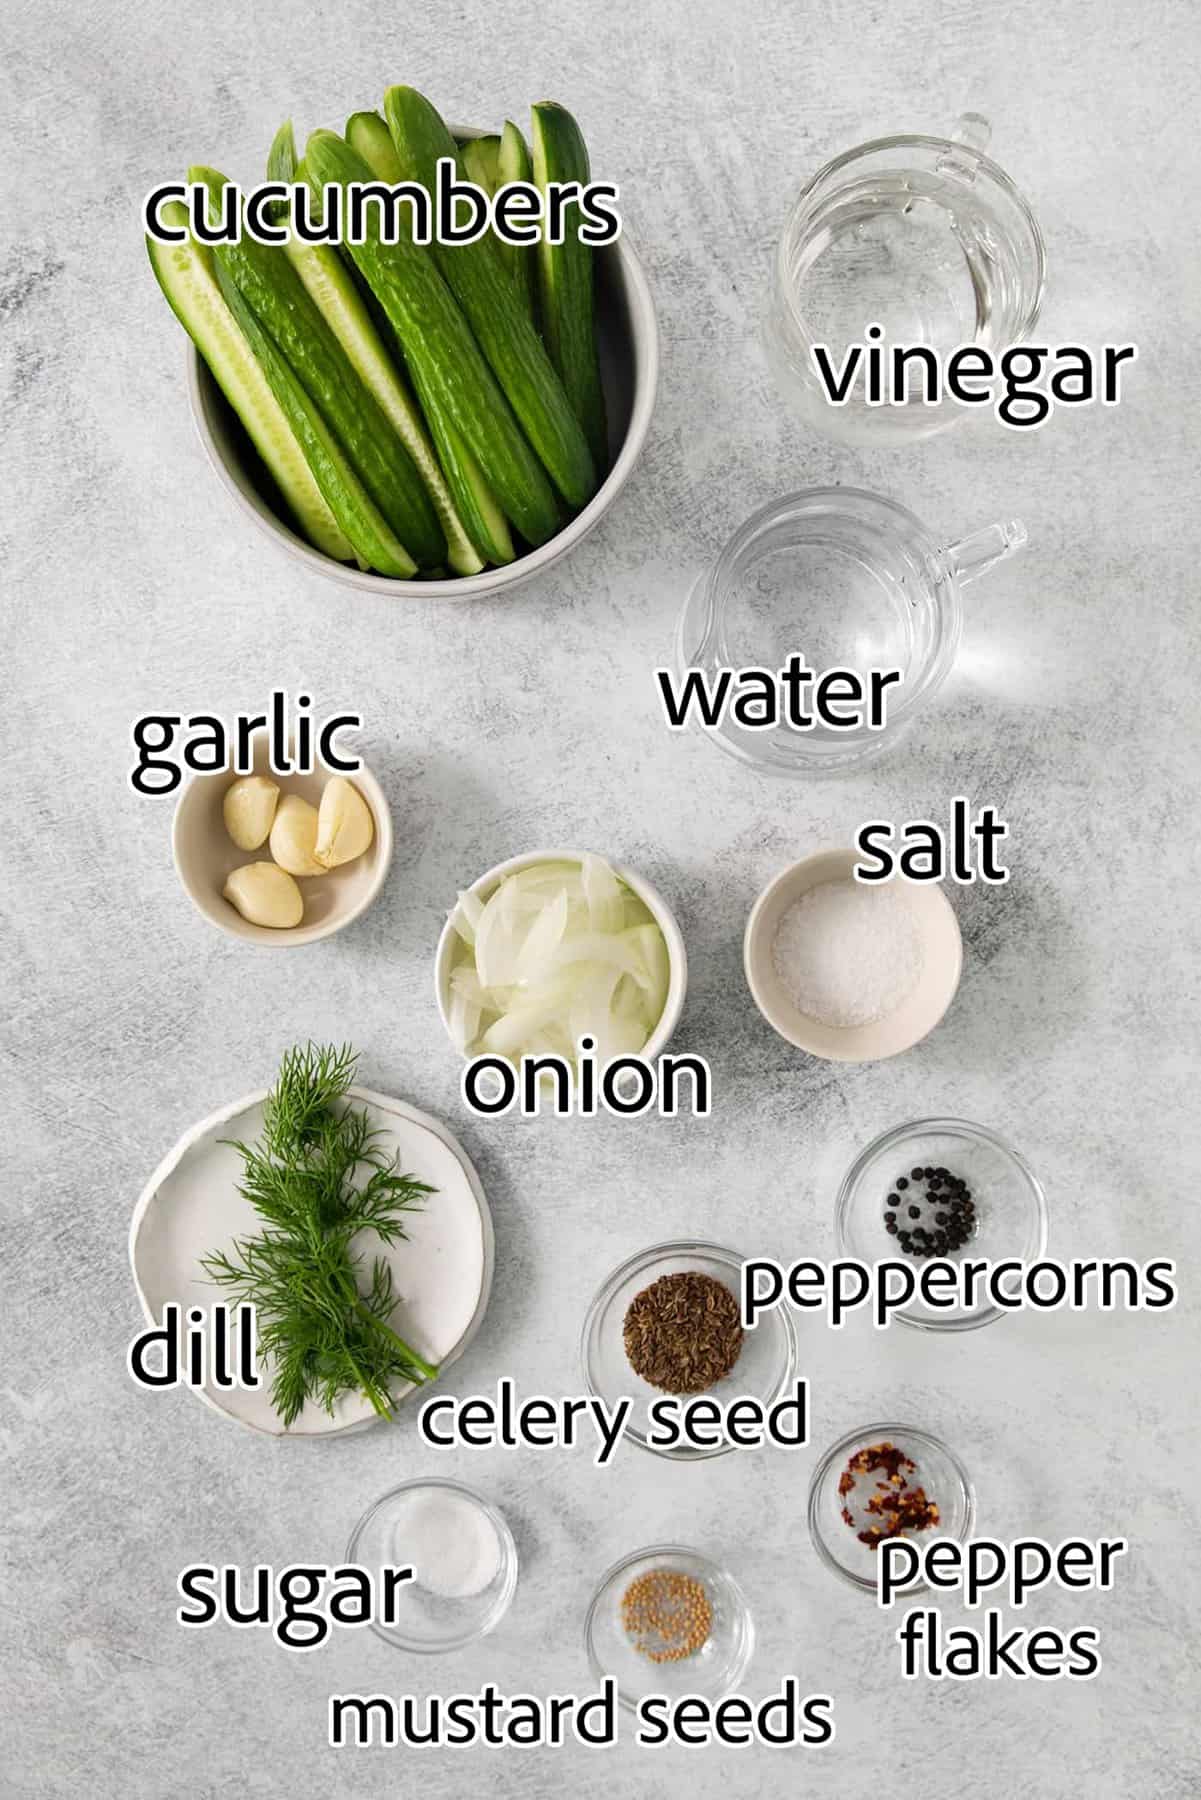
These easy dill pickles are made with cucumbers, vinegar, and a handful of flavorings.
See the recipe card below for exact ingredients measurements and full instructions.
- White vinegar – White vinegar is the simple base for this dill pickle brine.
- Water
- Kosher salt
- Sugar – Regular dill pickles are not supposed to be sweet, but I add just a pinch of sugar for balance.
- Cucumbers – I most often use small Persian cucumbers or other mini cucumbers, as I like their thin skins and low seed count. You could also use larger English cucumbers. And if you can get your hands on some pickling cucumbers during the summer, definitely use those!
- Yellow onion & garlic – These fresh ingredients punch up the flavor in the jars.
- Dill – I add both fresh dill and dried dill seeds. This recipe is not shy in the dill flavor department!
- Spices – Whole black peppercorns, yellow mustard seeds, and just a little dried red pepper flakes add more flavor to the pickles.
How to Make Dill Pickles
These quick refrigerator pickles come together in just a few easy steps.
- Prepare the pickling brine. Bring the vinegar, water, salt, and sugar to a boil over high heat. Whisk rapidly until the salt and sugar dissolve, then let cool to room temperature.
- Prep the jars. Wash your pint jars in very hot, soapy water. Set aside.
- Prep the veggies. Wash and dry the cucumbers, then cut the ends off and discard. Slice into coins or spears. Slice the onion as well.
- Assemble the jars. Divide the garlic, dill, dill seeds, peppercorns, mustard seeds, and red pepper flakes evenly between the two jars. Add the cucumbers and onions, packing them as tightly as possible without smashing the cucumbers.
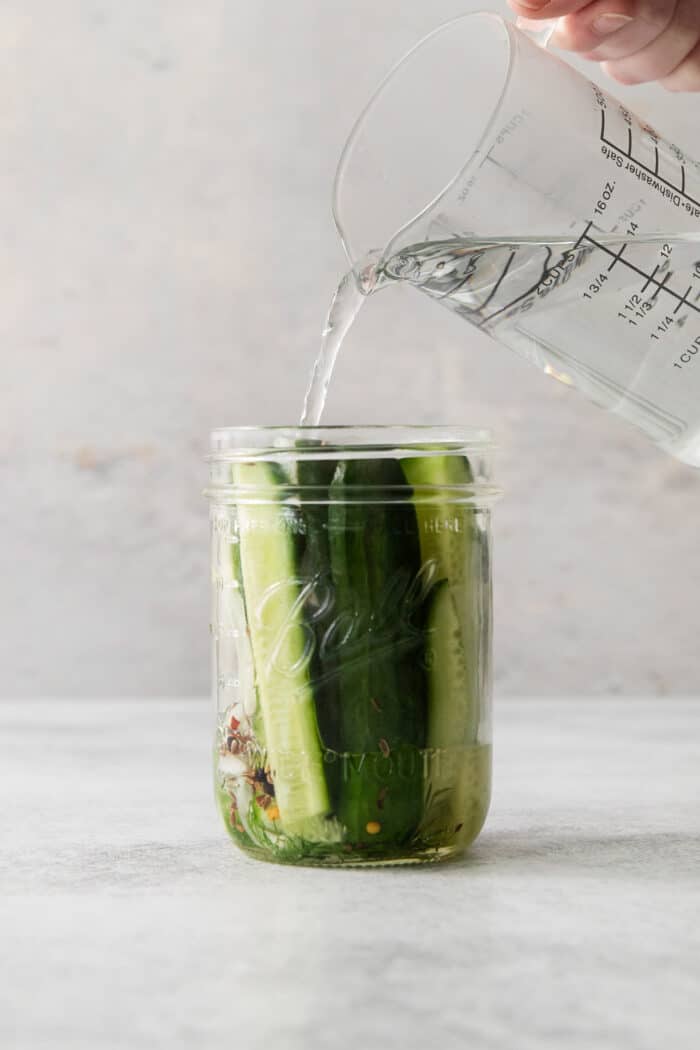
- Add the brine. Pour the pickling brine over the cucumbers. Tap the jars against a wood cutting board to remove air bubbles, then add more brine to cover the cucumbers if necessary. Twist the lids on tightly, then turn the jars upside down and shake to distribute the spices.
- Refrigerate. Place your quick dill pickles in the fridge for 48 hours – then dive in!
Tips for Success
Here are a few tips for making these refrigerator dill pickles.
- Want even slices? When I want to cut the cucumbers into round slices (such as pickle chips), I use a mandoline slicer (I highly recommend the Benriner brand) to create quick, even slices. I use this super handy gadget weekly, for everything from cucumber salad to winter apple salad.
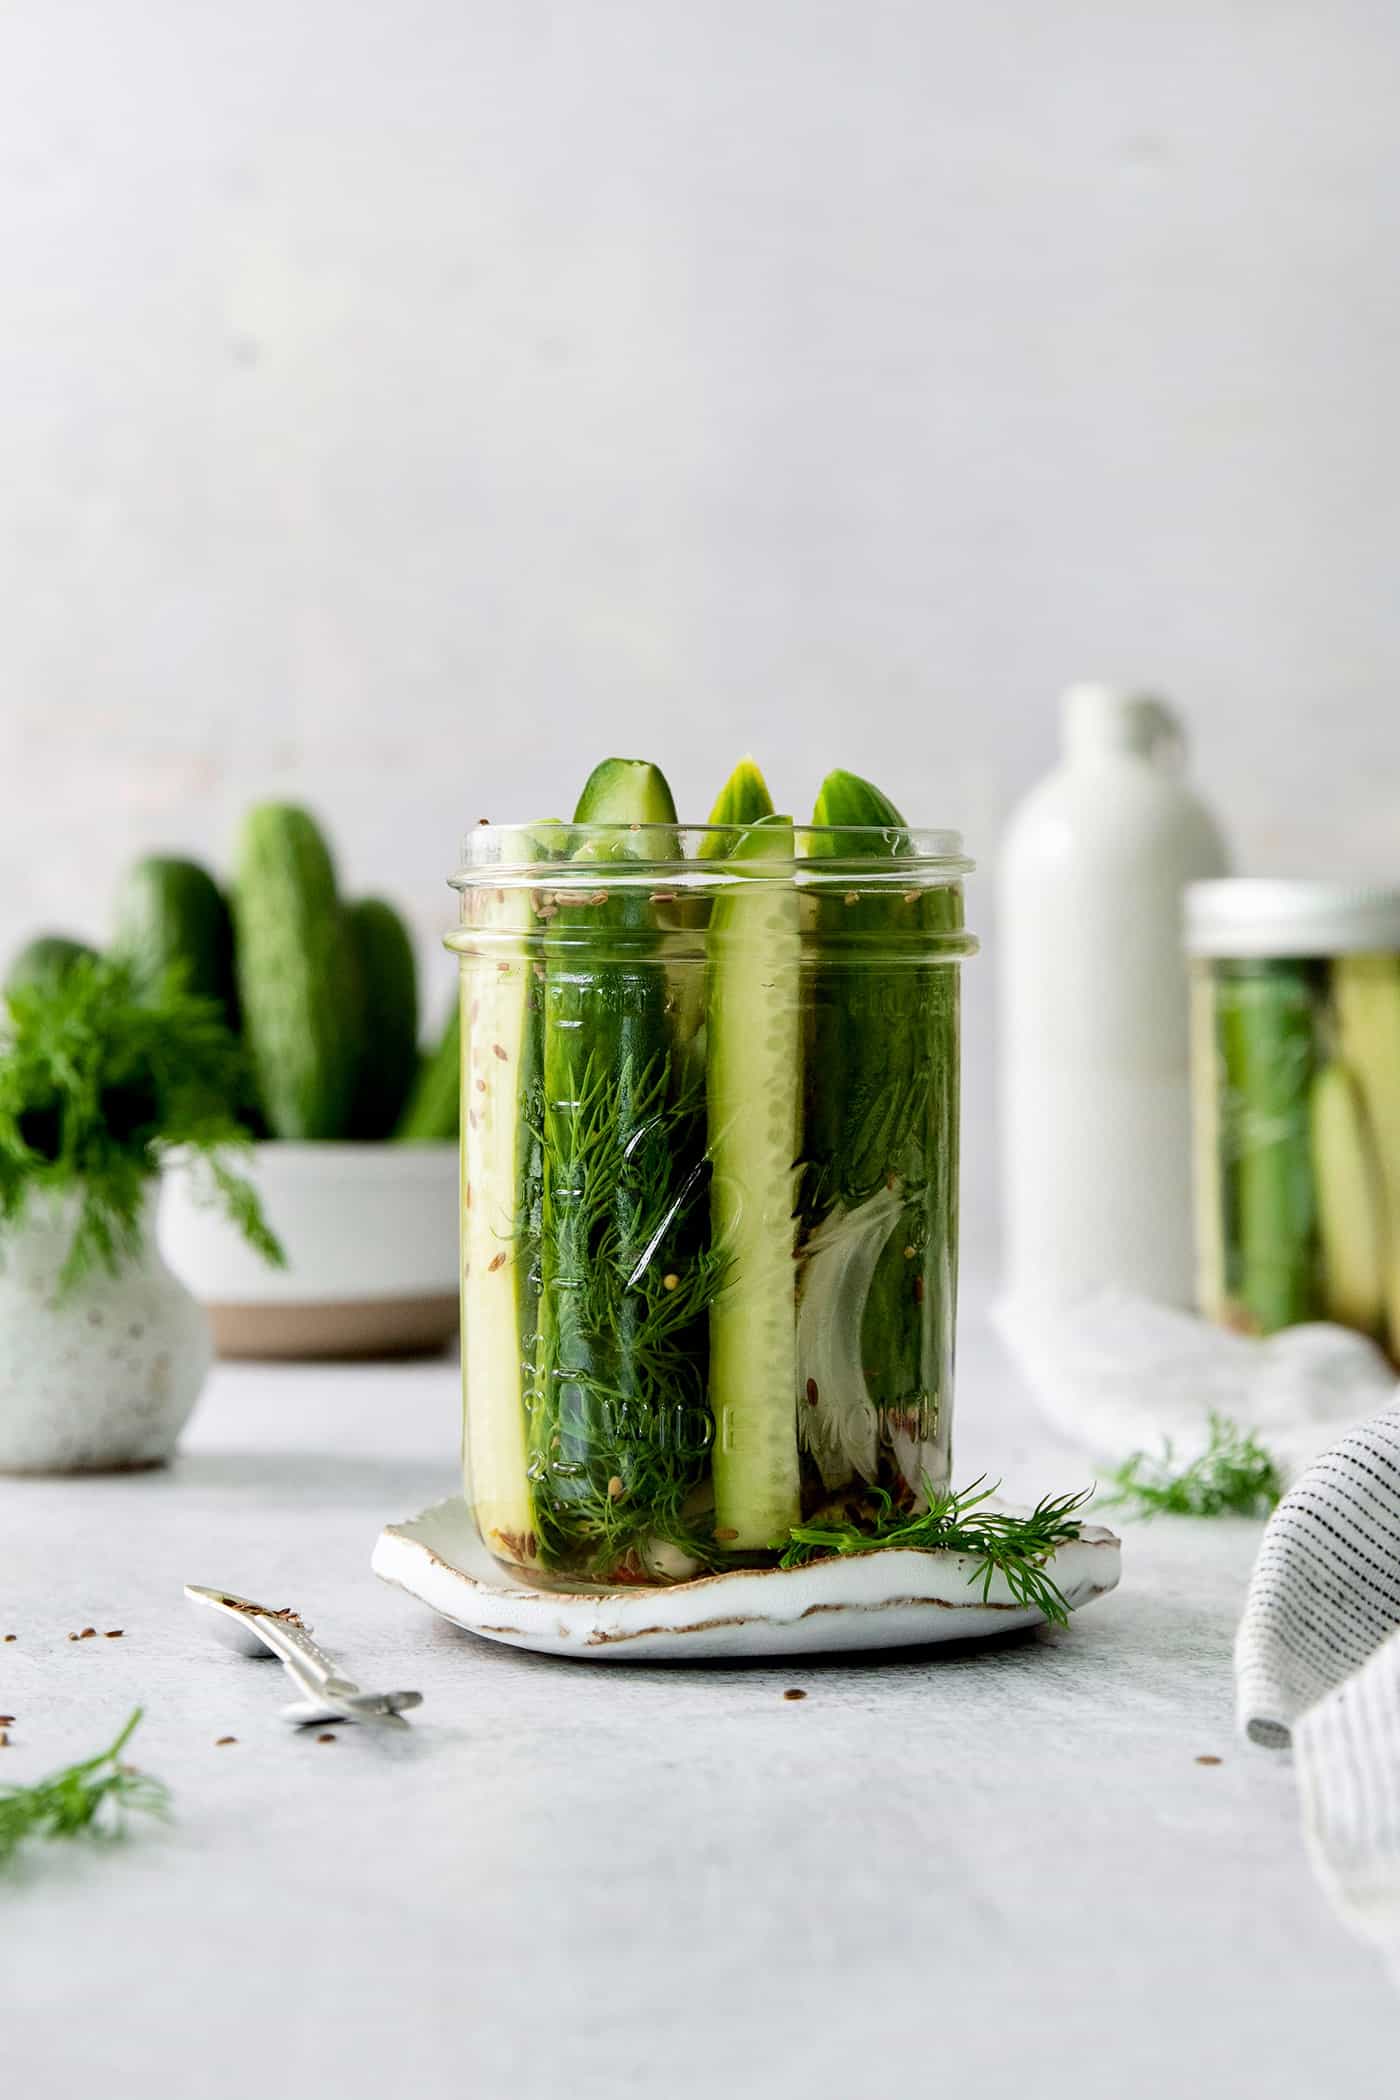
- Trim the pickle spears. If needed, trim the pickle spears so that they are short enough to leave 1/2″ of space at the top of the jar. This allows a bit of space for the brine to cover the spears.
- Tap the jars to settle. When packing the jars, tap them on a wood cutting board to help the ingredients settle. This usually frees up more space for more cucumbers. Do the same when you add the brine, as the tapping will eliminate air pockets.
- Make sure the brine covers the cucumbers. You want to leave about 1/2″ of space at the top of the jar but it’s also important that the pickling brine completely covers the cucumbers.
- Wait 48 hours. I know, I know…it’s super tempting to dig in sooner. But these quick refrigerator pickles will taste best if you wait at least 48 hours to try them! (Even though I can’t resist trying them after only 24!)
Common Questions
Canned pickles go through the full canning process with a hot water bath on the stovetop, which makes them shelf-stable (can store them in the pantry) for a longer period of time. Refrigerator pickles are quick-pickled in a vinegar-based brine and need to be stored in the fridge – they should be consumed within a matter of weeks, per the recipe.
If the pickles are discolored or have a weird smell to them, or if the brine is cloudy or a funky color, they’ve gone bad. Another sign would be visible mold, which is most likely to happen if the cucumbers aren’t completely covered by the brine.
Yes, though in this case you’d want to let them quick pickle for up to 5 days before eating them, depending on the size of the cucumbers. Mini cucumbers, or very young/small pickling cucumbers, work especially great for this method.
Serving Suggestions
Quick pickled dill pickle spears make a great side to sandwiches, like sloppy joes, a chopped cheese sandwich, or grilled cheese. They’re also great with hot dogs, brats, and burgers.
If you opt to slice the cucumbers into coins, top your burgers and sandwiches with these pickles. Or make fried pickles!
You can also chop up these pickles for recipes like dill pickle potato salad, dill pickle dip, or homemade tartar sauce.
For cocktails, my pickle margarita is a quirky and super delicious way to use these pickles and the brine!
Or, you can always just eat them straight from the jar. That happens a lot in our home. 😀
How Long Will Refrigerator Dill Pickles Last?
These quick dill pickles will keep well for up to 2 months in the fridge, with brine fully covering the pickles.
Note that they MUST be stored in the fridge, since they do not go through the full canning process. Do not store refrigerator pickles in the pantry!
More Quick Pickled Recipes
Refrigerator Dill Pickles
Ingredients
- 1 cup white vinegar
- 1 cup water
- 1 tablespoon kosher salt
- ¼ teaspoon sugar
- 1¼ pounds Persian cucumbers or other mini cucumber or pickling cucumber
- ¼ cup sliced sweet yellow onion
- 4 large cloves garlic smashed
- 2 large sprigs fresh dill
- 2 teaspoons dill seeds
- ¼ teaspoon whole black peppercorns
- ¼ teaspoon yellow mustard seeds
- ⅛ teaspoon dried red pepper flakes optional
Instructions
- Prepare pickling brine: Place vinegar, water, salt, and sugar in a small saucepan over high heat and bring to a boil. Whisk rapidly until salt and sugar dissolve. Remove pan from heat and let cool to room temperature. If you want to speed up the cooling process, carefully transfer hot brine to a heat-proof jar or bowl and place in fridge or freezer to cool it down faster.
- Prepare jars: While brine is cooling, wash two wide-mouth 1-pint jars and their lids in very hot, soapy water. Set aside.
- Prepare cucumbers & onions: Wash and dry the cucumbers. Cut off the ends of the cucumbers and discard. Then slice cucumbers into coins, aiming for about a 3/16" thickness – a mandoline works great for even slicing. Or slice them into spears. Then slice the onion about 3/16" thick as well.
- Pack jars: Divide the garlic, dill, dill seeds, peppercorns, mustard seeds, and red pepper flakes evenly between the two jars. Then add the cucumbers and onions to both jars. Pack them in as tightly as you can without smashing the cucumbers. Then gently but firmly tap the bottom of the jars on a wooden cutting board or thick kitchen towel to settle everything into the jars as solidly as possible. Add more cucumbers if needed to leave ½" of space at the top of the jars. If using spears, trim the ends if needed, to leave ½" of space at the top.
- Add pickling brine: Once brine has cooled to room temperature, pour it over cucumbers, filling each jar within ½" of the top. Gently tap the jars against a wood cutting board or thick towel again, to remove air bubbles. Top off with additional brine to cover the cucumbers. Twist lids tightly onto jars. Then turn jars upside down and shake to distribute spices. Turn jars right-side up and gently tap again on a cutting board to settle cucumbers solidly into the brine.
- Store in refrigerator: These are quick refrigerator pickles that need to be stored in the refrigerator. Do NOT store these in the pantry. I am always impatient and can't help but dig into the pickles the next day, but the flavor will increase the longer they sit, and will be very good at 48 hours. If you're planning to serve these when entertaining, I recommend making the pickles 48-72 hours in advance, for best flavor. They will keep well for up to 2 months.

Excellent pickles !!
So much cheaper than store bought !
Yay! So glad you liked! Thank you for coming back here to let me know, and to rate the recipe. :)