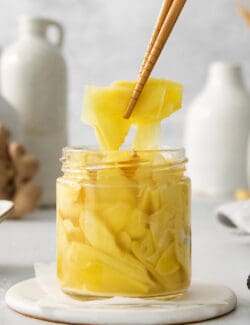
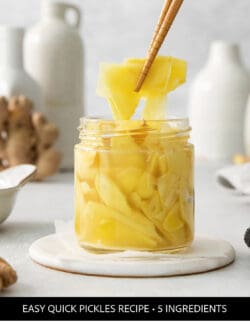
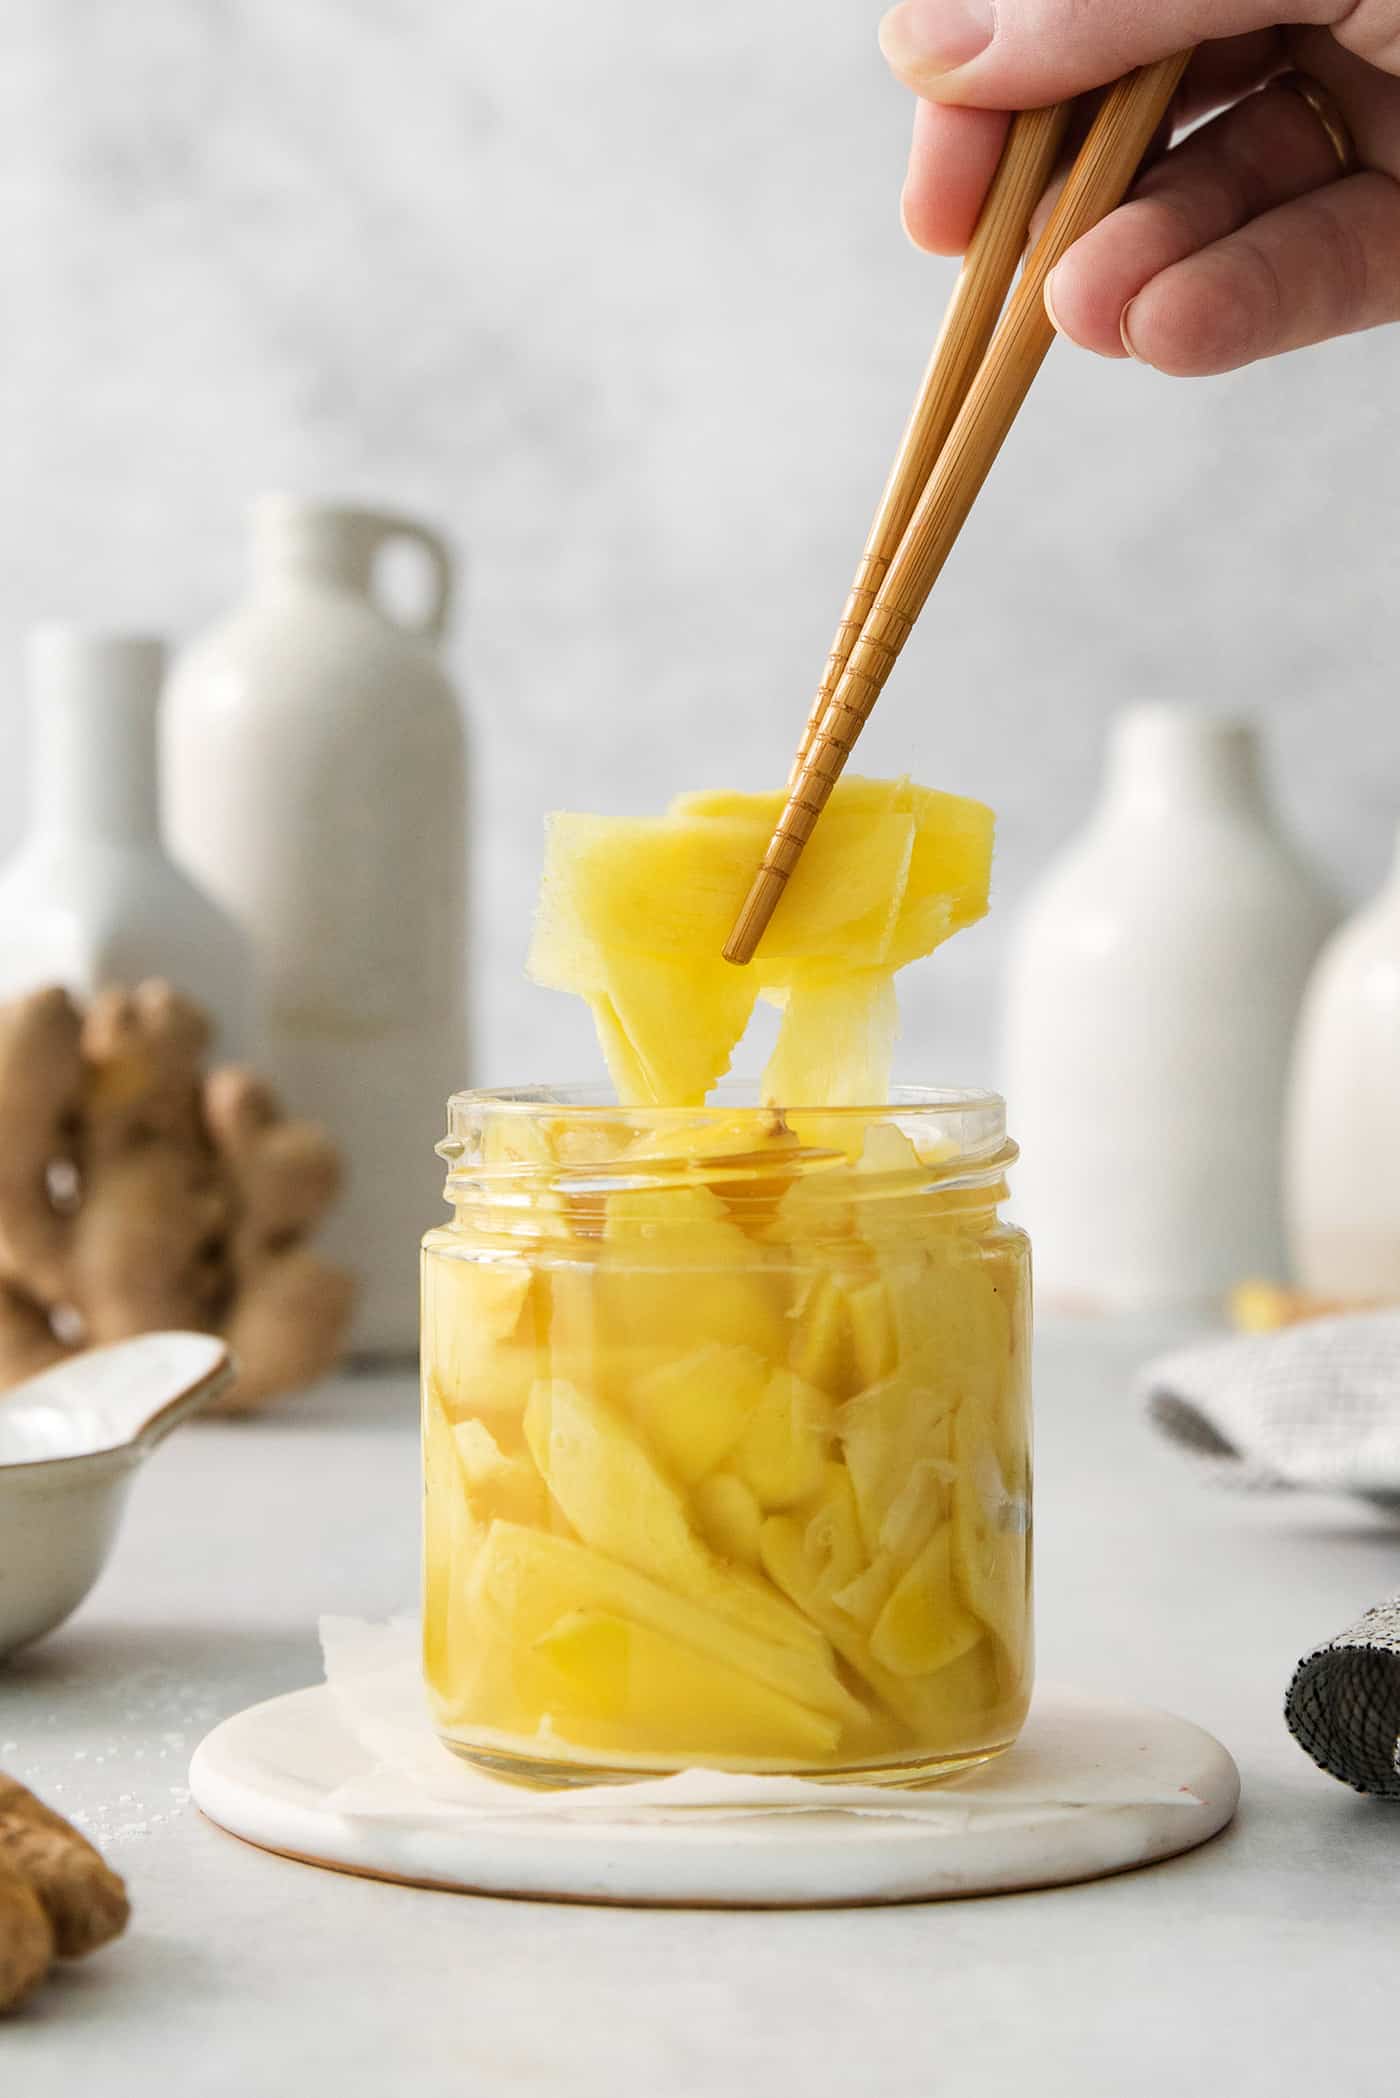
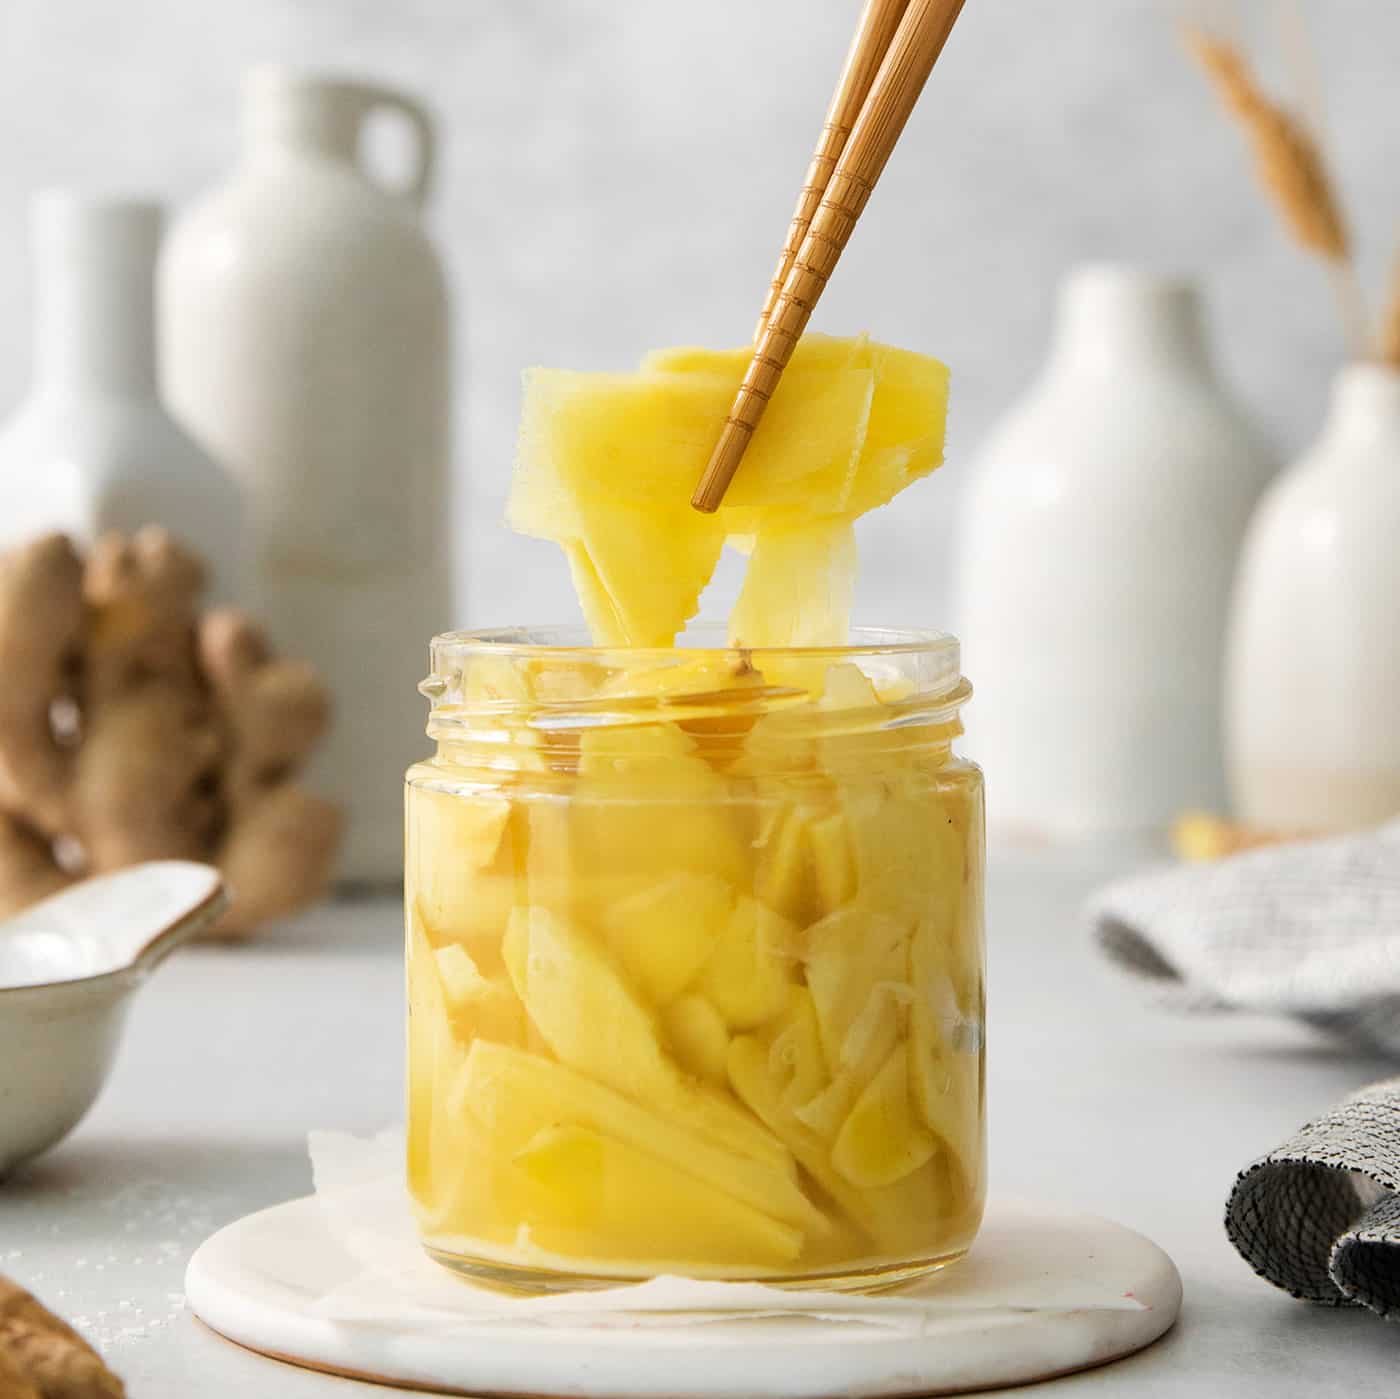
This homemade Pickled Ginger (also known as gari) has a fresh, bright, punchy bite, perfect for enjoying with sushi and a variety of other meals. It’s an easy quick pickles recipe made with only 5 ingredients!
Easy Pickled Ginger Recipe
This homemade Pickled Ginger has a fresh, bright, punchy bite – and it’s so easy to make at home!
Pickled ginger is called gari in Japanese. Typically served with sushi, its spicy, refreshing taste is meant to be eaten as a palate cleanser in between bites of sushi. You can also eat it atop individual pieces of sushi and sashimi, to enhance the flavors. I like to eat it both ways, and I like to eat a LOT of it!
This Japanese sushi ginger recipe utilizes an easy quick pickle method, which requires just a few ingredients and very little time. Just make a simple sweet-salty brine on the stovetop, then pour it over the fresh ginger slices. Let it steep until cooled, then store it in the fridge.
Enjoy this refreshing pickled ginger with a dragon roll or other sushi, or in a Hawaiian poke bowl, a teriyaki chicken bowl, or egg roll in a bowl. Roll it up in a sushi burrito or top your salad ramen. Or eat it straight from the jar – it’s ALL so good!!

Why You’ll Love This Sushi Ginger
If you need pickled ginger for sushi, why not try my recipe? It’s just as good, if not better, than store-bought. Here’s why you’ll love this simple recipe:
- Quick & easy. Like many of my homemade pickling recipes, pickled ginger is incredibly easy to make, plus you don’t need very much time. It uses a refrigerator pickling method (or quick pickling), which means you don’t need to go through a full canning process.
- Incredibly fresh flavor. I love quick pickles for their crazy fresh flavor, and this ginger is no exception. Plus, it keeps well for up to a month in the fridge!
- Super short ingredients list. You need just 5 ingredients for this sushi ginger recipe! Besides the fresh ginger, they’re simple pantry ingredients.
- No artificial coloring. I like to make my own sushi ginger because it doesn’t contain any strange or hard-to-pronounce ingredients. With ginger as the base, plus just a few other simple ingredients, this is a good-for-you condiment.
- Versatile. Pickled ginger is the perfect match for so many Asian dishes. I also just like to eat it straight from the jar!
- Inexpensive. This recipe is easy on the pocketbook, which is always a plus.
- Health benefits. Ginger is an awesome superfood, with many health benefits. It helps with bloating and digestion (my sister taught me to tuck ginger tea bags in my bag when traveling). It’s also a great antioxidant and anti-inflammatory ingredients.

What You’ll Need
Quick pickle recipes follow a simple formula that includes acidic vinegar, a sweetener, salt, and hot water – like my quick pickled red onions and refrigerator dill pickles. This ginger recipe follows suit. Here’s what you’ll need!
Scroll down to the recipe card at the end of this post for the exact ingredient amounts.
- Rice vinegar – Rice vinegar has a subtle acidity and sweetness which makes it perfect for pickling ginger. I like seasoned rice vinegar but regular (unseasoned) will also work.
- Water – Water dilutes the pickling brine.
- Sugar – Granulated sugar enhances the natural sweetness of the rice vinegar.
- Salt – Salt helps preserve and pickle the ginger, and adds great flavor.
- Ginger – If you have access to young ginger, definitely use that. Otherwise regular (mature) ginger will also work. Just be sure to slice the ginger as thinly as possible, as regular ginger has a tougher, more fibrous texture.
Young Ginger VS Mature Ginger
In the ingredients list above, I mentioned the preference for using young ginger. This is because young ginger is more tender than mature ginger, which makes it easier to slice thinly, plus it’s more enjoyable to chew. It also has a milder flavor.
But, unless you have access to a well-stocked Asian market or a great farmers market, young ginger can be hard to find.
So if you can’t find young ginger, choose larger pieces of mature ginger. This will make it easier to get thin slices, which will give the pickled ginger a more tender texture when eating. Use a sharp vegetable peeler or mandoline to get the thinnest slices possible.
Why is Some Pickled Ginger Pink?
Many sushi restaurants serve pink pickled ginger. The pink coloring happens naturally when using very young ginger with pink tips. When it’s pickled, the pink tips color the whole batch – just like red onions turn the entire jar of pickled red onions a gorgeous shade of dark pink.
Just know that not all pink pickled ginger is naturally colored. Some establishments, including some pickled ginger you’ll find on store shelves, fake the pinkness by adding food coloring.

How to Make Pickled Ginger
Here’s my quick and easy method for making Japanese pickled ginger:

- Make a simple brine. Add the rice vinegar, water, sugar, and salt to a small saucepan over medium heat. Bring to a boil and cook until the sugar and salt dissolve.

- Add the ginger. Remove the pan from the heat and add the sliced ginger. Stir to ensure that individual slices of ginger are evenly coated in brine.

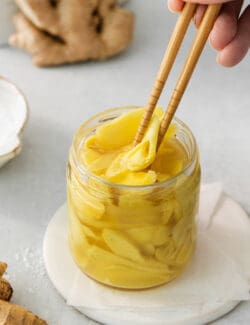
- Let cool. Allow the ginger to cool to room temperature, then transfer the ginger and pickling liquid to an airtight container – I like to use a glass canning jar.
- Store in the fridge. Store the ginger in the fridge until ready to use. The ginger will still have a strong bite immediately after pickling, so I recommend letting it pickle in the fridge for at least 48 hours before enjoying. Pickled ginger will keep well in the fridge for up to two months.

Tips for Success + Variations
Here are a few tips for making great pickled ginger!
- Use young ginger. Note that young ginger is preferred because it is more tender and mild. You can find it at Asian grocery stores and farmers markets. But know that regular/mature ginger also works – it’s what I use most often.
- Choose rice vinegar. For authentic Japanese pickled ginger flavor, be sure to use rice vinegar. In general, rice vinegar is milder than other types of vinegar and it’s perfect for making pickled ginger.
- Or sub the rice vinegar. If you’d rather not use rice vinegar, apple cider vinegar would be my next choice.
- Don’t add food coloring – go natural! Some purchased pickled gingers are an unnaturally vibrant pink from food additives. I much prefer to go natural!
- Cut the ginger easily. To easily cut the ginger, follow its fibers. You’ll know you’re doing it right when the ginger almost melts away under your peeler or mandoline – you won’t need to use a hard sawing motion if you are following the natural fibers in the piece of ginger.
- Cut the ginger as thin as possible. For the most tender bites, slice the ginger as thinly as you can.
- Make it sweeter. If you prefer sweeter pickled ginger, increase the sugar a bit. (I like it spicy!)
- Use fresh utensils. To help it stay its freshest best, always use fresh utensils when removing ginger from the jar. This helps eliminate any chance of introducing new bacteria into the jar and will make it last longer.
Ways to Use Japanese Pickled Ginger
Pickled ginger is a must-have when eating sushi. Here are a few suggestions of what to do with your homemade pickled ginger:
- With sushi. Pickled ginger with sushi is the obvious choice! You can use homemade sushi ginger with restaurant sushi or homemade sushi, such as my dragon roll recipe.
- In a sushi burrito. A sushi burrito is a larger hand-held twist on traditional sushi rolls. Tuck some pickled ginger inside for added texture and flavor.
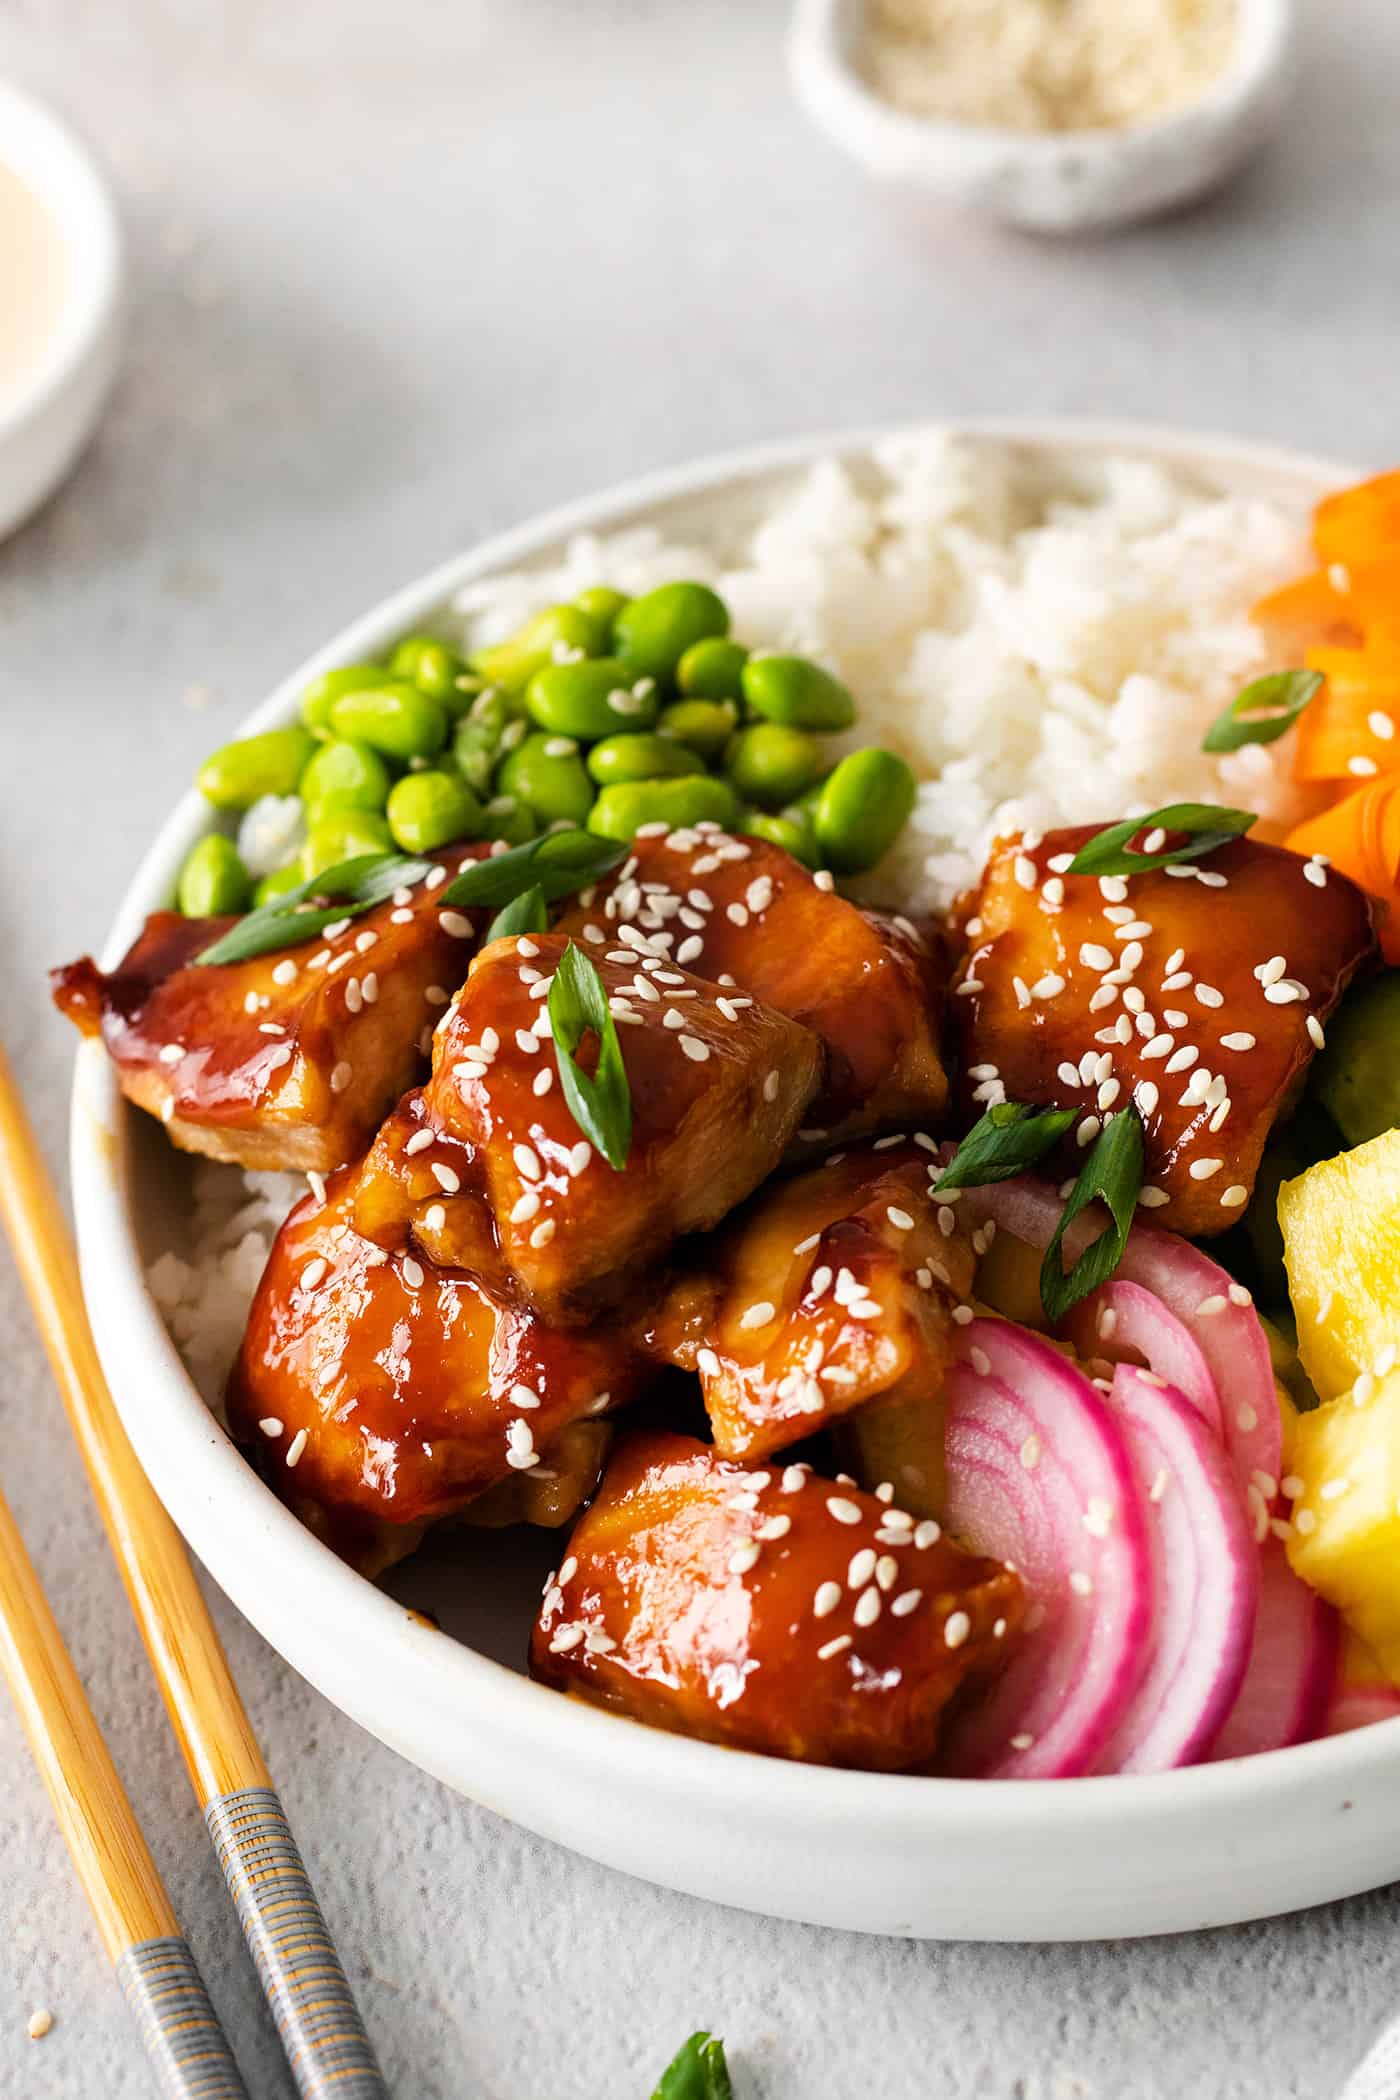
- On top of a bowl. I love a bowl meal! Pickled ginger would be lovely with my teriyaki chicken poke bowls (shown in photo above), a sweet potato bowl, or my Hawaiian poke bowl recipes. Our family also adds it to our favorite egg roll in a bowl!
- With potstickers. Add a little kick to homemade potstickers by offering a dish of homemade pickled ginger!
- Noodles. Noodles are a favorite quick dinner around her. I like to eat yaki udon with Japanese pickled ginger for a bright punch of flavor.
- Salad. Toss some pickled ginger in with this ramen noodle salad – delish!
- Drinks. Add some to teas, lemonades, and cocktails – it’d be wonderful in a bloody mary!
- Straight from the jar! I simply can’t resist it – I LOVE to eat pickled things! Besides being delicious, it’s great for keeping digestion on track.
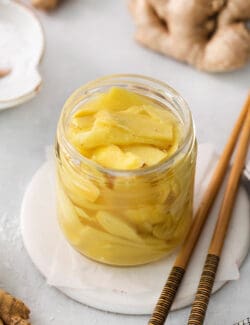
How To Store
Store pickled ginger in an airtight container, preferably glass, in the fridge.
It will keep well for up to two months.
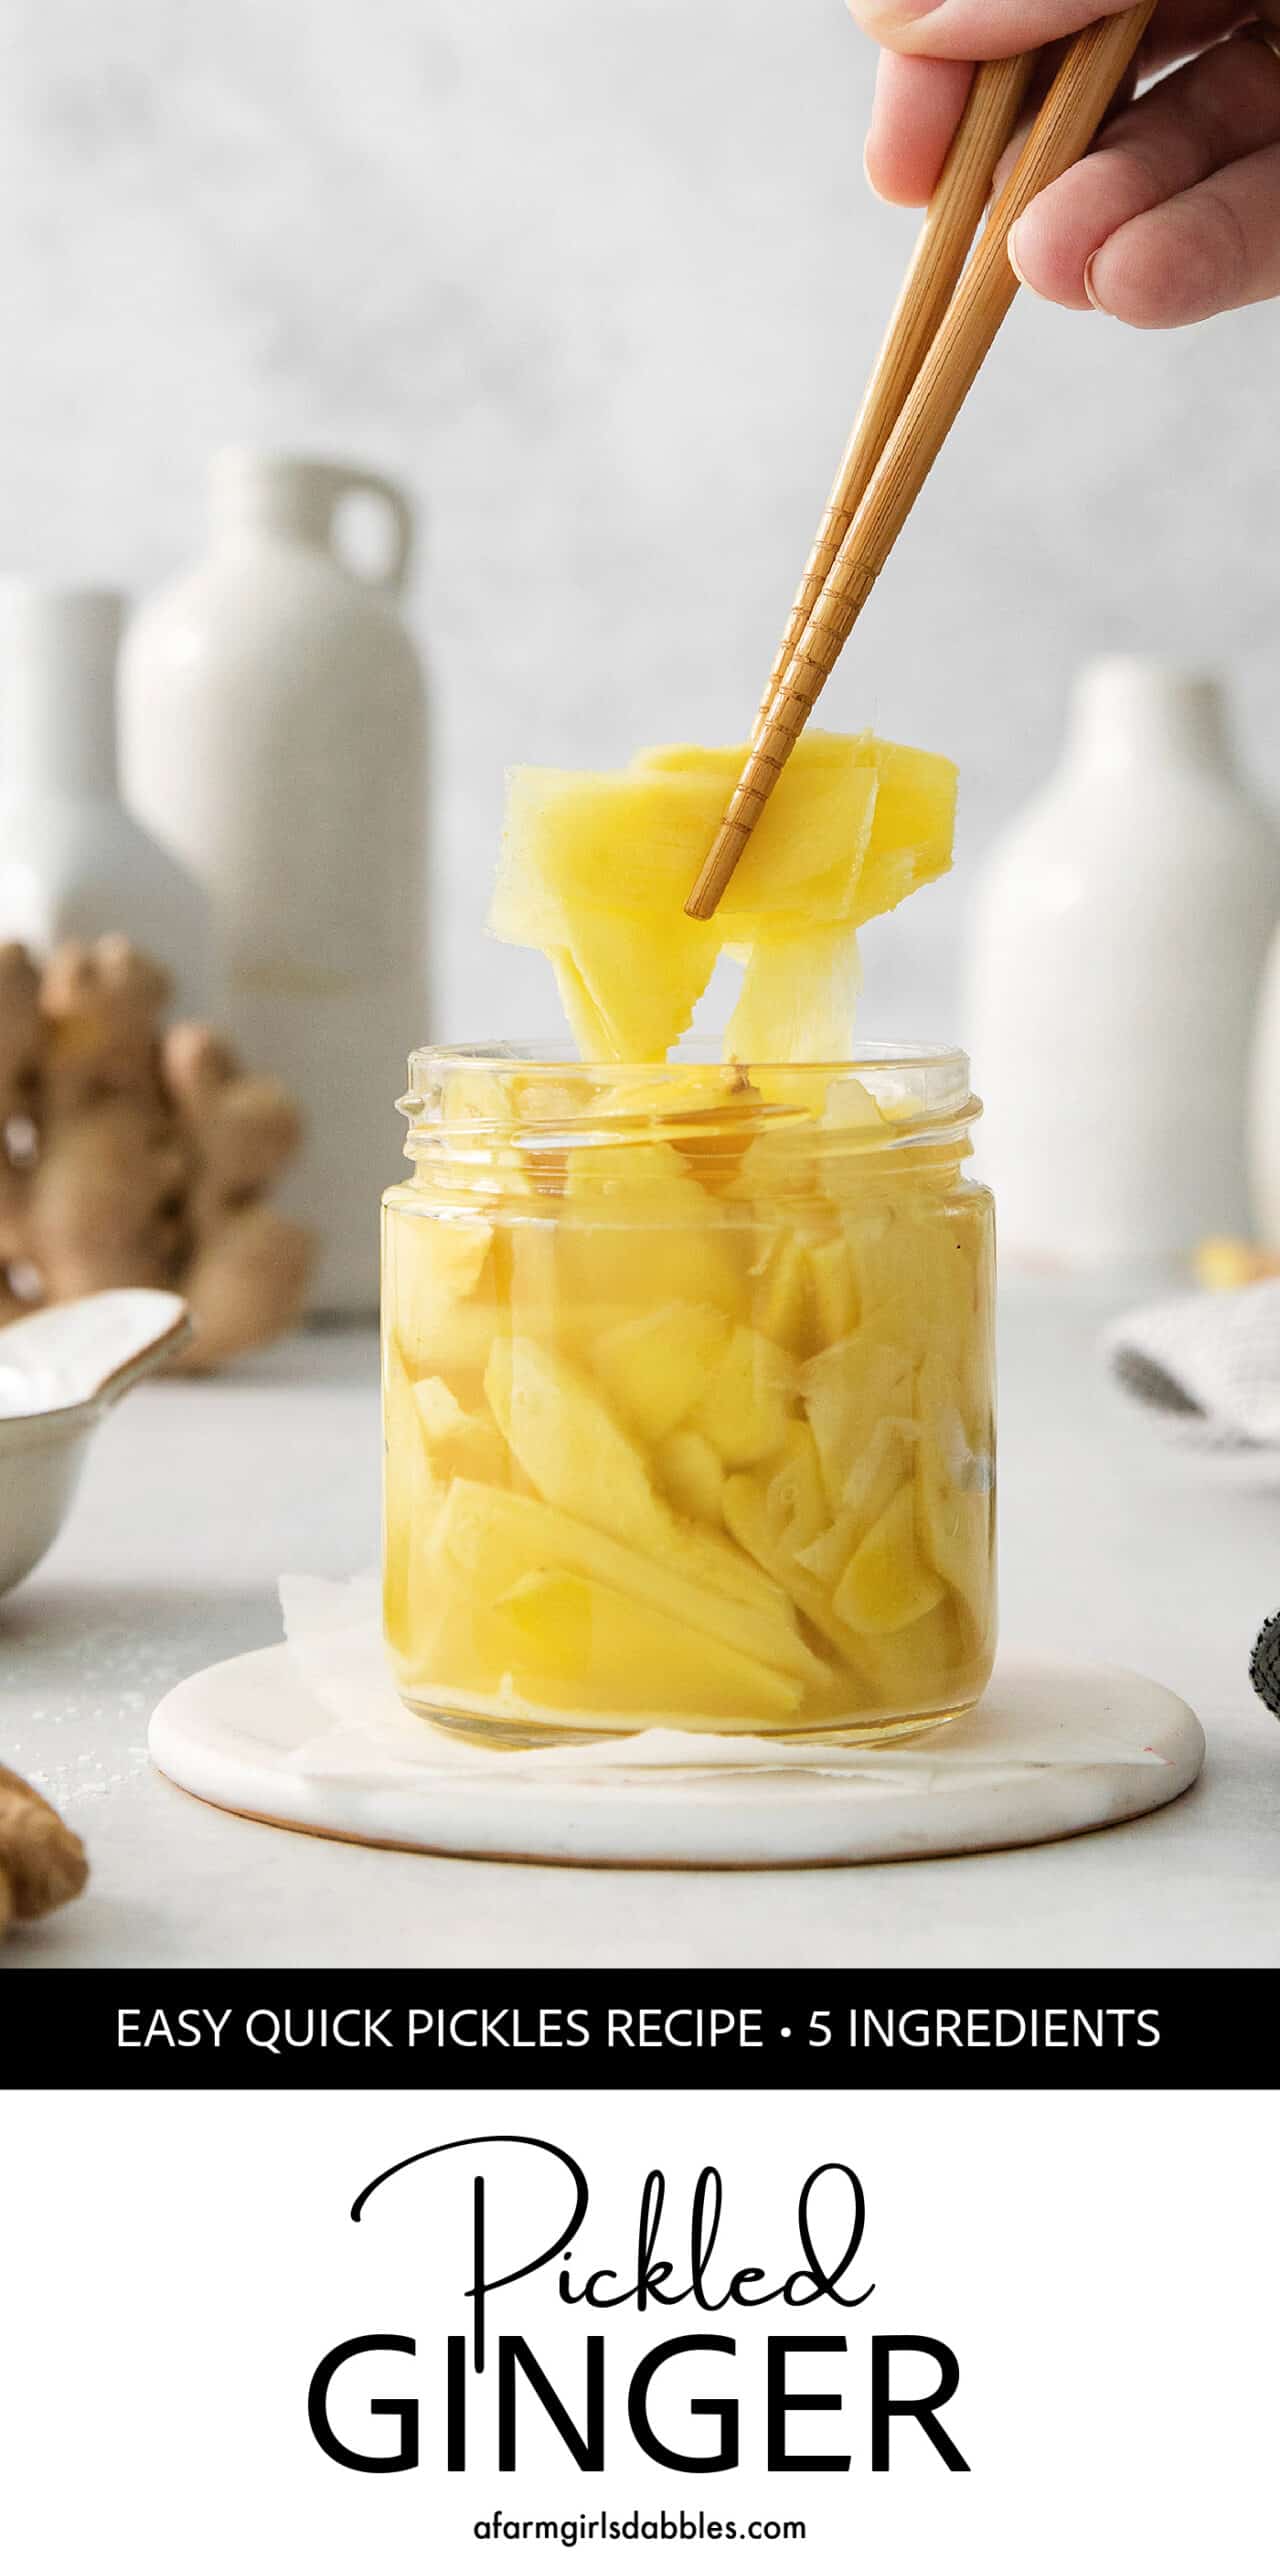
Like this Recipe? Save to Pinterest
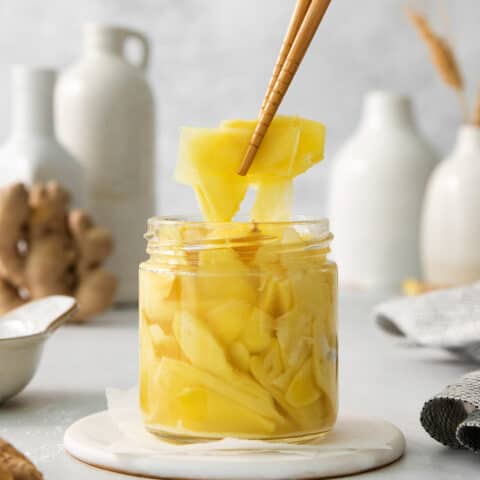
Pickled Ginger
Ingredients
- ½ cup rice vinegar seasoned or unseasoned
- ½ cup water
- 1 tablespoon granulated sugar – use more if you like it sweeter
- 1 teaspoon Morton kosher salt
- 1 cup peeled very thinly sliced, and packed, fresh ginger (preferably young ginger)
Instructions
- Add the rice vinegar, water, granulated sugar, and salt to a small saucepan over medium heat. Bring to a boil and cook until the sugar and salt have dissolved, whisking rapidly.
- Remove the pan from the heat and stir in the ginger. Ensure that all the ginger slices are evenly coated in brine.
- Allow to cool to room temperature and then transfer the ginger and pickling liquid to an airtight container. I like to use a glass jar.
- Store in the fridge until ready to use. The ginger will still have a strong bite immediately after pickling, so I recommend letting it sit in the fridge to pickle for at least 48 hours before enjoying. Pickled ginger will keep well in the fridge for up to two months.
Nutrition Information:
More Pickled Recipes
- Pickled Squash
- Mom’s Refrigerator Sweet Dill Pickles
- Pickled Vegetables
- Bread and Butter Pickles
- Pickled Jalapenos
- Quick Pickled Asparagus
- Pickled Rhubarb
- Sweet & Spicy Pickles
- Refrigerator Dill Pickles

get new posts via email: