This Sausage Cheese Balls recipe puts a delicious new spin on a classic appetizer. With Italian sausage, sharp white cheddar, gouda, and creamy pimento cheese, plus fresh red bell pepper and herbs, this hearty retro appetizer recipe is fresh and FUN!

Easy Sausage Cheese Balls Recipe
Welcome to your new favorite appetizer >>> Sausage Cheese Balls! I’ve freshened-up this retro appetizer recipe to include a delicious 3-cheese combination of sharp white cheddar, Gouda, and creamy pimento cheese. Italian sausage adds fabulous flavor, along with fresh red bell pepper and herbs. Serve these easy sausage and cheese balls hot, with honey mustard dipping sauce – the perfect hearty party app!
Why You’ll Love These Bisquick Sausage Balls
Our family craves a good sausage and cheese combo. Here’s why you’ll love these sausage cheese balls:
- Amazing flavor. With three different cheeses and Italian sausage, plus fresh sweet red pepper and herbs, these savory little balls are downright delicious!
- Easy to make. Anyone can make this easy cheese balls recipe. No culinary degree required!
- And easy to adapt. It’s really easy to change up the flavors, and I’ve included some variation ideas below. You can throw in different veggies, switch up the cheeses, add some heat, etc.
- A FUN new twist! Sausage and cheese balls made with Bisquick are a classic appetizer – and you know me; I like to put my own modern spin on things. This recipe is fresh and fun, yet gives all the happy retro feels!
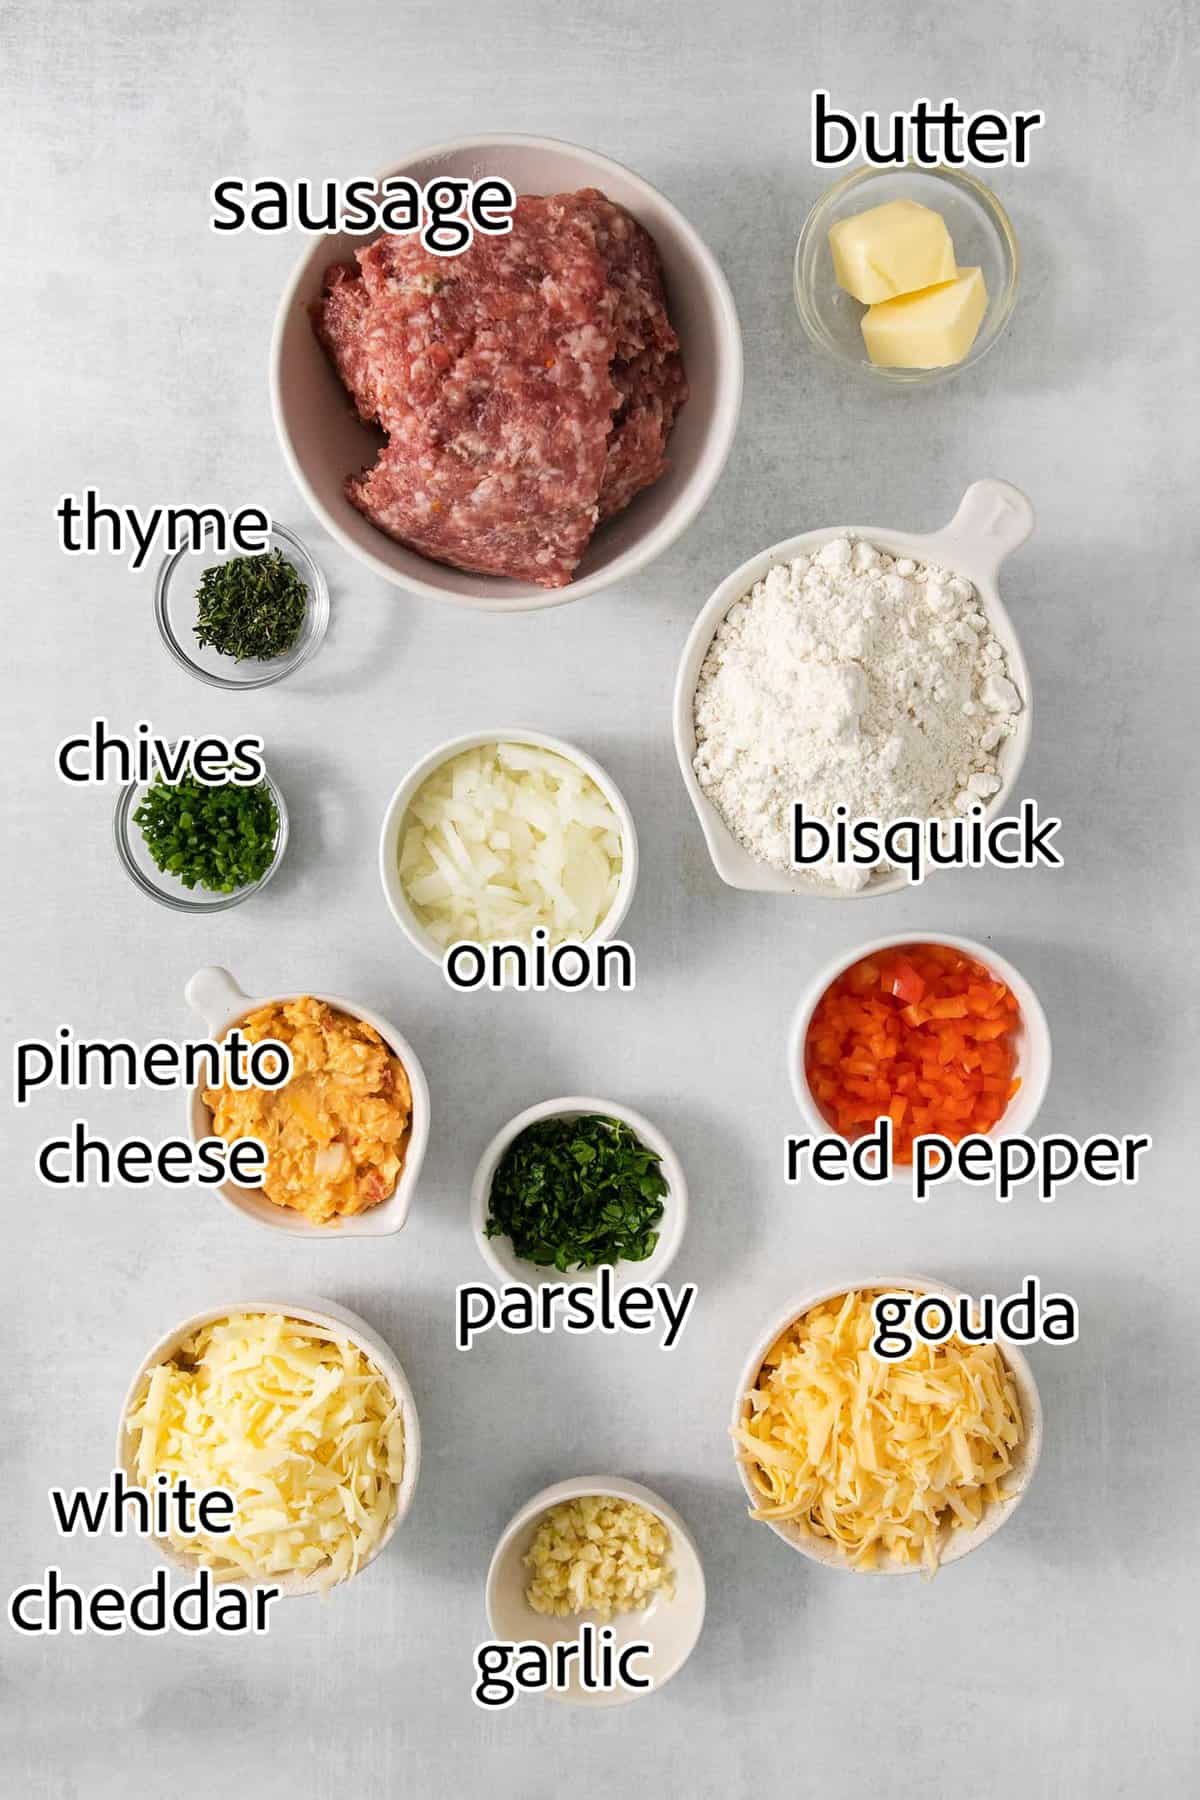
What You’ll Need
Here’s what you’ll need to make these Bisquick sausage balls. Don’t forget to scroll to the recipe card at the end of this post for the full ingredient amounts.
- Butter – Butter is used to saute the vegetables – it adds rich flavor.
- Fresh veggies – I’ve incorporated red bell pepper, onion, and garlic to add a fresh dimension.
- Bisquick – This famous baking mix in the yellow box helps hold the sausage balls together, plus adds fun texture and flavor.
- 3 cheeses – I swapped out the classic yellow cheddar for sharp white cheddar, gouda, and creamy pimento cheese. But feel free to use any cheese you like– fontina, gruyere, or pepper jack would all be delicious. Just make sure the block cheeses are freshly shredded!
- Fresh herbs – Chives, thyme, and parsley add fresh earthy flavor.
- Italian sausage – We always have Italian sausage on hand; my family favors it over other kinds of sausage – it makes my lasagna soup extra delicious. So I thought, why not include it in this appetizer recipe? It adds a ton of flavor, and pairs well with the veggies and herbs.
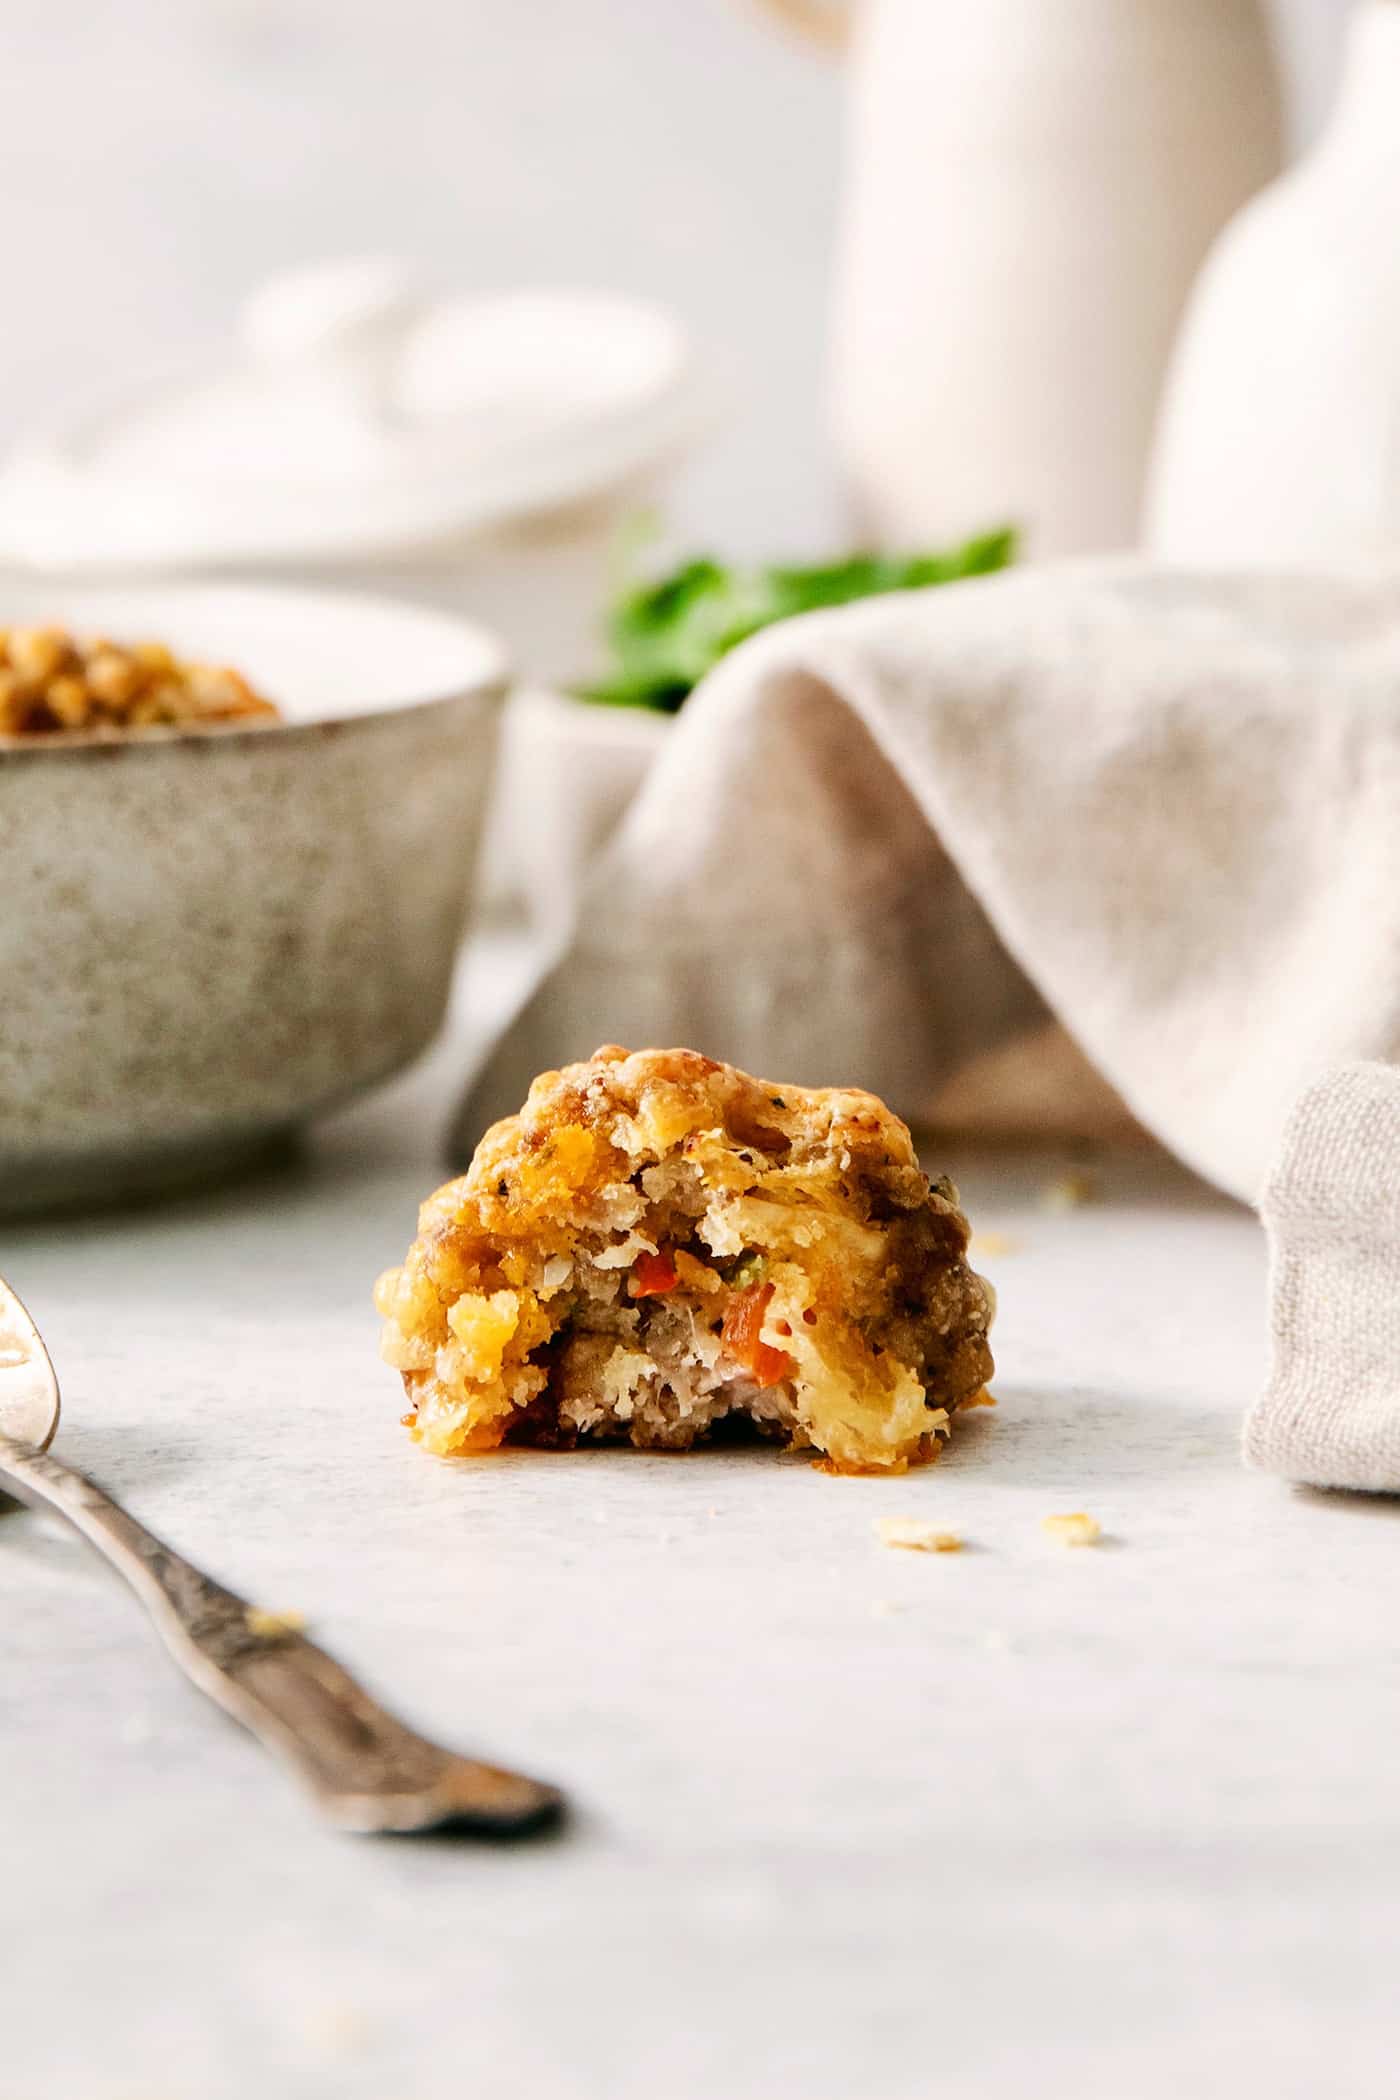
Recipe Variations
It’s easy to switch up the flavors in this sausage and cheese balls recipe. Here are some suggestions:
- Try other vegetables. You can use any vegetables you like in step 2, including fresh spinach, green bell pepper, mushrooms, etc. Just make sure they’re minced very finely so they distribute evenly throughout the balls.
- Swap the sausage. You can also switch out the mild Italian sausage for breakfast sausage or spicy Italian sausage if you prefer. If you like chorizo, that would also be good!
- Skip the pimento. Not a fan of pimento cheese? Just swap it for 3 ounces of softened cream cheese.
- Use flavored baking mix: Instead of “Original” Bisquick, use the cheddar biscuit mix variety.
- Add some heat. Sprinkle in some red pepper flakes or cayenne. Or add some minced fresh jalapeno along with red bell pepper in Step 2.
- Serve with a variety of sauces. Take these sausage balls on fun new flavor adventures with a variety of flavorful sauces/dips. Try barbecue sauce, creamy ranch dressing, honey mustard, sriracha mayo, garlic aioli, or sweet chili sauce – all of these are great choices!

How to Make Sausage Cheese Balls
Follow along with the photos below to guide you through making these sausage cheese balls. The detailed instructions are included in the recipe card lower down.
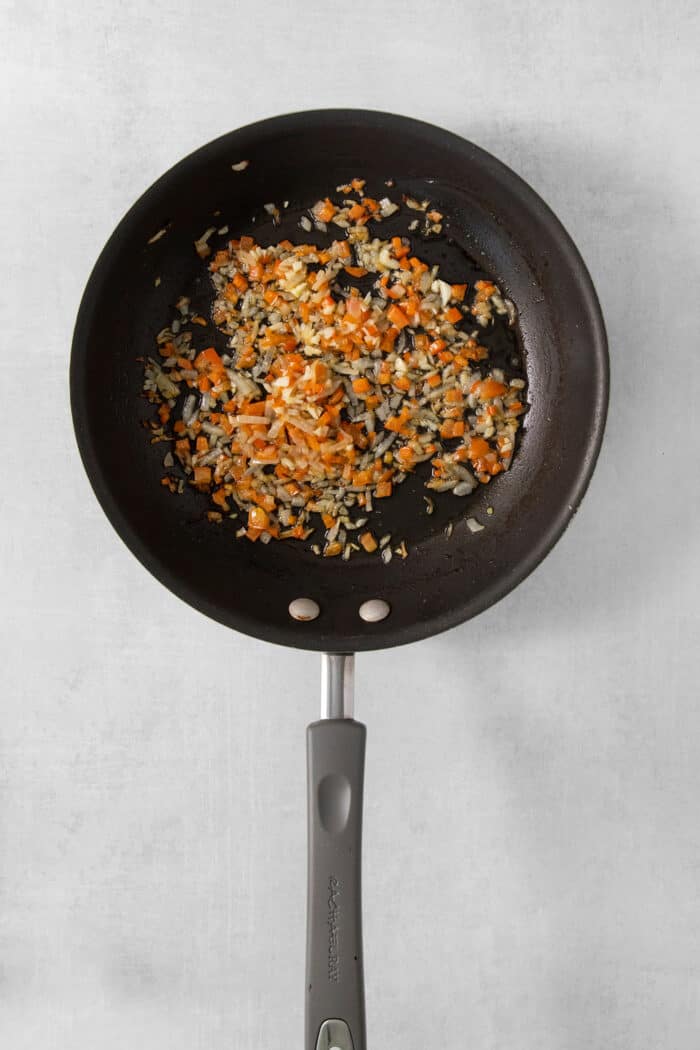
- Cook. Sauté the red bell pepper, onion, and garlic in butter.
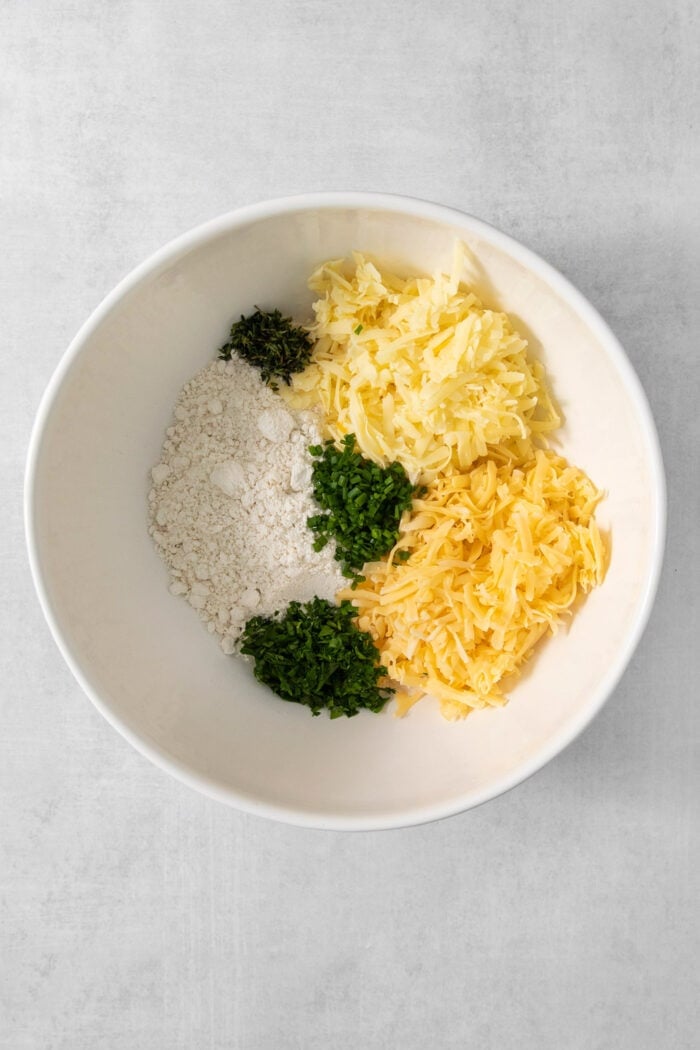
- Mix. Combine the Bisquick, shredded cheddar and gouda, chives, parsley, and thyme in a bowl.
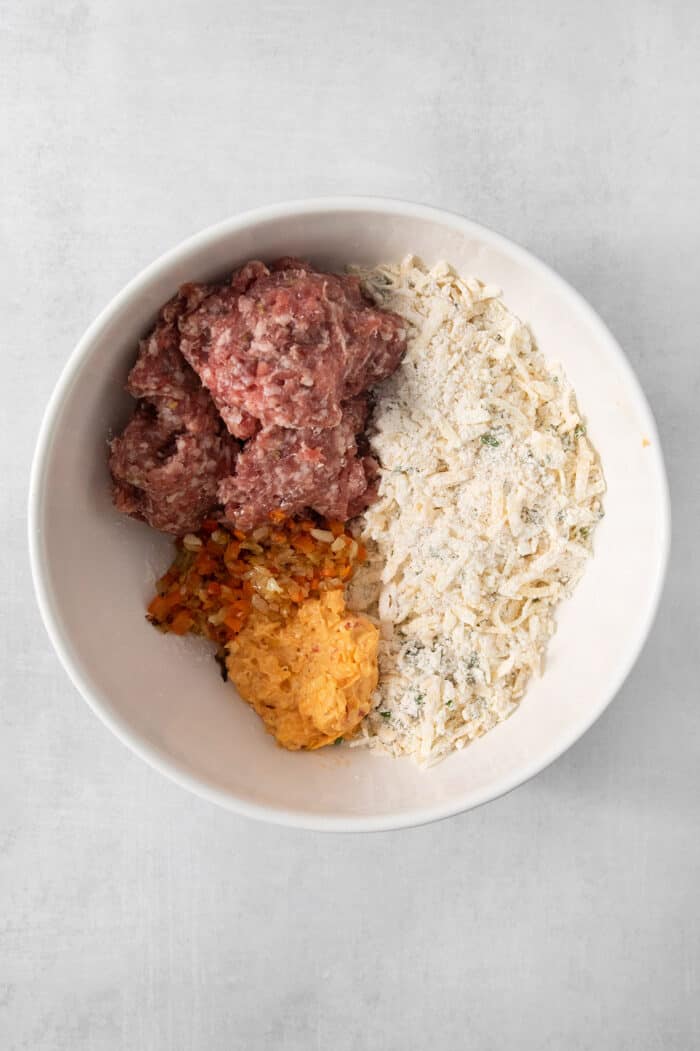
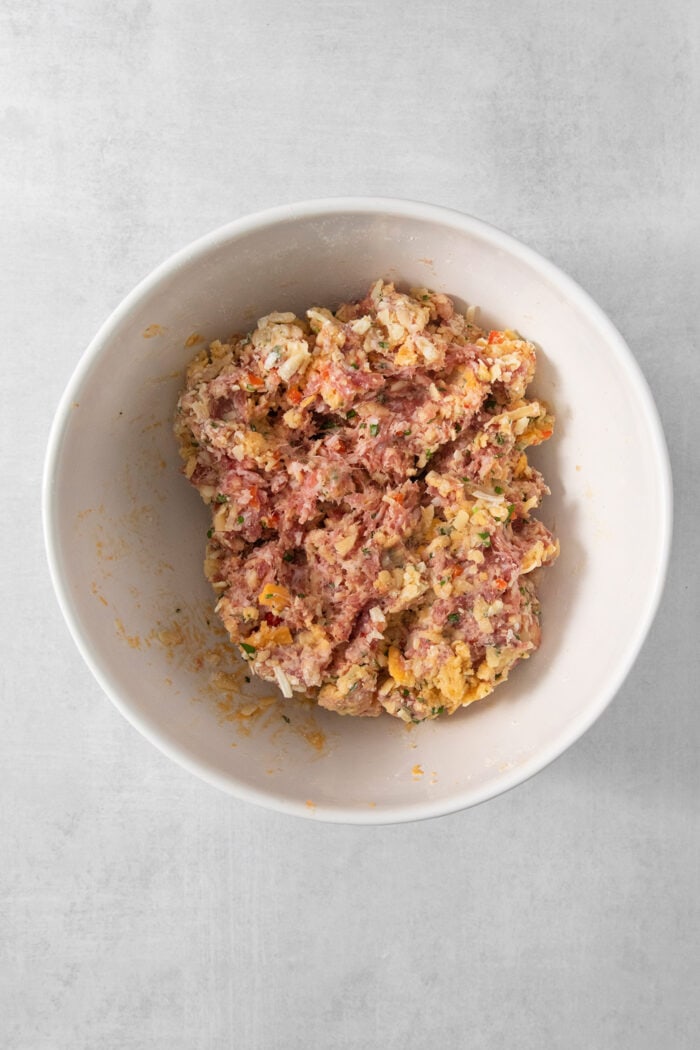
- Add remaining ingredients. Add the Italian sausage, pimento cheese, and sautéed vegetables to the bowl.
- Combine. Using your hands, mix all of the ingredients together.

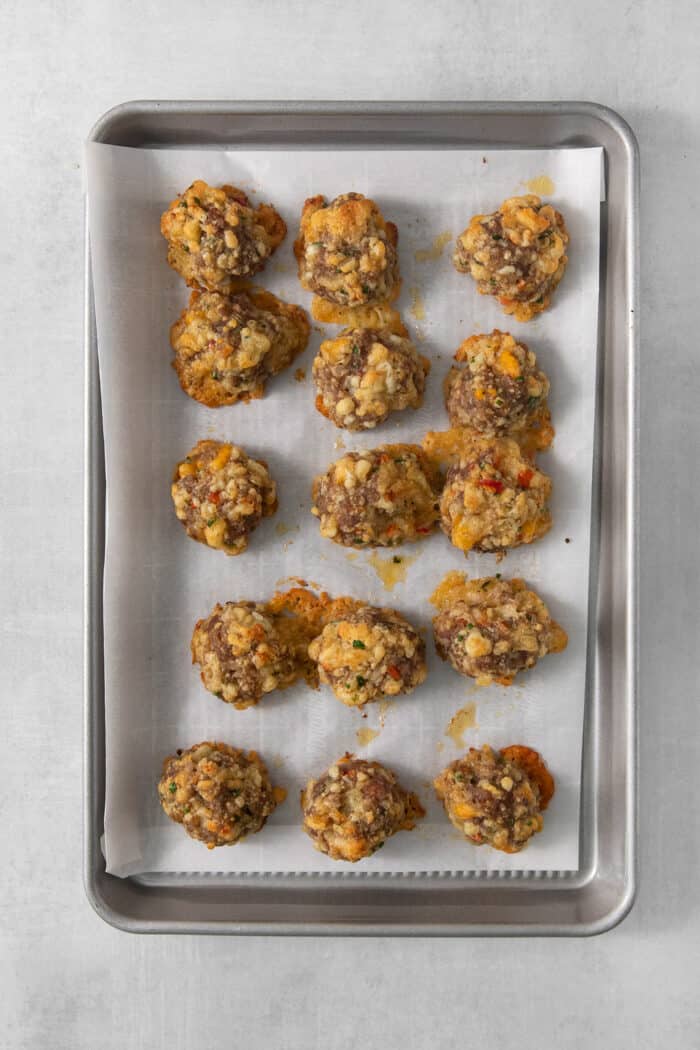
- Form. Scoop out tablespoon-sized portions, roll them into balls, and place on a baking sheet.
- Bake. Bake the sausage cheese balls until cooked through and golden brown. Drain on paper towels.

- Serve! Place the hot sausage cheese balls in a serving dish and serve with your favorite dipping sauces.
Tips for Success
Here are a few best tips that will help you make Biquick sausage balls.
- Bring ingredients to room temperature. Room temperature cheeses and sausage will blend more easily with the Bisquick.
- Shred your own cheese. This helps to ensure the sausage balls won’t end up drier than you’d like – because pre-shredded cheese is coated with a moisture-blocking agent.
- Spoon & level the Bisquick. Too much baking mix can equal dense, dry balls. Be sure to spoon the mix into your measuring cup.
- Don’t compact. When mixing everything together, take care to not overwork and/or compact the mixture, so the sausage balls bake up tender.
- Scoop then roll: Use a scoop to portion the mixture before rolling, for same-sized balls.
- Cook to doneness. Since this recipe uses uncooked sausage, use an instant-read thermometer to ensure the sausage balls are cooked properly, to 160°F.
- Try the variations. Refer to my variation suggestions above or try your own ideas to make these sausage cheese balls a little bit differently each time.
- Make them ahead. You can make sausage cheese balls up to 24 hours in advance and stash them in an airtight container in the fridge. Gently rewarm them in the oven or microwave before serving.
Can I Make Sausage Balls Ahead?
Yes, you can prepare this easy appetizer up to one day in advance. Just assemble the mixture and roll into balls – then transfer to a baking sheet, wrap tightly with plastic or foil, and place in the fridge. Bring to room temperature before baking as directed.

How to Serve Sausage and Cheese Balls
Sausage and cheese balls are always a favorite appetizer, whether you’re serving them during the holidays, on game day, or “just because”. Here’s how to serve these sausage cheese balls:
- With dips, of course! This party app would not be complete without at least a couple dipping sauces. Try BBQ sauce, ranch dressing, honey mustard dip, sriracha mayo, garlic aioli, or sweet chili sauce. Each one adds a different flavor dimension and experience.
- Alongside other appetizers. Pair sausage cheese balls with truffle fries, cranberry jalapeno dip, Italian pinwheel sandwiches, or pickle roll ups.
- Next to pickles! I love to serve these savory bites with the contrast of bright, vinegary pickles – like pickled jalapenos, pickled asparagus, my mom’s refrigerator sweet pickles, or pickled red onions!
- With cocktails. A classic appetizer deserves a classic cocktail, dontcha think?! Make a Manhattan, old fashioned, or a super refreshing gin & tonic or margarita to serve with this retro dish.
- Beside a salad. Offer hearty sausage and cheese balls with a fresh salad. My grilled vegetable salad, roasted beet salad, or winter apple salad would all be great choices.
Proper Storage
Here’s how to store leftover sausage and cheese balls:
- Fridge – Store cooled sausage cheese balls in an airtight container in the fridge for up to 4 days.
- Freezer – Store leftover balls in a freezer-safe container or bag in the freezer for up to 3 months. Thaw them in the fridge before reheating.
- To Reheat – You can rewarm sausage cheese balls on a parchment or silicone mat-lined baking sheet in the oven at 200°F until warmed through. Or, place them on a microwave-safe plate and heat them in the microwave in 15-second intervals until hot.
More Easy Appetizers

Sausage Cheese Balls
Ingredients
- 2 tablespoons unsalted butter
- ¼ cup minced red bell pepper
- ¼ cup minced yellow onion
- 2 large cloves garlic minced
- 1 cup Bisquick “Original” baking mix
- 4 ounces freshly shredded sharp white cheddar
- 4 ounces freshly shredded gouda
- 2 tablespoons thinly sliced fresh chives
- 2 tablespoons minced fresh parsley
- 1 teaspoon minced fresh thyme
- 16 ounces bulk mild Italian sausage
- ⅓ cup pimento cheese
Instructions
- Preheat oven to 375°F. Line a rimmed baking sheet with parchment paper or foil.
- In a small skillet over medium heat, melt the butter. Then add the red bell pepper and onion and saute for 3 minutes or so, until just tender. Stir in the garlic and saute another 1-2 minutes, or until the vegetables are translucent and just beginning to brown. Remove from heat and set aside.
- In a large mixing bowl, stir together the Bisquick, white cheddar, gouda, chives, parsley, and thyme.
- Next crumble in the Italian sausage and add the pimento cheese and sauteed vegetables.
- Use your hands to gently mix all the ingredients together until well combined, taking care to not compact the sausage.
- Scoop out tablespoon-sized portions and roll them into 1-inch balls. I use a 1-tablespoon cookie scoop to make sure they’re all the same size.
- Place the balls on the prepared baking sheet, leaving at least 1” between them. Bake for 20-25 minutes, or until the sausage and cheese balls are golden brown and cooked through (160°F on an instant read thermometer).
- Drain the sausage cheese balls on a paper towel lined pan, briefly. Then transfer to a serving dish and serve with your favorite sauces – BBQ sauce, ranch dressing, honey mustard, sriracha mayo, garlic aioli, or sweet chili sauce are all great choices!


get new posts via email: