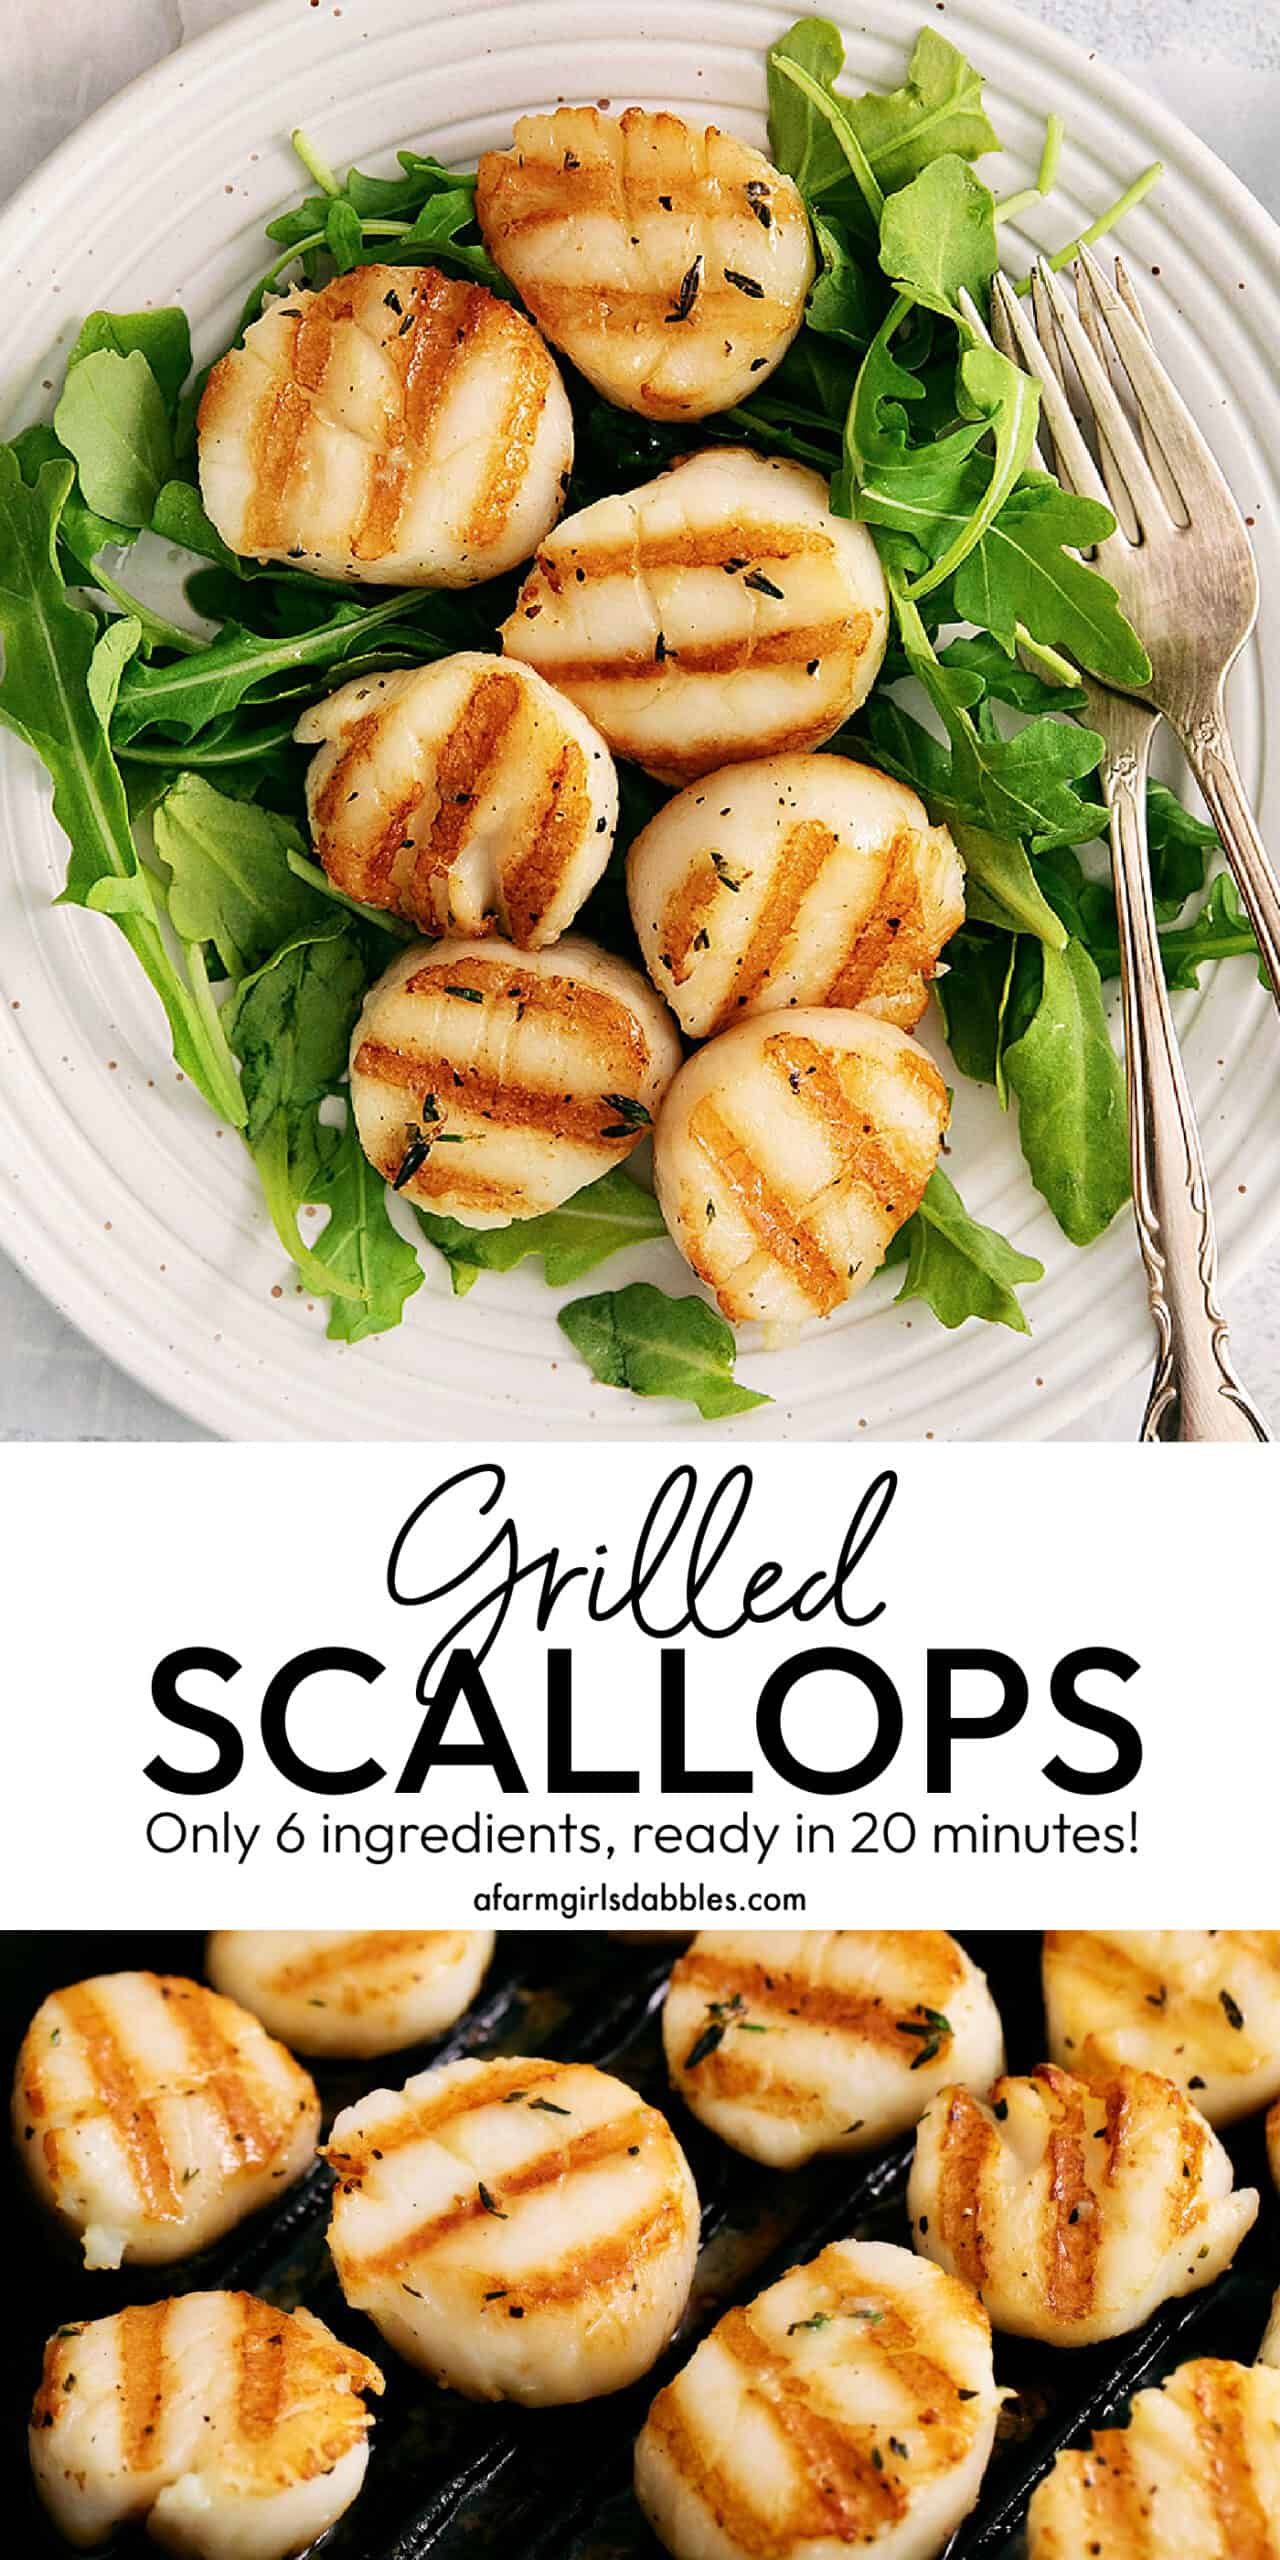
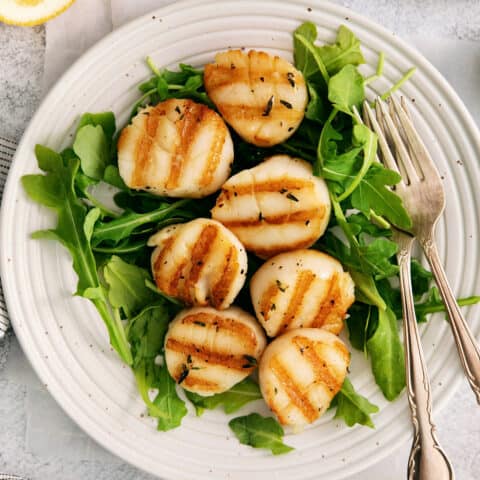
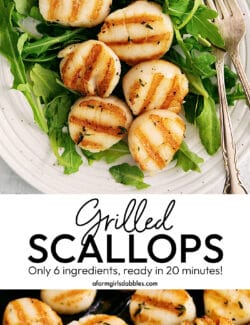
These easy Grilled Scallops are ready in just 20 minutes, richly flavored with butter and garlic, plus fresh thyme and lemon. Cook the scallops on an outdoor grill or a grill pan on the stovetop, and enjoy them all year long!
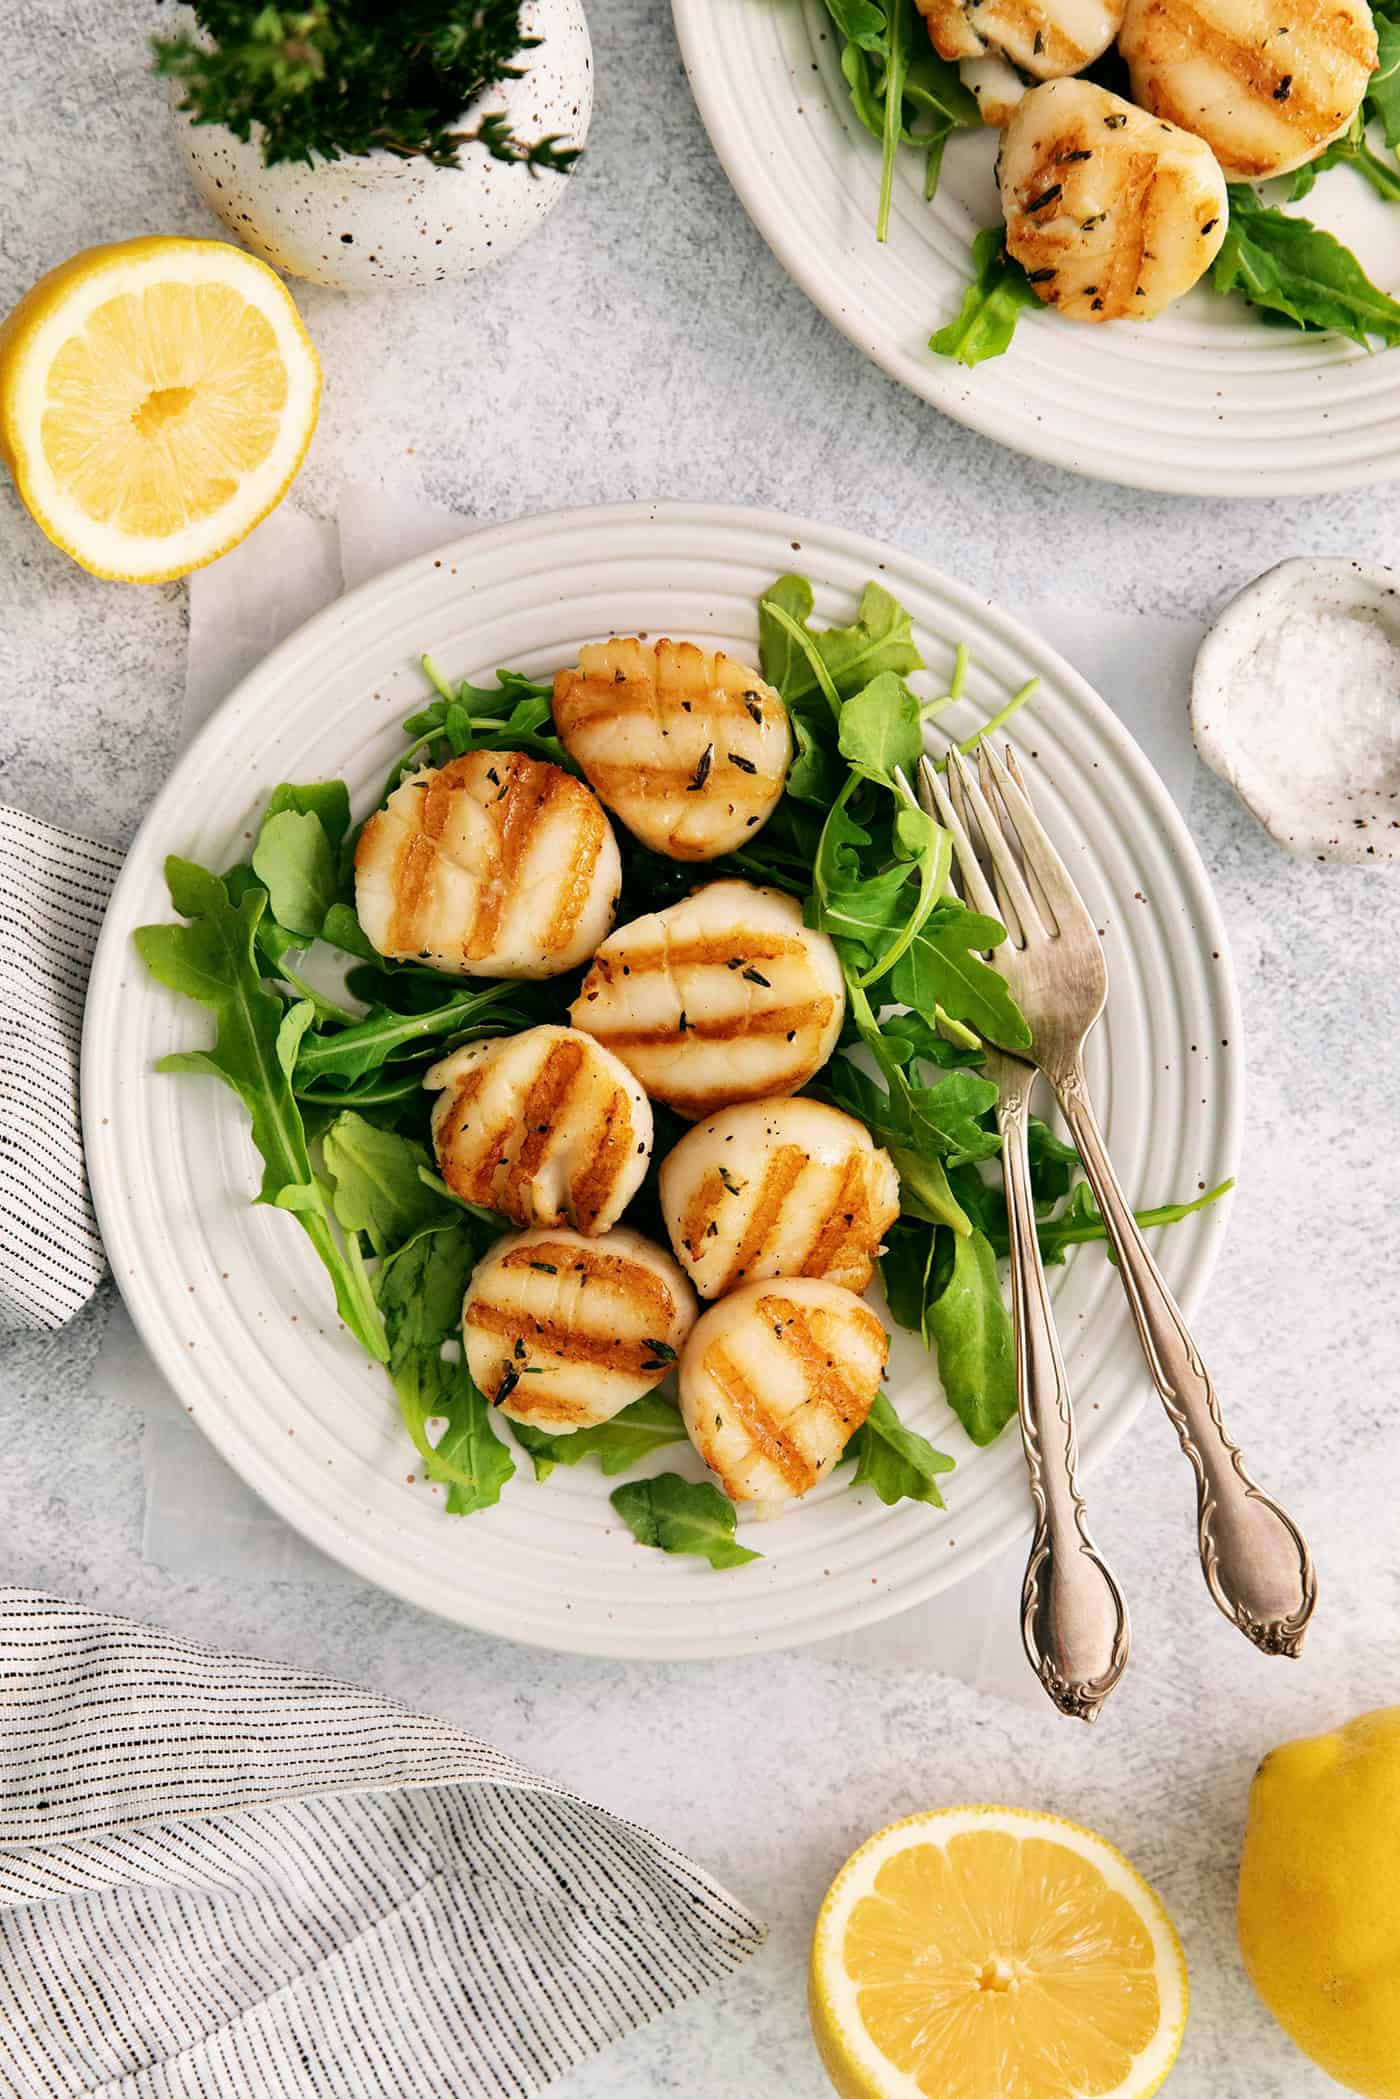
Easy 20-Minute Grilled Scallops Recipe
I’ve always liked scallops, but until just this past year, had only ordered them at restaurants. If I had only known how easy they are to make!
These Grilled Scallops, like my pan-seared scallops, are fantastically delicious and ready in just 20 minutes!
Made with only 6 ingredients, this easy recipe gives you scallops that are richly flavored with butter and garlic. A beautiful grilled sear adds even more flavor, and some fresh thyme and a squeeze of lemon take the dish over the top.
Enjoy these scallops as an appetizer to a nice meal, perhaps some grilled steak. Or as a light meal with a salad and glass of chilled white wine.
Or turn it into the main course by adding a side or two, like grilled baked potatoes and grilled asparagus – because, hey, if the grill’s hot, why not use it?!
Any way you choose, these grilled scallops are sure to impress. They’re my go-to for last-minute happy hours and special occasion meals. Because while they look all fancy, they’re also fabulously quick and easy to prepare!
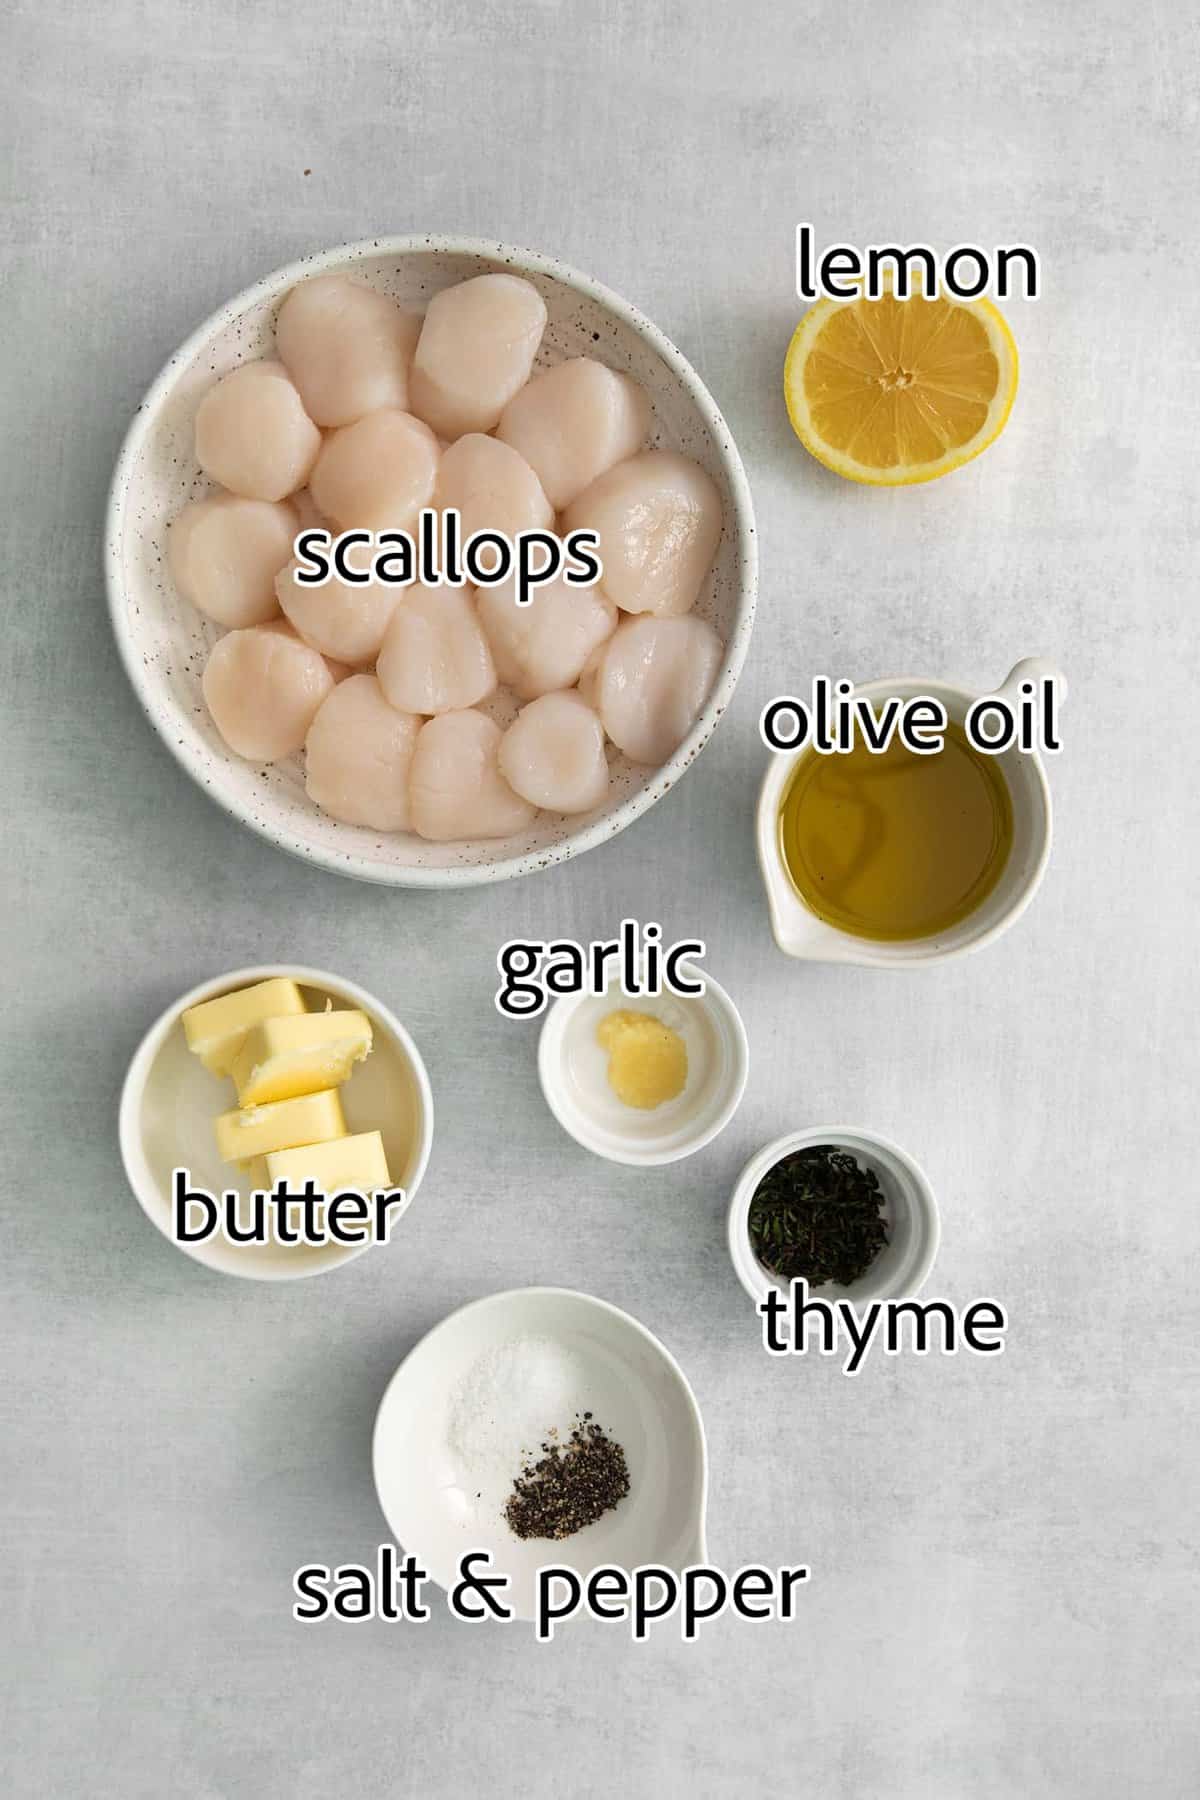
What You’ll Need
Make this easy scallops recipe with just 6 ingredients, plus salt & pepper. Scroll down to the recipe card for measurements.
- Sea scallops – It’s best to use dry sea scallops when preparing scallops on the grill. Bay scallops are simply too small to grill.
- Olive oil & butter – The combination of butter and olive oil helps create a great crust on the scallops, with lots of rich flavor. Butter helps brown the scallops and gives delicious flavor, while olive oil prevents the scallops from sticking, plus it lends its own unique flavor.
- Salt & pepper – Salt and pepper season the scallops. I recommend kosher or sea salt and freshly cracked black pepper.
- Garlic – Garlic pairs great with scallops. I like to grate the garlic so you don’t end up with big chunks of garlic on the scallops.
- Fresh thyme – Fresh thyme adds a bit of earthy fresh flavor. You could use fresh parsley if that’s what you have on hand or prefer.
- Lemon – Lemon adds fresh acidity that really brightens up this simple seafood dish.
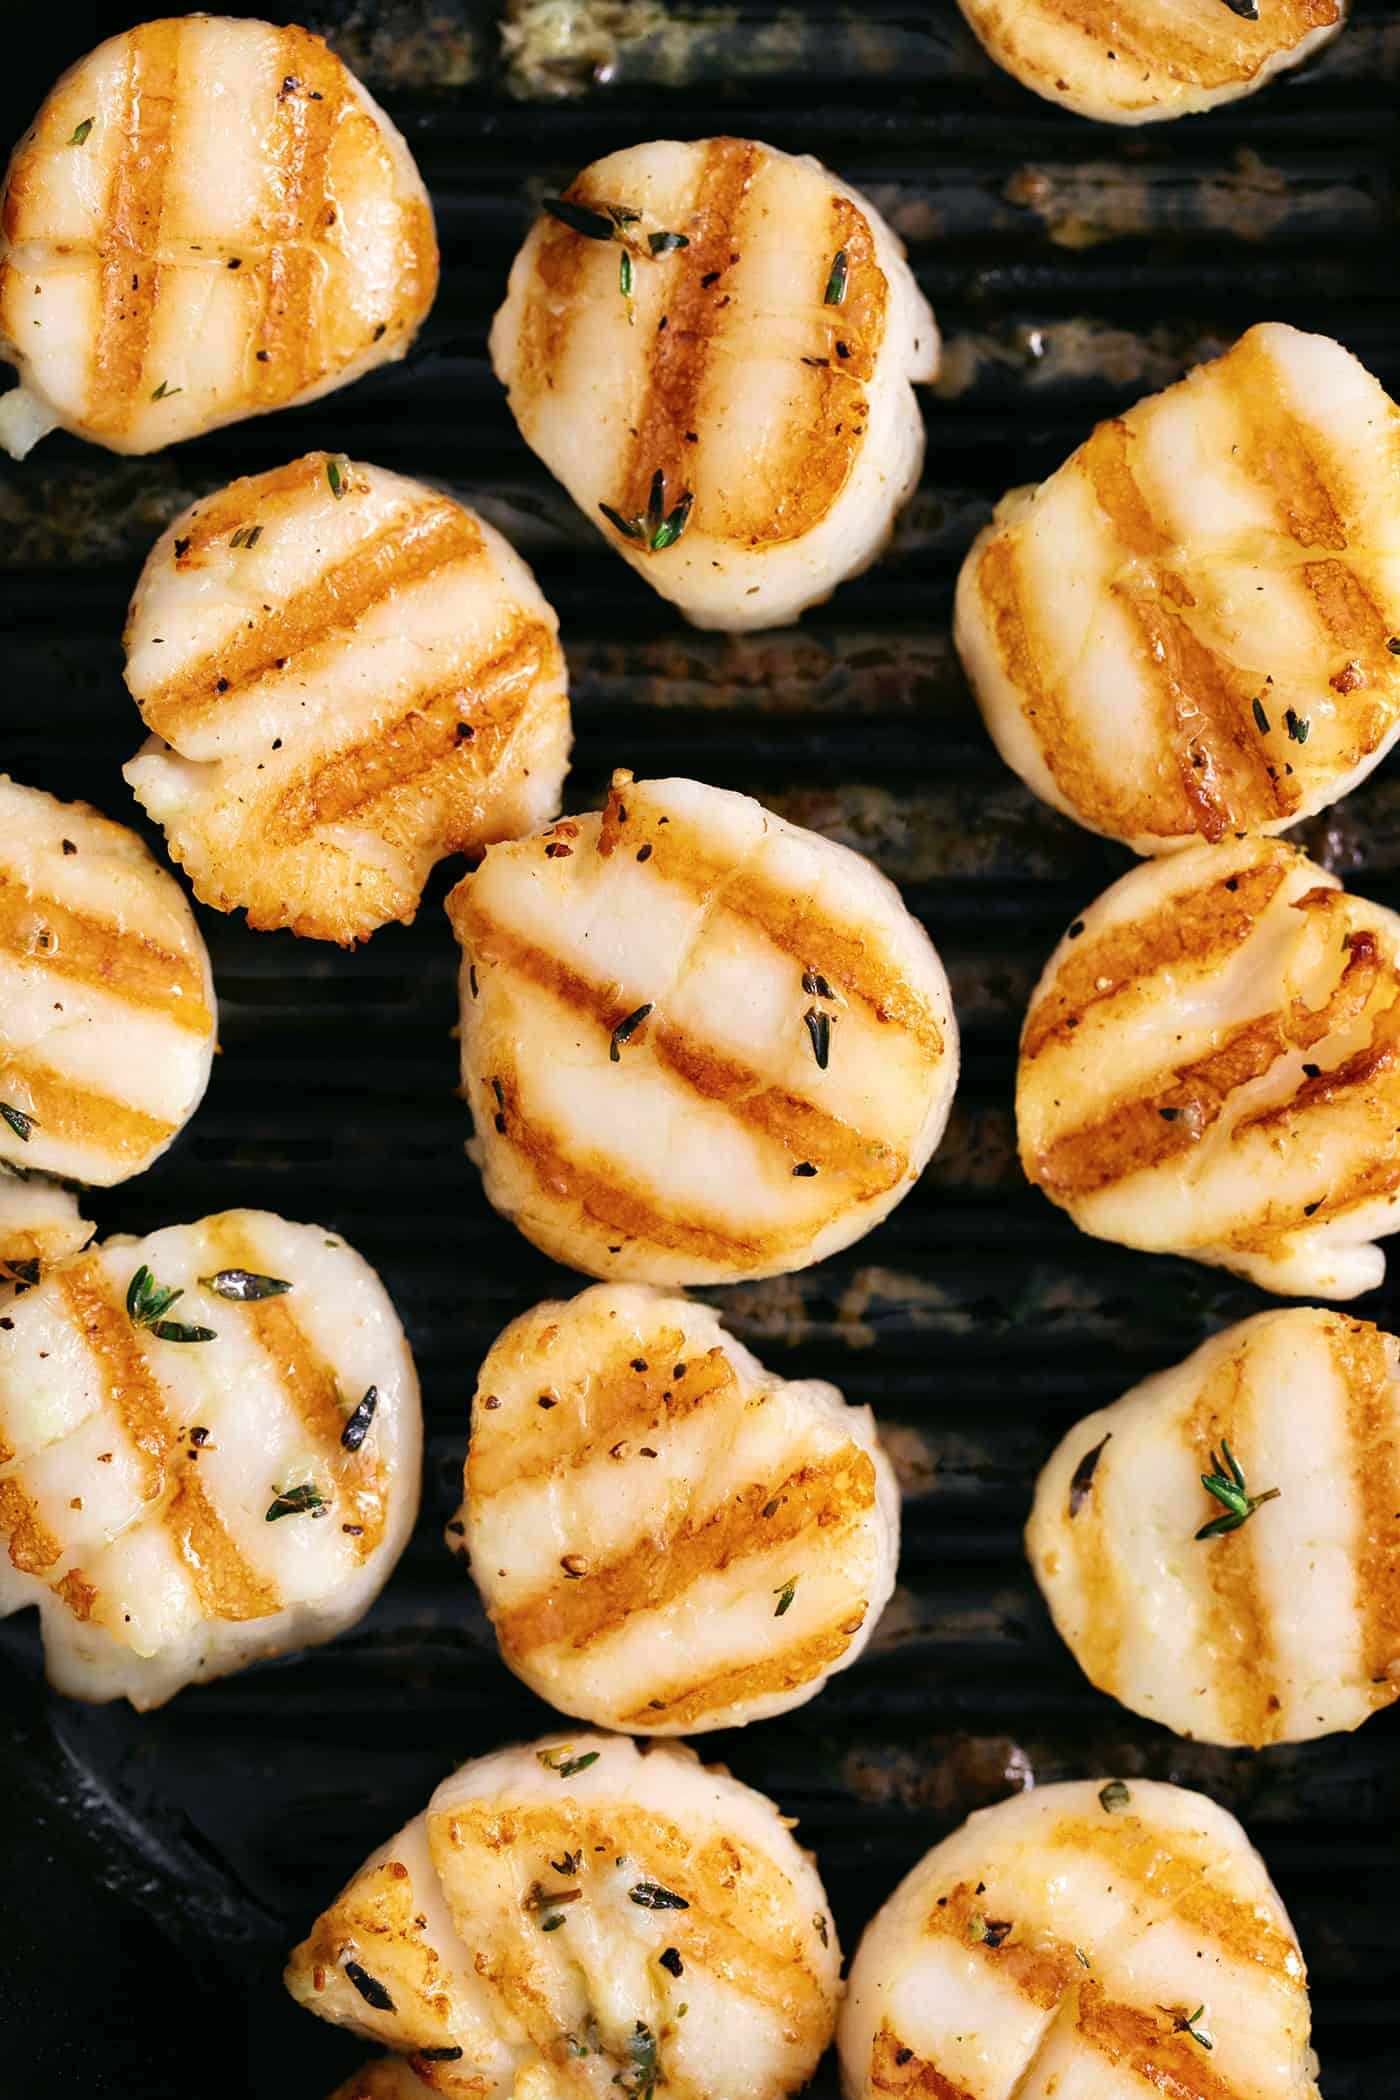
Notes on Buying Scallops
For this recipe, you’ll want to use sea scallops. Bay scallops are too small for grilling, so avoid those.
When purchasing sea scallops, buy ones that are dry packed and not in any liquid. Scallops packed in liquid will prevent a sear from forming and won’t cook up as nicely.
You can use both fresh and frozen sea scallops. If using frozen scallops, be sure to thaw them and use a paper towel to remove any excess liquid.
If using fresh scallops, buy them no more than a day in advance. Scallops should have a briny, fresh salt water smell. If they smell “fishy” or just plain “off”, or feel slimy, these are signs they’ve gone bad.
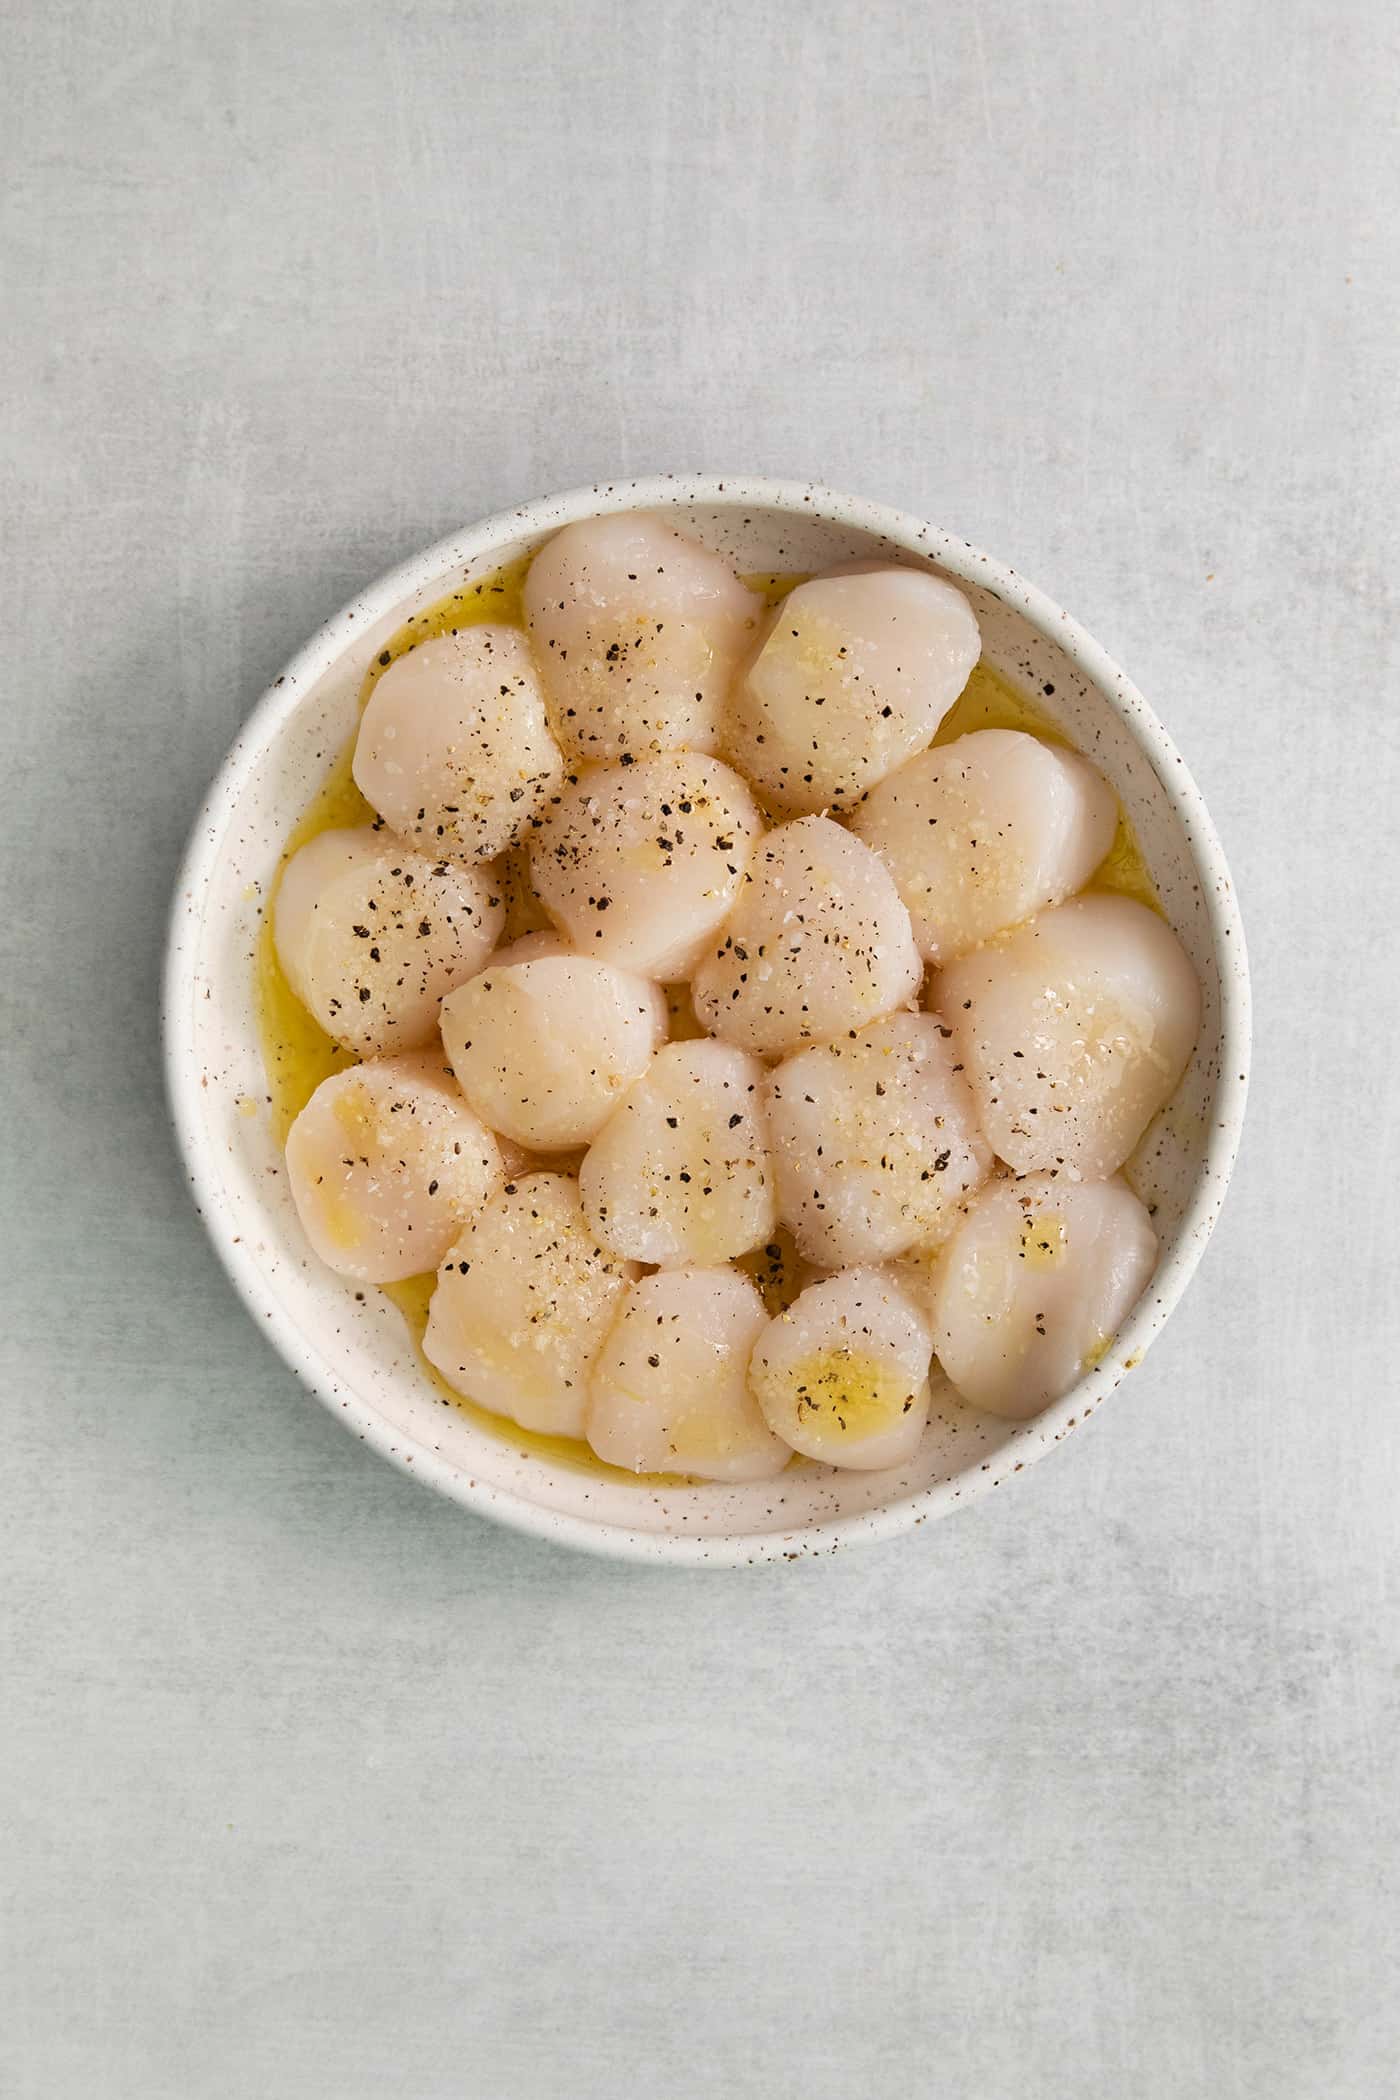
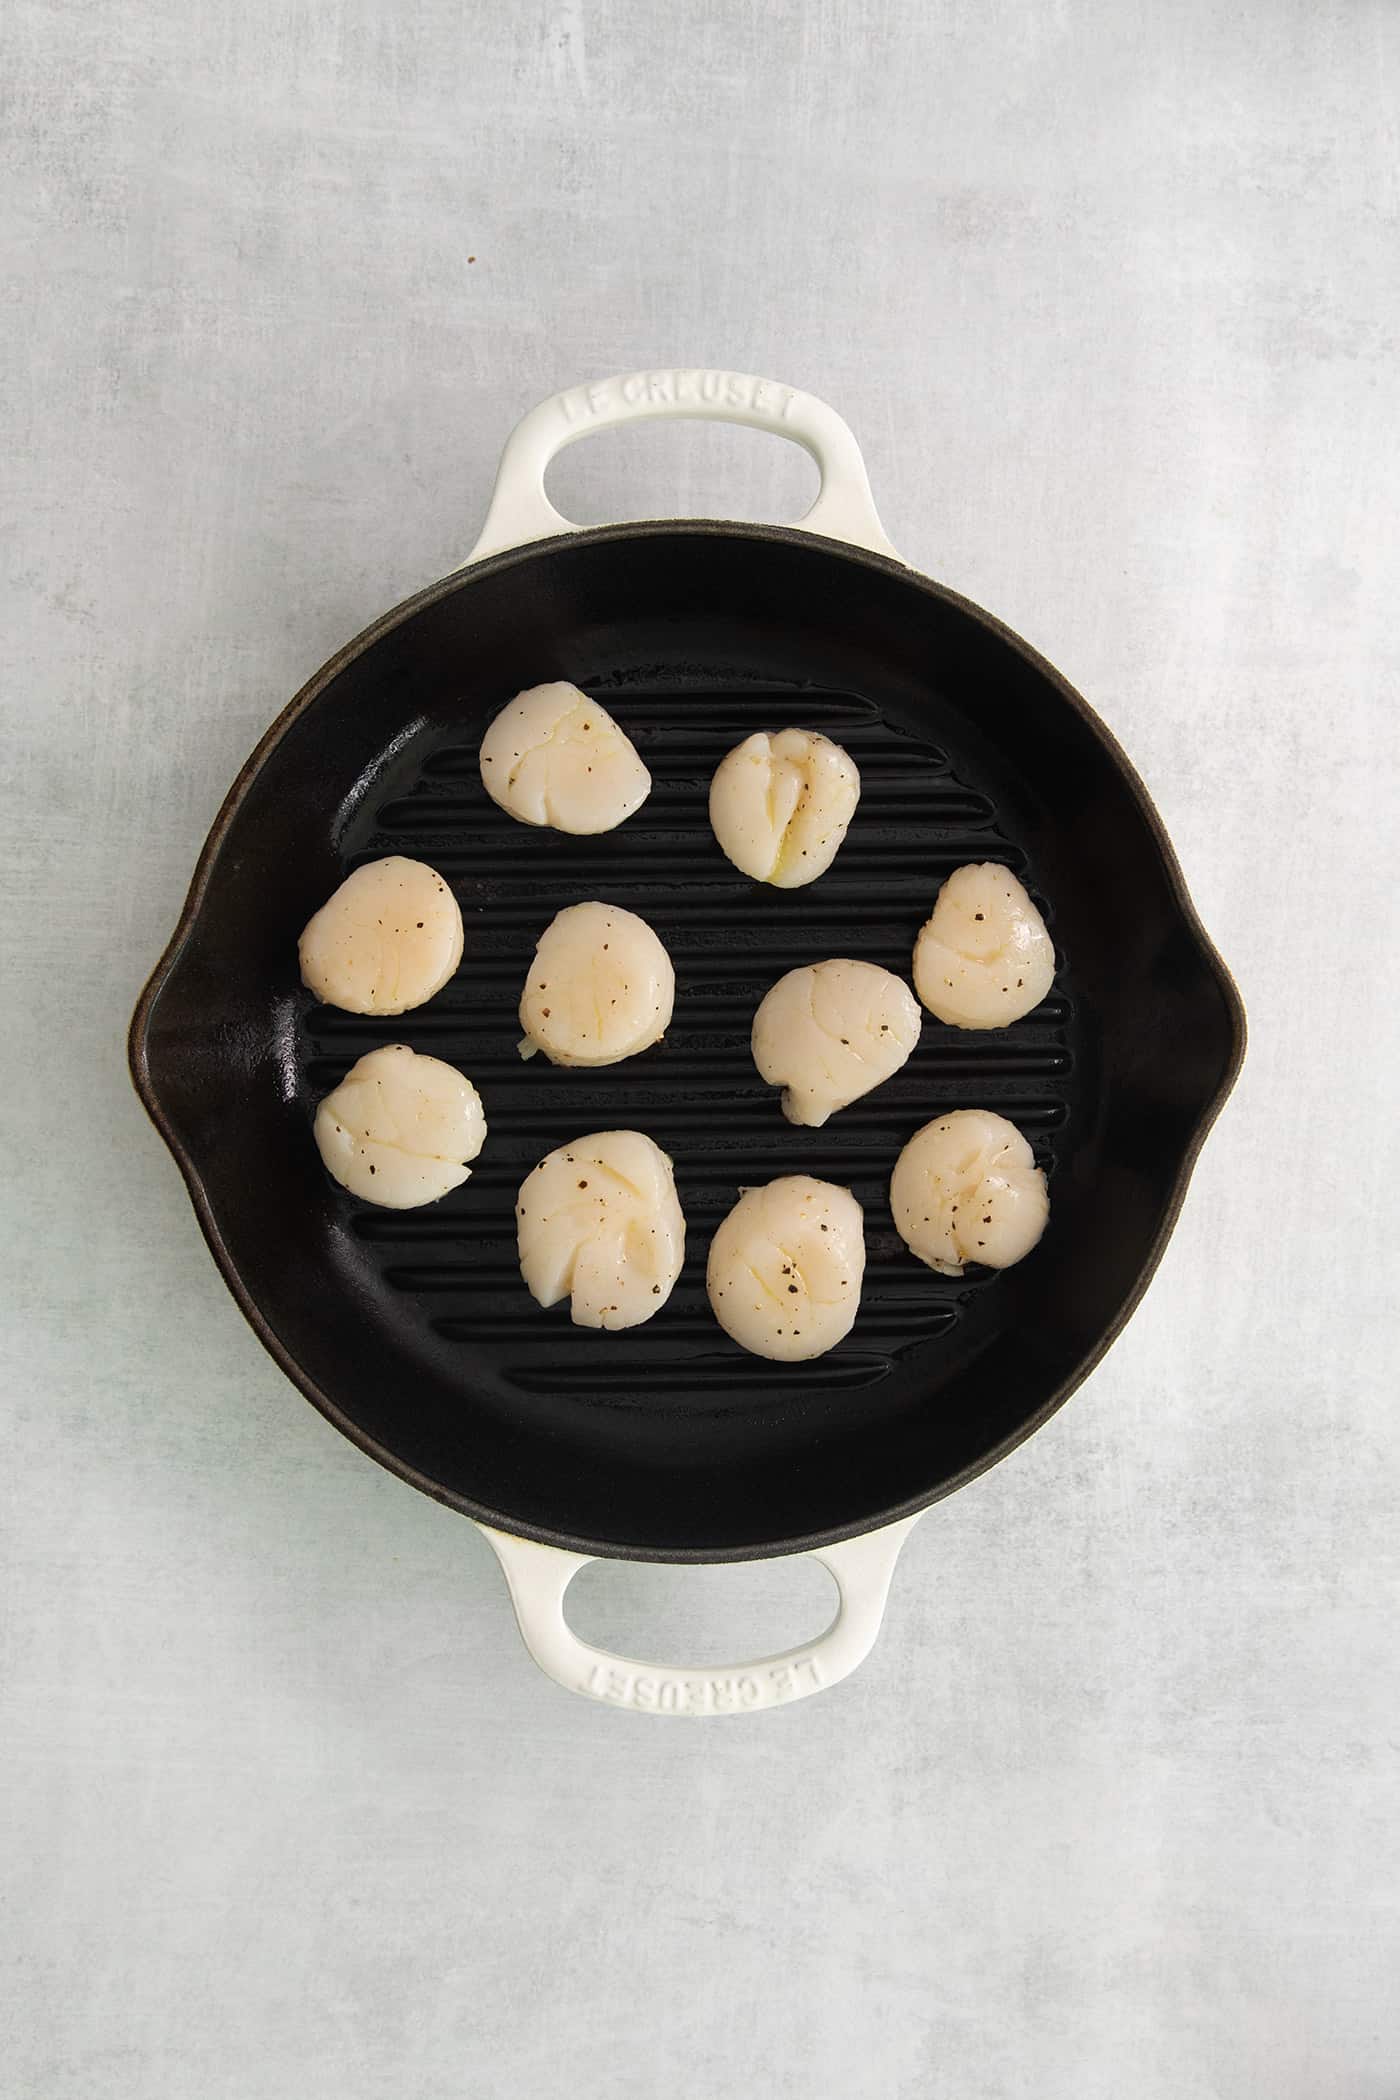
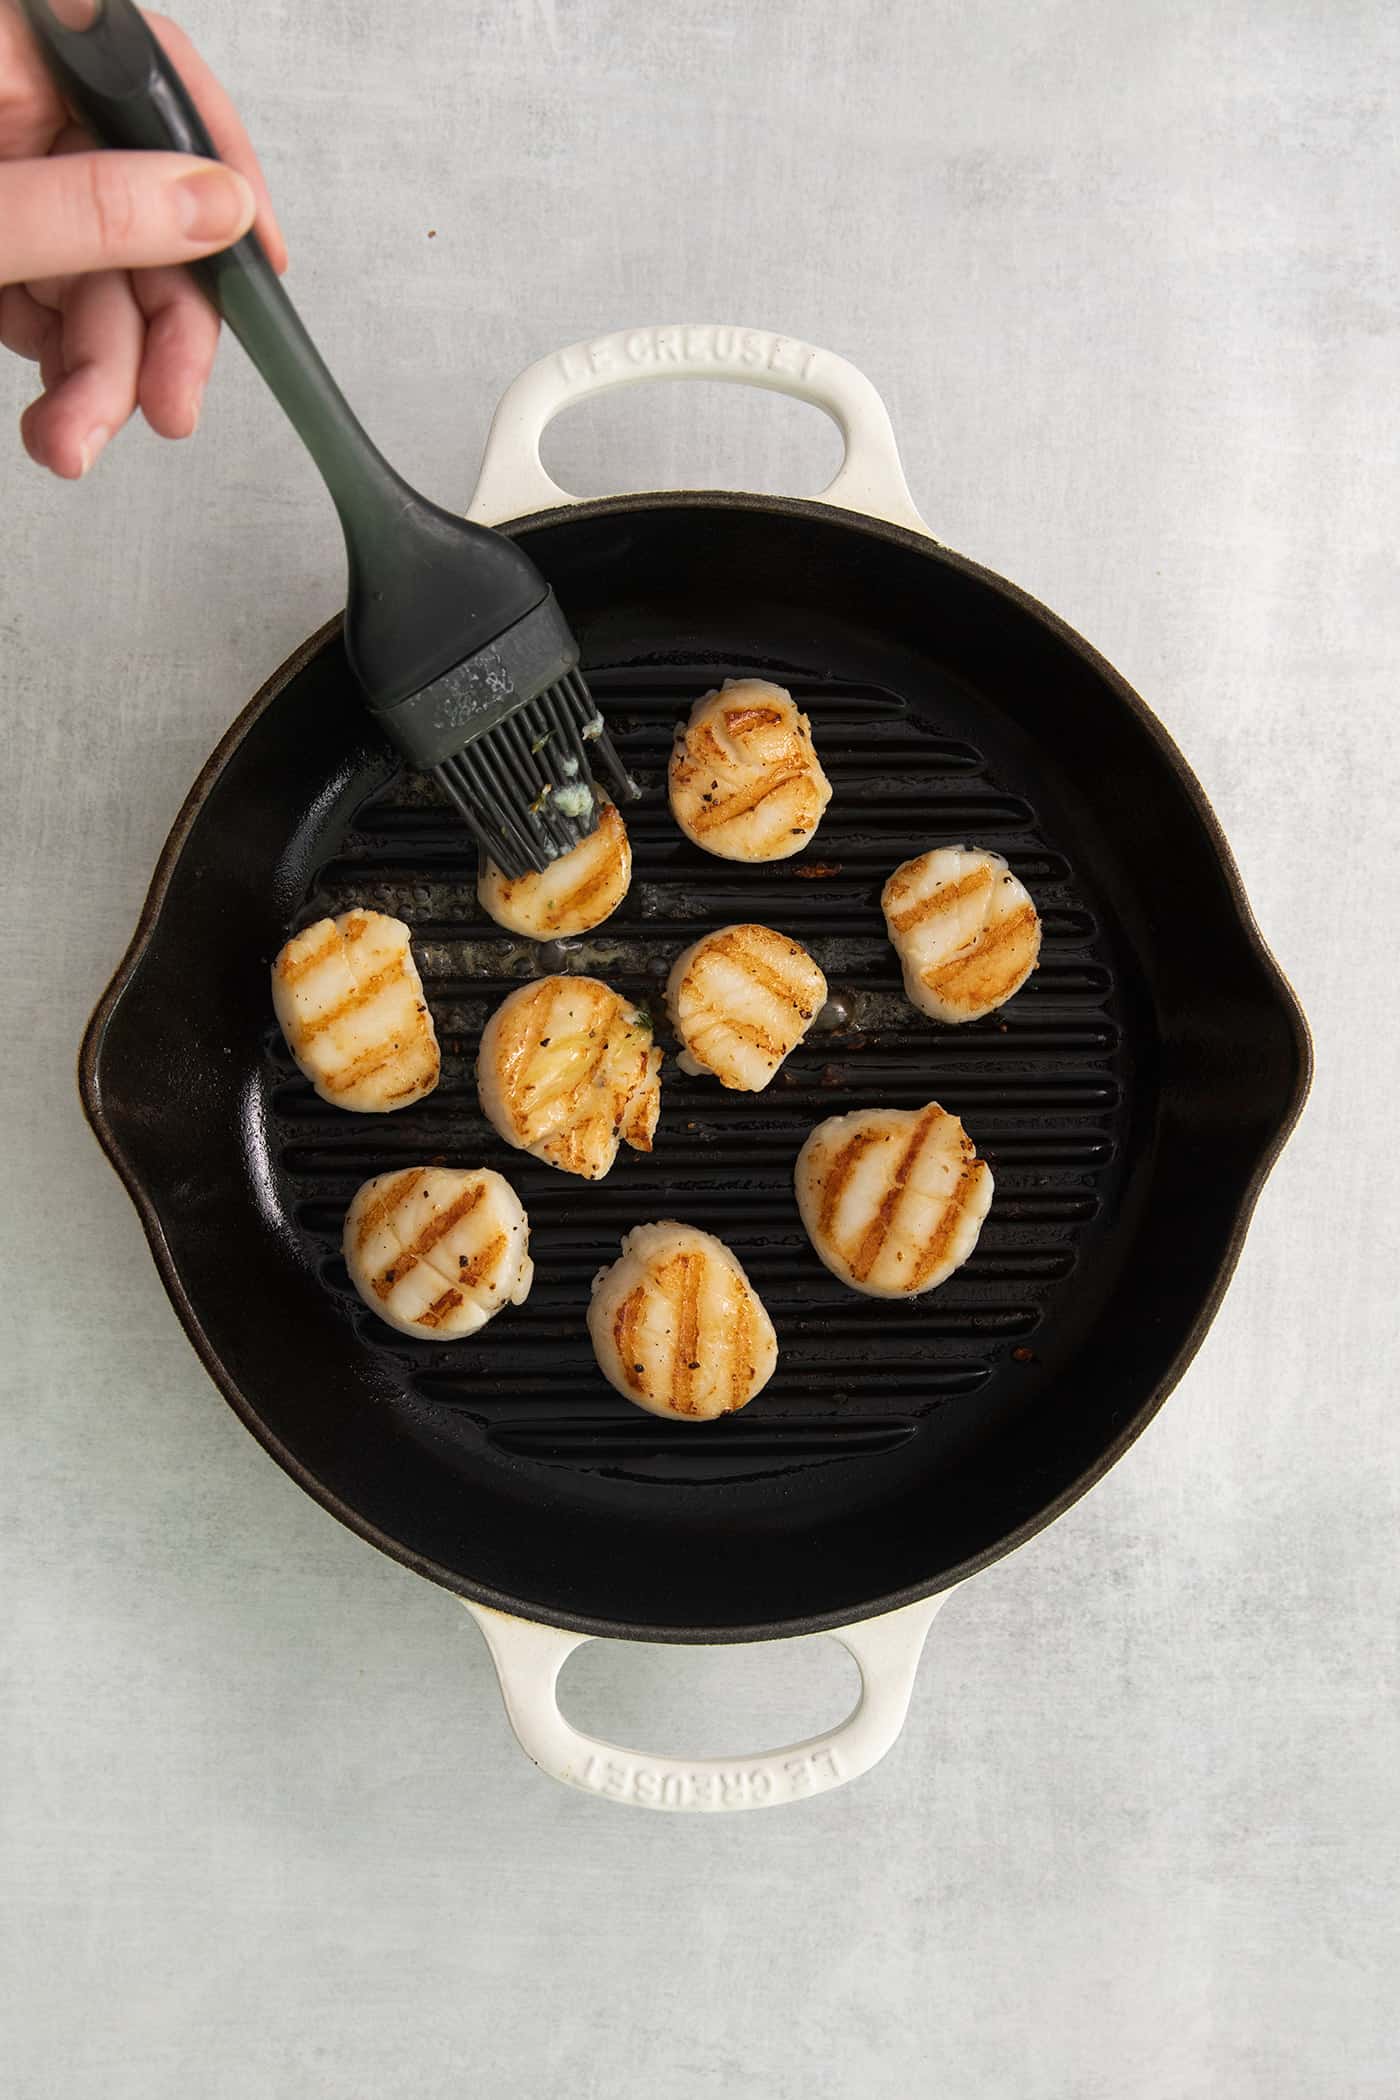
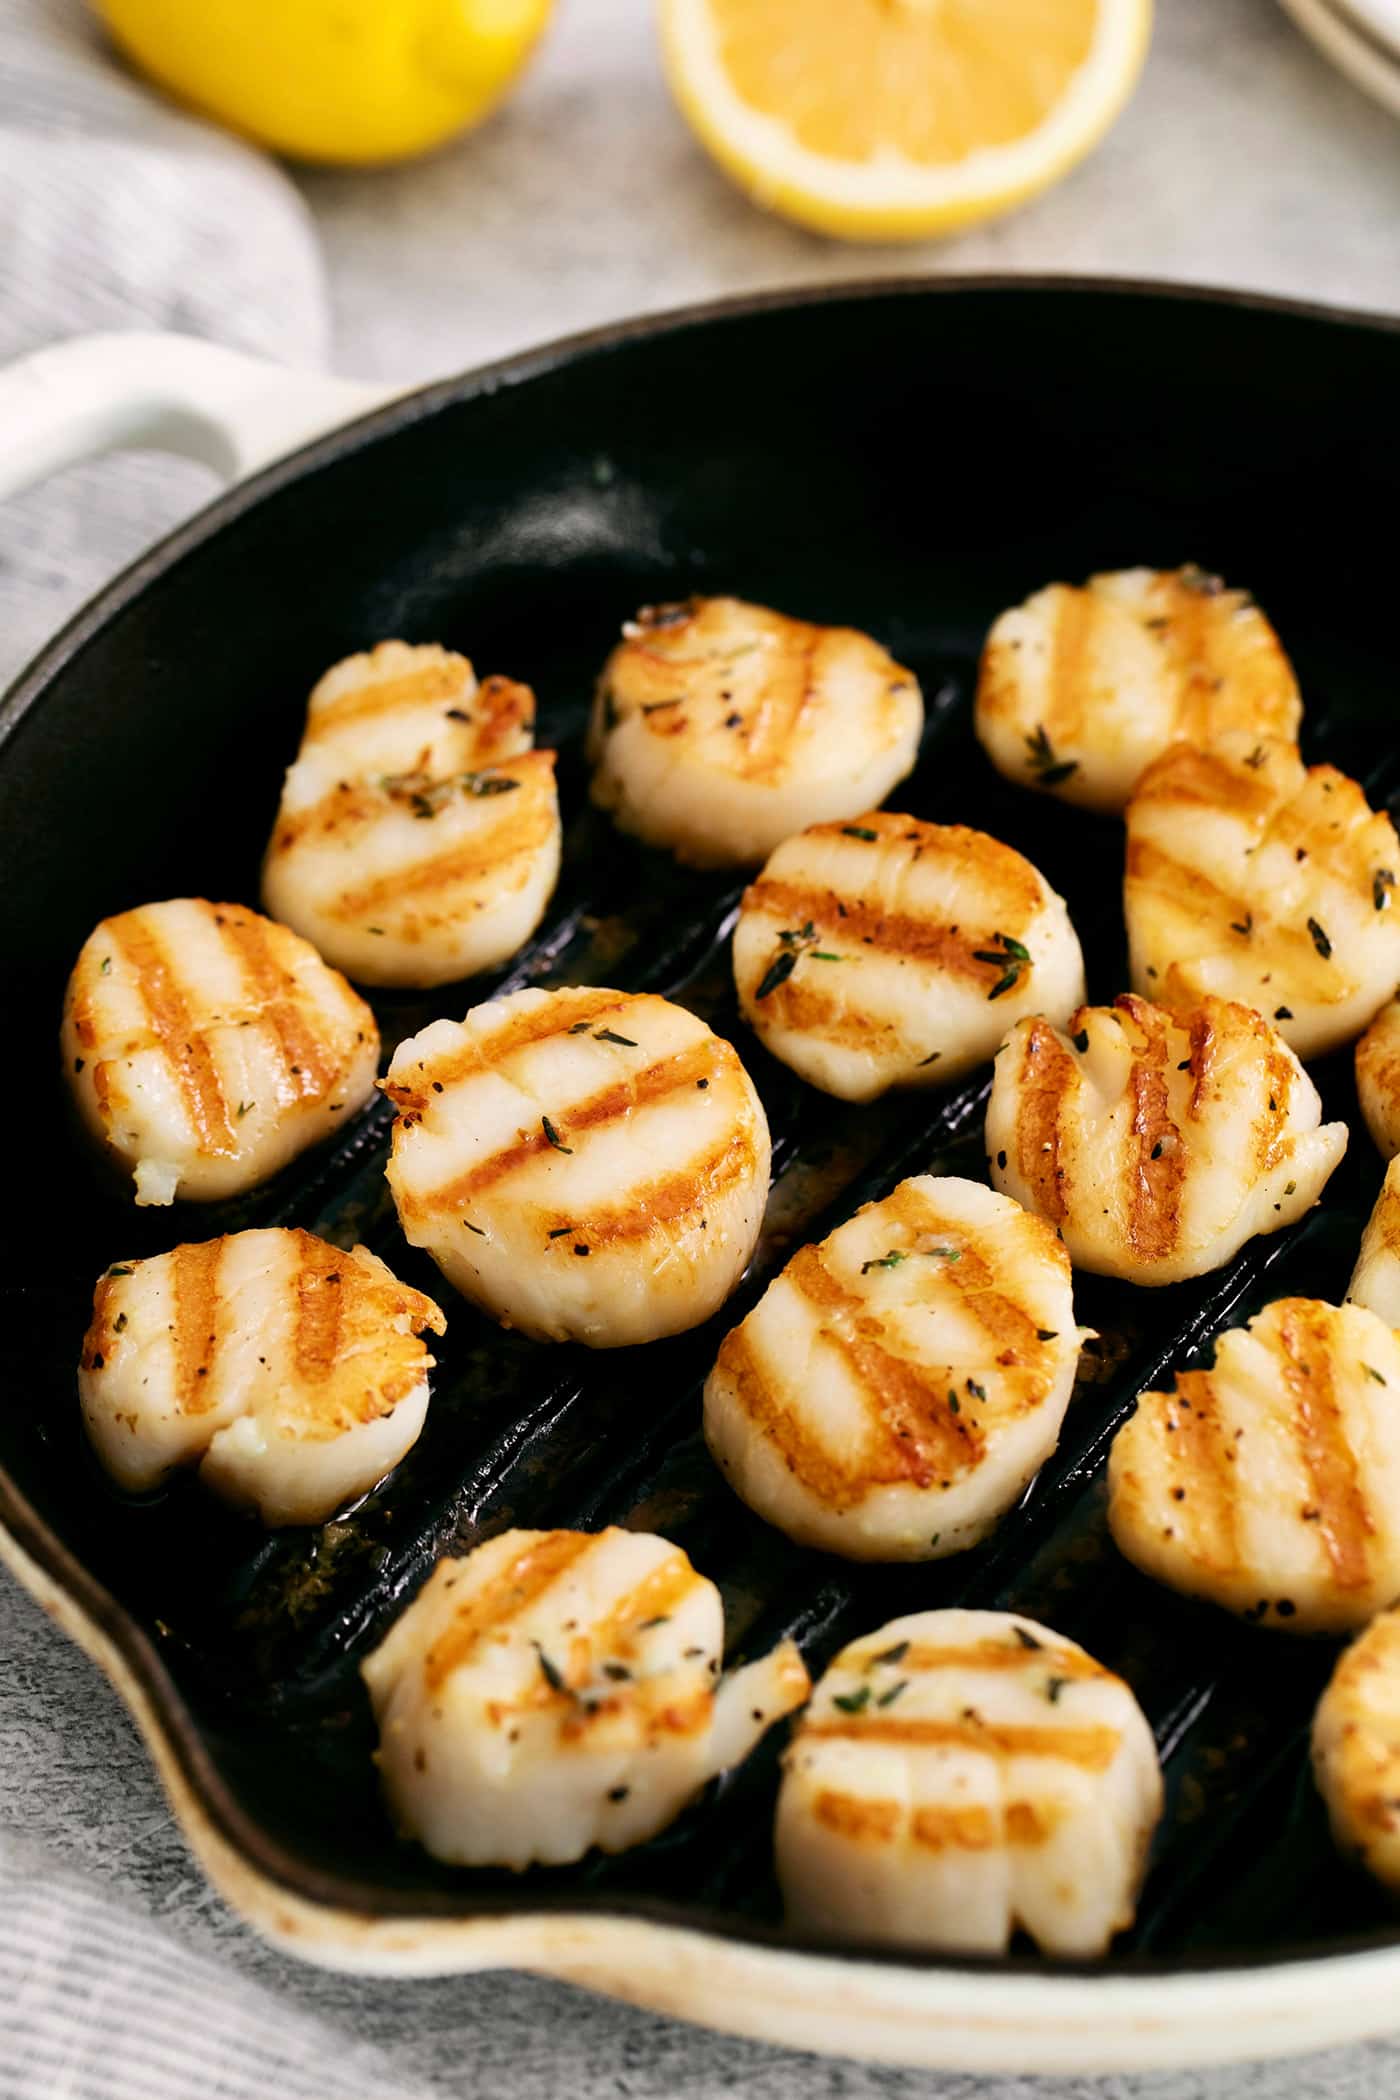
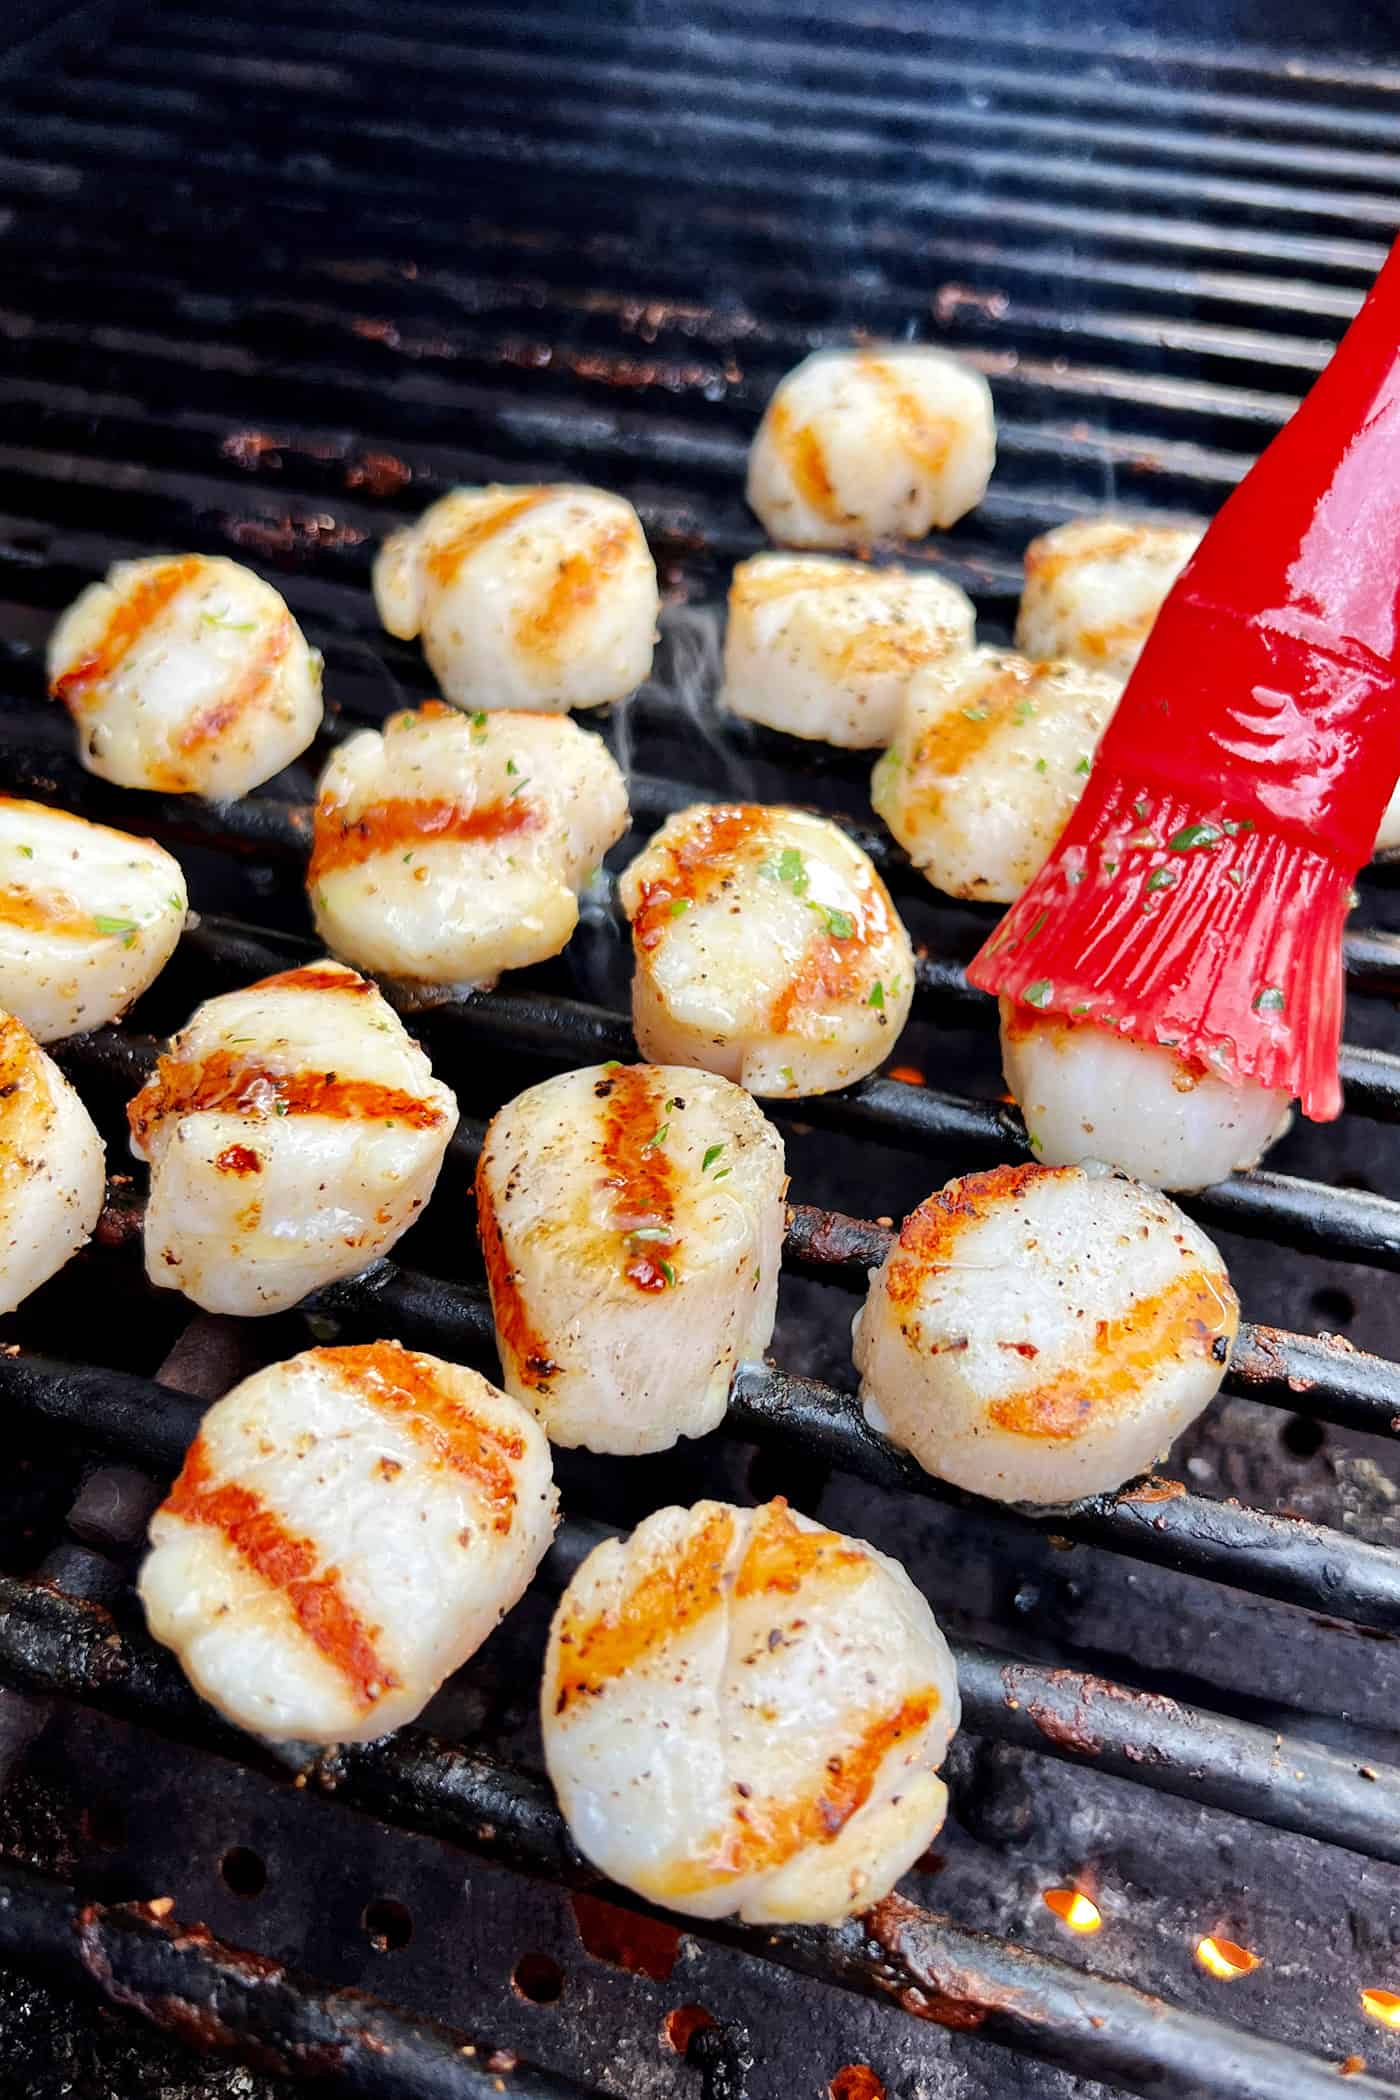
How to Make Grilled Scallops
It takes just 20 minutes to prepare scallops on the grill. Perfect for a quick and easy dinner or appetizer!
- Prepare the grill or grill pan. For the grill, preheat to high heat. Clean the grates and brush them lightly with vegetable oil. For a grill pan, preheat to high heat and then brush the pan lightly with vegetable oil.
- Prepare the scallops. Pat the scallops dry with a paper towel. Remove the adductor muscle if present. Combine olive oil and butter, then brush this mixture over the scallops and season with salt & pepper. Place on the hot grill.
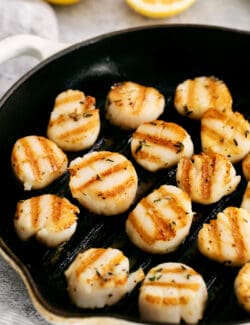
- Grill the scallops. Cook scallops for 4 to 5 minutes on one side. Flip the scallops and brush with garlic butter that’s mixed with fresh garlic, thyme, and lemon. Cook for an additional 2-3 minutes.
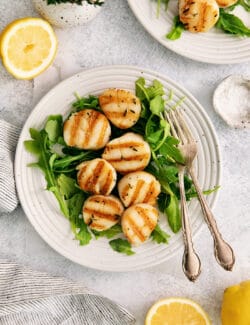
- Enjoy. Serve immediately, garnished with lemon and flaky sea salt.
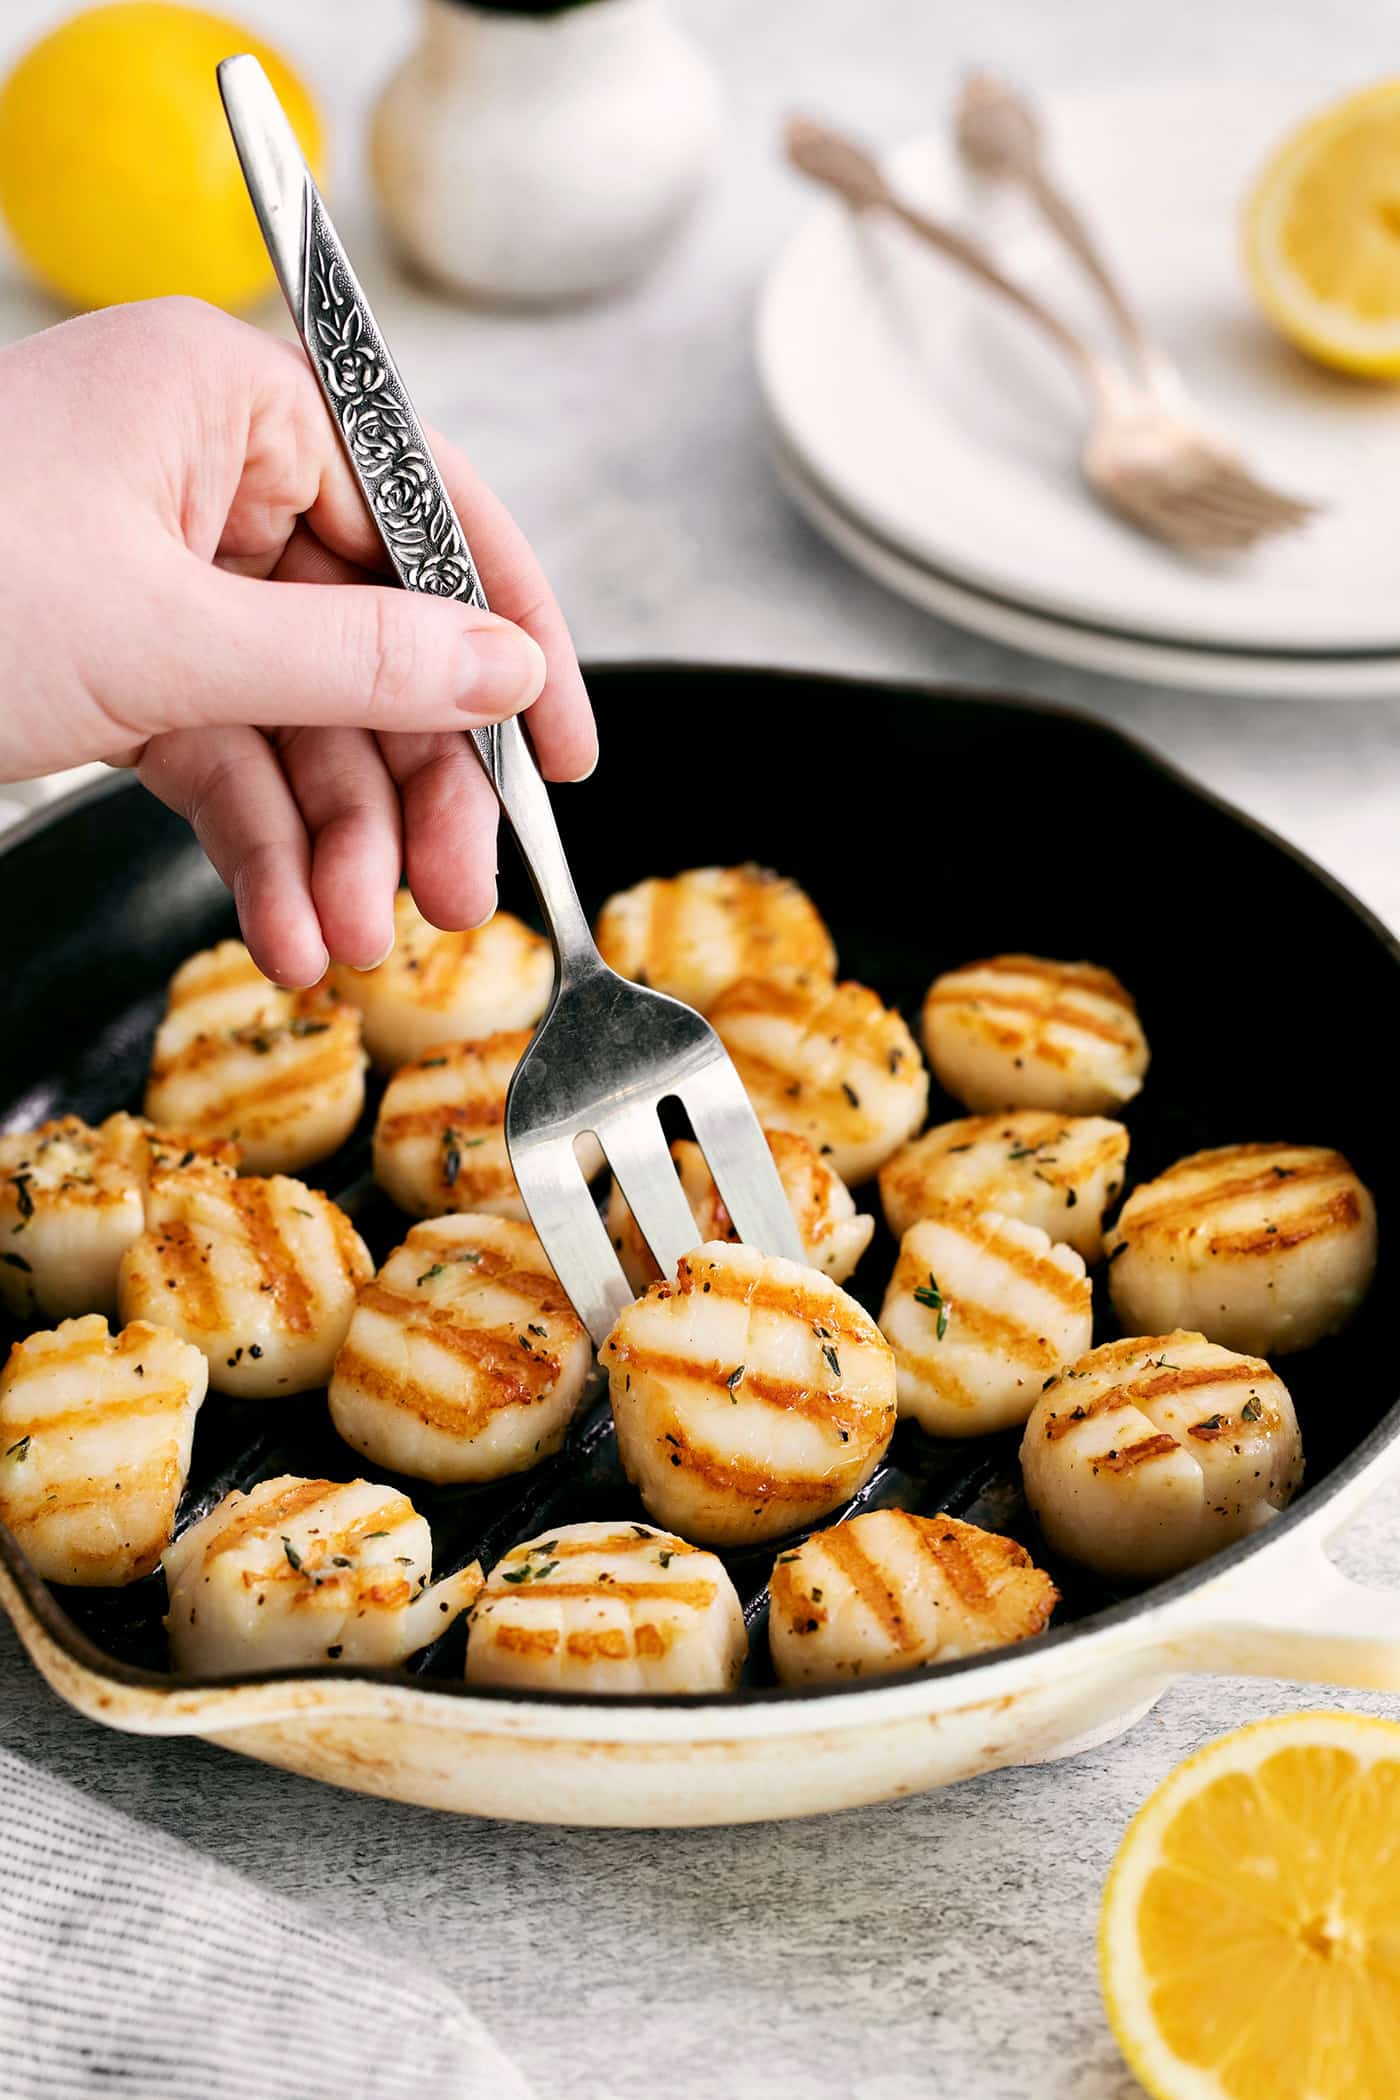
What Grill Should I Use?
You can use an outdoor grill to make these scallops, or a grill pan on the stovetop.
If weather allows, I do prefer to use an outdoor grill – simply because I like the added smoky flavor from the grill. But both ways will give you excellent grilled scallops.
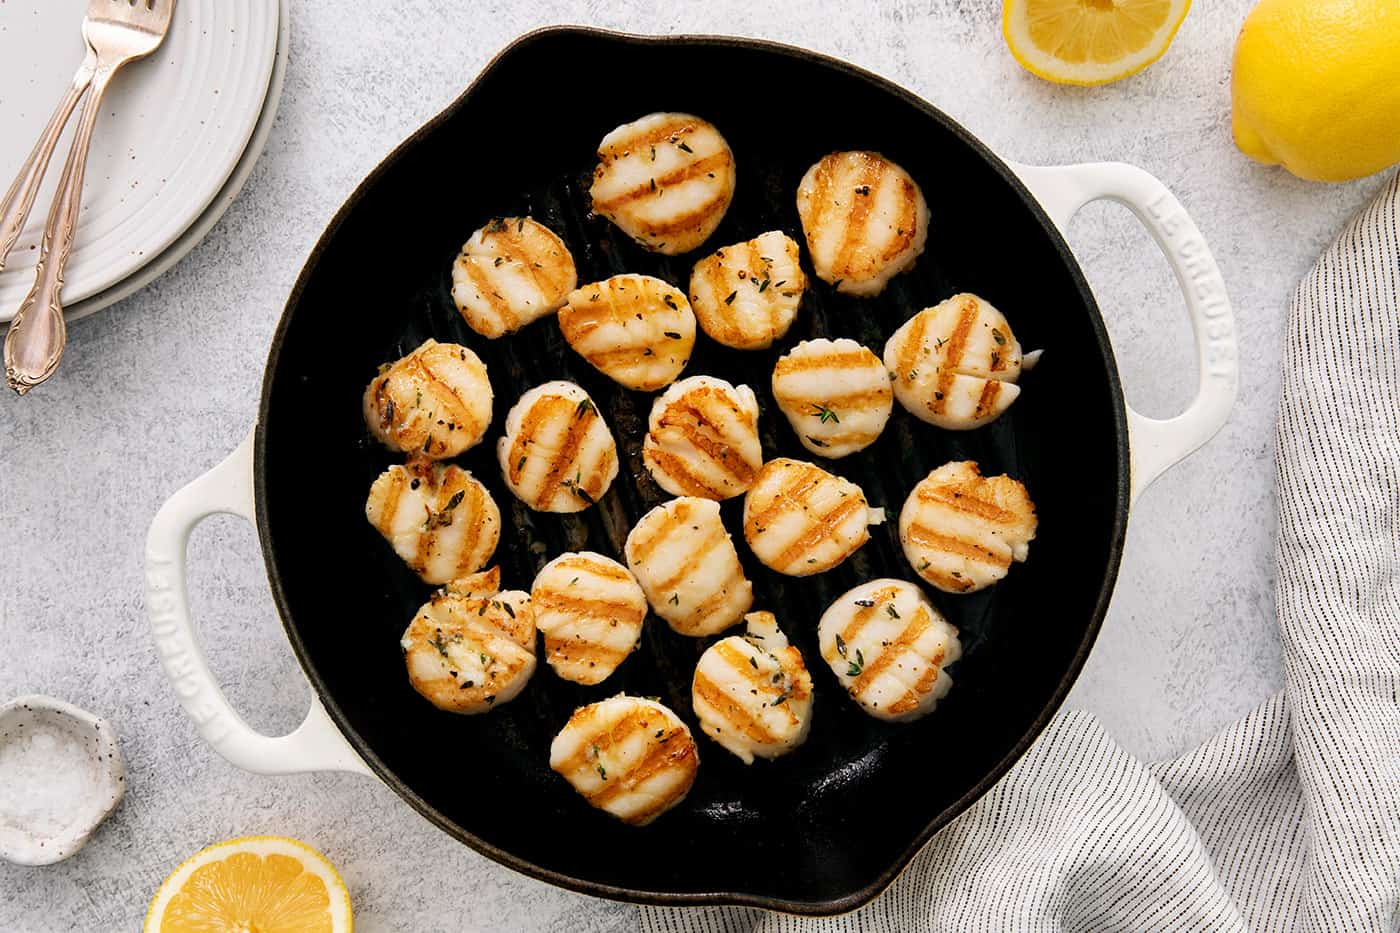
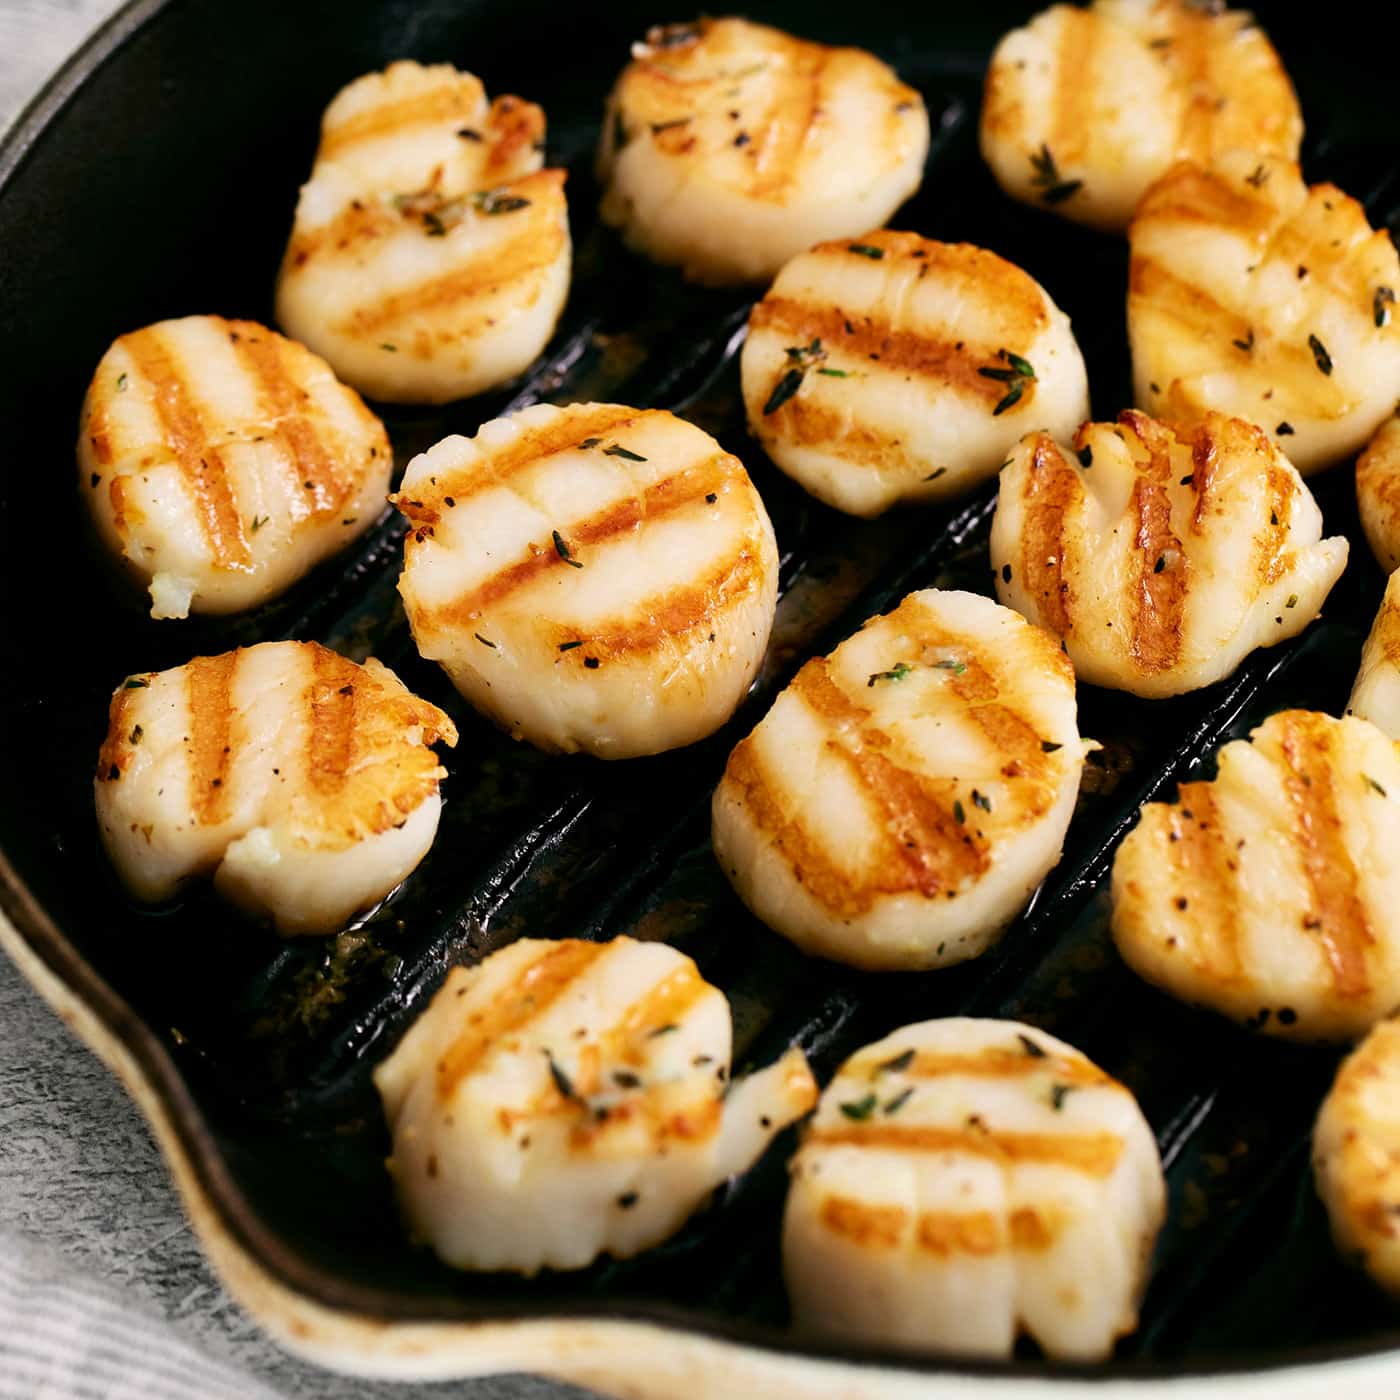
This Le Creuset grill pan works perfectly for indoor drilling. It’s a great option when you don’t have an outdoor grill, or when the weather’s too cold (or wet or windy!) to grill.
Tips for Success
Grilling scallops is super easy but there are a few things to keep in mind.
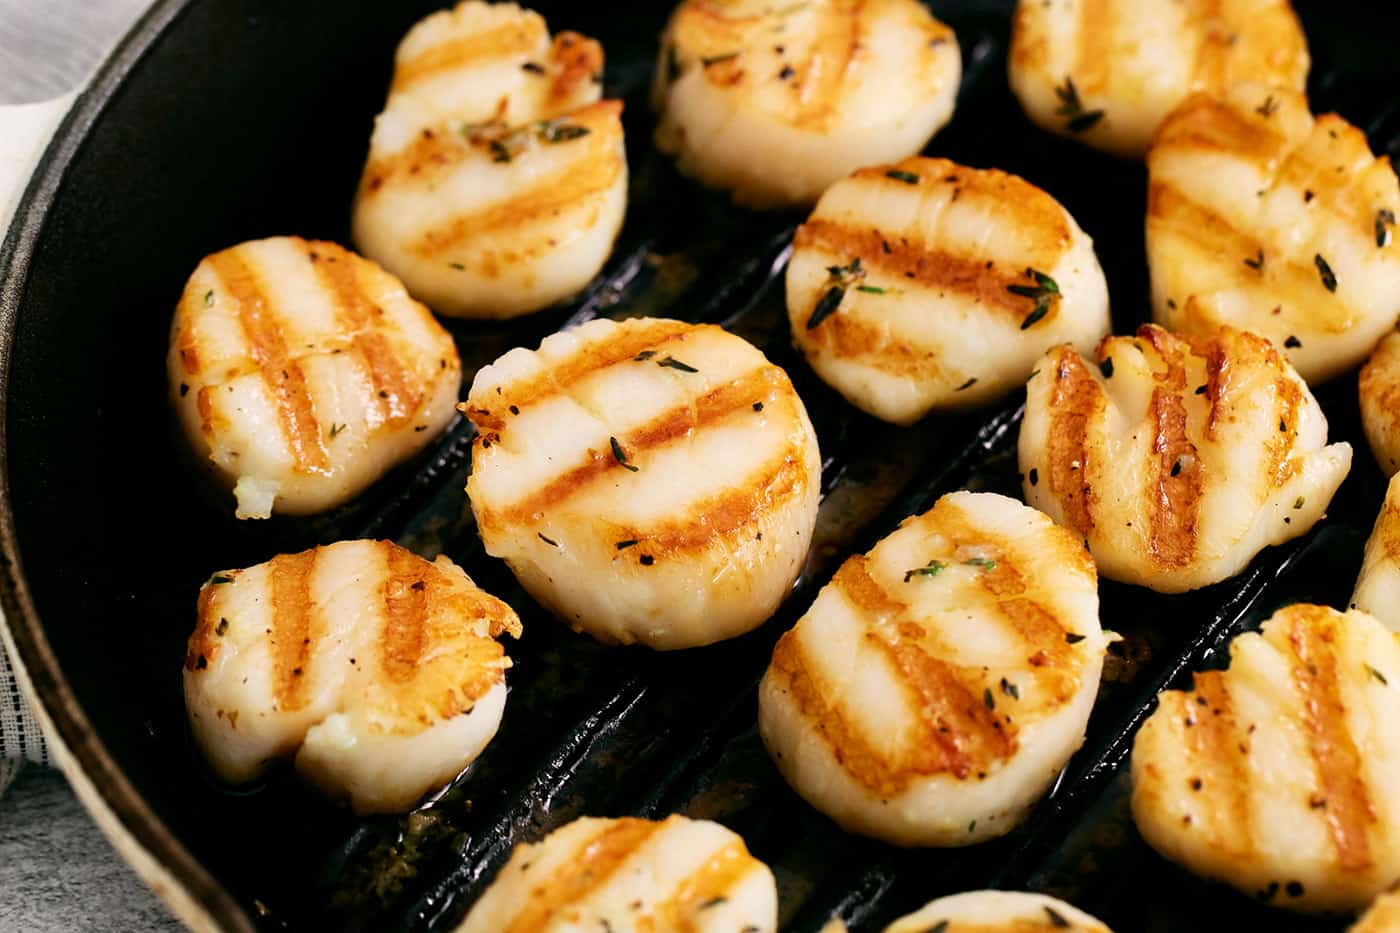
- Do not flip too soon. You want the scallops to get a nice sear, so be sure to leave them on the grill without prodding or flipping for about 5 minutes.
- How to flip scallops when they stick. If the scallops are sticking to the grill, use a thin metal spatula to scrape them away. If you pull on them, they can rip.
- Take care with flames on an outdoor grill. The garlic butter may cause the grill to flame up, so be cautious. You may want to turn the heat down a bit or move the scallops to a less active area.
- Plan to eat them right away. The scallops will be at their most tender, delicious best when you eat them shortly after removing them from the grill.
Serving Suggestions
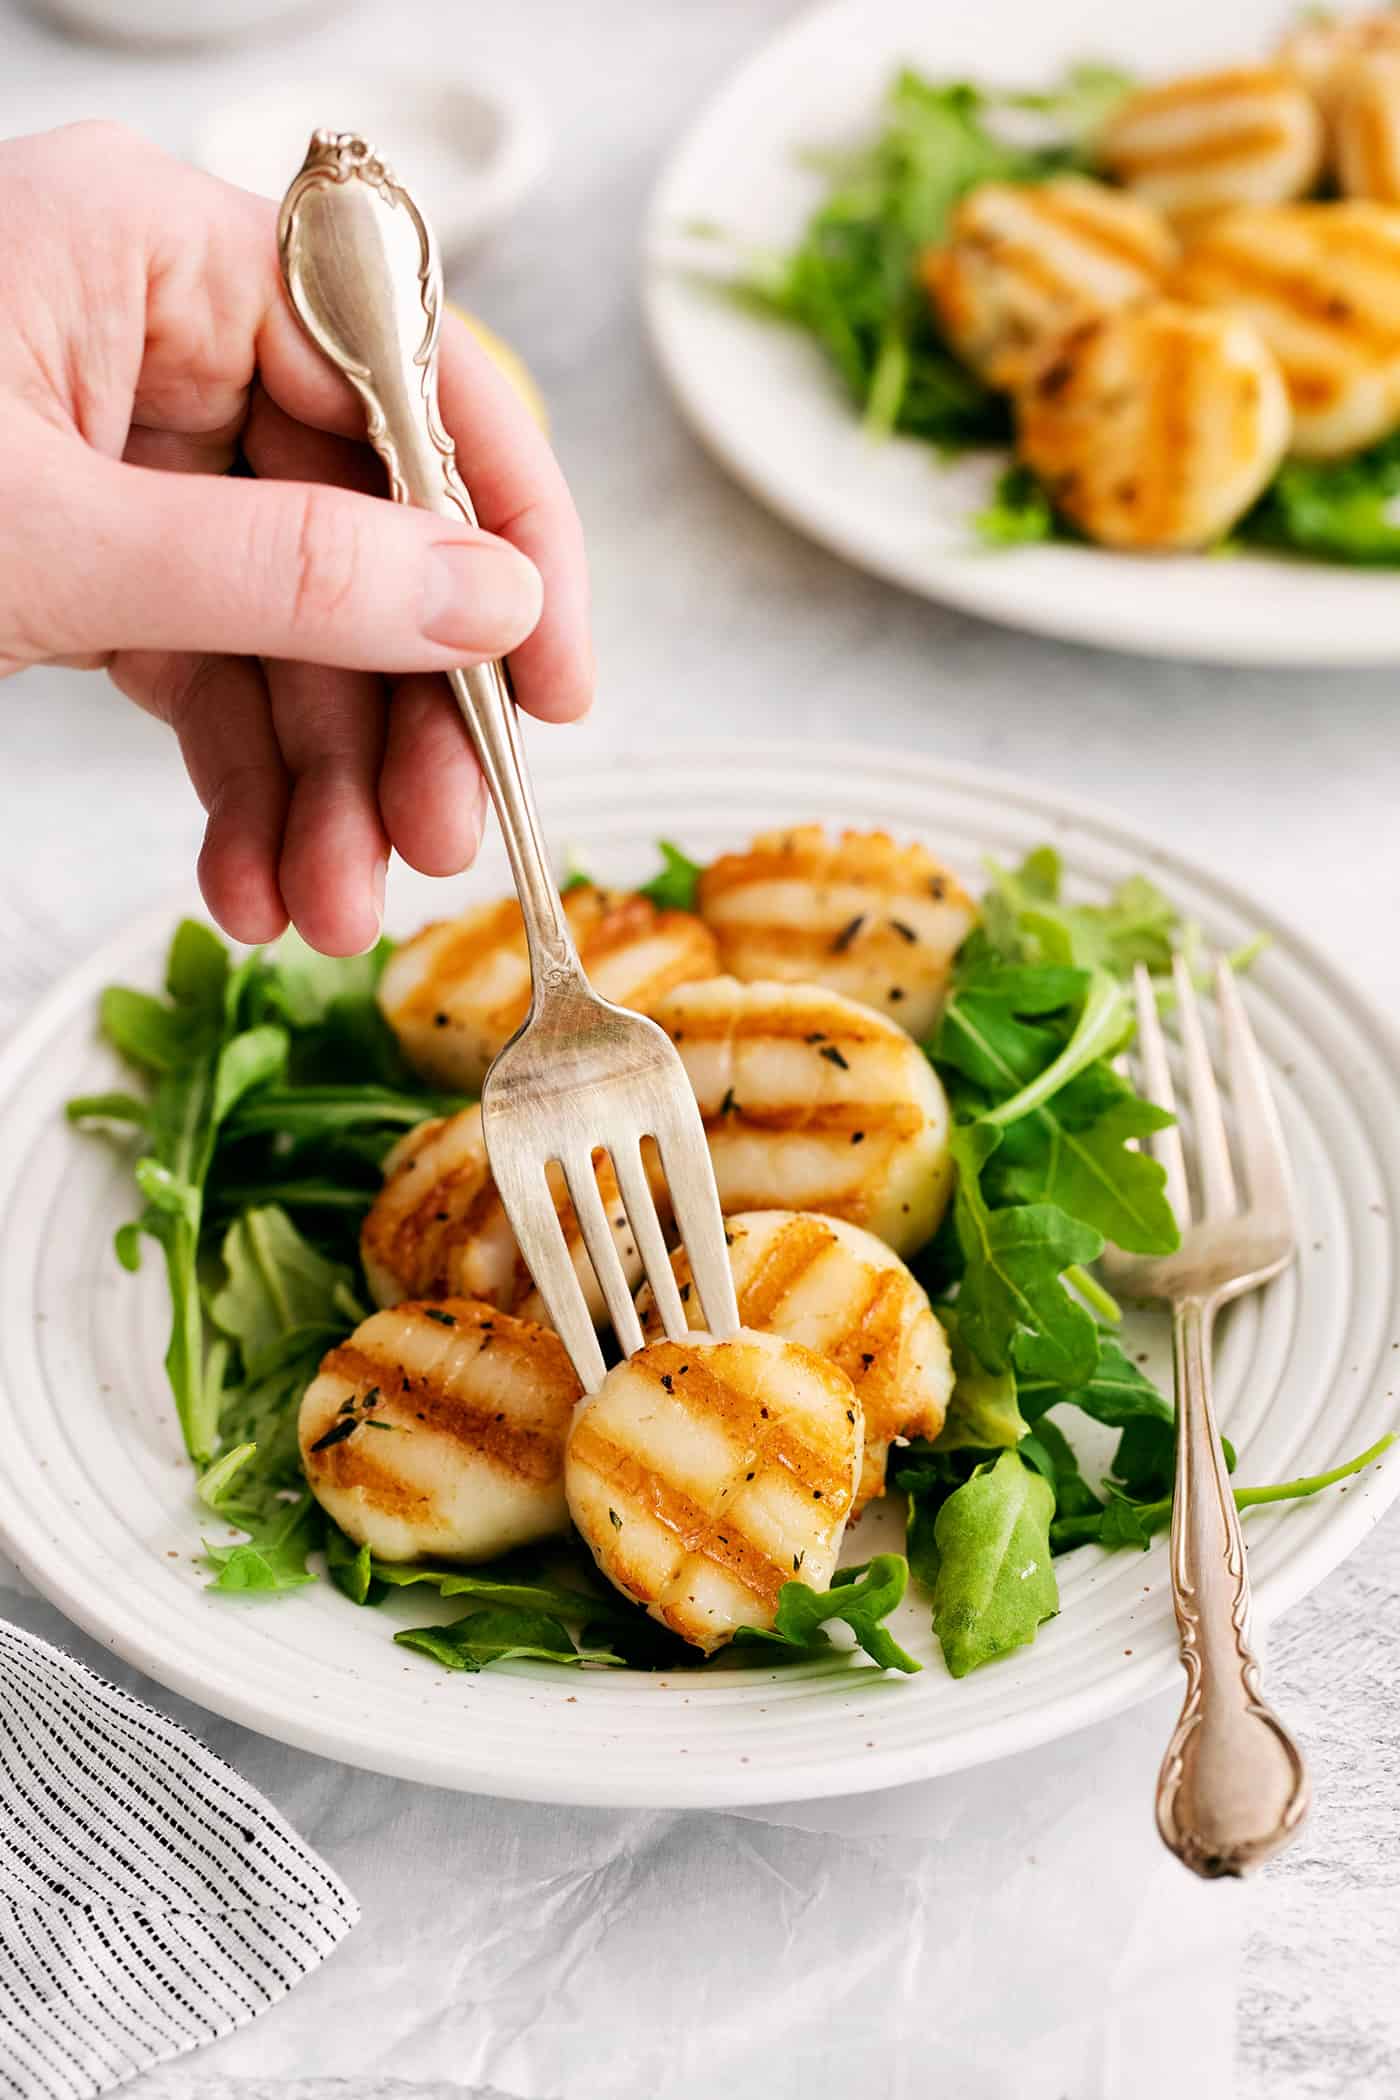
These buttery grilled sea scallops can be served as an appetizer or you can easily add a side dish or two to turn them into the star of the show.
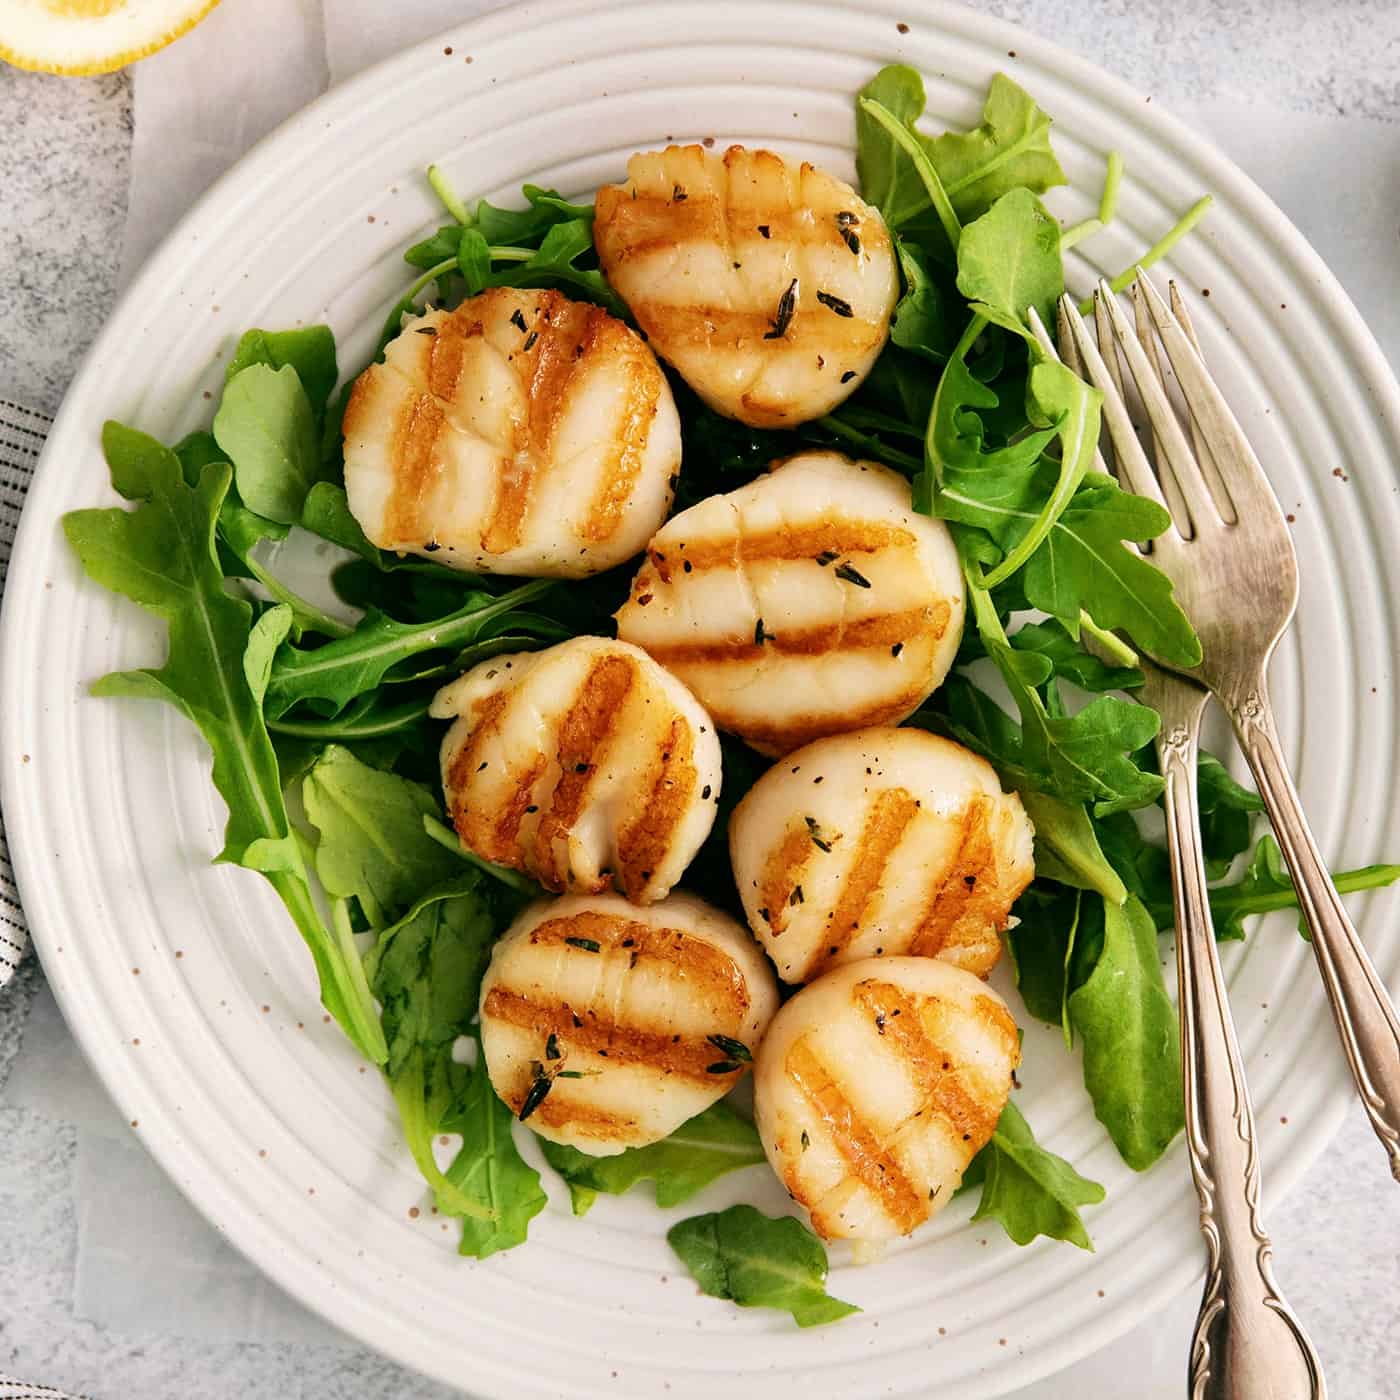
Personally, I like to serve these scallops with a potato side, like roasted potatoes or baked potatoes, and a vegetable. Roasted asparagus, grilled asparagus, and arugula salad are a few favorites.
Once plated, these scallops and sides look like a dinner straight from a restaurant. And no one will know it took you only 20 minutes to prepare those gorgeous scallops!
Can Scallops Be Reheated?
Grilled sea scallops are best enjoyed immediately. I do not recommend storing them and reheating later, as they tend to become overcooked. They can take on a tough, rubbery texture.
Of course, I also don’t recommend throwing food away – so if you can’t eat all of your scallops, you can store them for up to 2 days in the fridge. Reheat quickly/minimally on the stovetop or in the microwave.
Be alert to any “fishy” smell after storing in the fridge, as that’s a sign they’ve gone bad.
More Seafood Recipes:
Like this recipe? Save it to Pinterest!
Grilled Scallops
Ingredients
- 1 pound dry sea scallops
- 2 tablespoons olive oil divided
- 2 tablespoons unsalted butter divided and melted
- 1 teaspoon kosher salt
- ½ teaspoon freshly cracked black pepper
- 1 large clove garlic grated
- 1 teaspoon fresh thyme leaves minced
- 1 tablespoon lemon juice
Instructions
- Heat an outdoor grill or grill pan over high heat. Make sure grill grates are very clean. Give grill grates or grill pan a light brushing of vegetable oil.
- Pat scallops dry with a paper towel and remove any adductor muscles if they are still attached.
- In a small bowl, stir together 1 tablespoon of olive oil and 1 tablespoon of melted butter.
- Brush the scallops on both sides with the oil-butter mixture and then sprinkle with salt and pepper.
- Place the scallops flat side down on the hot grill grates or pan, taking care to not overcrowd the scallops. Reduce heat to medium-high.
- Cook the scallops for 4-5 minutes, or until they have golden brown grill marks and release naturally from the grill grates – don’t flip them prematurely, as you want them to get a good sear. And do not pull on the scallops as you flip them, or they may rip. If the scallops are wanting to stick, grab a thin metal spatula and use it to scrape the scallop away from the grill grates, fully intact.
- While the scallops sear on the first side, add the remaining 1 tablespoon olive oil and 1 tablespoon melted butter to a small bowl and stir to combine. Add the grated garlic, minced thyme, and lemon juice.
- Immediately after flipping the scallops, brush the garlic butter over the top of each one. If using an outdoor grill, be careful– the butter may cause the grill to flame up. If needed, turn the heat down a bit or move the scallops to an area of the grill that is less active with flames.
- Cook the scallops for an additional 2-3 minutes after flipping, or until they have golden brown grill marks on the second side.
- Enjoy these scallops immediately, garnished with a squeeze of lemon and flaky sea salt.
Notes
Nutrition Information:

get new posts via email: