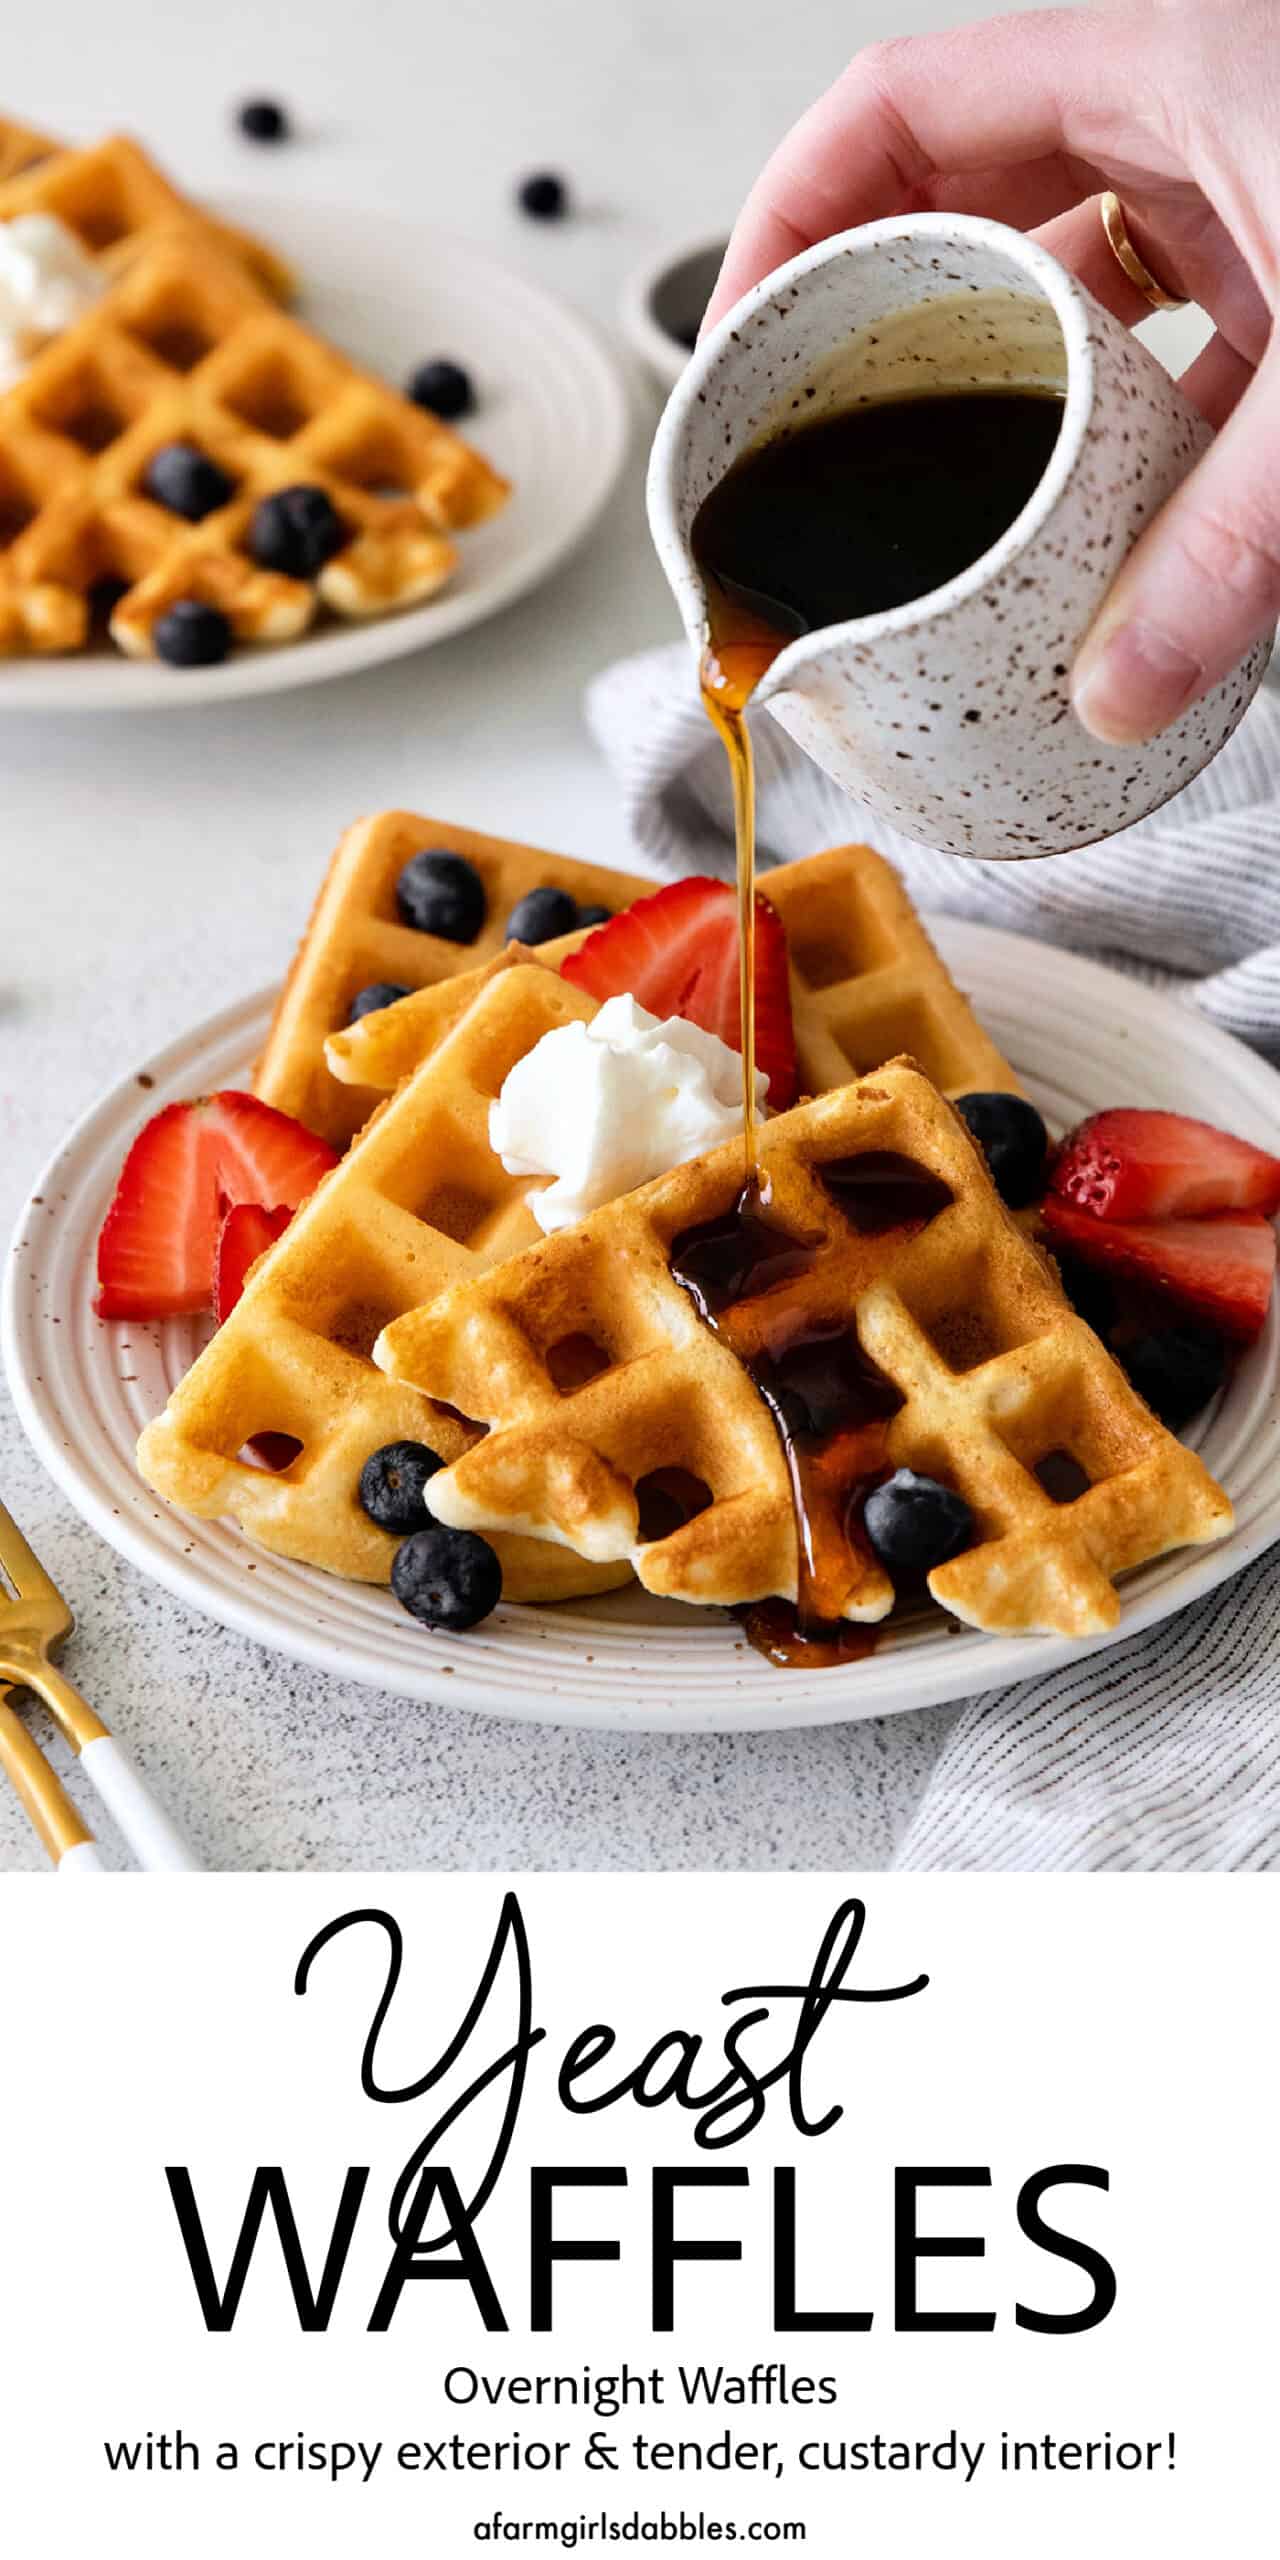
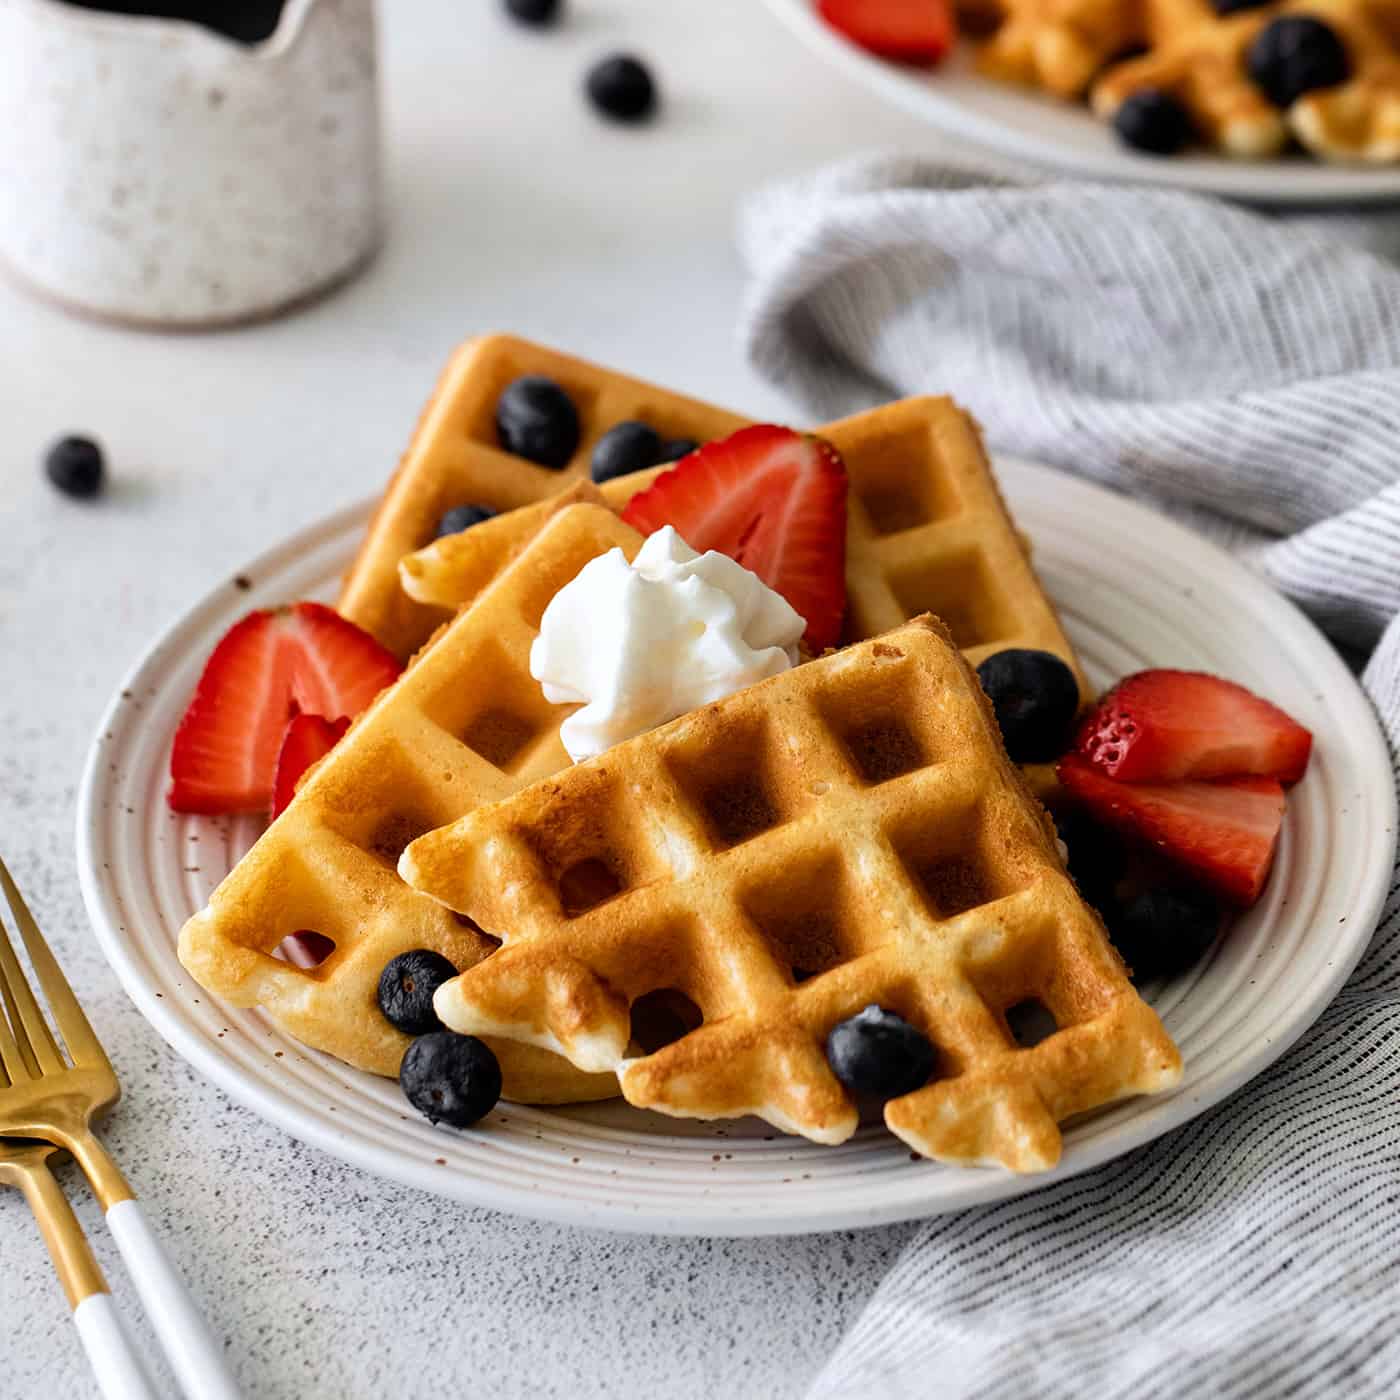
Light and crispy with a tender, custardy interior, these Yeast Waffles have rich, buttery flavor. Enjoy an easy breakfast anytime with minimal morning prep, as these overnight waffles are prepared in advance!
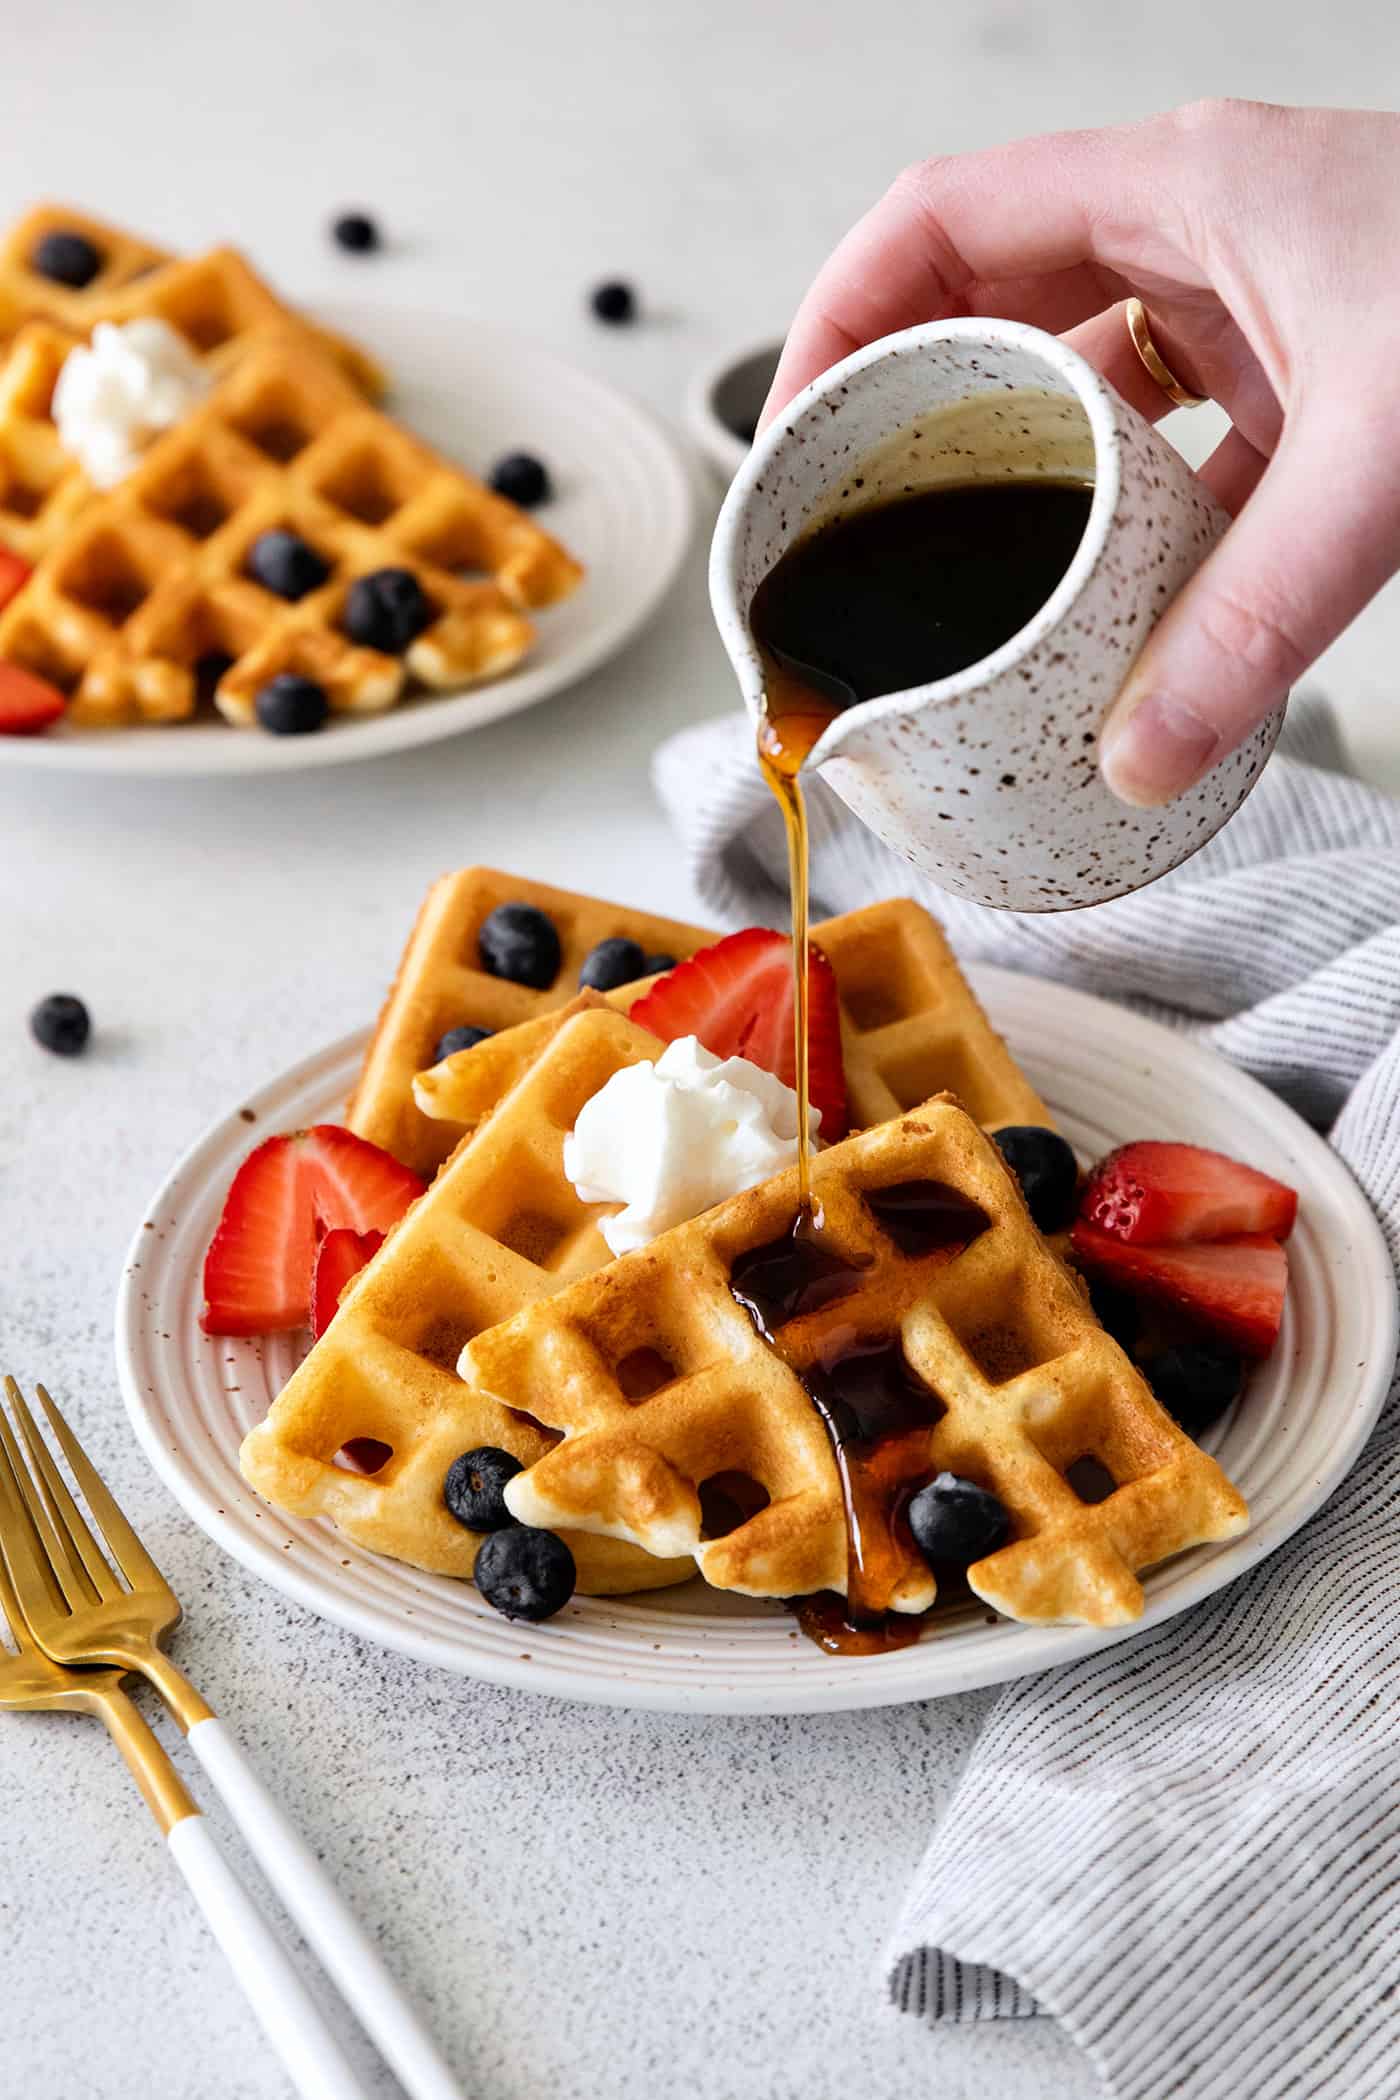
Overnight Waffles with Yeast
I adore a good waffle.
And my recipe box has room for a variety of homemade waffle recipes, from buttermilk waffles, to Belgian waffles, to super easy classic waffles. I love them all!
But there’s an extra special place in my heart for these incredible Yeast Waffles!
yeast waffles, overnight waffles, overnight yeast waffles
What Makes These Waffles So Good?
Yeasted waffles, how do I love thee? Let me count the ways!
- Flavor. Yeast gives these waffles a more complex flavor that just can’t be replicated without it. It’s wonderful!
- Texture. These waffles are light, with a crispy exterior that doesn’t quickly turn soggy. And the creamy custardy inside? It’s heavenly.
- Aroma. Again, we have the yeast to thank. Your kitchen will smell ahhhhhmazing.
- Ease. This is a great overnight waffles recipe. Just mix up the batter the evening before and let it sit on the counter overnight to rise. I love waking up to a batter that’s ready to go!
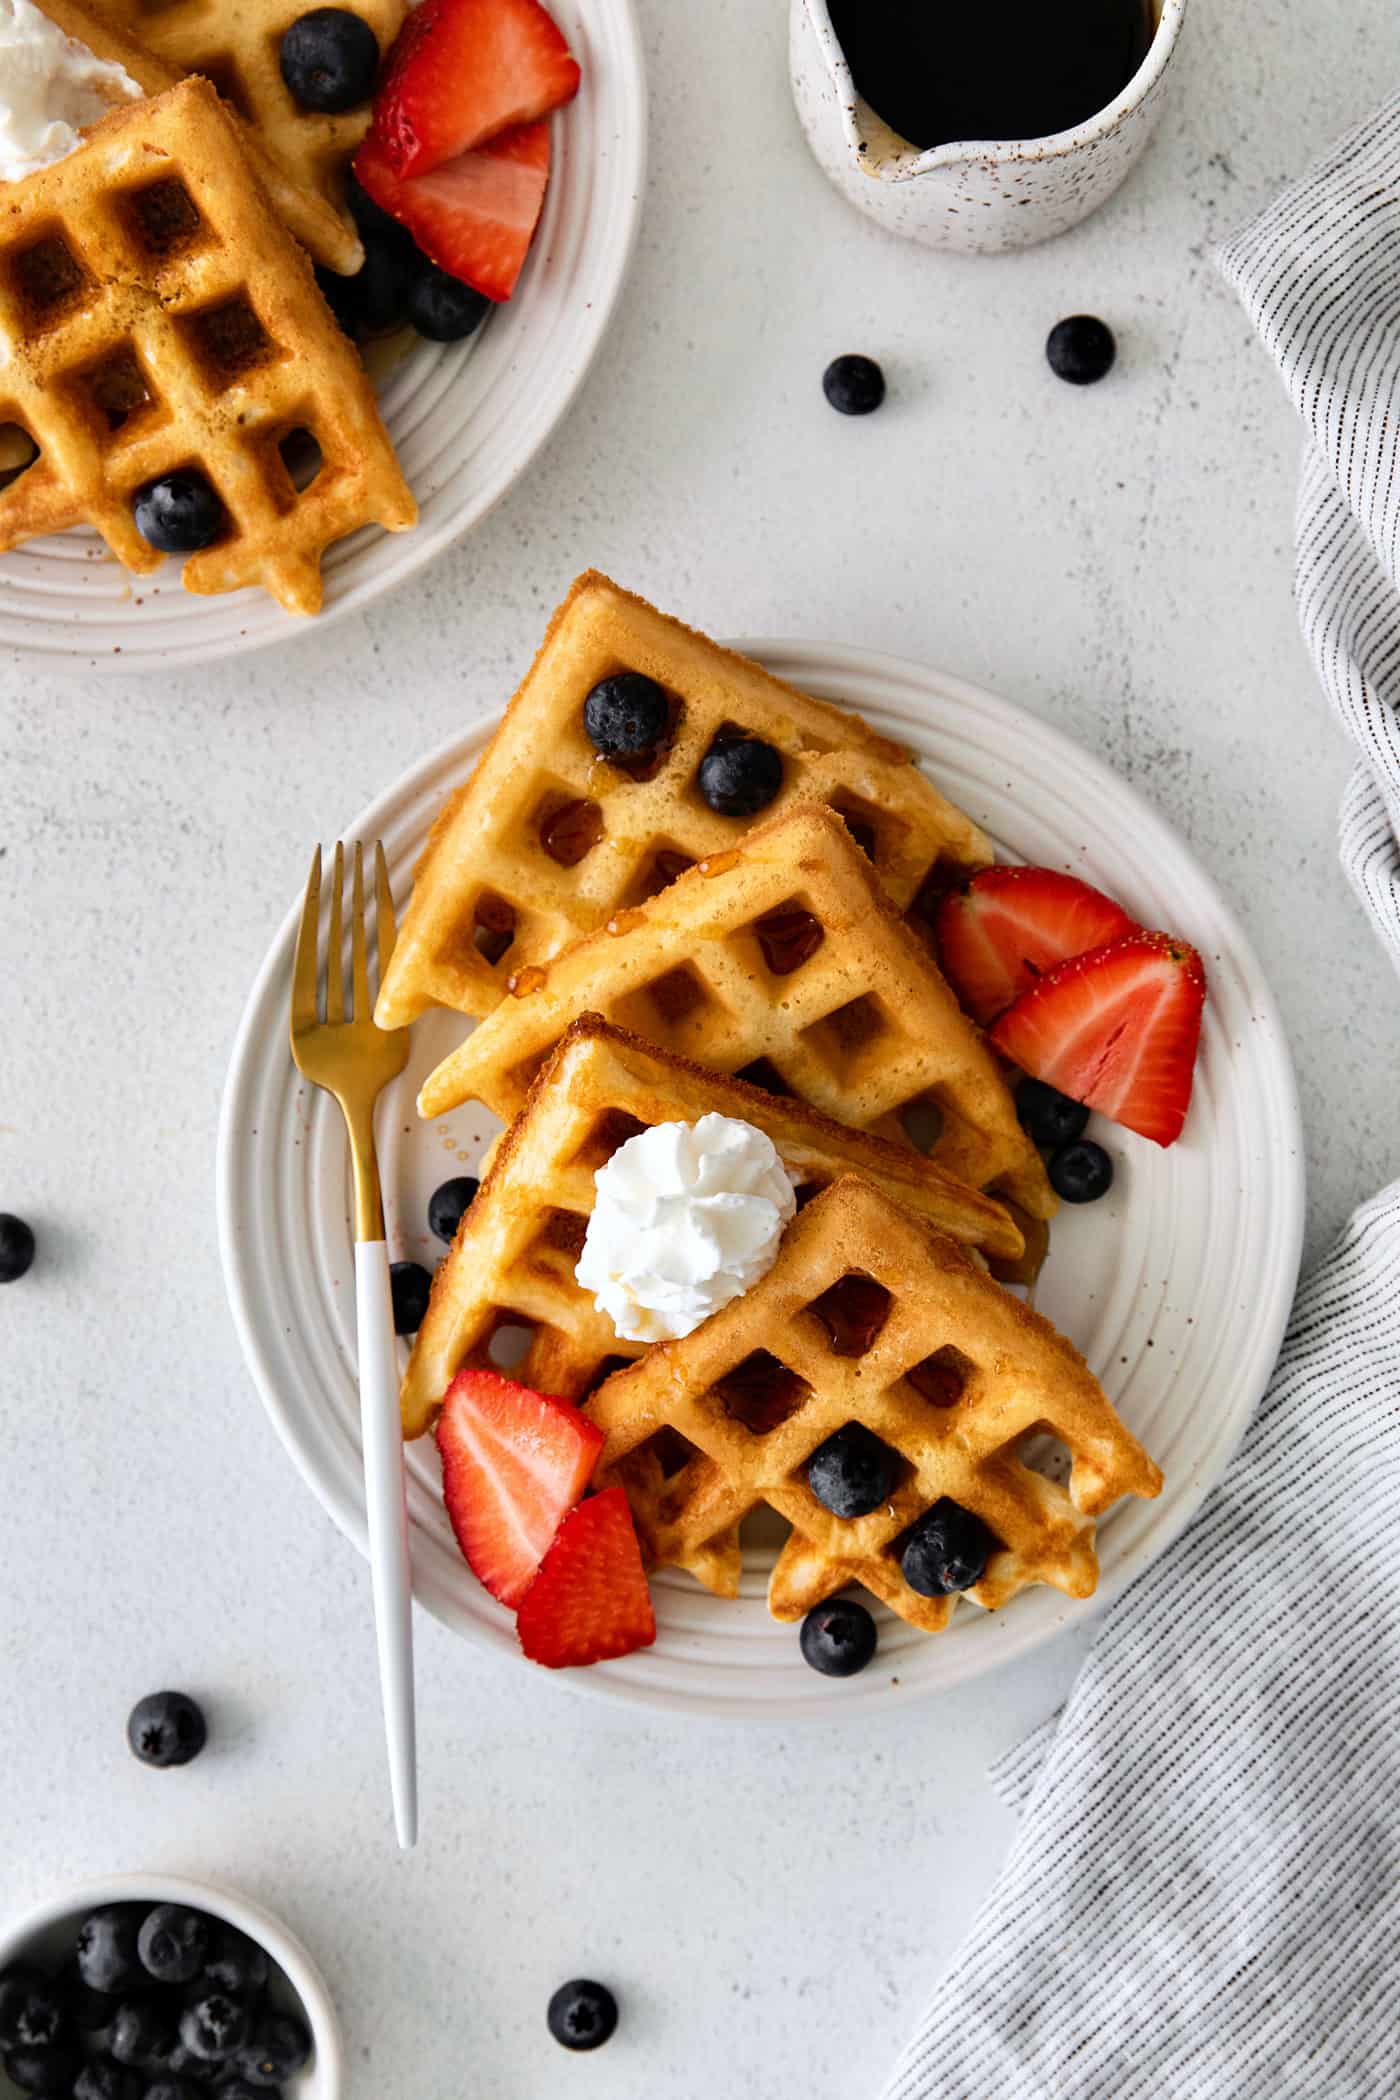
Buttermilk vs Yeasted Waffles
What makes yeast waffles different than other types of waffles like the classic buttermilk waffles?
The primary difference is how they’re made. Buttermilk waffles rely on the reaction between the buttermilk and leavening agents to rise, while the yeast waffles rise from the yeast. The yeast waffles rise from the heat of the waffle iron, making them lighter and crispier.
There are also differences in the flavor. Buttermilk waffles have a light tang from the buttermilk while yeasted waffles have a deeper, more complex flavor.
There are more eggs used in the yeast batter as well, which creates a wonderfully tender, custardy interior, plus a richer flavor.
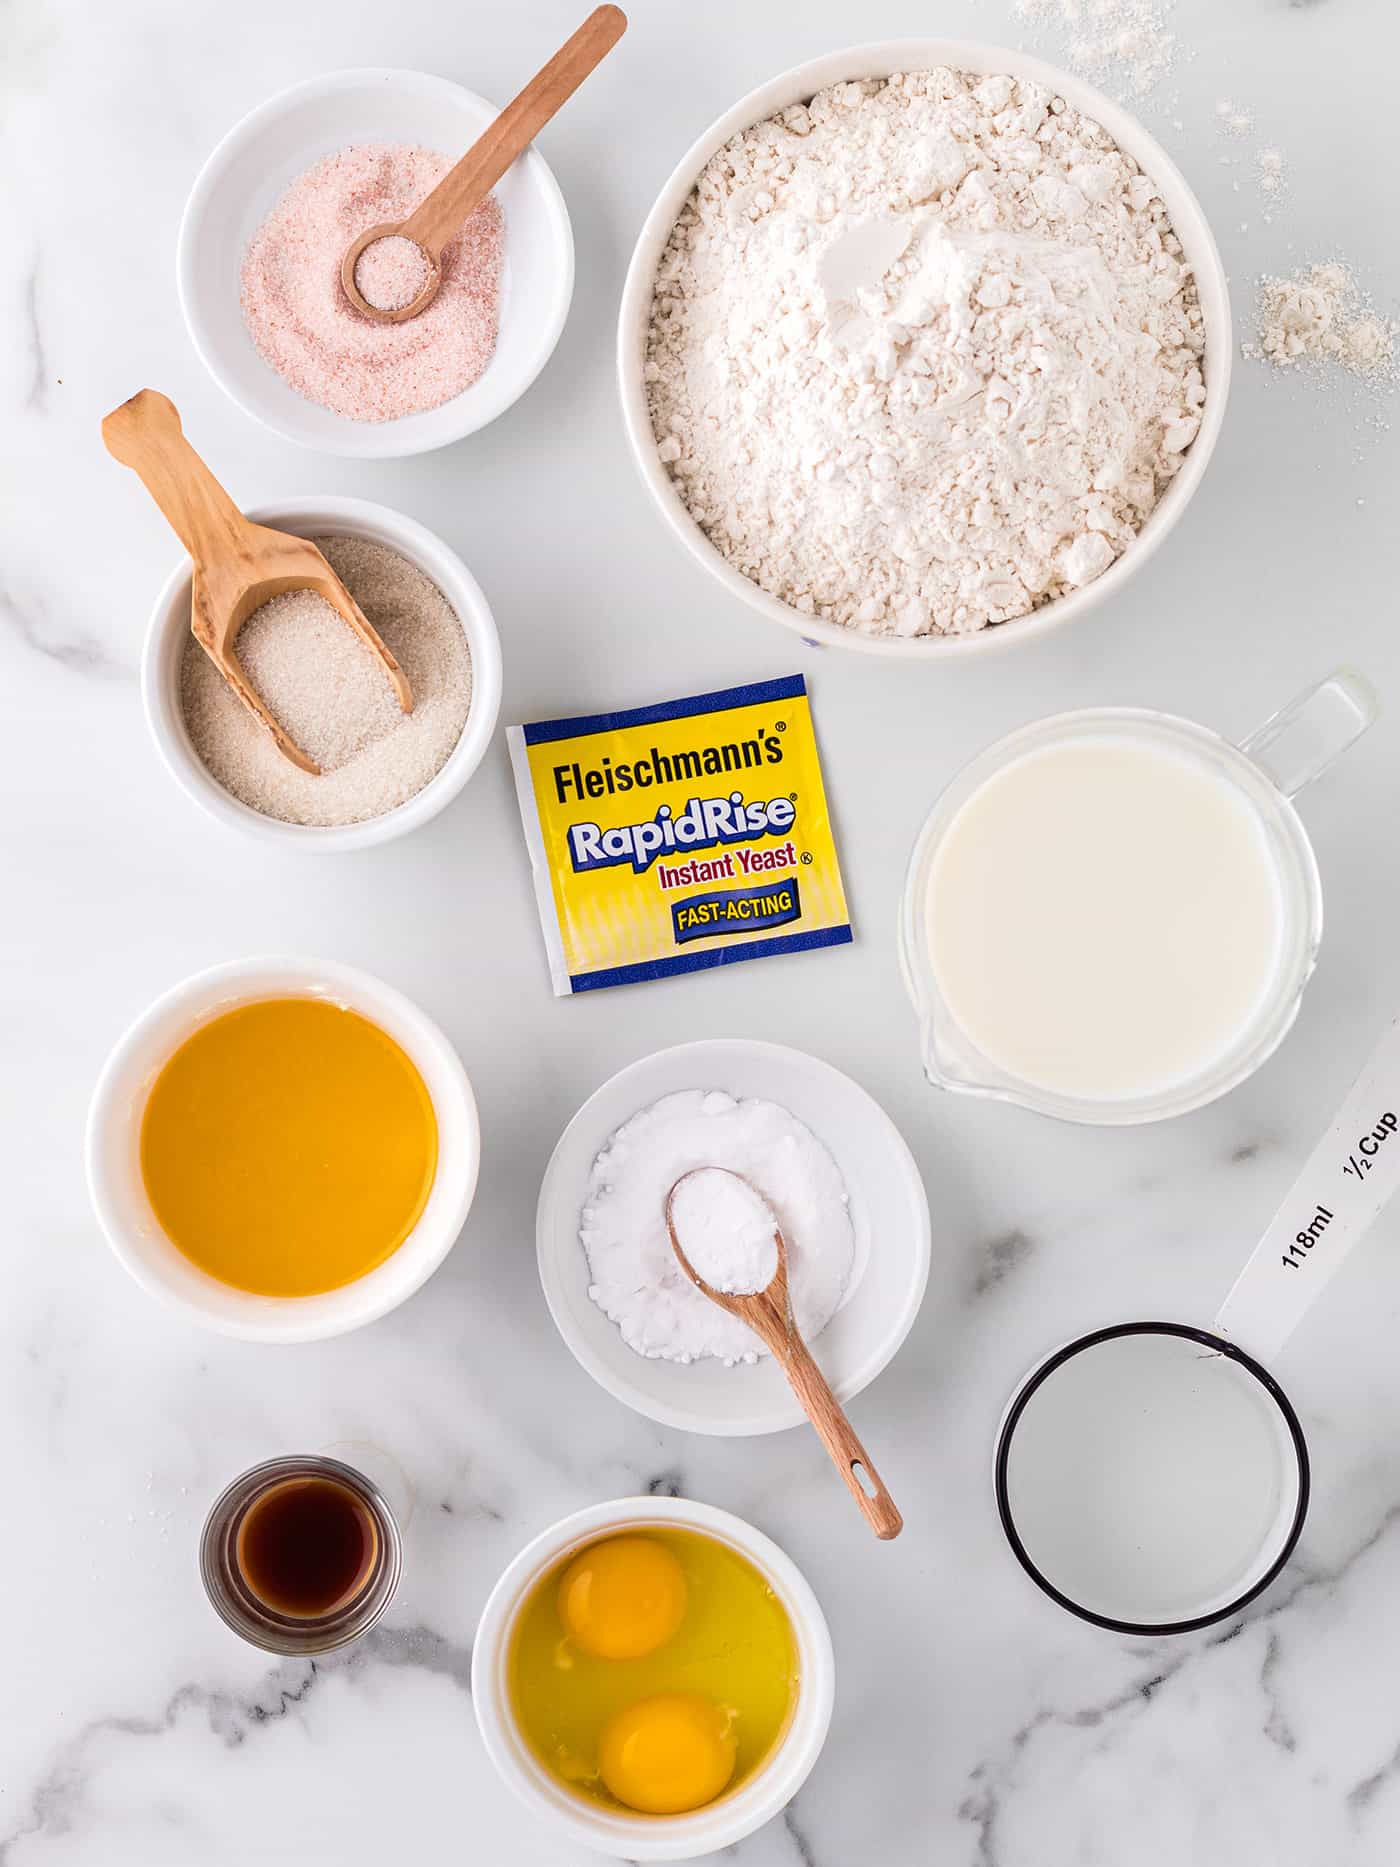
Ingredients
Overnight waffles are made with ingredients similar to other waffles, with the primary addition of yeast. Scroll down to the recipe box for the full measurements.
- Milk – I use 1%, as we always have that on hand. But 2% would work fine too. Do not use buttermilk for this recipe.
- Active dry yeast – Yeast does expire, so be sure to check that it’s still good. If the yeast doesn’t work, the waffles won’t rise.
- Water – You’ll want to heat it to about 110° F (or the approximate warmth of a baby’s bottle). If it’s too hot to touch, it’s too hot for the recipe and needs to cool a bit. Water that’s too hot will kill the yeast.
- Butter – The butter adds a rich flavor throughout the waffle batter.
- Salt
- Sugar – A small amount of sugar is needed to help activate the yeast.
- Flour
- Vanilla – Adds a light flavoring.
- Eggs – Add rich flavor, plus they help bind the other ingredients together and give additional lift to the waffles.
- Baking soda – This helps to give the yeast a little more rising power and stabilize the waffles, while also adding some browning to the exterior.
Can I Add Mix-Ins?
Craving some chocolate chip waffles or blueberry waffles? You can definitely do that. Just stir in the chocolate chips, berries, or whatever else you’d like in the morning just before cooking the waffles.
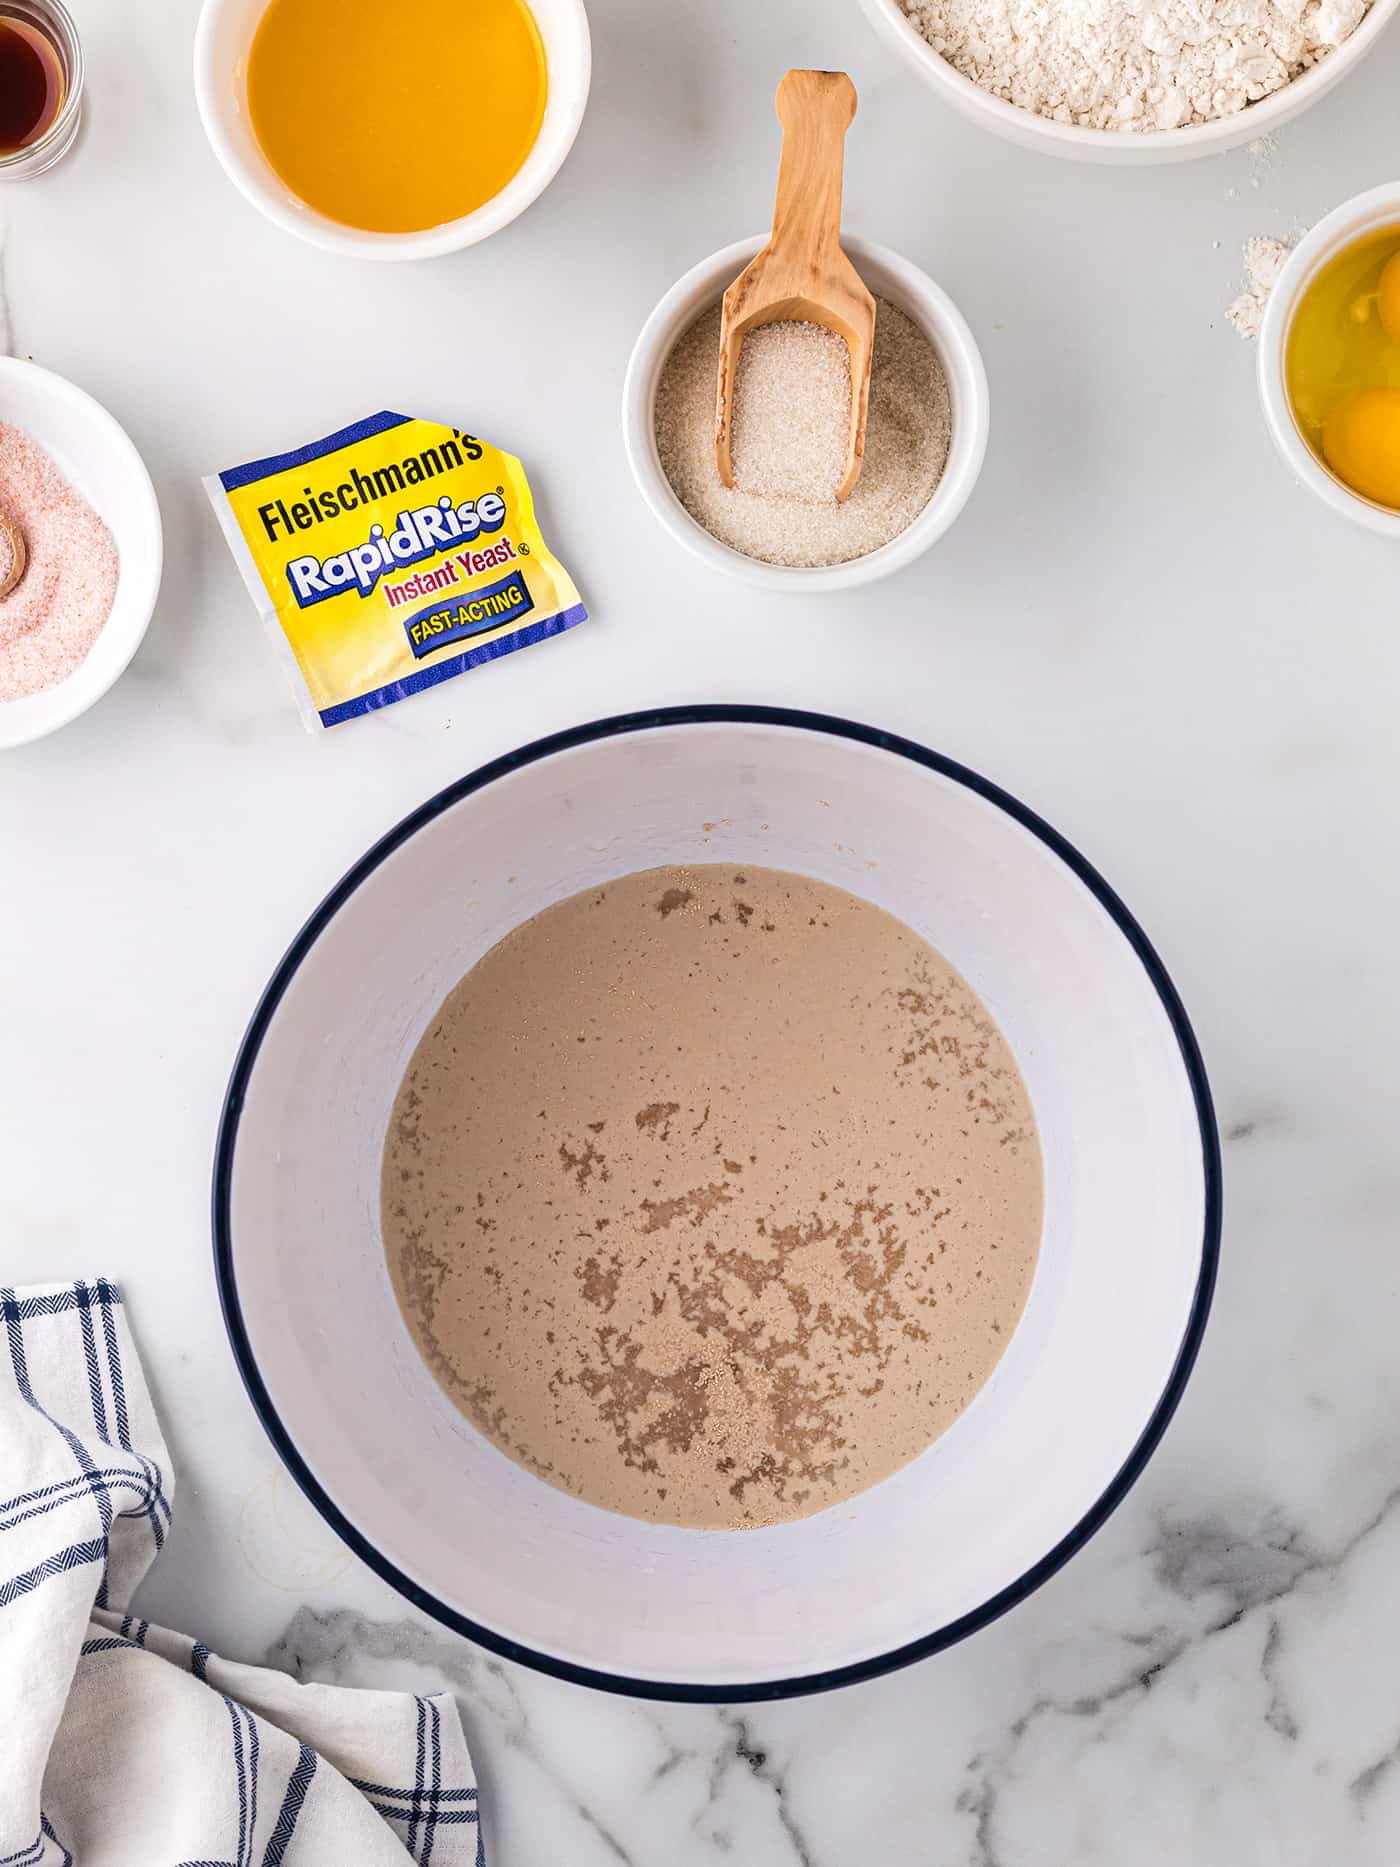
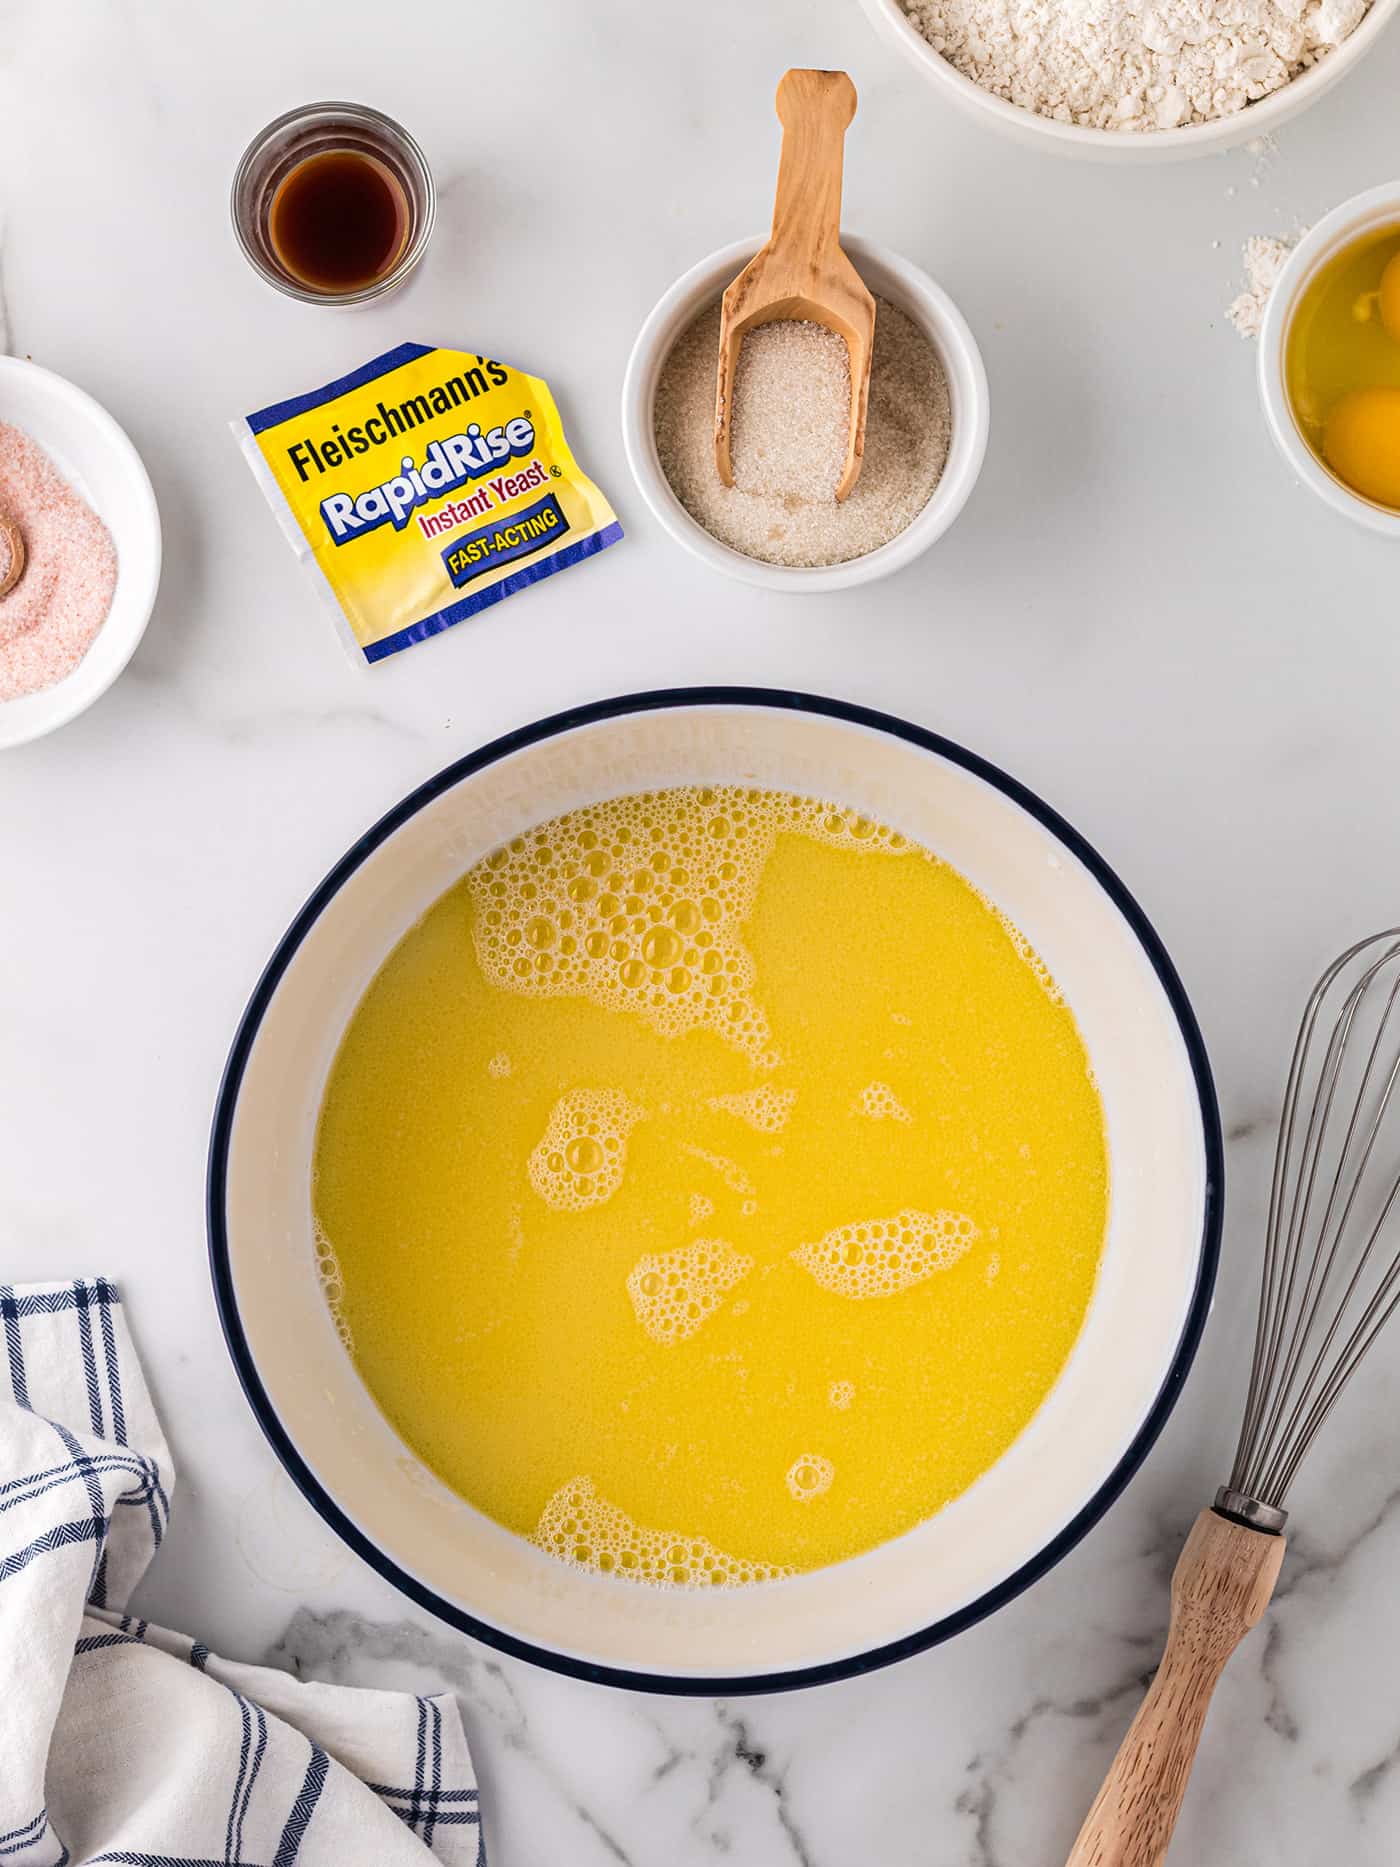
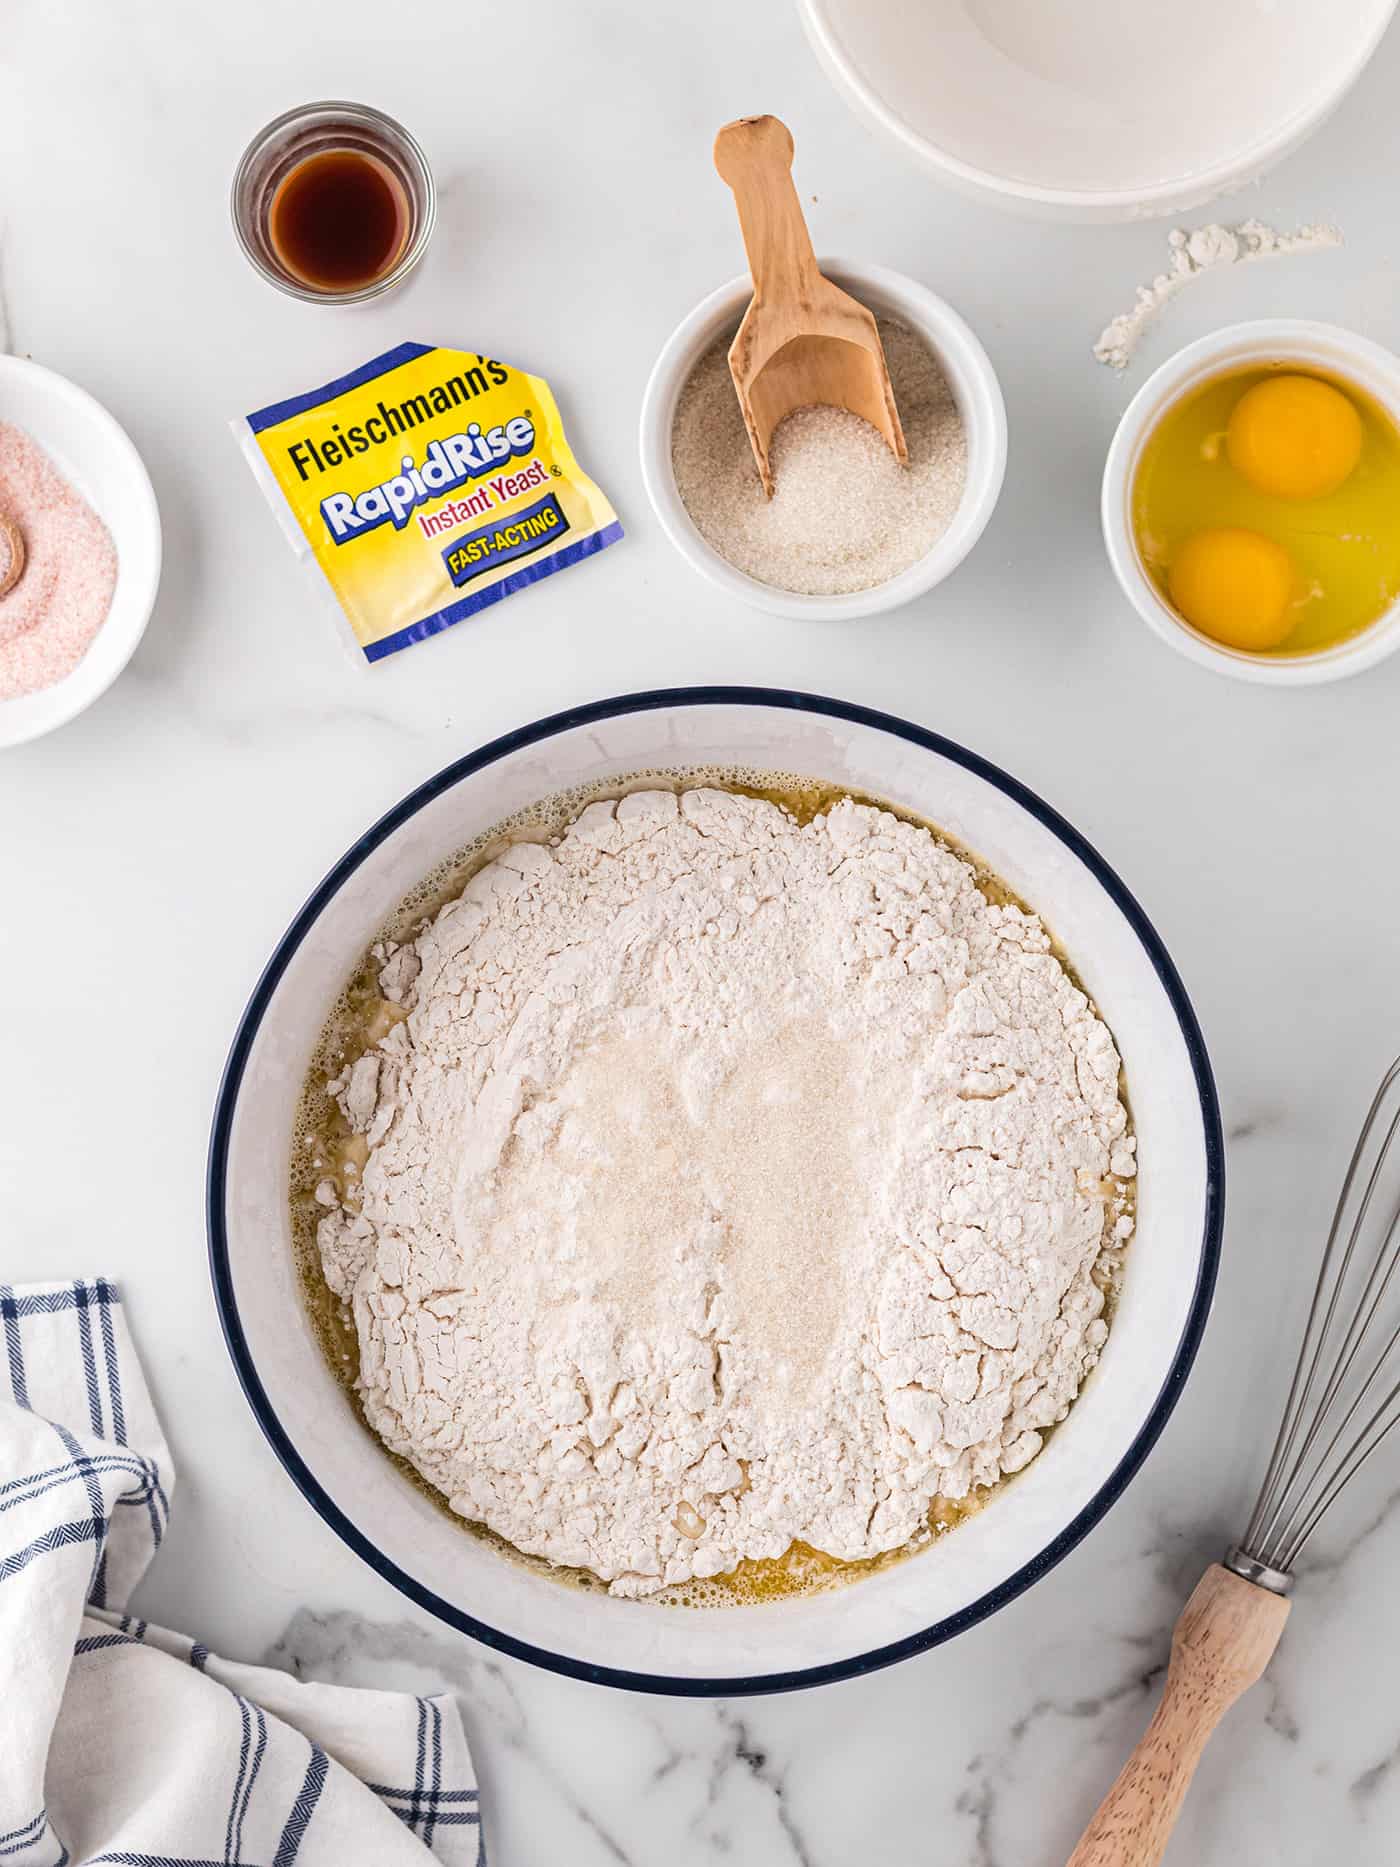
How to Make Yeasted Waffles
The great thing about overnight waffles is that time does 90% of the work. It takes just a few minutes to prepare the batter before bed + another few minutes in the morning.
- Prepare the yeast. Sprinkle the yeast over the warm water in a large bowl. Let stand until the yeast granules dissolve.
- Warm the milk. At the same time, heat the milk to lukewarm and stir in the melted butter. Use your finger to make sure the mixture is about the temperature of a baby’s bottle. If needed, let it cool a bit as it will kill the yeast if it’s too hot.
- Combine the ingredients. Add the milk/butter mixture to the yeast. Then stir in the flour, sugar, and salt. Small lumps are fine.
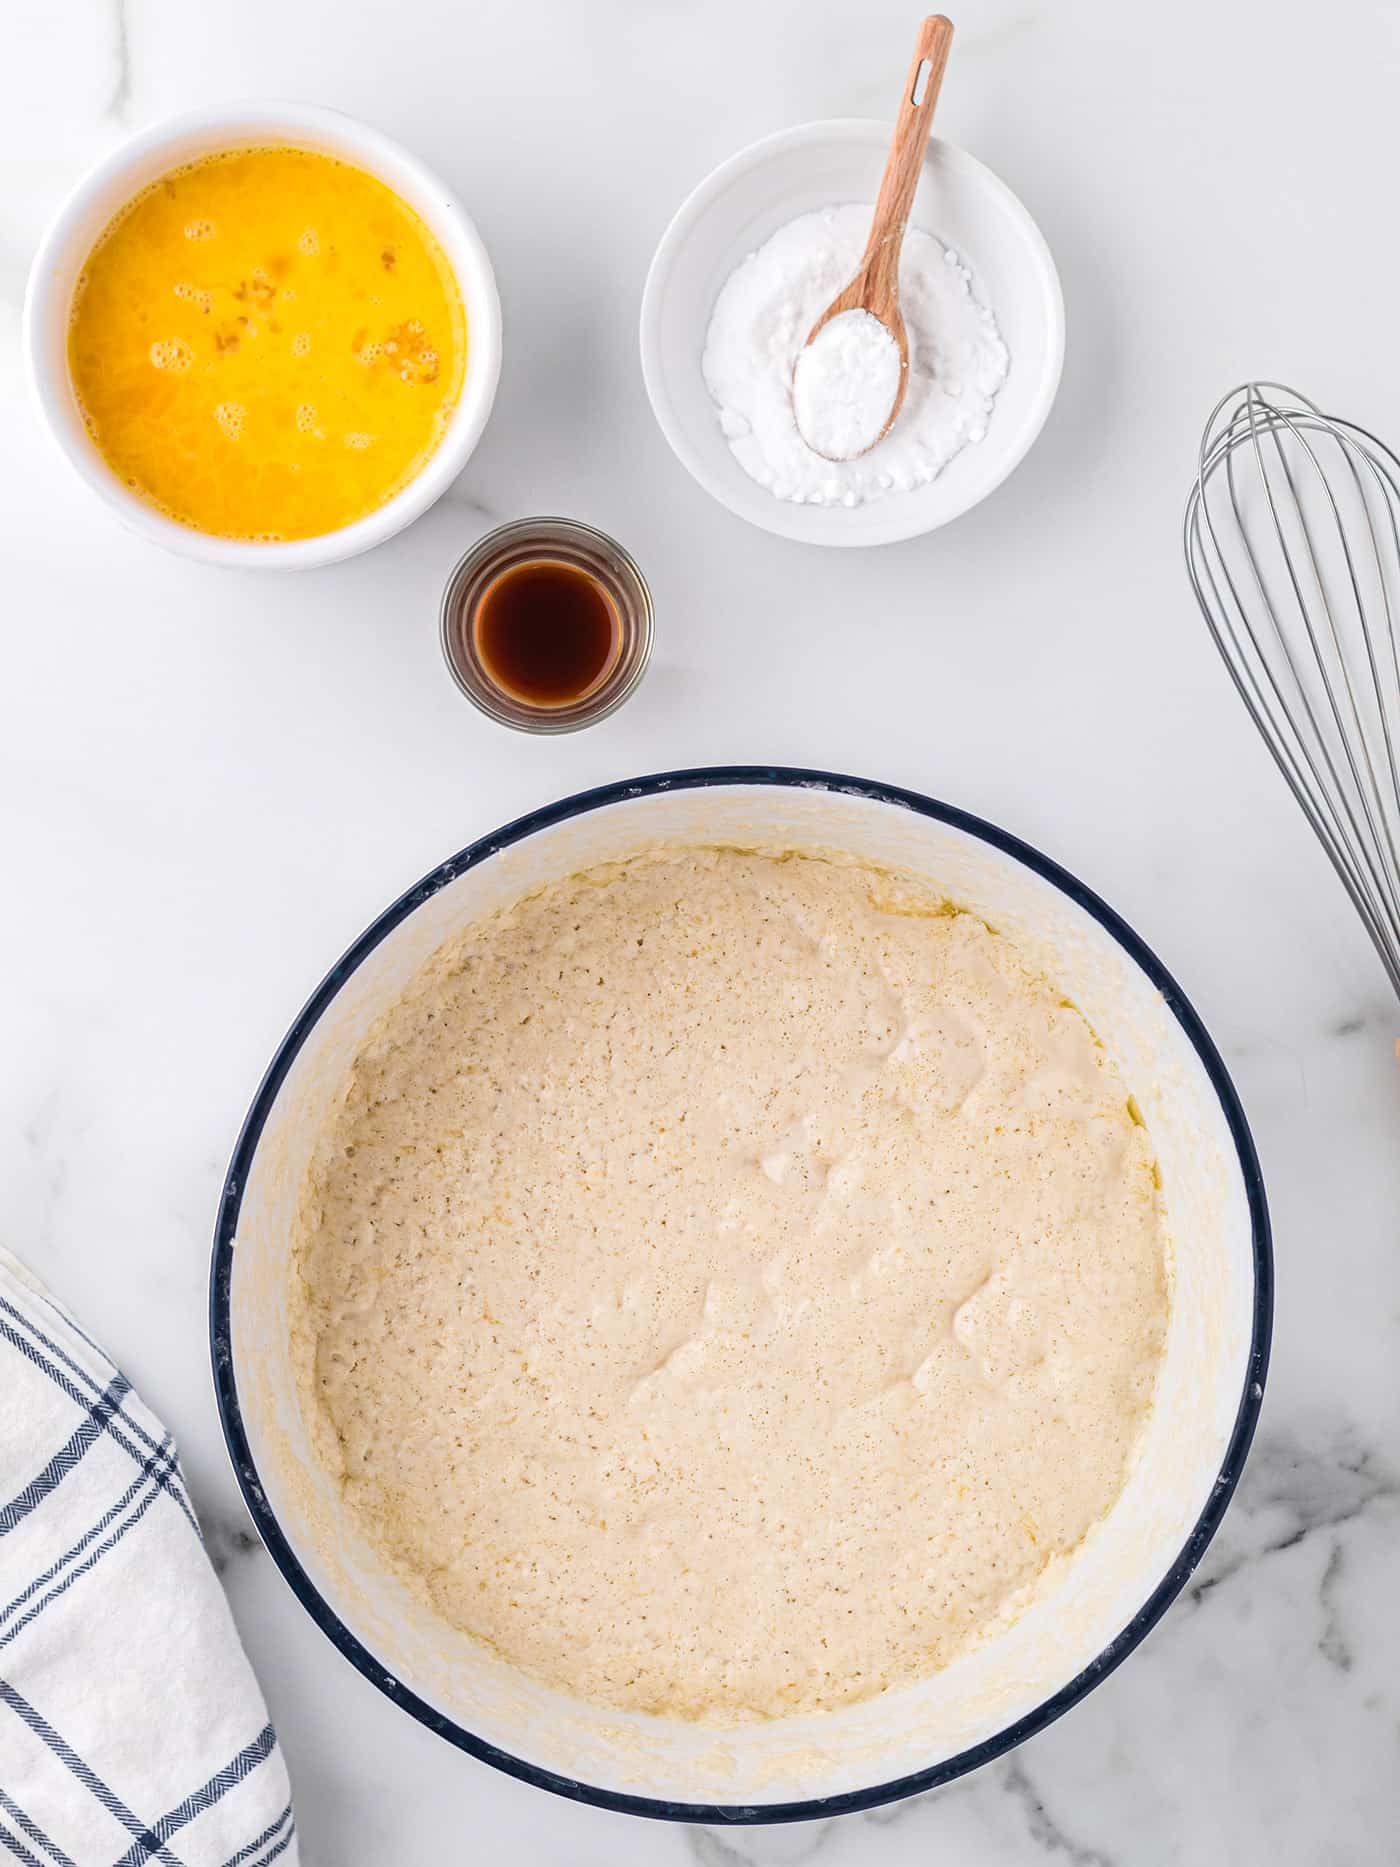
- Let sit overnight. Cover the bowl with plastic and leave it at room temperature overnight.
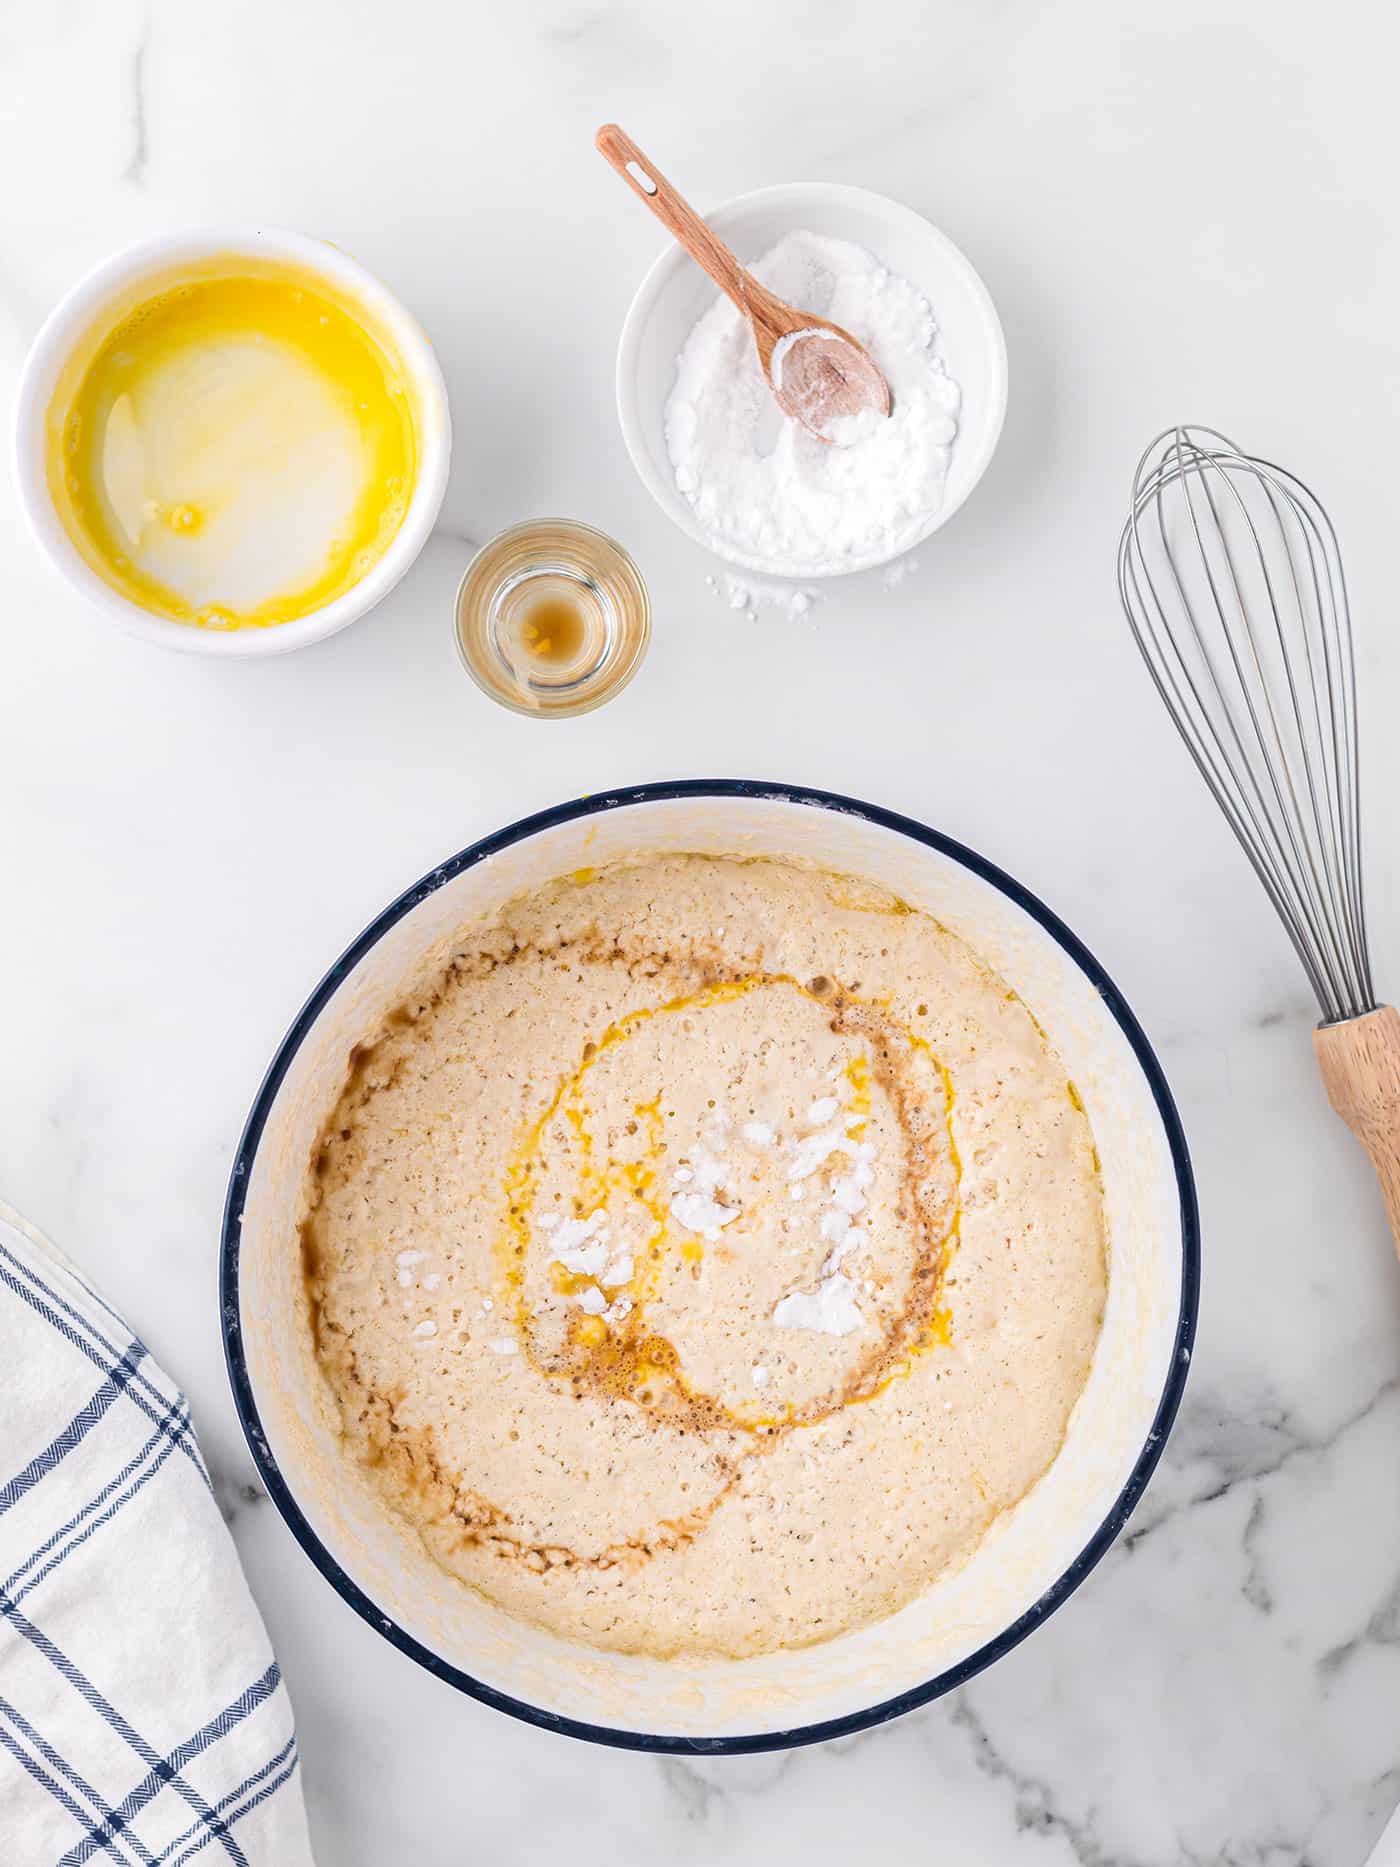
- Add the remaining ingredients. In the morning, whisk the eggs, vanilla, and baking soda into the batter.
- Cook the waffles. Cook the waffles to your desired doneness using your waffle iron.
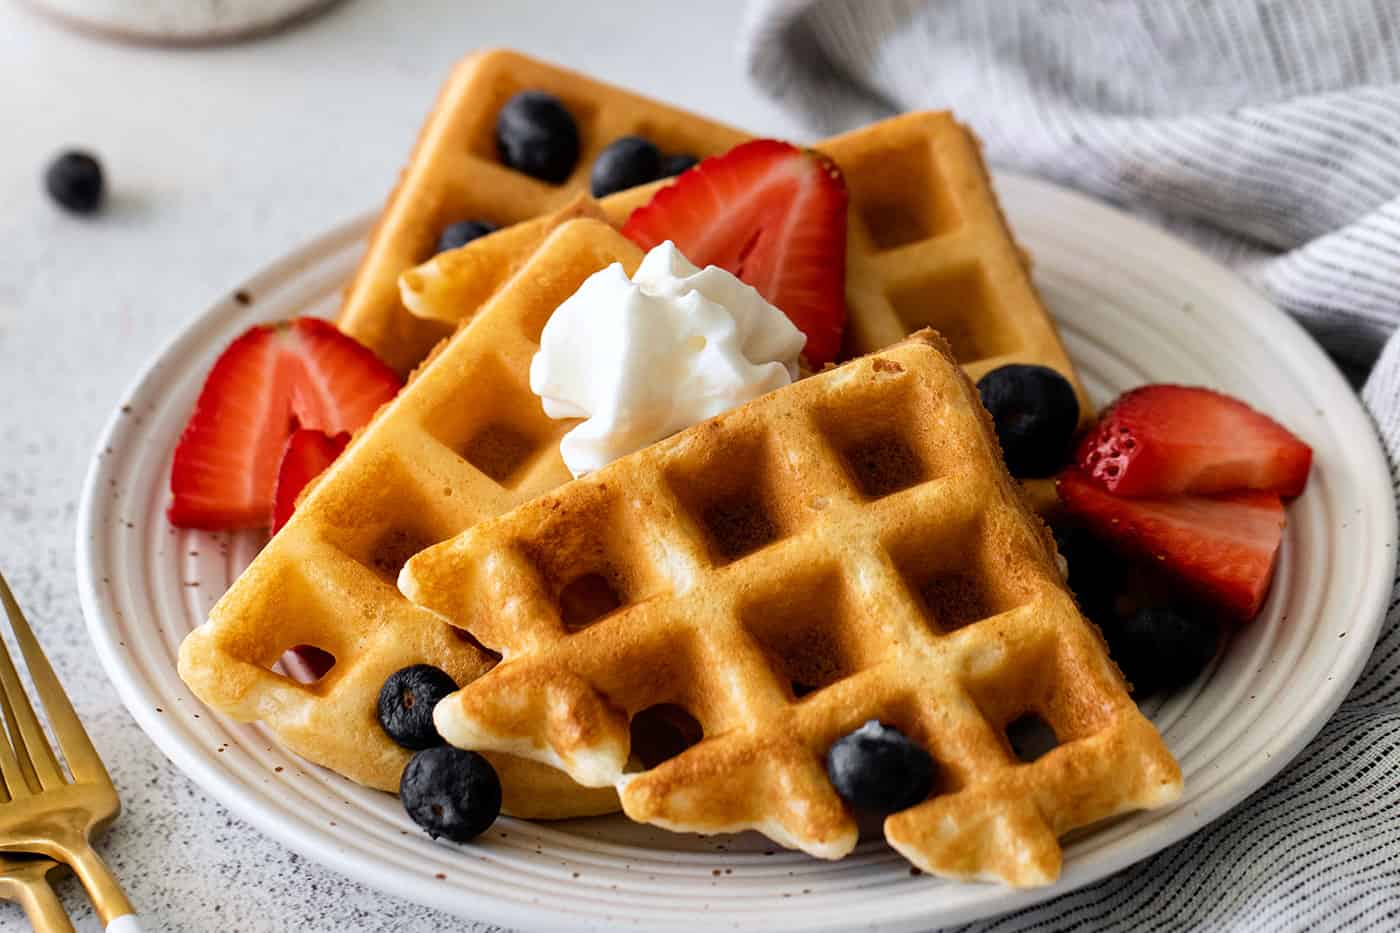
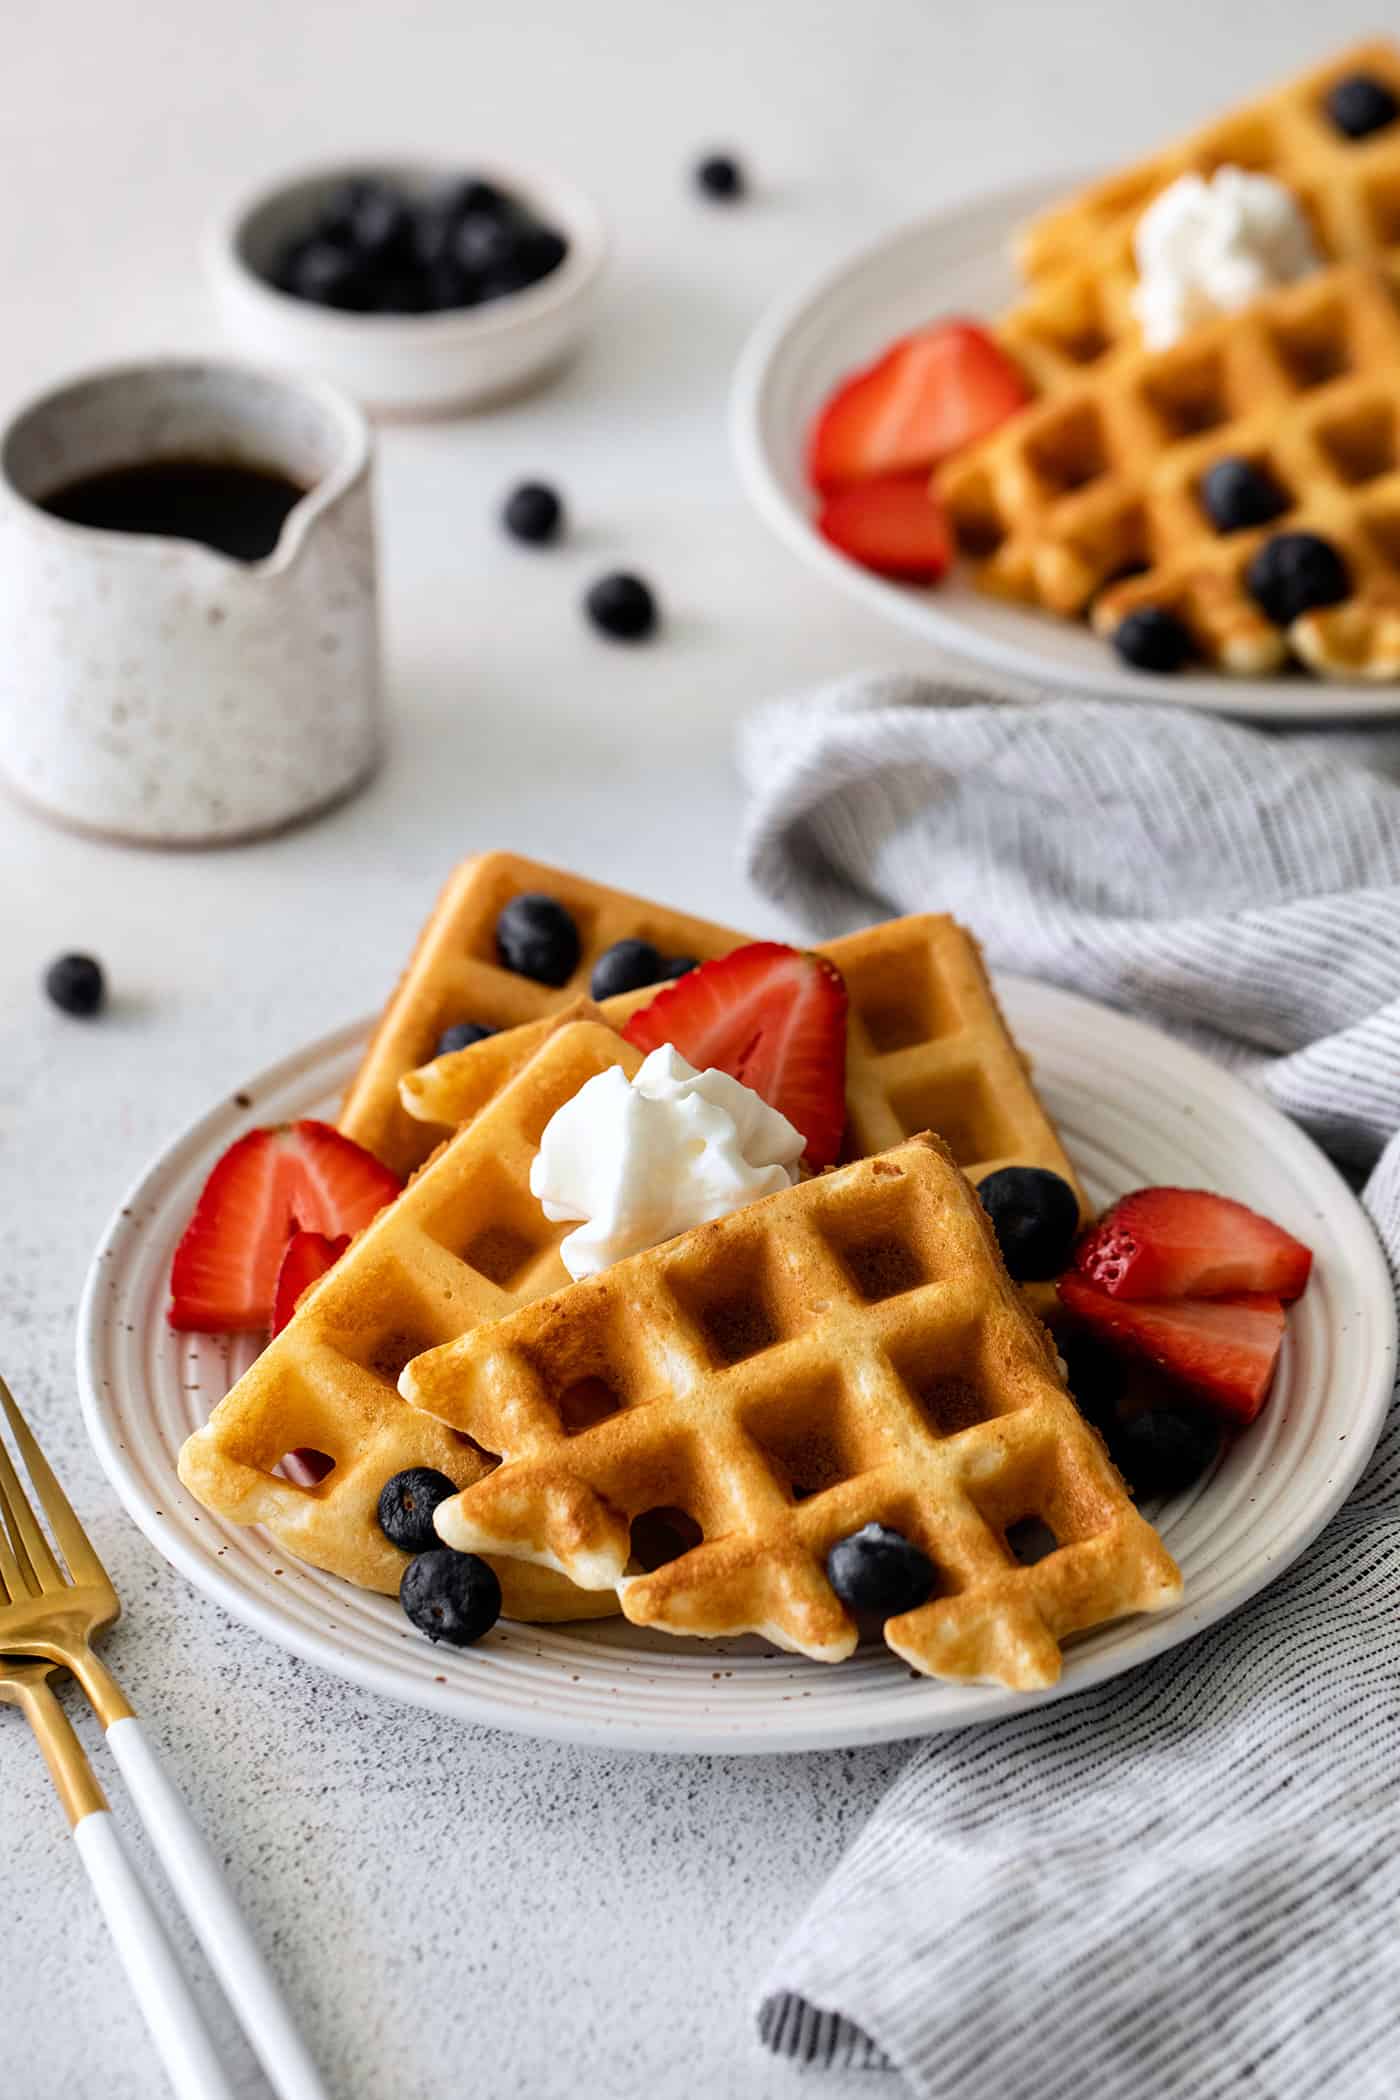
- Enjoy! Add your favorite toppings – whipped cream and fruit or raspberry blackberry jam, or butter and maple syrup, and enjoy!
How Long Do Waffles Need To Cook?
The exact amount of time you’ll need to cook your waffles will depend on your waffle iron and your desired doneness.
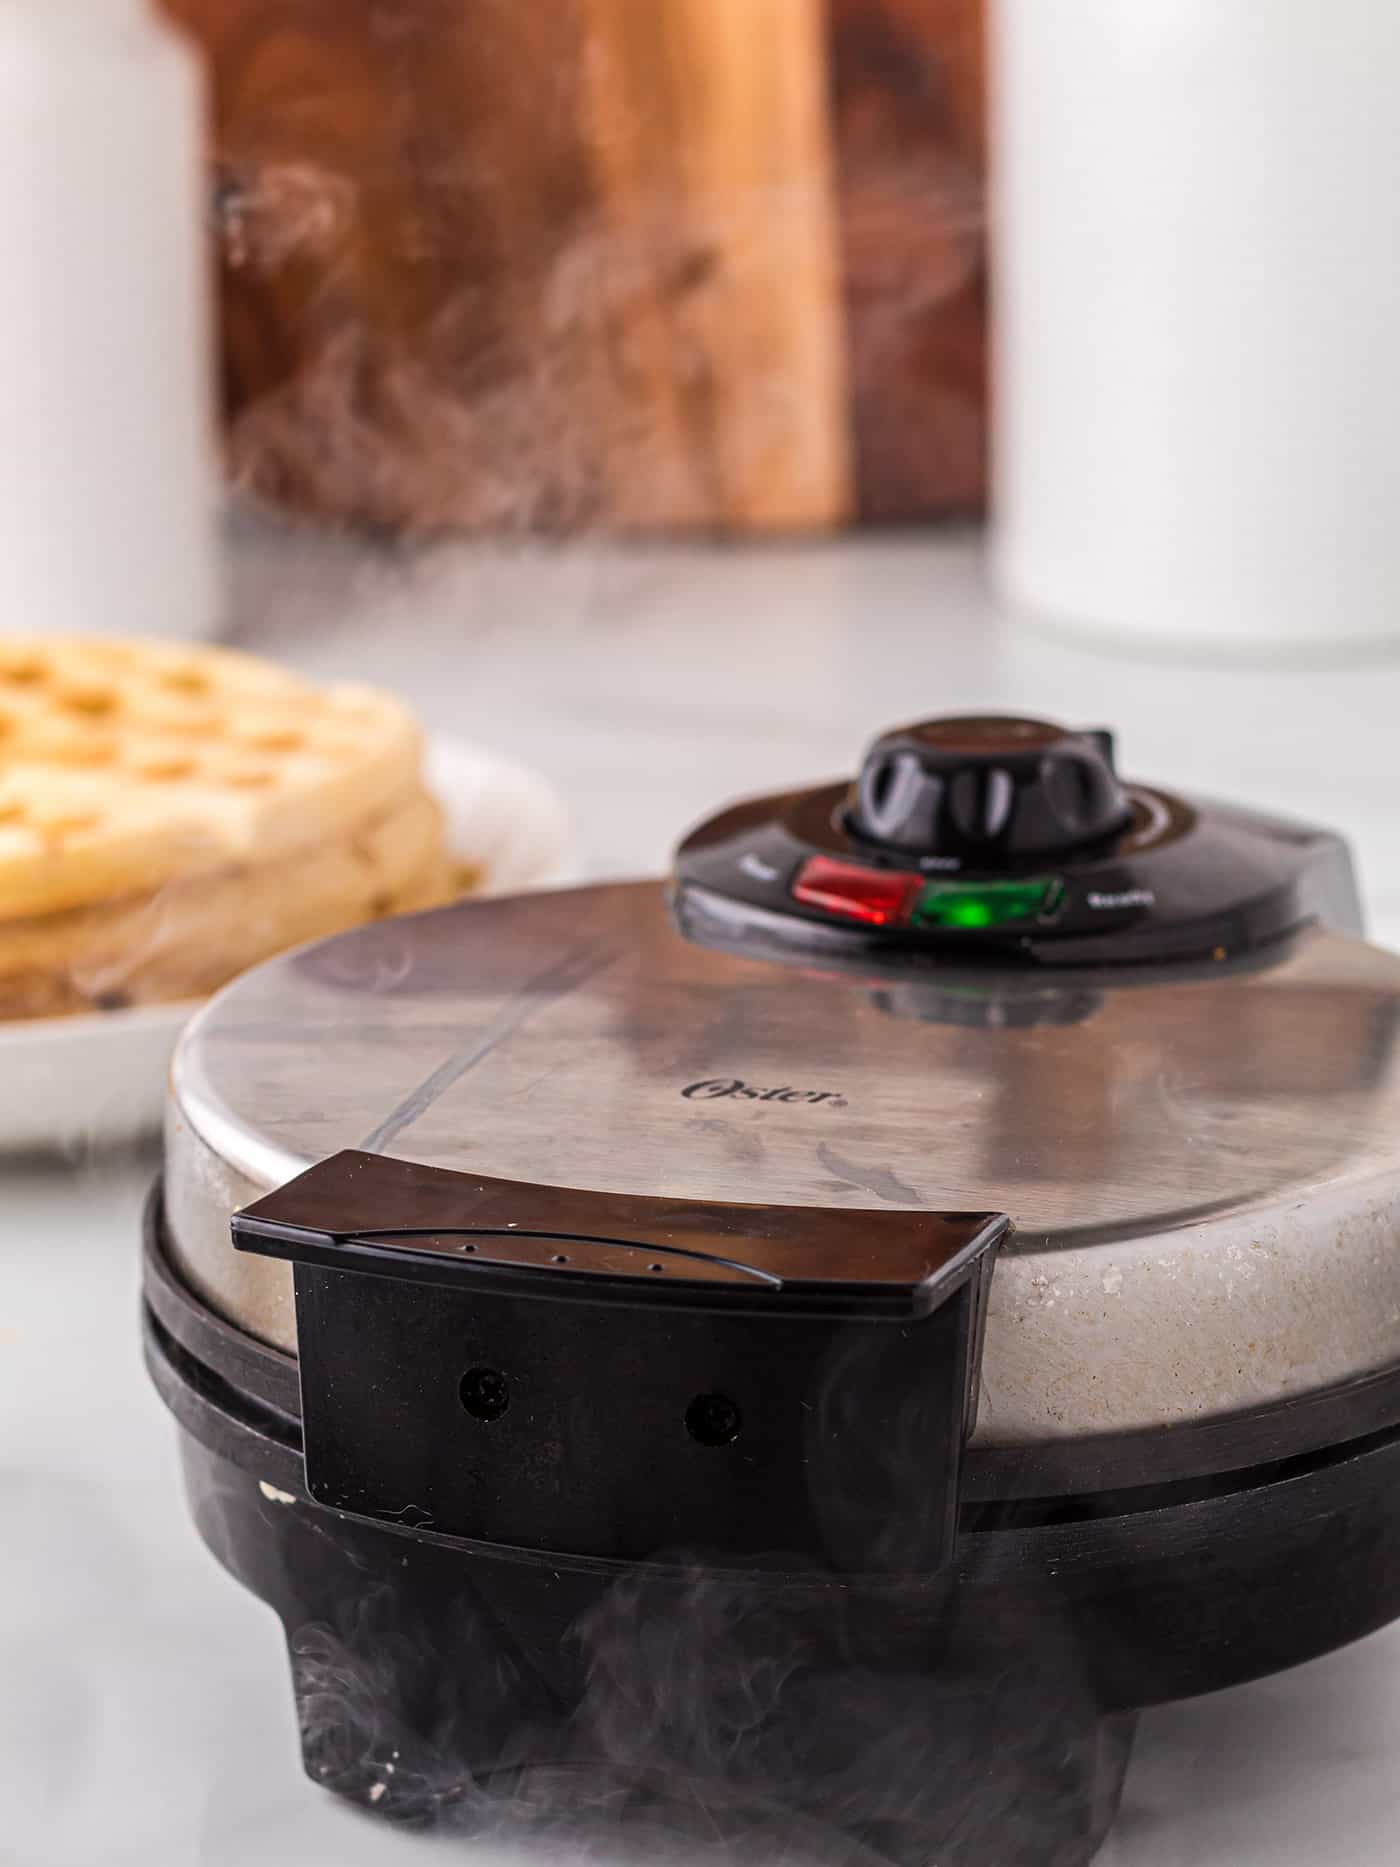
My family prefers the medium-high setting. Once the waffle iron says “ready”, we let it heat an additional 2 minutes before adding the batter, to make sure it’s good and hot. This helps to ensure a crispy exterior, which we love.
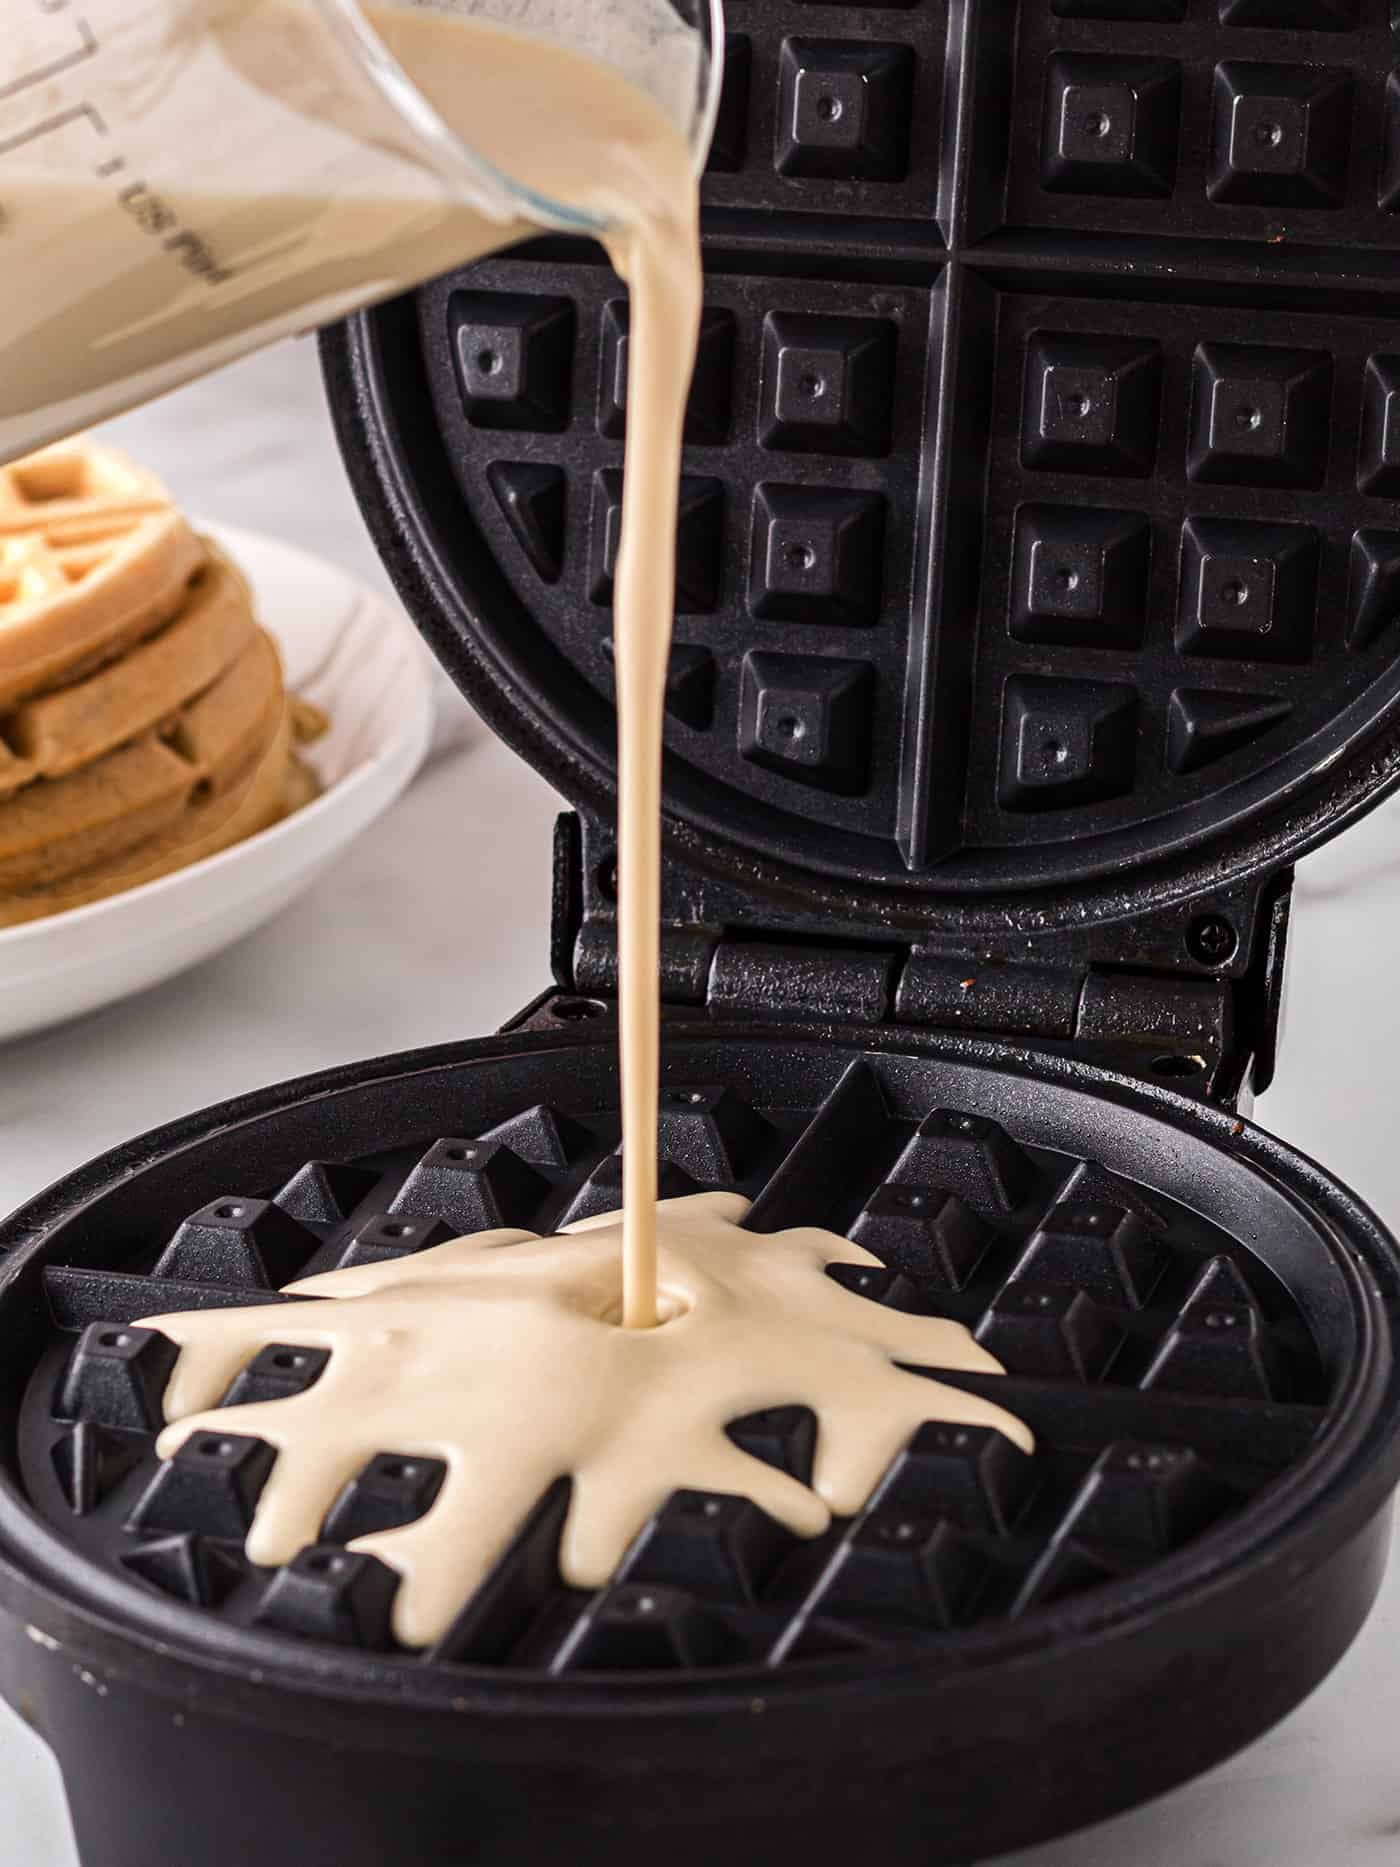
For an 8″ round waffle, add about 3/4 cup of batter per waffle. Some might spill out, and that’s okay. Adjust the quantity up or down for the next waffle, to get a fully formed waffle without excessive batter spilling out the sides of the waffle maker.
The key here is to let the waffle maker do its work. Do NOT peek! You should see steam rising, which contributes to that wonderful moist, custardy interior. If you like the eggy texture of popovers, you’ll LOVE these yeast waffles!
For my family, we bake the waffles for 3 to 4 minutes, depending on the person. If you like super crispy waffles, 5 minutes may be better, but I always recommend a time trial with the first waffle – and adjust from there.
Serving Suggestions
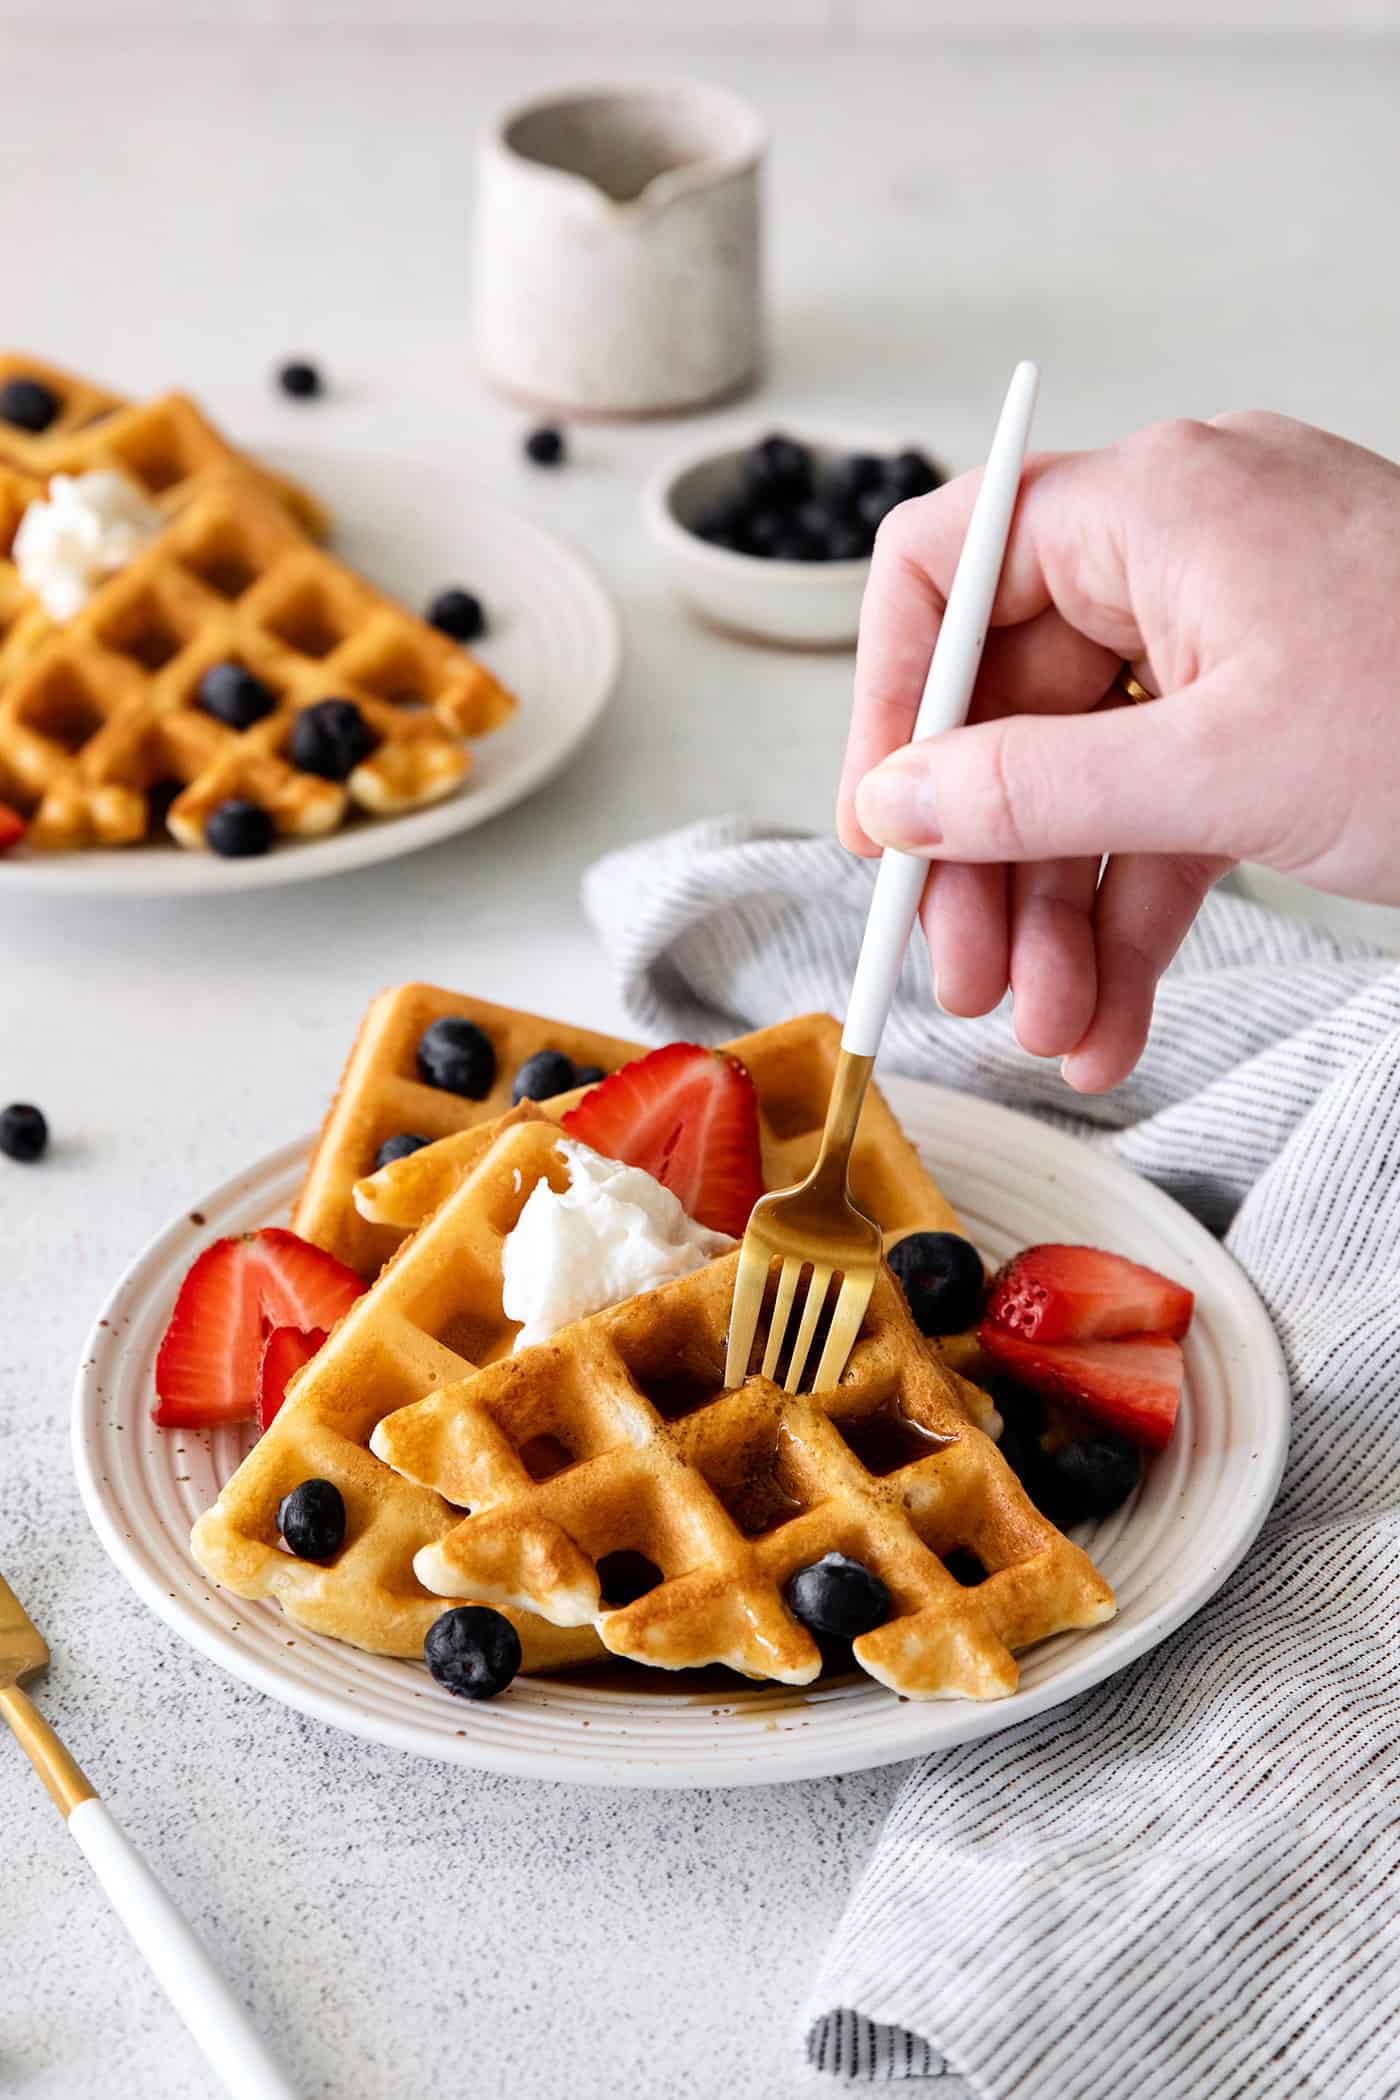
Overnight waffles are perfect for sweet morning breakfasts, though you can easily give them a savory twist. Here are a few of our favorite ways to enjoy them:
- With butter and maple syrup
- With fresh jam like blueberry, raspberry blackberry, or strawberry
- Topped with whipped cream and fresh fruits
- With bacon and eggs
- As chicken and waffles
- With ice cream and chocolate syrup – fresh berries are delicious with this combo, too!
How to Store & Freeze
Like all waffles, yeast waffles are best enjoyed immediately. They keep their light crisp texture for a nice amount of time. But putting them in the fridge will certainly turn them soft.
If you do have leftovers, store them, covered, in the fridge for up to 2 days. I recommend reheating in the toaster to crisp them back up a bit.
Yeast waffles can also be frozen. Just allow them to cool completely, then place them in freezer-safe ziploc bags. Separating them with parchment paper will help to ensure they don’t stick together. Freeze for up to 6 months and reheat in the toaster.
Can I Save Leftover Waffle Batter?
Yes, any leftover yeasted waffle batter can be stored in the fridge for up to 2 days. Just cover it tightly with plastic. Just know that the yeast flavor will deepen over time. This is a great method if you want waffles a few days in a row!
More Breakfast Recipes:
Like this recipe? Save it to Pinterest!
Yeast Waffles
Ingredients
- 2 cups milk – I use 1%
- 2¼ teaspoons active dry yeast equal to one ¼-ounce package
- ½ cup warm water – about 110° F or approximately “the warmth of a baby’s bottle”
- ½ cup unsalted butter gently melted
- 1 teaspoon kosher salt
- 2 tablespoons granulated sugar
- 3 cups all-purpose flour
- 1 tablespoon pure vanilla extract
- 2 large eggs beaten
- ½ teaspoon baking soda
Instructions
- Add the warm water to a large bowl and then sprinkle the yeast over the top as evenly as you can. Let stand for a few minutes, until the yeast granules dissolve. ½
- Meanwhile, in a saucepan over medium heat, warm the milk until it's lukewarm, about "as warm as a baby's bottle". Remove from heat and stir in the melted butter. With your finger, test to make sure the mixture is lukewarm. If it's too hot, let it sit until it cools a bit (if it's too hot, it will kill the yeast).
- Stir milk/butter mixture into the dissolved yeast mixture. Then add the flour, sugar, and salt, and stir until combined. It will not be completely smooth – small lumps are just fine.
- Cover bowl with plastic wrap and let stand at room temperature overnight. The batter will bubble and rise, increasing in size.
- The following morning, with a large whisk, beat the eggs, vanilla, and baking soda into the batter until completely combined.
- Preheat waffle iron to desired temperature – my family prefers a medium-high setting. When the waffle maker shows "ready", let it heat for 2 more minutes. Lightly brush the waffle plates with melted butter or give the plates a quick spritz of non-stick spray, then close the waffle maker for a few seconds to heat up again. Pour batter onto hot waffle plates – for our 8" round waffles, we use a scant 3/4 cup of batter per waffle. Then shut the waffle maker lid (some batter will probably spill out) and let the waffle bake. You should see steam coming out of the waffle maker – let the waffle maker do its magic, no peeking! Our family has various preferences for doneness, so I bake the waffles between 3 and 4 minutes, depending on the person.
Notes
Nutrition Information:
This post was originally published in 2010, then updated in 2022.


5 star waffles
I have made your yeast waffles and raspberry-blackberry jam. They were wonderful.
Yay! I’m glad you enjoyed them. My in-laws will be staying with us this weekend and I plan to make these for them. They are waffle lovers, and I know they will love ’em!
um….yum!!!!
These look so good! I better not show my husband, otherwise he will want me to make them all the time.
I will have to try these out!
Hi Andrea! Yum, indeed! I have serious cravings for these. Definitely give them a try.