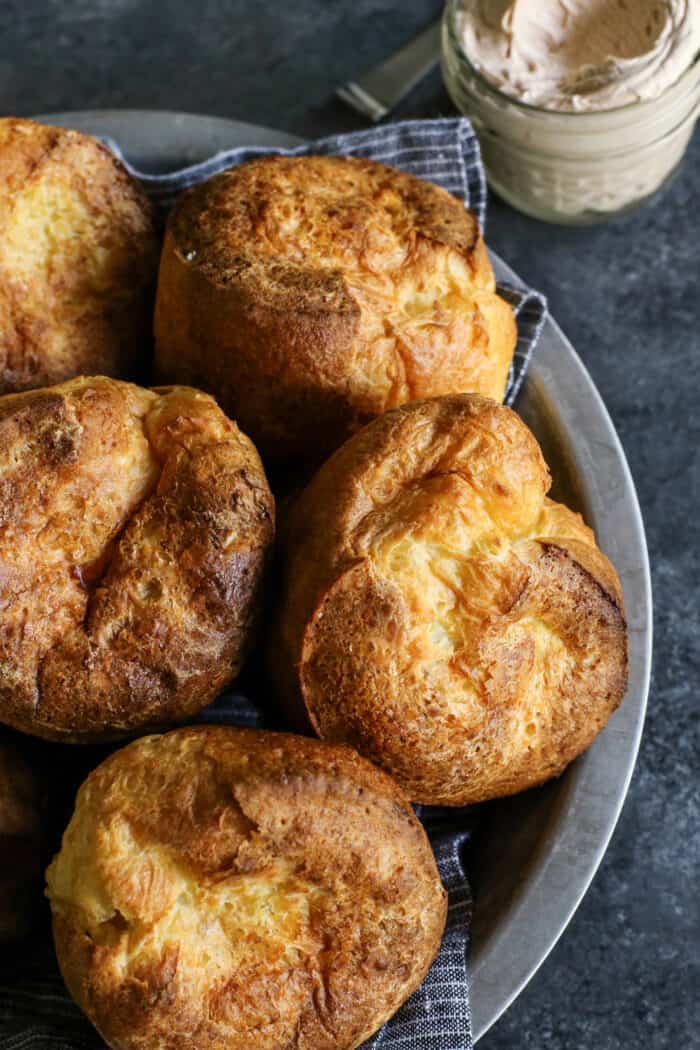
This Popovers recipe is made with only four common ingredients! Light and airy and perfectly fun, a popover is a delicious way to mop up salads, soups, pot roast, and more!
Homemade Popovers Make Me Happy!
My family thinks I’m just about the best thing to ever walk this earth when I bring home crescent rolls or biscuits from the grocery store. You know, the kind of rolls you peel the label off the tube and then jab the seam with a spoon until the cardboard tube pops. Yep, those kind of rolls.
Well, actually, I admit to liking them just a teensy bit myself.
But what really, really gets me is a pan of homemade Popovers. This light and airy roll is like no other – my absolute favorite way to enjoy easy rolls at home.
Just give me a couple popovers plus a salad with fresh greens and strawberries, a bowl of lightly creamy Chicken Wild Rice Soup, rich Crockpot Italian Beef Stew, or a plate of fork-tender Pot Roast…and I am one happy girl!
What is a Popover?
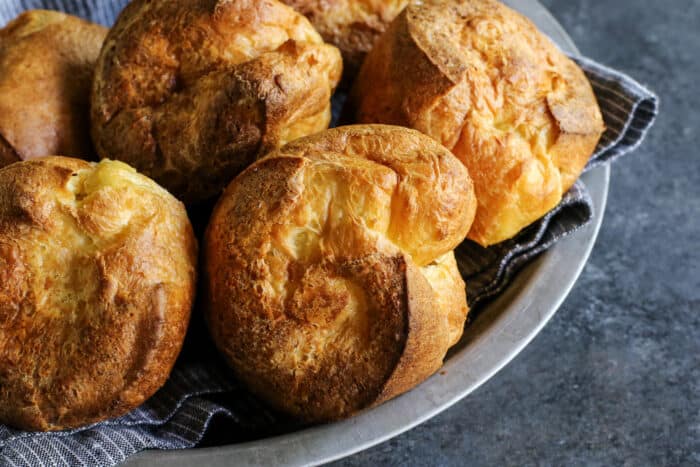
A popover is a light and eggy, air-filled roll. It’s made from a simple egg batter (no yeast!) similar to that of Yorkshire pudding. Popovers are traditionally baked in a dedicated popover pan, which is similar to a muffin pan but it has deeper wells.
While you don’t technically need a popover pan, I highly recommend it. But if you don’t want to invest in a special pan (or at least not with the first batch!), a muffin pan or individual custard cups can be used in a pinch. Just know that the popovers will be smaller and a bit more dense.
What is the difference between Yorkshire pudding and popovers?
Not much, really. They use the same basic batter.
The only difference is popovers are baked in a popover pan that’s coated with butter or a quick-and-easy cooking spray, and Yorkshire pudding is baked in a muffin pan greased with meat drippings.
Popover Recipe Ingredients
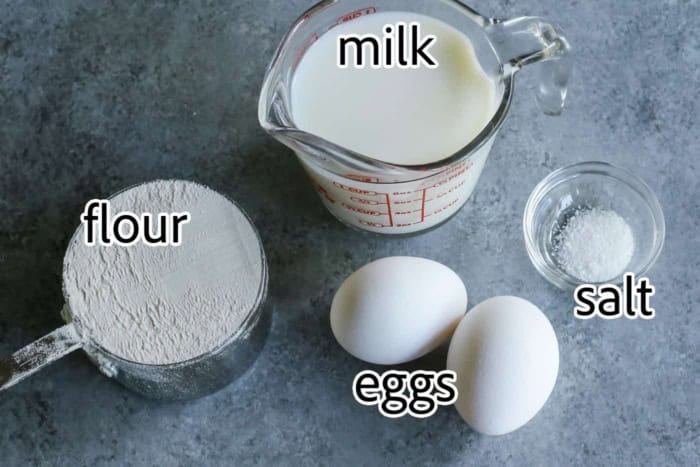
It always amazes me how simple this popover recipe is. With only 4 ingredients, the results are fabulously fun and delicious!
All you need are eggs, all-purpose flour, milk, and a little salt!
If you are a sourdough baker, and have sourdough starter or discard on hand, then also give my Sourdough Popovers a try. The popovers are a bit more hearty than traditional popovers, and a super great way to use up that discard!
How to Make Popovers
This classic popover recipe is crazy easy to make – it’s a task that our daughters gladly take on!
- Preheat oven to 450° F. Spray a 6-cup popover pan, six 6-ounce custard cups, or a standard muffin pan evenly with cooking spray; set aside.
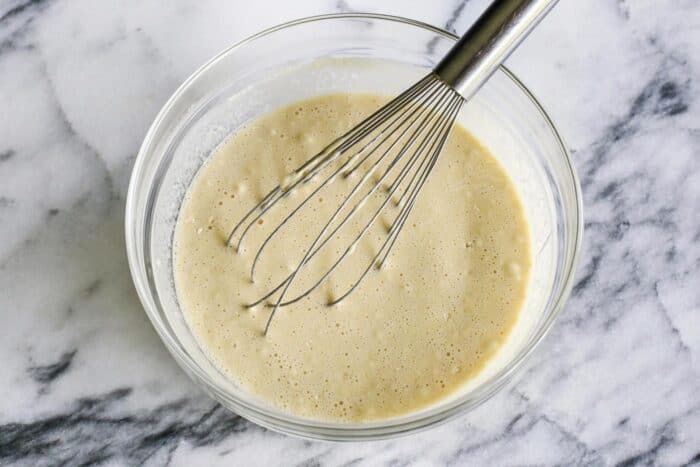
- In a medium bowl, beat eggs slightly. Beat in remaining ingredients just until smooth. The mixture will be thin and pourable, somewhat like heavy cream.
- Divide dough mixture between cups of popover pan (about halfway full for each cup). Bake 20 minutes without peeking.
- Decrease oven temperature to 350° F and bake 16 to 20 minutes longer, until popovers are a deep golden brown.
- Remove popovers from cups and, with a sharp knife tip, cut a small slit into each of the tops to release some of the steam and prevent sogginess. Serve hot.
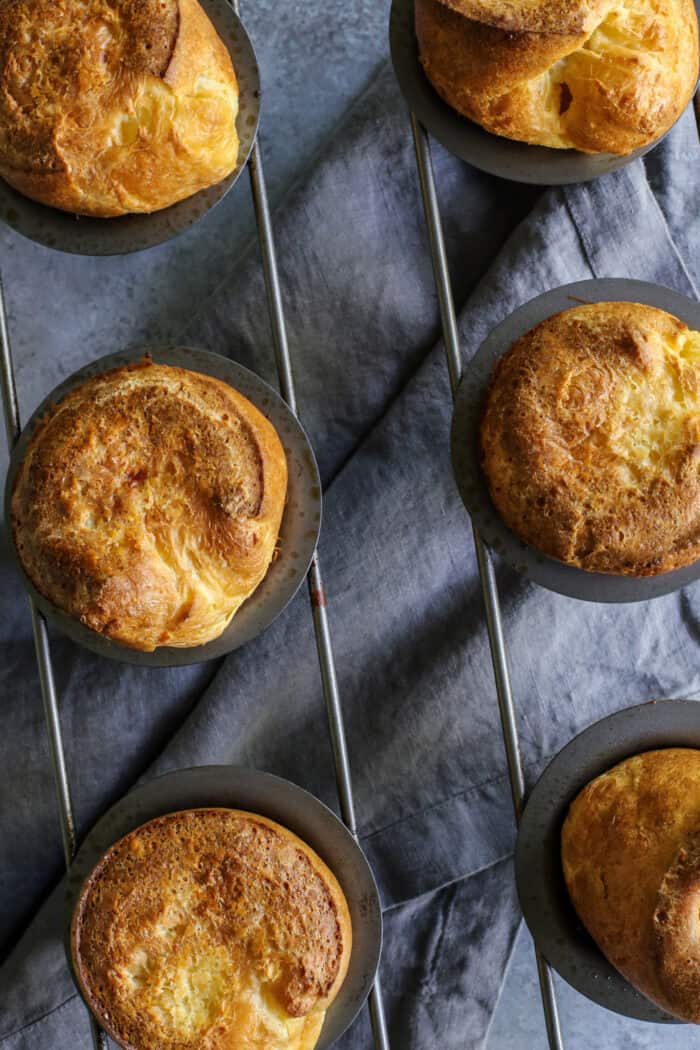
I have this 6-cup popover pan. Two of them, actually! I bought one to start out with, and then quickly realized I should have another – because the four of us always want more than one popover.
Popovers are also fun for entertaining. If I had to do it all over again, I’d just buy a 12-cup popover pan. Or two of them, ha!
What Makes Popovers Pop?
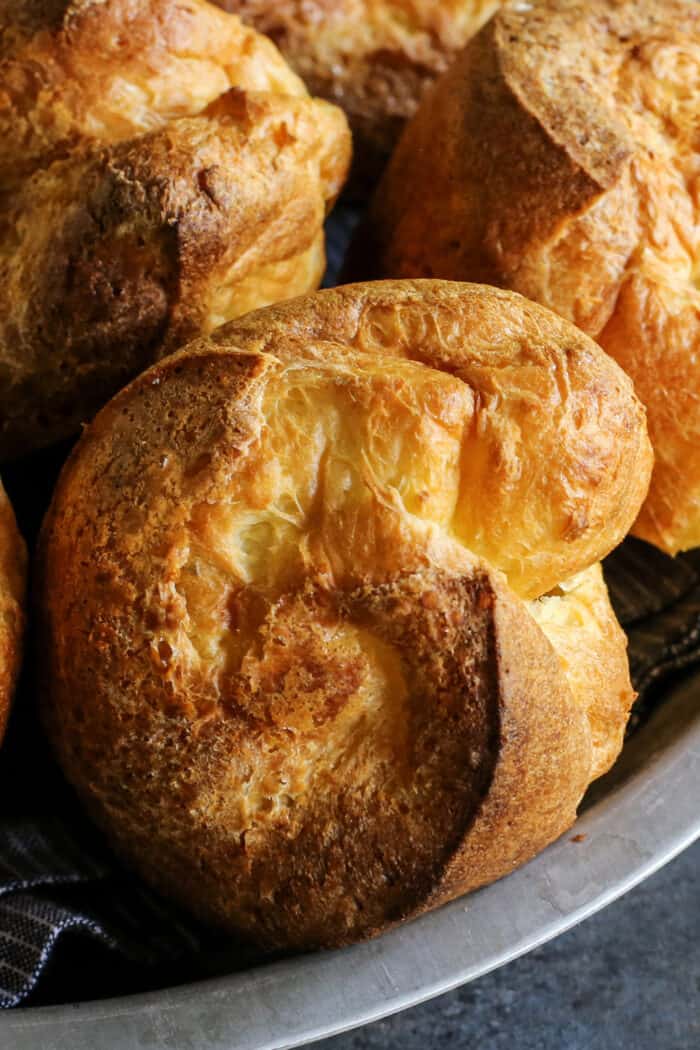
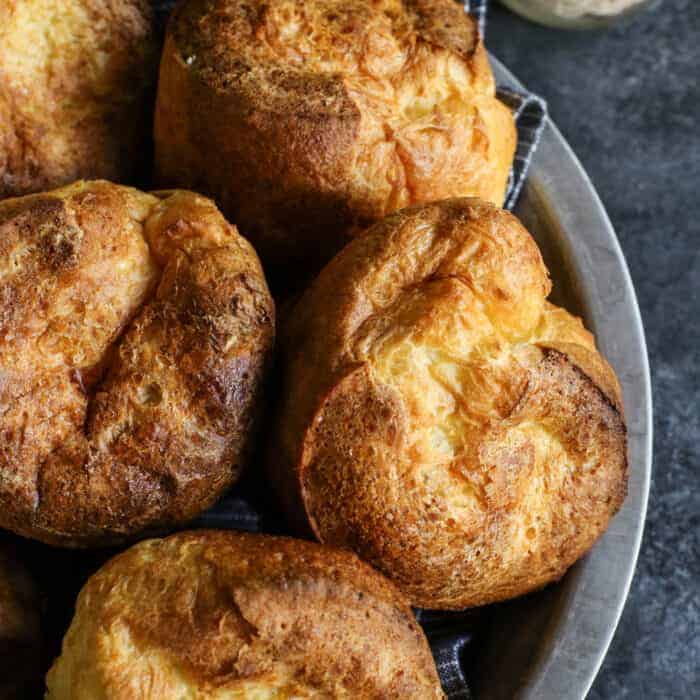
The popover’s appearance is striking, inside & out. From the exterior, they are a beautifully browned “popped” roll, standing tall and stately. When torn open, you find a steaming hollowed-out cavity of rich, stretchy, custardy dough.
So what makes popovers rise?
The Equipment:
Popover pans are definitely part of the magic when it comes to their popped appearance. Their deep wells force the batter upward while baking in the hot oven, resulting in puffy tops and tall, crispy sides.
Also. Did you notice how the popover pans feature cups welded to a wire rack? This helps to promote even air circulation and heat around each of the popovers.
The Batter:
Beyond the special pan, the batter is very thin and pourable (which essentially means it has alot of liquid), with no leavening agents. No yeast. No baking soda. And no baking powder.
When the batter bakes in the oven, the high proportion of liquid creates steam that causes the popovers to puff up, like a balloon filling with air. It’s quite dramatic!
The Oven:
It’s very important to preheat your oven. For this recipe, 450° F is perfect. The high temperature heats the liquid quickly, converts it to steam, and expands the batter into a beautifully popped top.
And. Do NOT peek! Keep that oven door shut so the heat stays inside. Heat is what makes the steam that makes the popovers rise!
How to Store and Reheat Popovers
The longer popovers sit, the more they will lose their height and crispness. So, while I will tell you all day long that popovers should be eaten immediately, hot from the oven…we usually have a leftover popover or two. (Which I completely welcome, as they make a wonderful breakfast the following morning!)
To store: Place any leftover popovers in an airtight container on the counter or in the fridge for up to 1 day.
To reheat: Simply warm the popovers in a 350° F oven until warm and crispy again. This should take about 5 minutes.
To freeze: Place baked and cooled popovers in an airtight, freezer-safe bag. They will freeze well for up to 2 months. When ready to eat, reheat frozen popovers at 350° F for about 8 minutes, or until warm and crispy.
What to Serve With Popovers
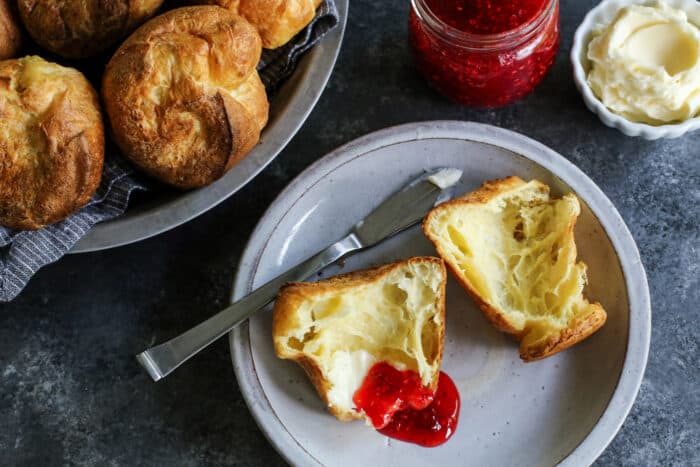
Popovers are the perfect canvas for schmearing on some butter or jam, or my personal favorite popover spread >>> this awesome whipped Cinnamon Honey Butter. I can eat that fluffy butter from a spoon, so spreading it on a popover feels much more civilized!
Serve popovers for breakfast or brunch, alongside a salad for lunch, or as a dinner roll for mopping up soups and pot roasts. You simply cannot go wrong!
Like this easy recipe? Save it to Pinterest!
A few more rolls recipes for you to try! Garlic Basil Parmesan Rolls from Foodie with Family, Old Fashioned Butter Rolls from Southern Bite, and No–Knead Dinner Rolls from The Pioneer Woman.
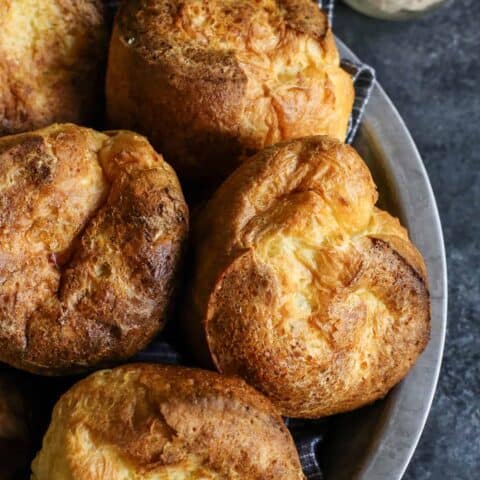
Popovers
Ingredients
- 2 large eggs
- 1 c. all-purpose flour
- 1 c. milk
- ½ tsp. kosher salt
Instructions
- Preheat oven to 450° F. Spray a 6-cup popover pan, six 6-ounce custard cups, or a standard muffin pan with cooking spray. Take care to spray the cups and the area between the cups. Set aside.
- In a medium bowl, beat eggs slightly. Beat in remaining ingredients just until smooth, taking care to not over mix. Mixture will be very thin and pourable, somewhat like heavy cream.
- Divide dough mixture between cups of popover pan (about halfway full for each cup). Bake 20 minutes without peeking. It’s very important to keep the oven door shut and the heat inside!
- Then decrease oven temperature to 350° F and bake 16 to 20 minutes longer, until popovers are a deep golden brown. Immediately remove popovers from cups and, with a sharp knife tip, cut a small slit into each of the tops to release some of the steam and prevent sogginess. Serve immediately..
Notes
Nutrition Information:
This post was originally published in 2010, and then updated in 2020.

I didnt have a popover pan so I used muffin pan instead an thought they would come out easier with cupcake liners but that was a negative. DO NOT USE cupcake liners. The intire liner absolutely would not come off the bread. So lost pretty much three-fourths of the popover. Lol
Finally made these poppvers and they are not only quite impressive looking but they are delicious! Thanks for this simple recipe that I will definitely make again!
5 star *****
Can these be made with gluten free one for one flour?
:o I didn’t realize how easy these were to make. I am definitely getting myself a popover pan.
must you use cooking spray or could you use oleo?
I’ve never tried oleo, but I’m guessing it would be fine. I think it’s worth a try. Please let me know how it works out!
Oh man! I love popovers! I am so jealous of your popover pans… if only I had some, I would make popovers all the time. Yours look delicious!
Hi Alicia – I know people use custard cups and even muffin tins to make these. They won’t have quite the same shape, but I’m sure they would still be delicious. I think it’s worth a shot!
I’m going to try and make popovers again after reading this. I tried using a different recipe before and they didn’t turn out – could have been my oven…who knows! Anyway, my question is what kind of milk do you use? Can you use skim or would it be better to use whole or 2% or something? Thanks!
Hello! I have been using 2% the past number of years, as we always have it on hand with young kids, and they turn out great. I say, give this recipe a try!!
I lo-uh-uh-ve popovers! We are making some for Thanksgiving next week and I’m already looking forward to it. What a great tip to cut a slit in the top when pulling them out of the oven!
Hi – it’s great to hear from you! These are such a treat. I’m planning to make them next week, too – for lunch the day after Thanksgiving, for family staying with us.
I want 1
Aren’t popovers the most impressive things?!! I love them and need to make them soon! Have a great day!
~Kristin
Thanks Kristin! Popovers really do make me smile. :-)
Thanks for reminding me how easy popovers are to make! I’ll pull out my popover pan and add them to my dinner menu tonight. I’ve also got the ingredients ready to make your caramel apple dip–just need some more apples.
I’m a friend of “sophiesara” and am enjoying reading your blog! Thanks for sharing your recipes!
Hi Nancy – thanks for introducing yourself. I’m so happy to know you’re enjoying what you find here. And I’m enjoying keeping up with the very wise & inspiring sophiesara. :-)