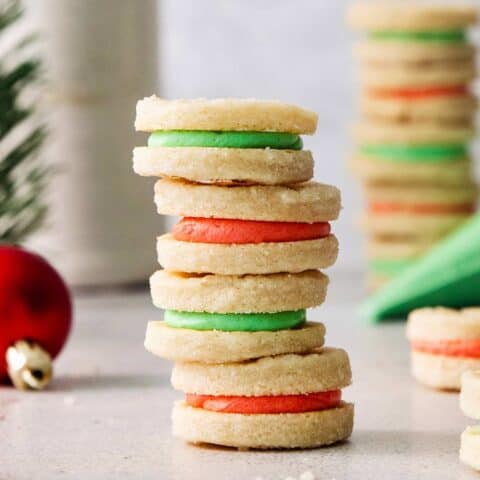
This Cream Wafer Cookies recipe is easy to make, with just a few ingredients. It features tender, flaky, buttery cookies sandwiching a sweet buttercream filling – a beautiful, festive addition to any holiday cookie platter!

The Best Cream Wafer Cookies
Christmas baking is the BEST baking! Some of my fondest childhood memories are of making Christmas cookies with my mom and sisters, the kitchen table on the farm covered in flour and sugar and sprinkles. And my aunt June’s Cream Wafer Cookies has been a top favorite recipe for as long as I can remember, with buttery, flaky-tender cookies sandwiching a pretty vanilla buttercream. You’ll need just a few simple ingredients to create this adorable holiday sandwich cookie. Plus, these cookies keep very well – they’re one of my go-to make-ahead cookies. So there! I just kicked off your Thanksgiving weekend plans with a fantastic Christmas cookie recipe!
Why You’ll Love These Wafer Cream Cookies
From the always-popular ginger molasses cookies to chocolate peanut butter Ritz cookies, there’s no shortage of holiday cookie options. And these cream wafer cookies are always a beautiful, delicious addition to cookie plates. Here’s why you’ll love these cookies:
- Simple ingredients. You’ll need just 6 common baking ingredients, plus a little food coloring if you want to color the buttercream.
- Rich yet light. With their delicate texture and flavor, these cream wafer cookies somehow find an amazing balance between decadence and feeling like a lighter sweet treat.
- So FESTIVE. I always think sandwich cookies are extra fun. And these, with buttercream tinted in classic-Christmas red and green, make the absolute perfect festive holiday cookie!
- Customizable. It’s easy to change up the cookie filling color, which makes these cookies endlessly perfect for other holidays and events.
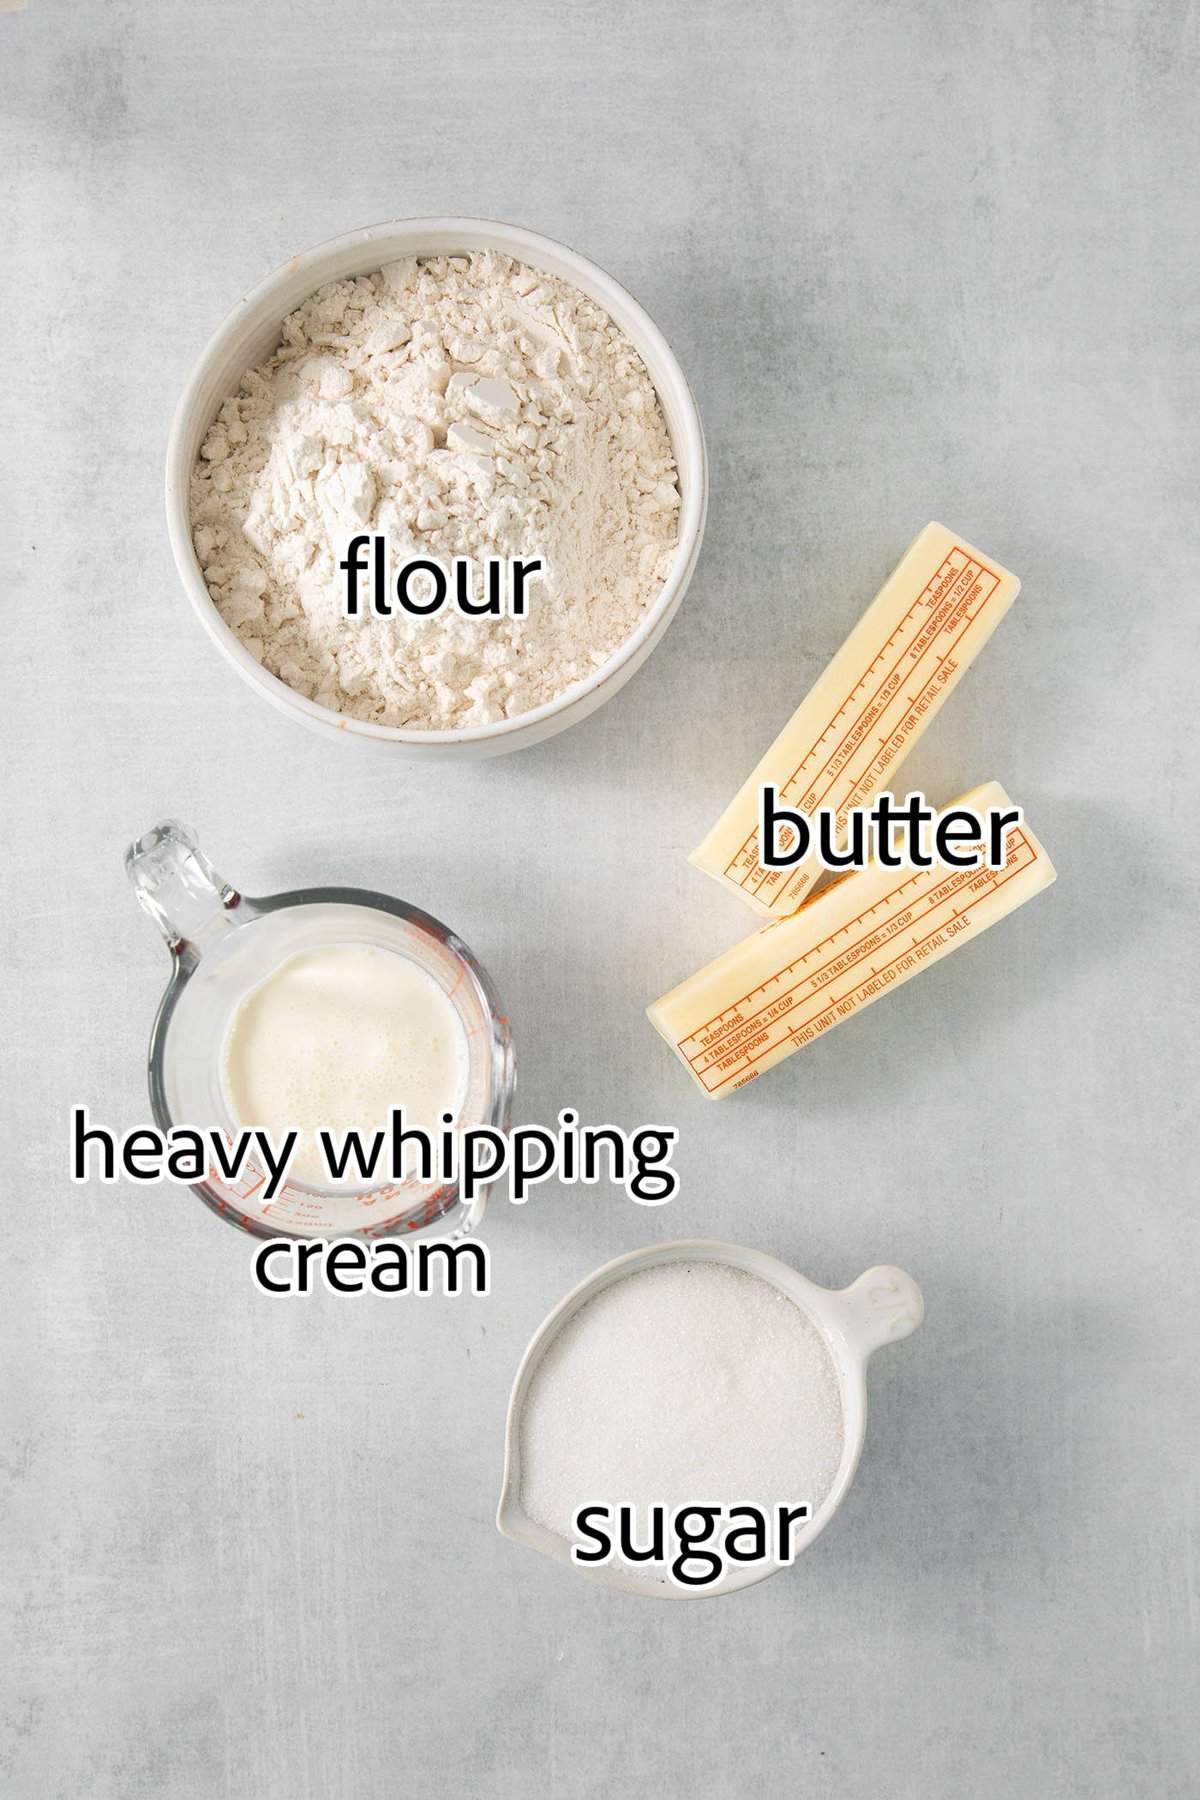
What You’ll Need
Here’s an overview of ingredients needed to make wafer cream cookies.
Scroll down to the printable recipe card lower down for the exact ingredient amounts.
For the Cookies
- Flour – I use unbleached all-purpose flour.
- Butter – This gives rich flavor and delightful texture to the cookies. Use a good quality unsalted butter, such as Land O’Lakes.
- Heavy whipping cream – Do not skimp on the cream for this recipe. Its high fat content makes the cookies extra tender and rich.
- Granulated sugar – Sugar is used to dust the wafer cookie dough, so the baked cookies have a sparkly look and delightful texture. There’s no sugar in the actual cookie dough, though. Instead, you get the sweetness from the buttercream icing.
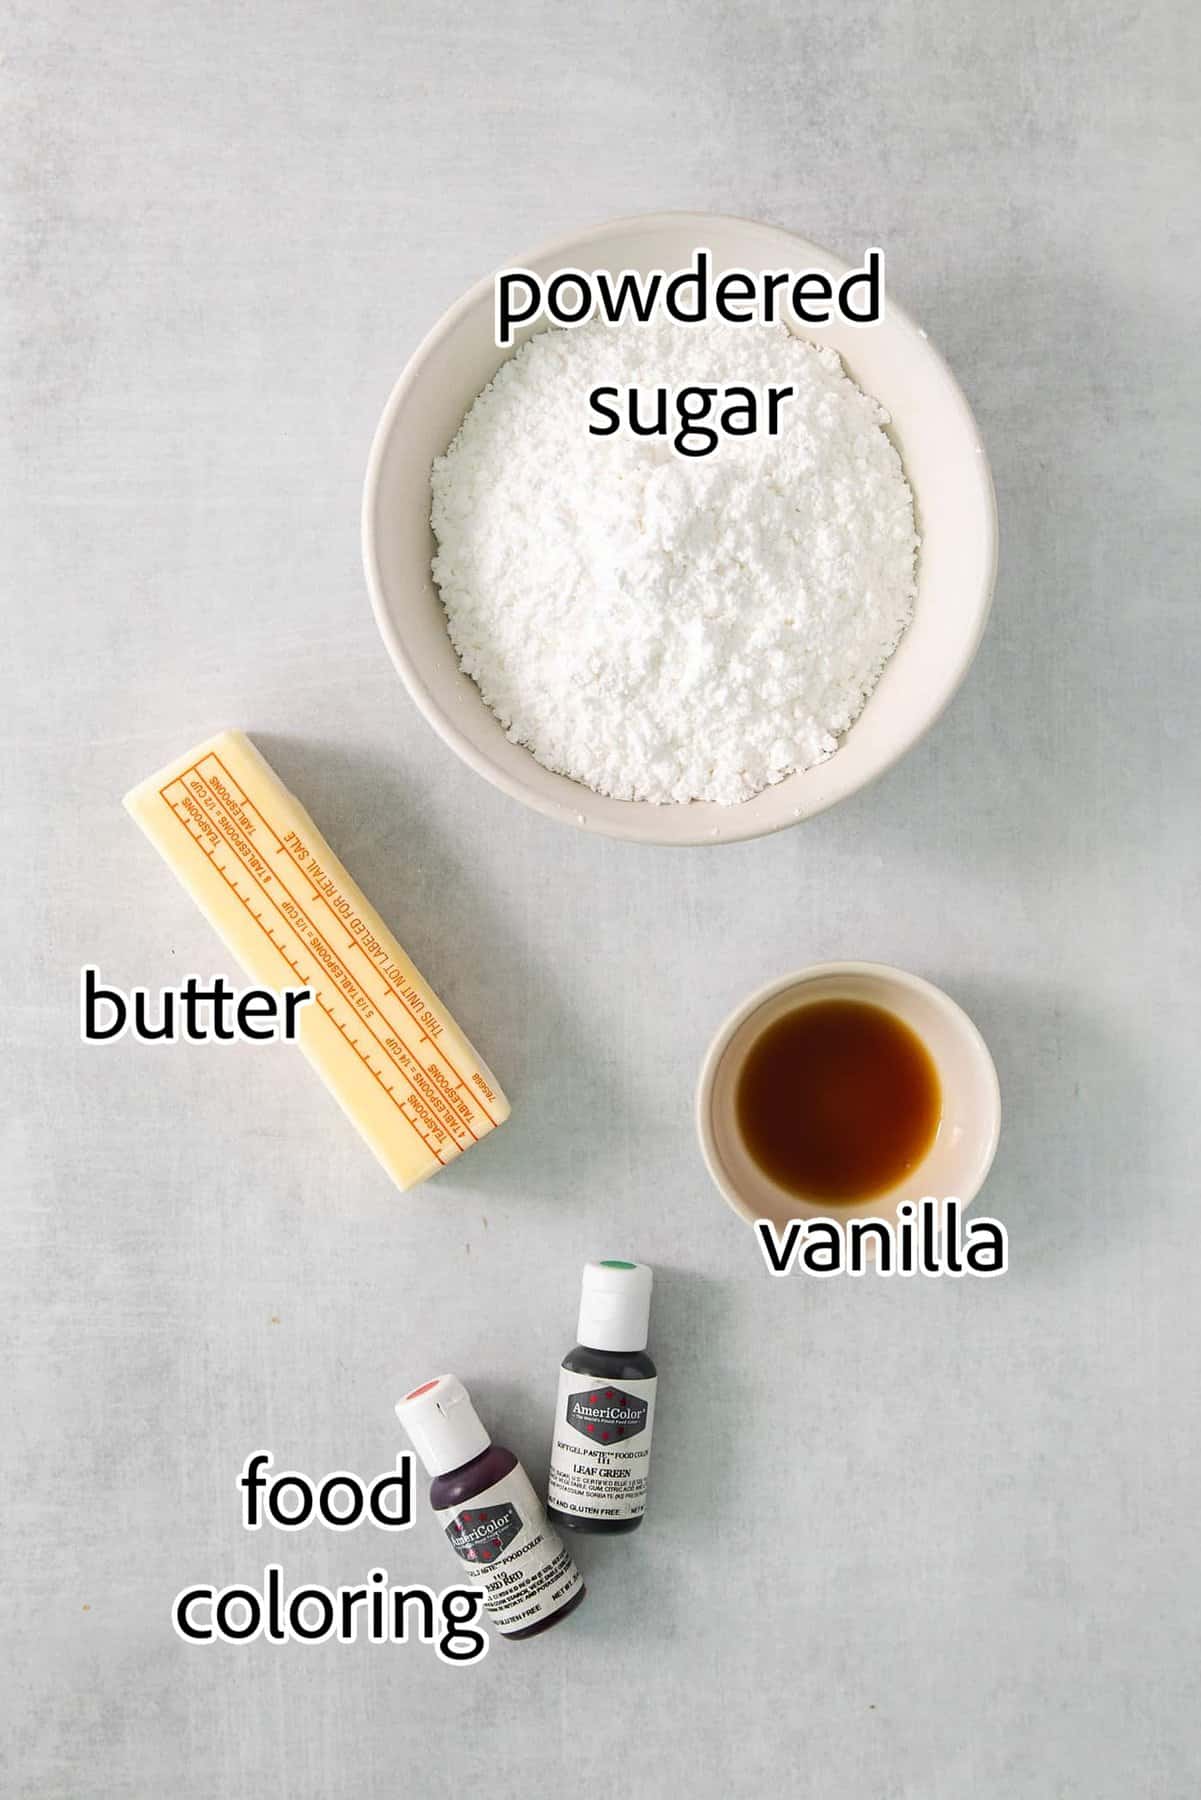
For the Filling
- Butter – You can’t have buttercream without butter! Again, use a good quality unsalted butter.
- Powdered sugar – This gives sweetness, plus a light, fluffy texture for ultimate creaminess.
- Vanilla extract – Be sure to use pure vanilla extract for the very best flavor.
- Food coloring – Add pretty holiday flair with red and green food coloring. You can use gel or liquid food coloring – you really don’t need much at all. And you can omit it entirely, if desired.
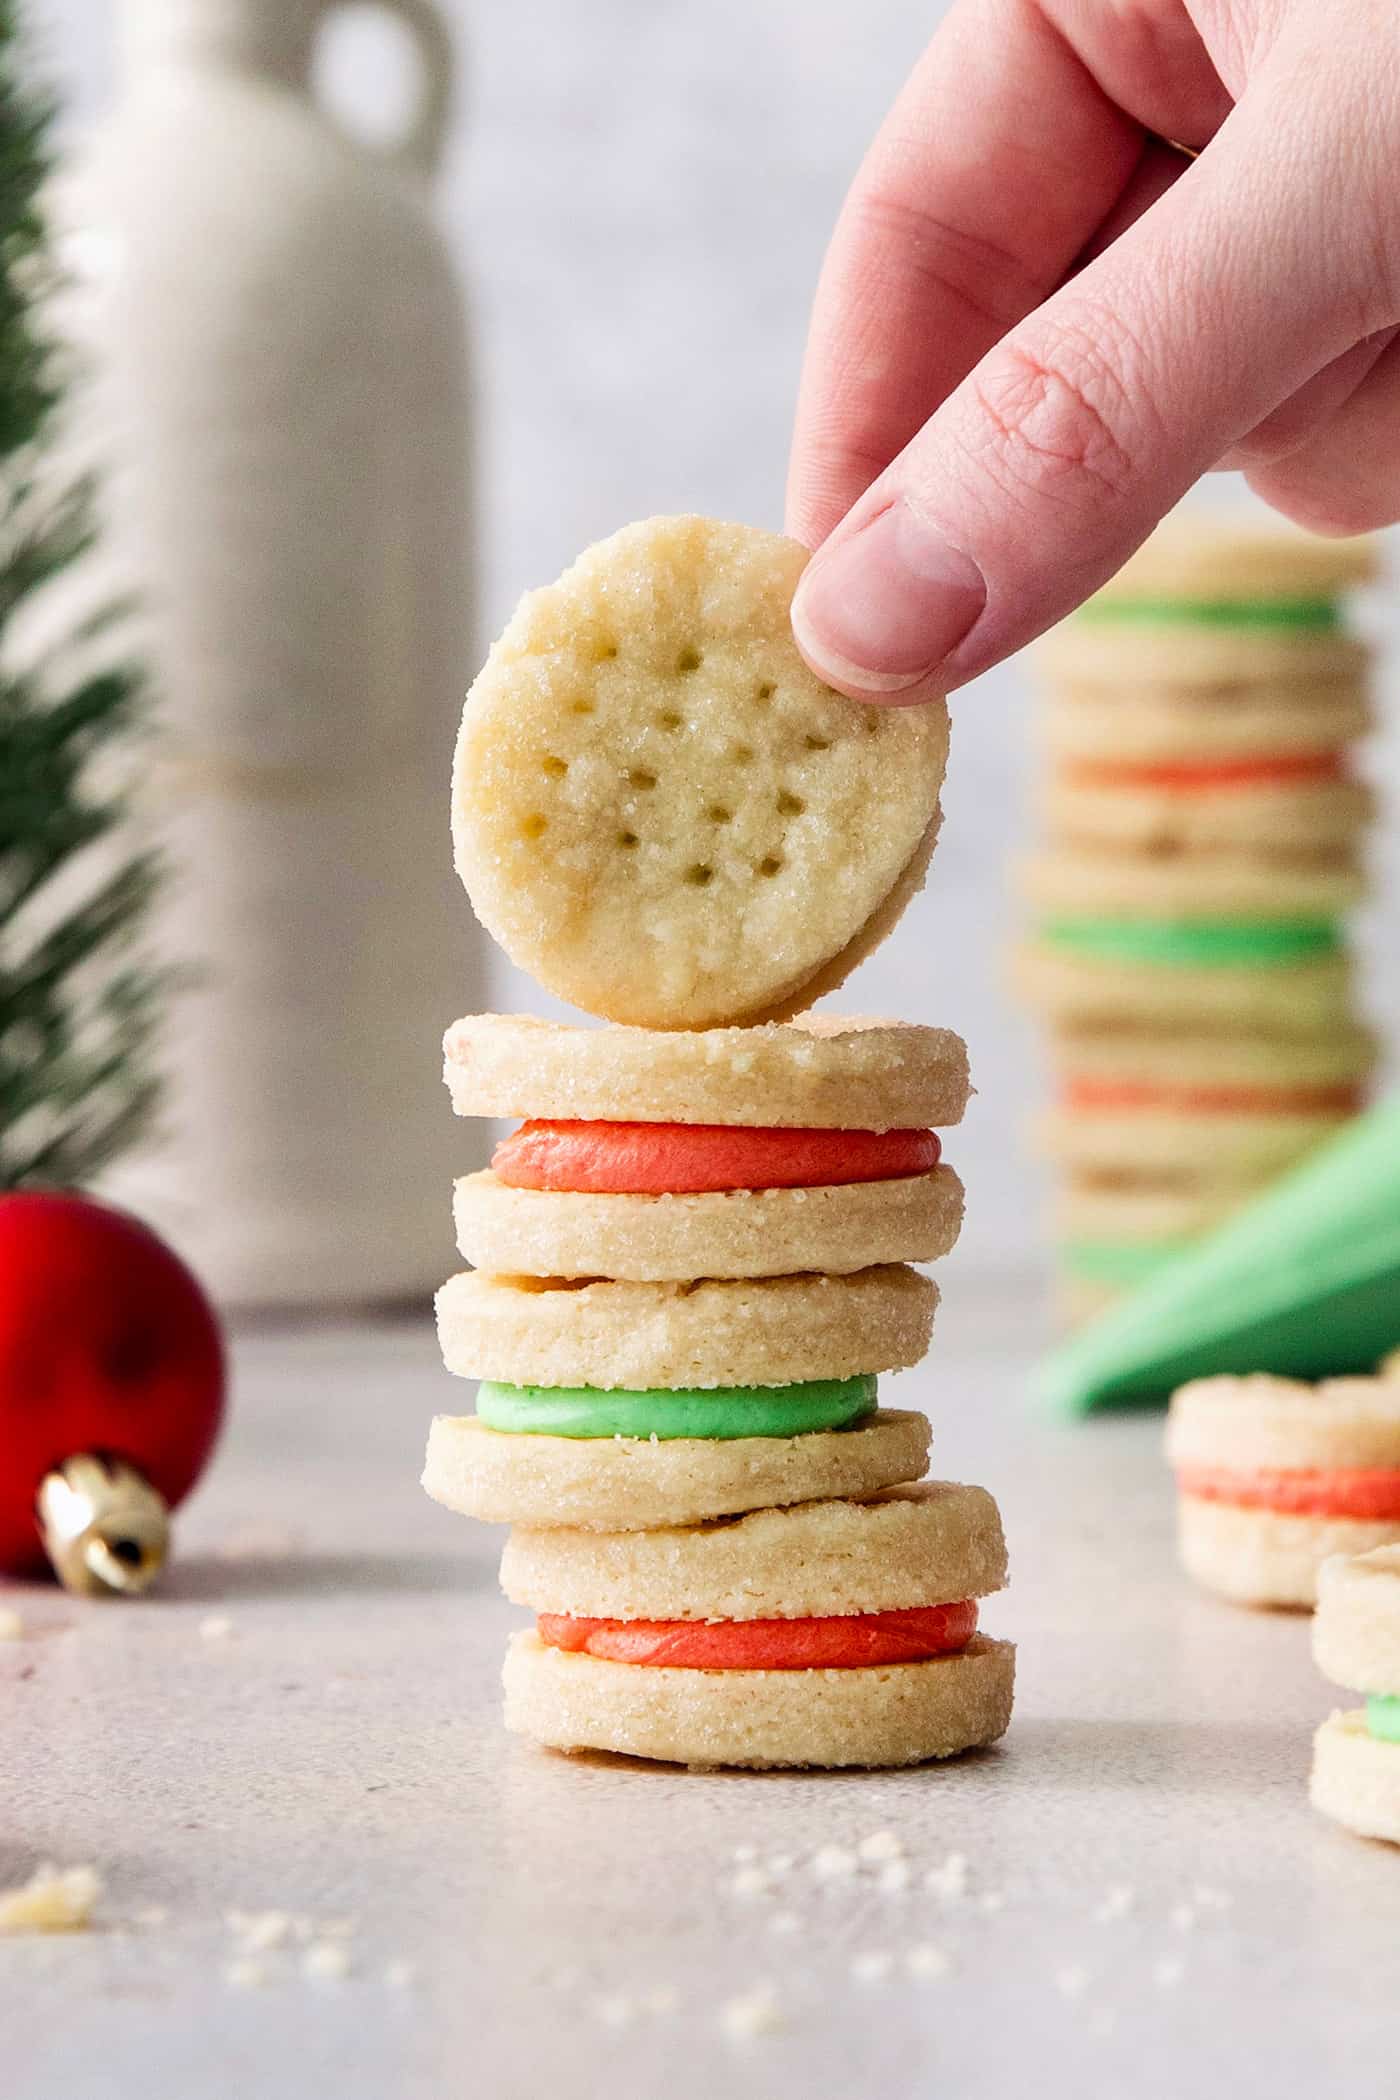
How to Make Cream Wafer Cookies
I’ve outlined how to make these pretty little cookies below. You’ll find the detailed instructions in the recipe card below this post.
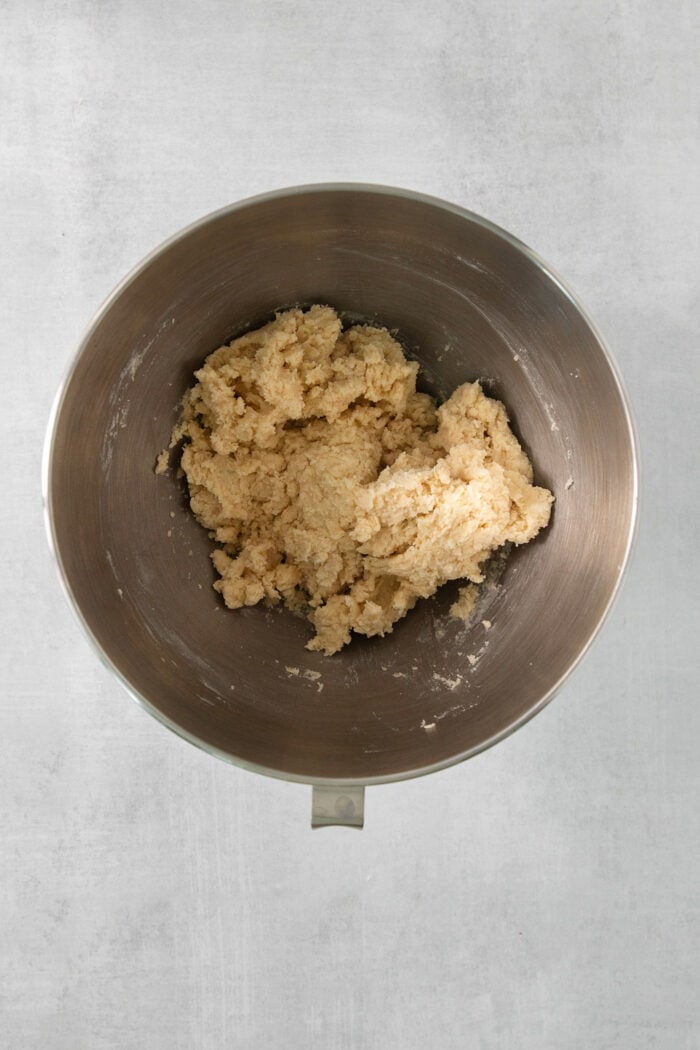
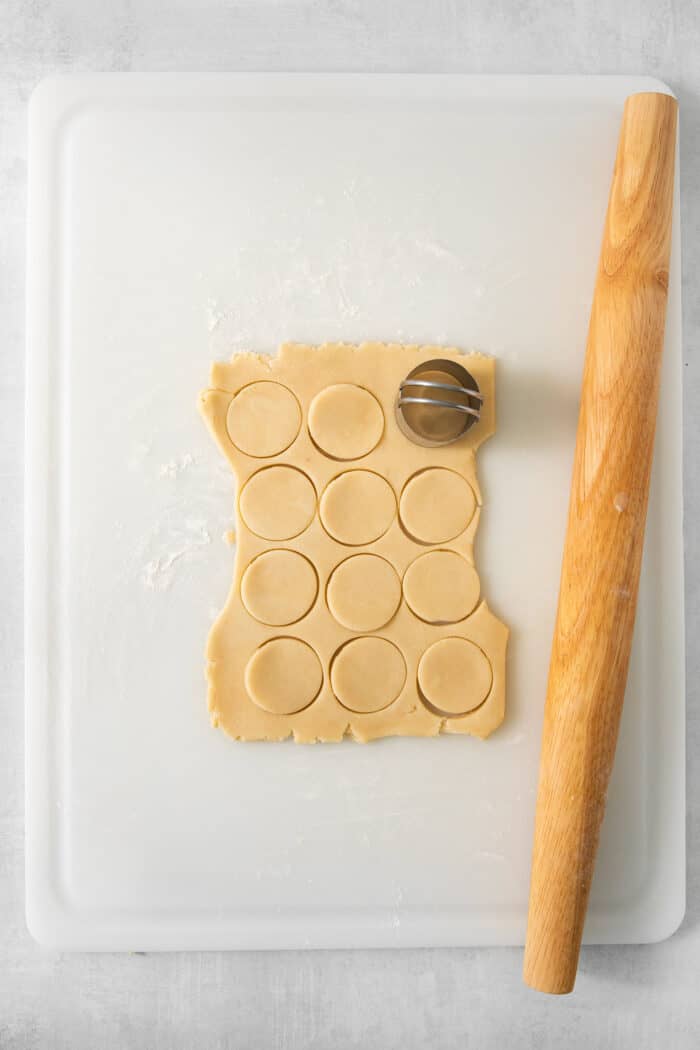
- Make the cookie dough. Mix together the flour, butter, and cream, then refrigerate for at least 2 hours.
- Roll out the dough, then cut. Roll out the cookie dough, then cut into circles with round cookie or biscuit cutters.
- Dip in sugar. Add the cookie dough rounds to a small bowl of sugar, to coat both sides of the rounds with sugar. Place circles on a baking sheet.
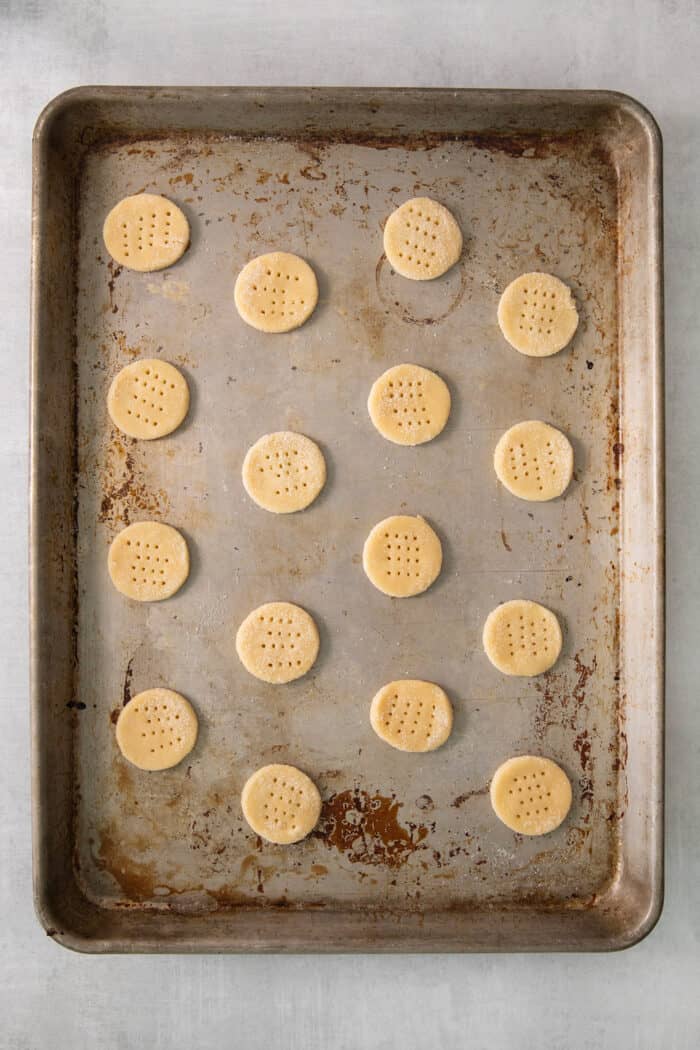
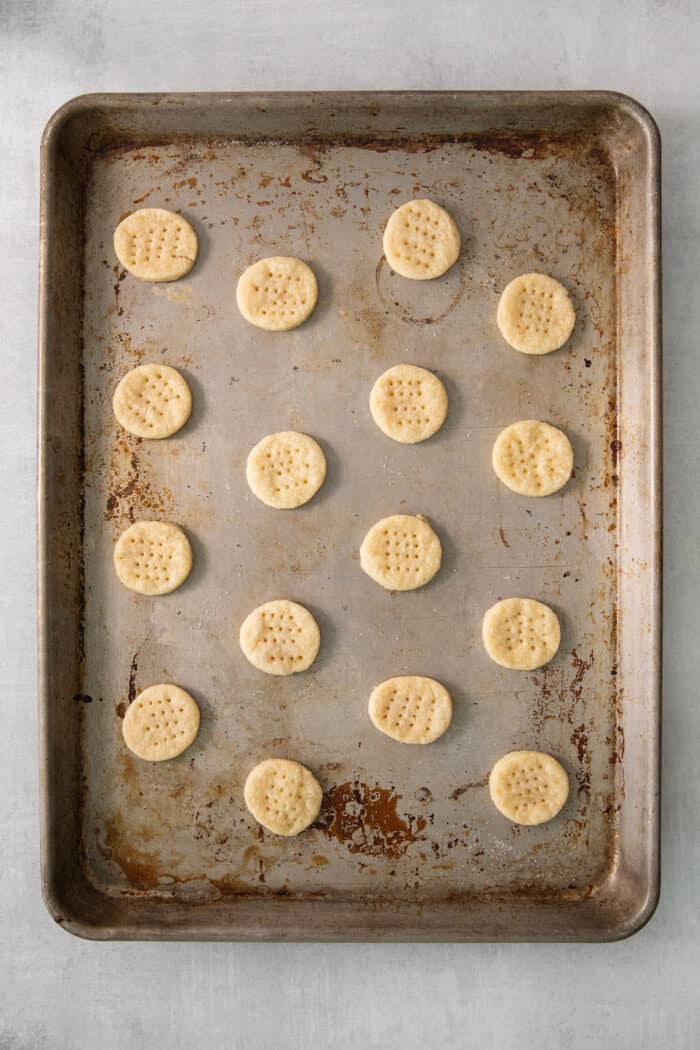
- Prick. Prick each circle with a fork, about 4 times each.
- Bake. Then place the cookies in a 375° F oven and bake 7-9 minutes, or just until set.
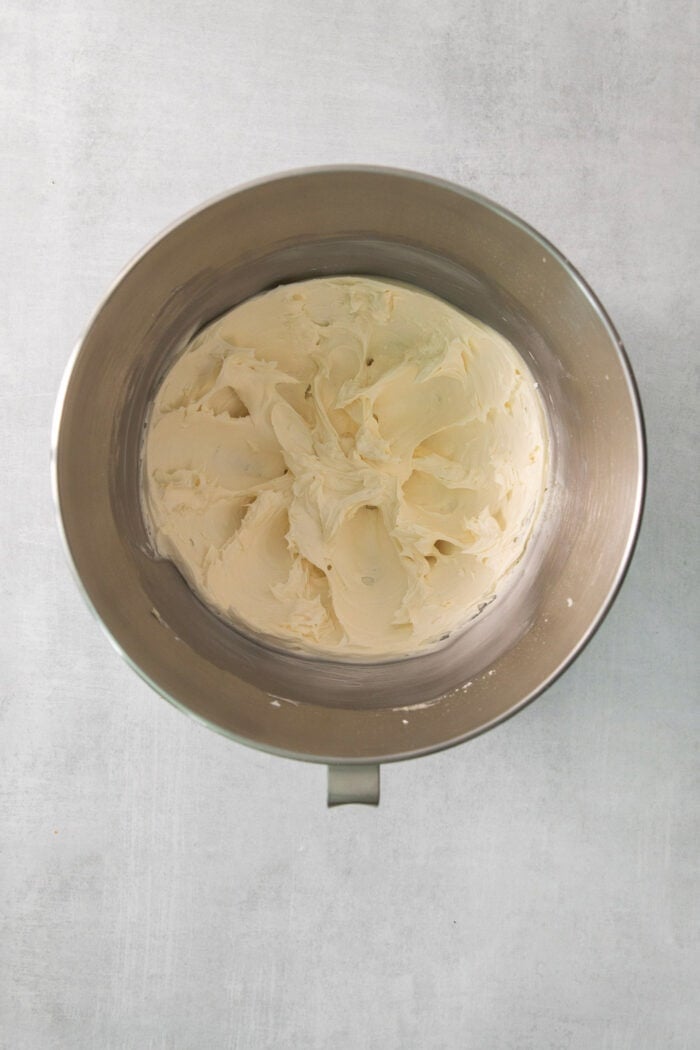
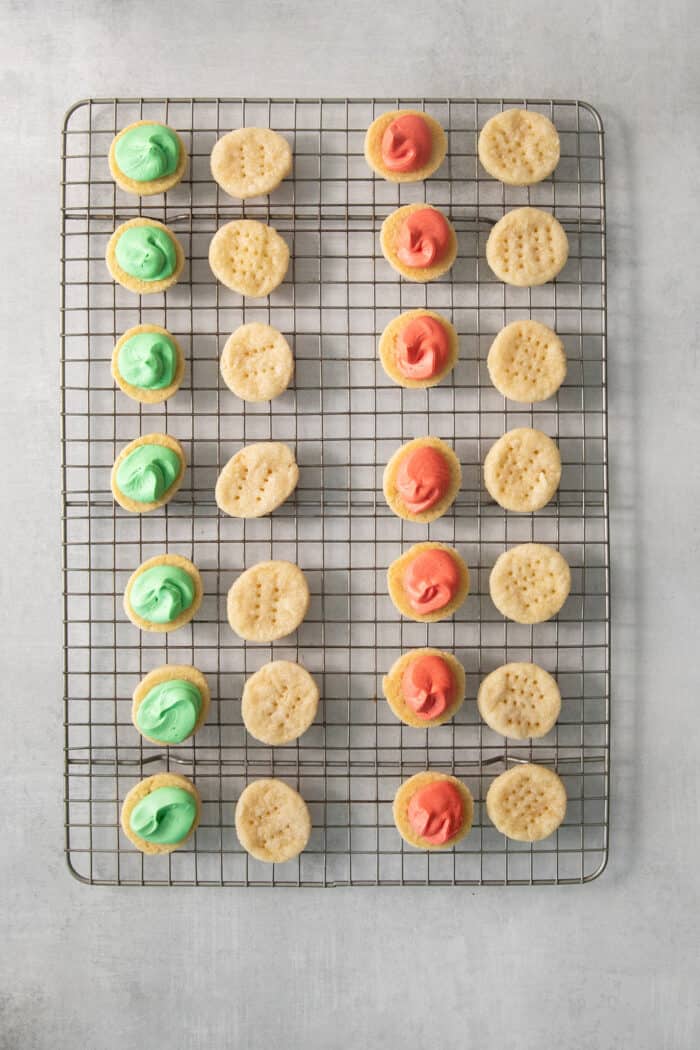
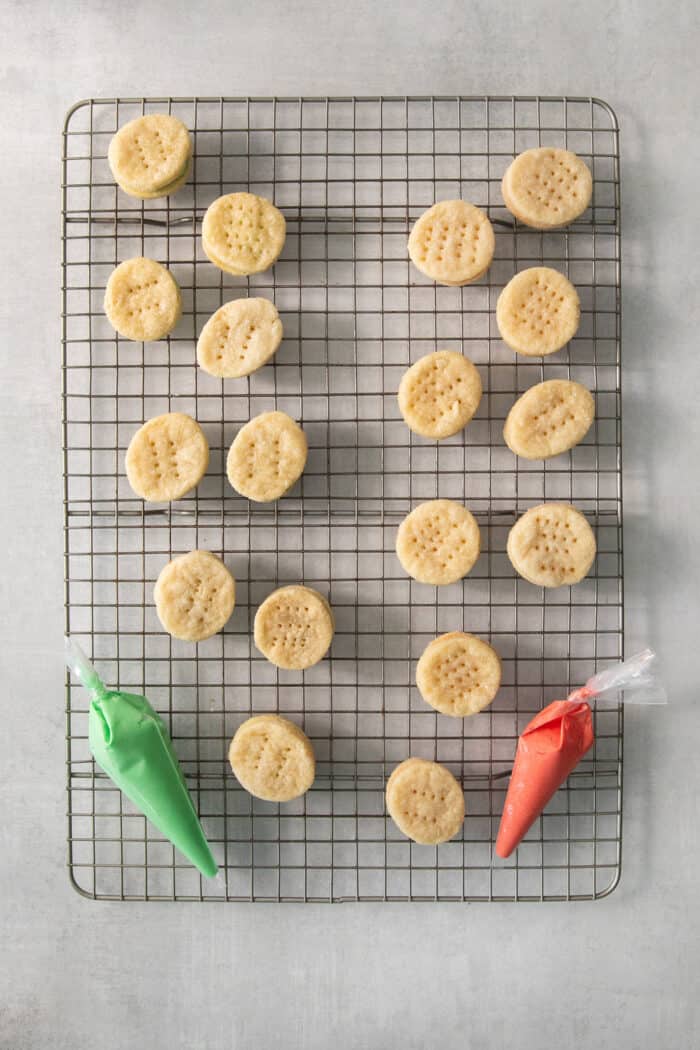

- Make the buttercream filling. Beat the butter, powdered sugar, and vanilla together, until smooth and fluffy. Divide into two bowls, then color each with a little bit of red and green food coloring.
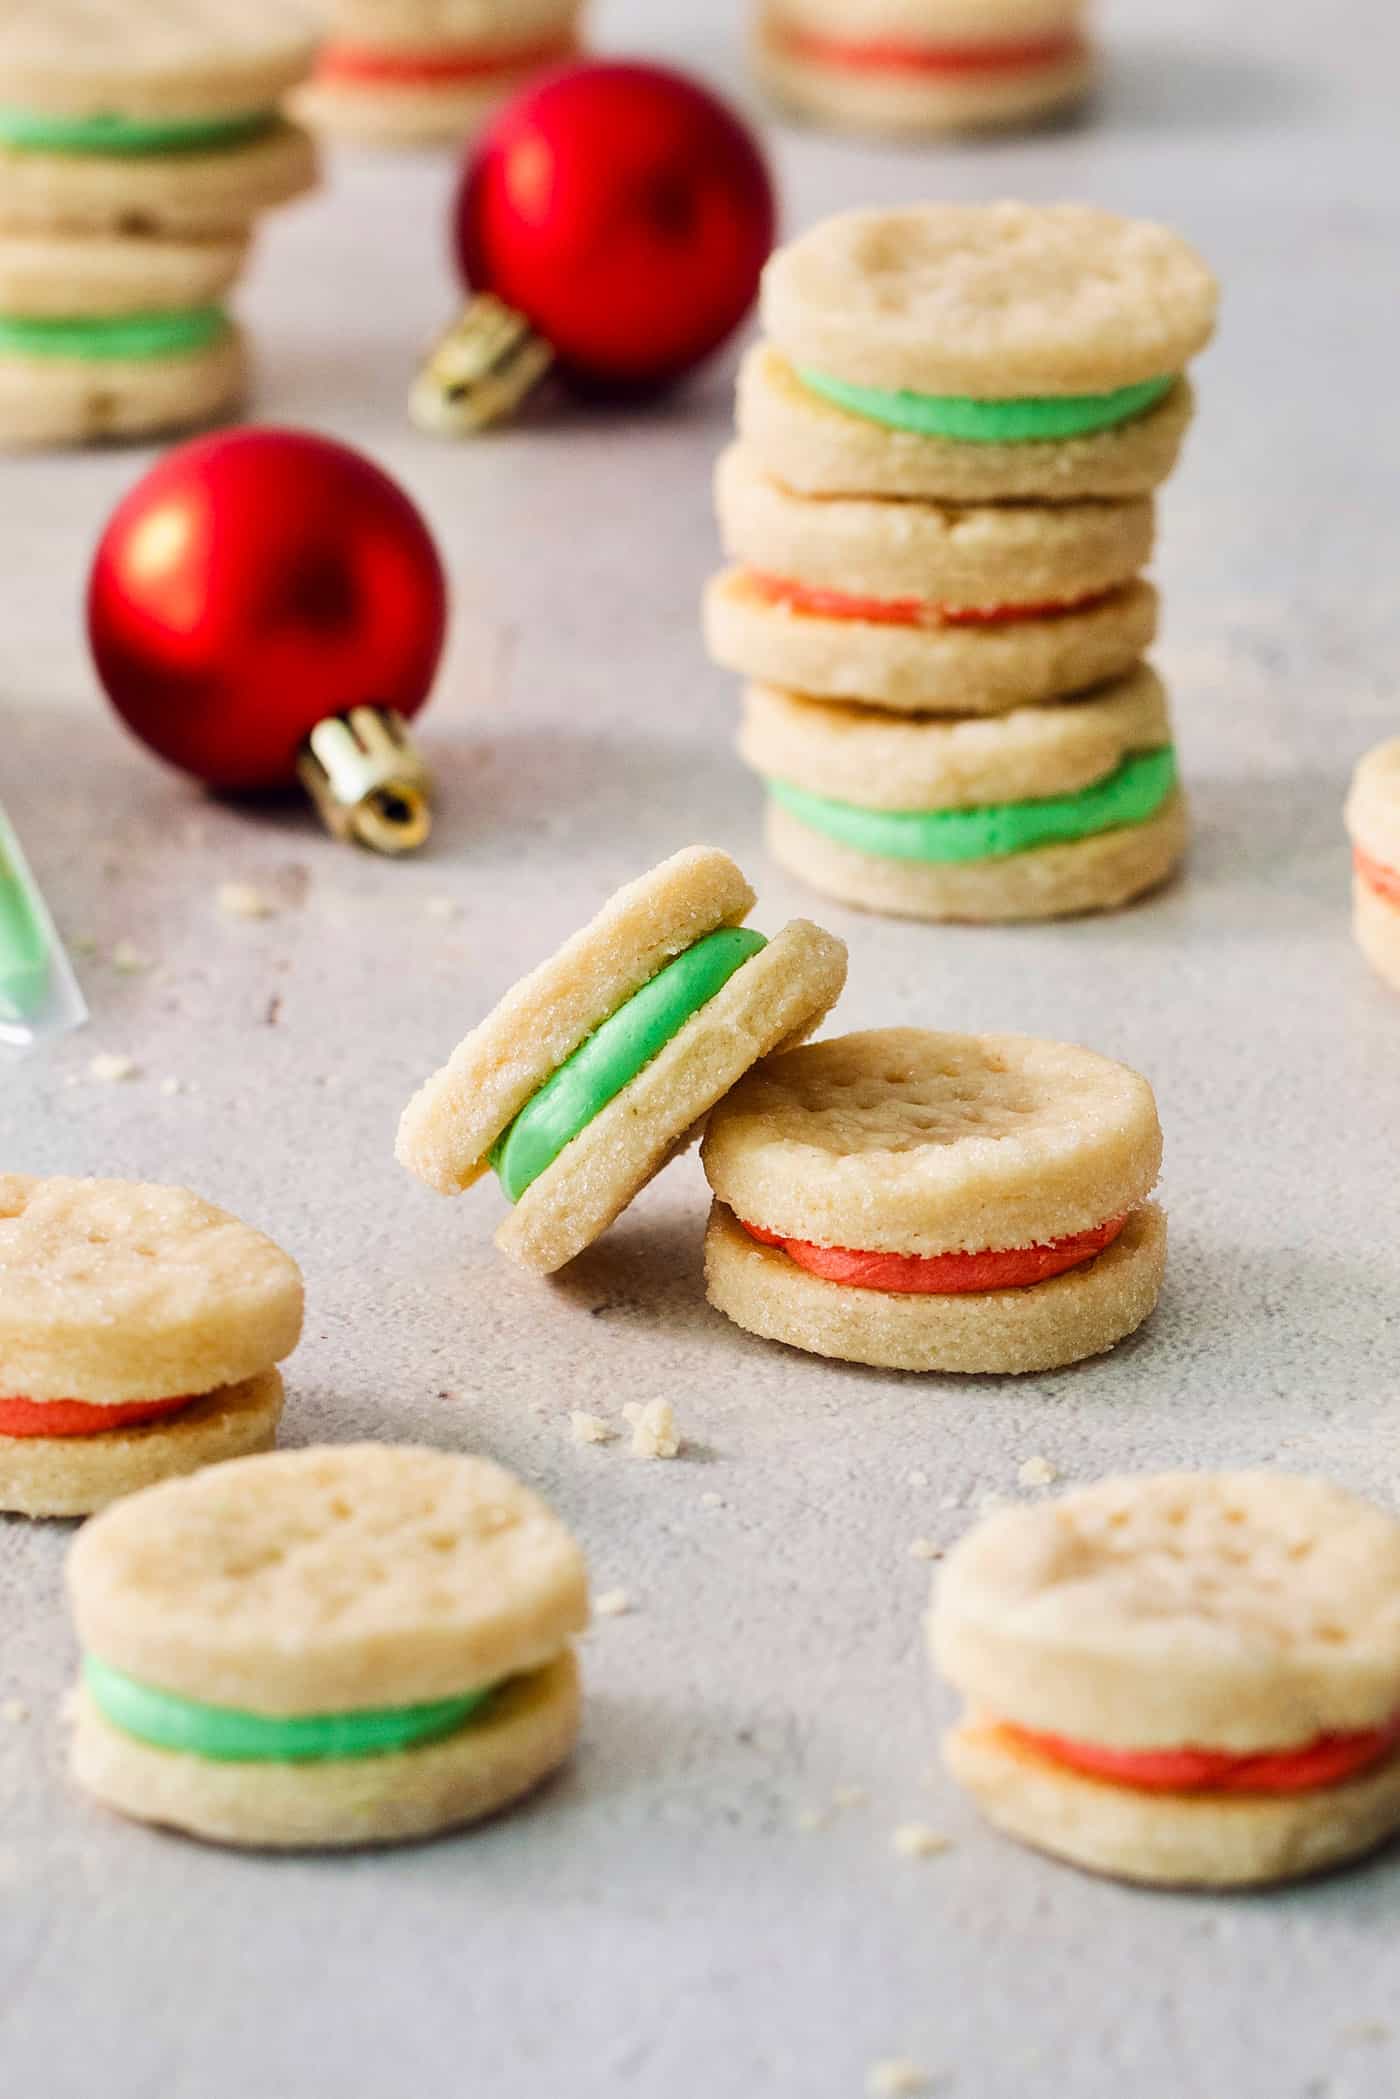
- Assemble the cookies. Transfer each colored buttercream to individual piping bags. Pipe a layer of buttercream onto the back side of one cream wafer. (If you don’t want to use piping bags, you can spoon the filling onto the cookie – this gives a more casual appearance.)Top with another cookie, and gently press together. Repeat. Repeat. Repeat.
Tips for Success + Variations
Here are a few tips to help you make these special little cookies, plus some variations:
- Use good-quality ingredients. Because there are so few ingredients in this recipe, good butter as well as fresh heavy cream will offer the very best taste and texture to the finished cookies.
- Chill the dough. The cookie dough is very tender, so it’s important to thoroughly chill it. This step makes the dough easier to roll, plus the cookies will hold their shape better when they’re baking.
- Poke the dough. Before baking the cookies, be sure to poke them a few times with a fork. This prevents air bubbles and helps them not puff up too much due to their high butter content.
- Piping bag alternative. If you don’t have a pastry piping bag, you can add the buttercream filling to a Ziploc bag, seal it, and cut off the corner. This will mimic a piping bag without a tip and will help you have better control when you add the filling to the cookies.
- Or spoon in the filling. You could also simply spoon the filling onto the cookie. This will give a more casual appearance.
- Dip in colored sugar. Instead of dipping the wafer dough into plain sugar, choose colored sugars.
- Use different colors for the buttercream. My aunt always tints her buttercream with several different colors, so she has sandwich cookies filled with green frosting, red frosting, blue frosting, and yellow frosting. We’ve always kept the colors light/pastel, but you can make them as bright as you like.
- Try a different flavor. Substitute the vanilla extract for almond extract. YUM.
- Make the cookies ahead of time. Cream wafer cookies take well to freezing. You can follow the directions below for how to store these cookies in the freezer.
- Customize for different holidays and occasions. These cookies are fun for baby and bridal showers, graduation parties, Valentine’s Day, and so much more. Just customize the cookie filling using colors that coordinate with each event!

Proper Storage
Cream wafer cookies freeze beautifully, making them an ideal make-ahead option for when you bake holiday cookies. Here’s how to store these cookies:
- Fridge – Place cookies in an airtight container with a layer of parchment or wax paper in between layers if needed for up to 1 week.
- Freezer – Cookies will keep, very well stored in an airtight container, with layers of cookies separated by wax paper or parchment paper, in the freezer for up to 3 months. Thaw them in the fridge before serving.

More Holiday Cookie Recipes & Treats
- Chocolate Covered Cherry Cookies
- Peanut Butter Blossoms
- Fantasy Fudge
- Oreo Truffle Balls
- Peanut Butter Balls with Rice Krispies
- Pecan Pralines
- Ritz Cracker Toffee
- Homemade Peanut Butter Cups
- Buttercrunch Toffee
Cream Wafer Cookies
Ingredients
Cream Wafer Cookies
- 2 cups all-purpose flour
- 1 cup good quality unsalted butter, such as Land O’Lakes, at room temperature
- ⅓ cup heavy whipping cream
- ½ cup granulated sugar
Buttercream Filling
- ½ cup unsalted butter, at room temperature
- 1½ cups powdered sugar
- 2 teaspoons pure vanilla extract
- red and green food coloring
Instructions
Cream Wafer Cookies
- In the bowl of a stand mixer, mix flour, butter, and whipping cream until combined. Cover tightly with plastic wrap and refrigerate for at least 2 hours.
- Preheat oven to 375° F. Add sugar to a separate small bowl and set aside.
- Take about one-third of the cookie dough out of the refrigerator, keeping remaining dough refrigerated. On a lightly floured surface, roll out dough to a 1/8" to 3/16" thickness (see Notes below about cookie thickness and overall cookie quantity). Depending on how long the dough has chilled, it can get rather hard/cold – but as it warms up it will become very easy to roll.
- Cut the dough into circles with a 1½" diameter circle cookie cutter. Work swiftly, as the dough softens quickly as it warms. With a thin metal spatula, transfer circles to the bowl of sugar. Turn circles over so that sugar adheres to each side – the dough will be tender. Then place circles on an ungreased cookie sheet, about 1" apart.
- Prick each circle with a fork about 4 times. Repeat with the rest of the dough, rerolling scraps as needed. After rerolling the dough more than once, the dough will start to lose its shape faster when rolled out and baked, so try to get as many cut-outs as possible out of each initial rolling.
- Bake 7 to 9 minutes, or just until set – do not let them brown. Let cool a bit on the pan to set, then transfer to a wire rack to cool completely.
Buttercream Filling
- In the bowl of a stand mixer, beat butter until smooth and fluffy, about 2 minutes. Add powdered sugar and vanilla, and beat until smooth and fluffy again, another minute or two. Remove half of the filling to a separate bowl. Then tint one bowl with a little bit of green food coloring and the other bowl with a little bit of red food coloring – the goal is to have lighter, pastel colors, not super bright green or red.
Assemble
- Add buttercream filling to a piping bag fitted with a medium plain tip – or just cut off the end of the piping bag, omit the tip. Pipe a single layer of buttercream onto the back side of one cookie. Top with another cookie and press gently to secure. (If you don't want to use piping bags, you can spoon the filling onto the cookie. This gives a more casual appearance.)
Notes
- If you roll the wafer cookie dough thicker: The dough circles will be easier to handle, and will also give you less wafer cookies. In general, this will yield around 24 fully assembled cream wafer sandwich cookies. And the buttercream amount listed in the recipe card will give you a nice amount of filling per cookie.
- If you roll the wafer cookie dough thinner: The dough circles will be a little more trying to handle as the dough warms up, and will also give you more wafer cookies. In general, this will yield around 40 fully assembled cream wafer sandwich cookies. This larger amount of cookies will have you wanting a bit more buttercream filling, though. If you like a thicker filling, I recommend doubling the buttercream filling amount. If you like a small/medium amount of filling, I recommend that you 1.5x the filling amount.







I do slice & bake, less work!
These are so cute! Do you freeze them with the frosting or without? Do they store well frosted or are they best frosted right before serving? Thanks!
Hi Holly – I freeze them completely made, with the frosting. They freezer really well, just separate any layers with parchment or wax paper. Enjoy!