
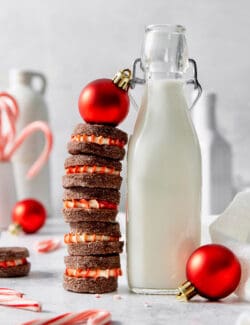
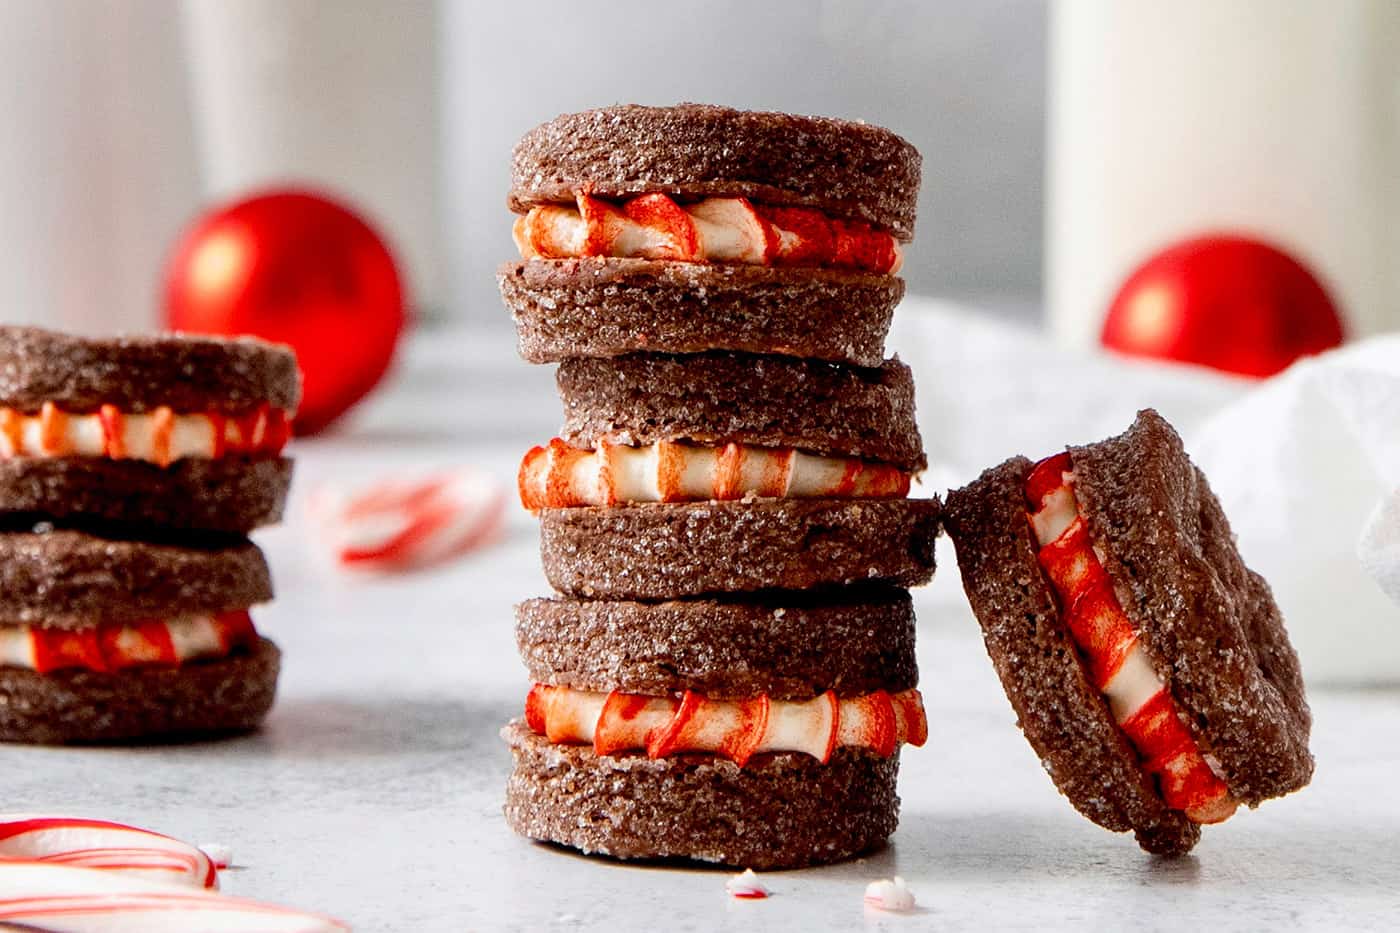
My easy Chocolate Cream Wafer Cookies recipe is a fun chocolatey riff on one of my favorite Christmas cookies. With tender, flaky, buttery chocolate wafers sandwiching a striped peppermint buttercream, it’s a delightful holiday cookie!

Easy Homemade Chocolate Wafer Cookies Recipe
With this recipe I took my favorite colorful cream wafer cookies and dropped in some chocolate – you’re gonna love these Chocolate Cream Wafer Cookies! With the same tender, flaky, buttery wafer cookie experience, but with rich cocoa this time, this easy sandwich cookie recipe is filled with striped peppermint buttercream for the holidays. I’ve included other flavor suggestions as well, such as strawberry buttercream filling for Valentine’s Day – so many delicious possibilities!
Why You’ll Love These Chocolate Cream Wafer Cookies
These cookies have been an instant hit at our house. Here’s why you’ll love this chocolate wafer cookies recipe:
- Simple ingredients. I’ve been making cream wafer cookies since I was kid, and the recipe has always fascinated me. These chocolate wafers are simply made of flour, butter, cream, cocoa powder, and a little dusting of sugar. wonderful chocolate wafer cookies.
- Perfect for any occasion. Chocolate wafer cookies are versatile. Tint the buttercream filling whatever color you like – and flavor it with peppermint for Christmas, vanilla and warm spices for Thanksgiving, or strawberry for Valentine’s Day!
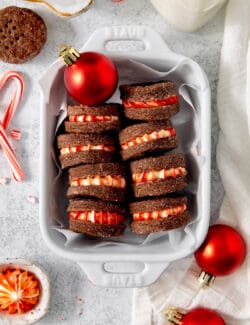
- Great to make ahead. Chocolate wafers freeze extremely well, which makes them great to keep on hand to offer all throughout the holiday season.
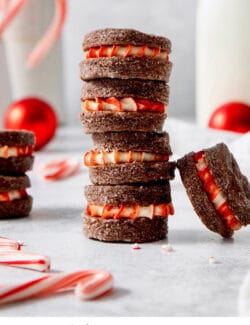
- So festive! I mean, just look at them. First, everyone loves a sandwich cookie. And second, that striped buttercream filling – that mimics a peppermint candy cane – is just plain FUN!

What You’ll Need
This chocolate wafer cookies recipe has a simple ingredients list – here’s what you’ll need. Scroll down to the printable recipe card at the end of this post for the exact ingredient amounts.
For the Chocolate Wafers
- Flour – Use all-purpose flour, and be sure to measure using the spoon and level method as adding too much flour can result in a stiff cookie dough.
- Butter – Butter adds richness and flavor to the cookies, and makes them irresistibly flaky. I’m using salted butter in this recipe for a bit more flavor. If you use unsalted, just add a pinch of salt to the wafer cookie dough.
- Heavy cream – This adds moisture, plus rich yet delicate flavor.
- Cocoa powder – Use unsweetened cocoa powder to turn the original wafer cookies into chocolate wafer cookies!
- Sugar – The chocolate wafers are dipped in granulated sugar, which adds a touch of sweetness, plus a fine bit of crunchy texture.

For the Buttercream
- Butter – Use salted butter, or add a little pinch of salt if you use unsalted butter.
- Powdered sugar – This adds sweetness and creamy structure to the buttercream, without the graininess of granulated sugar. Feel free to add a bit more or a bit less to achieve your desired consistency.
- Peppermint extract – You can flavor this buttercream with any flavor you like – I use peppermint extract for Christmas cookies, strawberry for Valentine’s Day, etc.
- Food coloring – Just like the extracts, you can leave the buttercream naturally colored or add any color you like. I use Americolor Soft Gel Paste in “Super Red” for the Christmas cookies and “Deep Pink” for the Valentine’s Cookies.

How to Make Chocolate Wafer Cookies
Here’s how to make these delightful chocolate wafer cookies. You’ll find the detailed instructions in the recipe card at the end of this post.


- Mix, then chill. Mix the flour, butter, cream, and cocoa until well combined, then chill in the fridge.
- Roll. Roll out the dough on a lightly floured surface.


- Cut and dip. Use a round cookie or biscuit cutter to cut out dough circles.
- Prick with fork. Place the dough circles on a parchment-lined baking sheet. Use a fork to prick each cookie a few times.
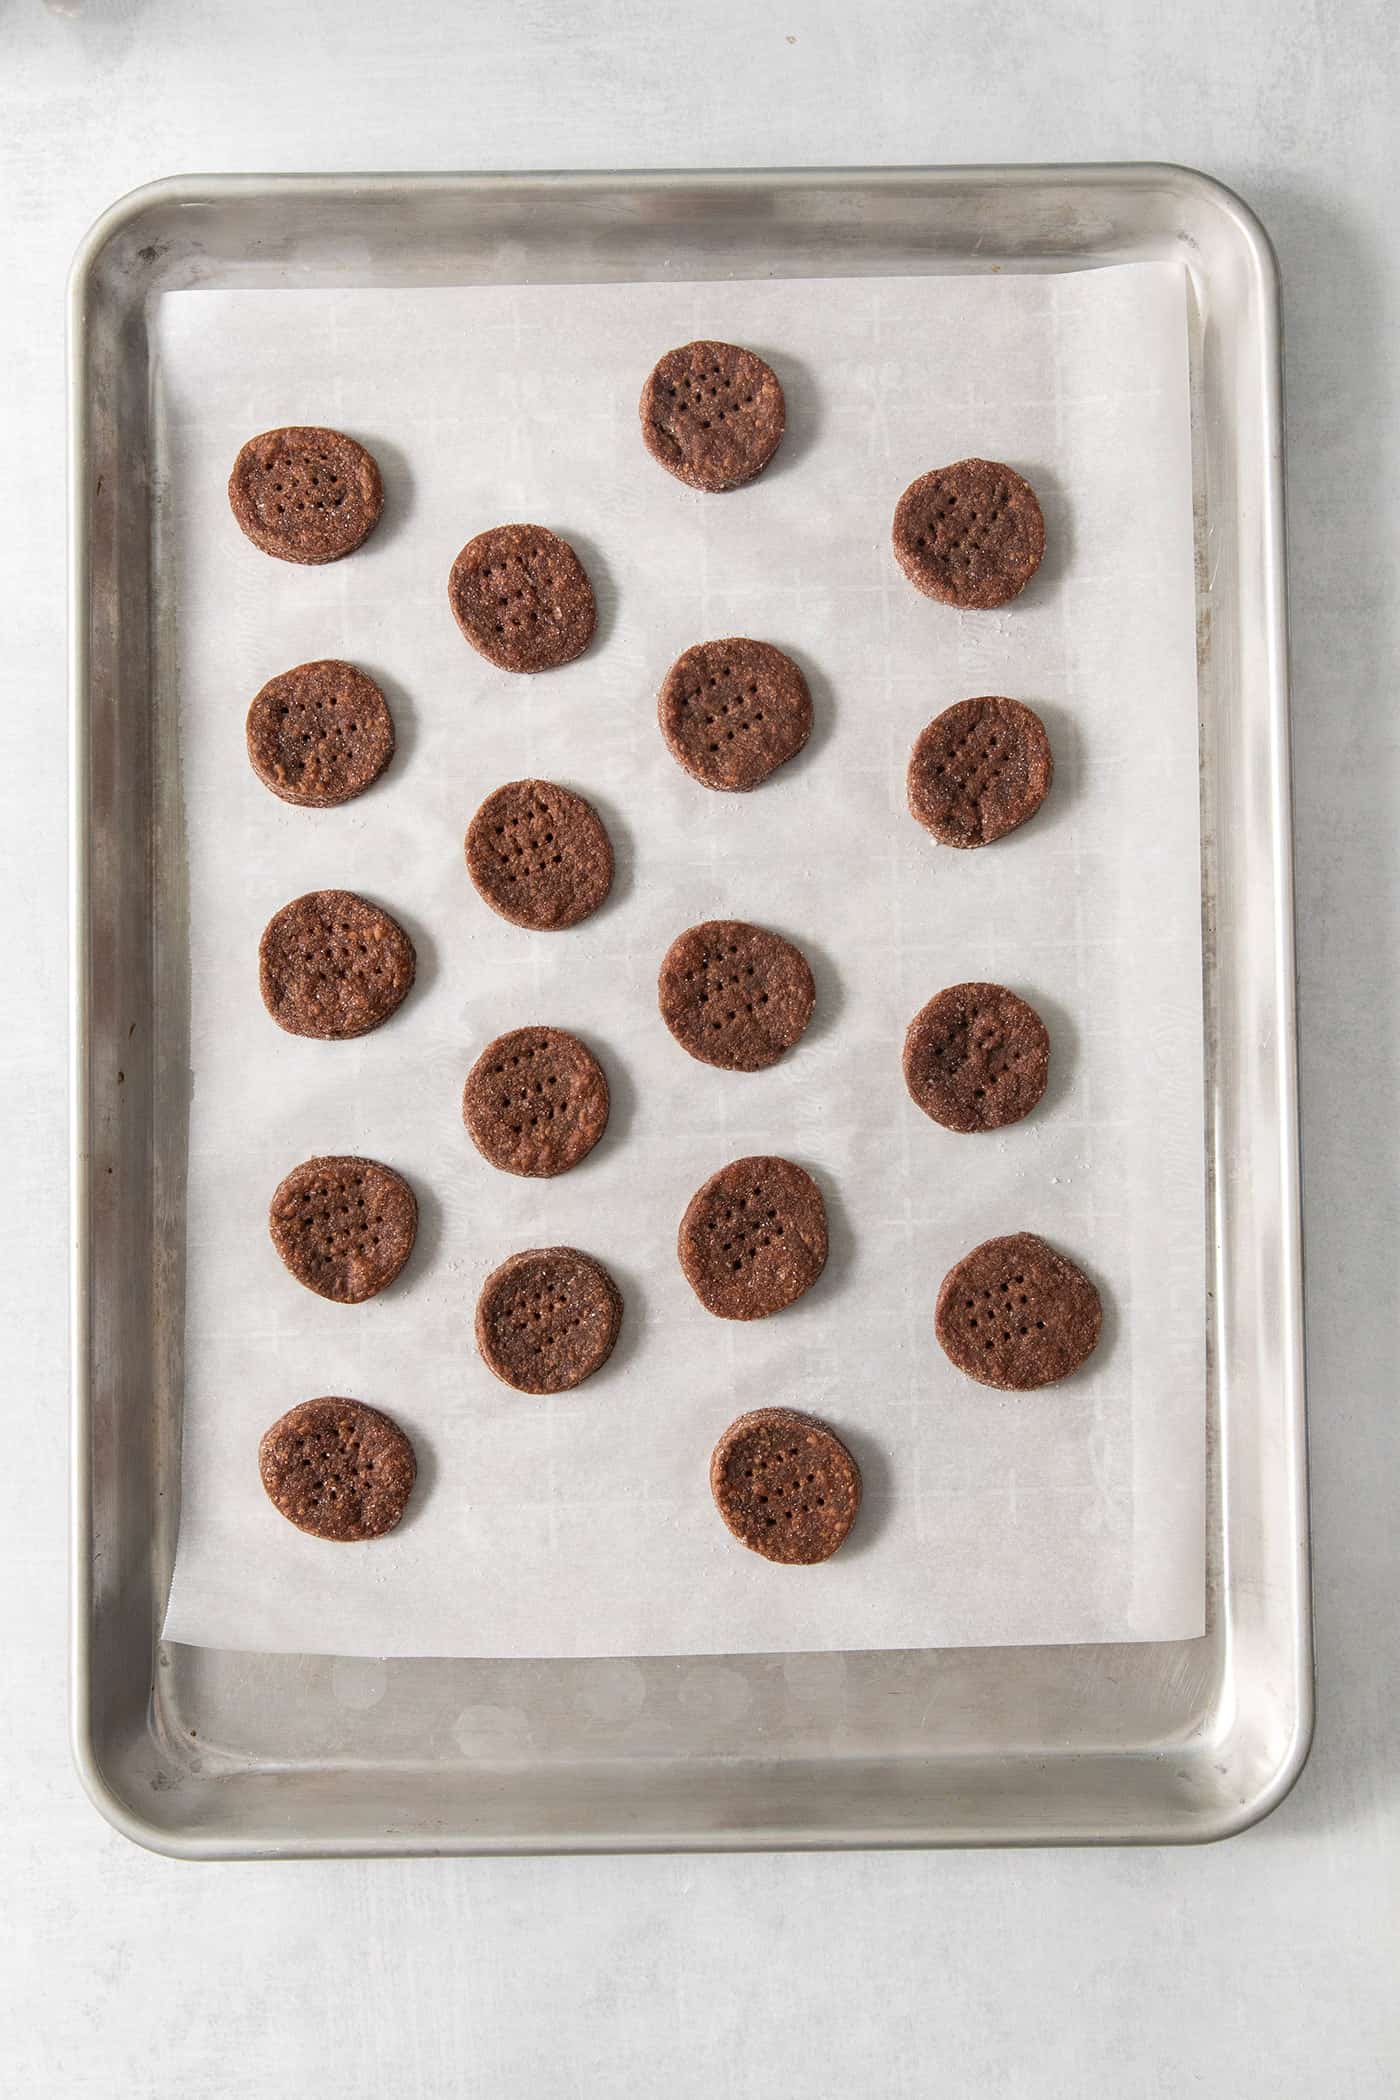
- Bake. Bake at 375° F until the cookies are set, about 9 minutes.


- Make the buttercream. Beat the butter and powdered sugar until light and fluffy, then add the peppermint extract.
- Add red stripes (optional). For the red & white candy cane effect, brush the inside of a piping bag with red stripes of food coloring, then add the buttercream. You can use any larger tip you like.
- Assemble. Pipe a bit of buttercream onto the bottom of one cookie and gently press another cookie on top. Repeat until all the cookies and buttercream are used.

Tips for Success + Variations
Here are a few tips that will help you make perfect chocolate wafer cookies:
- Use good-quality ingredients. These cookies use a minimal amount of ingredients, so make sure the butter, cream, cocoa powder, etc are fresh and of good quality. This will give you the best flavor and texture.
- Measure the flour carefully. To measure the flour most accurately, it’s important to use the spoon and level method. Because too much flour can cause cookies to be drier and tough.
- Chill the dough. Because the chocolate wafers have a high butter content, it’s very important to chill the dough. This makes it easier to roll and cut the dough, plus it helps the cookies hold their shape better while baking.
- Prick the dough. Pricking the wafer dough circles helps to prevent air bubbles while they bake.
- Don’t overbake. The beauty of these chocolate wafer cookies is in their tender, delicate texture – so do not overbake them.
- Piping bag alternative. If you don’t have a pastry piping bag, place the buttercream filling in a Ziploc bag, seal it, and cut off a corner – this mimics a piping bag without a tip. This method gives you better control when adding buttercream filling. But you can always just spoon the buttercream onto the wafer cookies, too!
- Experiment with the filling. You can play around with the flavors and colors of the buttercream filling, which is perfect for holidays and special occasions. Add almond, orange, mint, or strawberry extracts, or mix in warm spices. And tint the buttercream any color you like!

Proper Storage
Chocolate wafer cookies freeze extremely well – I do it all the time. This makes these cookies an ideal make-ahead option, especially when you bake holiday cookies. Here’s how to store these cookies:
- Fridge – Place cookies in an airtight container with a layer of parchment or wax paper in between layers of cookies, and store in the fridge for up to 1 week.
- Freezer – Keep cookies in the freezer for up to 3 months, in an airtight freezer-safe container, with layers of cookies separated by wax paper or parchment paper. Thaw them in the fridge or at room temperature before serving.
More Easy Cookie Recipes
- Cream Wafer Cookies – the Original Cream Wafer Cookies recipe!
- Red Velvet Cookies
- Spice Cookies
- Chocolate Peanut Butter Ritz Cookies
- Chewy Ginger Molasses Cookies
- Oatmeal Cream Pies
- Chocolate Covered Cherry Cookies
- Peanut Butter Blossoms
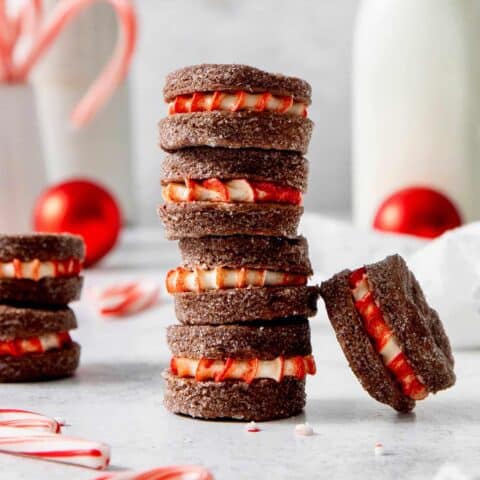
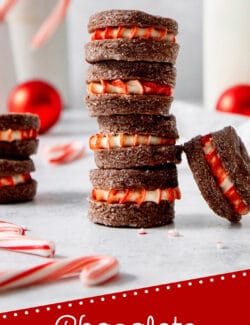
Chocolate Cream Wafer Cookies
Ingredients
Chocolate Cream Cookies
- 1½ cups all-purpose flour
- 1 cup salted butter softened to room temperature
- ⅓ cup heavy whipping cream
- ⅓ cup unsweetened cocoa powder
- ½ cup granulated sugar
Buttercream
- ½ cup salted butter softened to room temperature
- 1½ cups powdered sugar
- 2 teaspoons peppermint extract or strawberry extract
- Up to 1 teaspoon pink or red food coloring see instructions
Instructions
Chocolate Cream Wafer Cookies
- Add the flour, butter, cream, and cocoa to the bowl of a stand mixer fitted with the paddle attachment. Mix on low speed until well combined.
- Cover the bowl with plastic wrap and place it in the fridge to chill for 2 hours.
- Once the dough has chilled, preheat the oven to 375° F and line two large baking sheets with parchment paper.
- Take half of the dough out of the bowl and place it on a lightly floured surface. Roll it out to ⅛” thickness cut out as many 1½” wide circles (or hearts) as you can.
- Working one at a time, gently place each cookie into the granulated sugar, flip it so the sugar adheres to both sides, and then place it on the parchment-lined baking sheets 2” apart. Use a fork to prick each cookie a few times.
- Repeat the rolling and cutting process with the remaining dough.
- Bake the cookies for 9 minutes, or just until they are set but still soft. Allow them to cool completely on the pan.
Buttercream – Christmas
- Place the butter and powdered sugar in the bowl of a stand mixer and beat until light and fluffy.
- Add the peppermint extract and mix to combine. Scrape down the sides of the bowl as needed.
- Using a food-safe paint brush, paint 5 vertical stripes on the inside of your piping bag using the red food coloring. You want the stripes to be about ¼” thick and about ½” apart. Make sure to go all the way down to the piping tip at the bottom! This will help give a candy cane stripe to our buttercream. Feel free to use any piping tip that you like.
- Carefully transfer the buttercream to the piping bag, making sure not to smudge the food coloring too much.
- To assemble, pipe a small swirl of buttercream onto the bottom of one cookie and place another cookie on top. Repeat until all the cookies and buttercream have been used.
Buttercream – Valentine’s Day
- Place the butter and powdered sugar in the bowl of a stand mixer and beat until light and fluffy.
- Add the strawberry extract and ¼ teaspoon pink food coloring and mix to combine. Scrape down the sides of the bowl as needed. If you want a brighter pink, continue adding food coloring until it’s your desired color.
- Transfer the buttercream to a piping bag fitted with your choice of tip – a round or star tip are both great!
- To assemble, pipe a small dollop of buttercream onto the bottom of one cookie and place another cookie on top. Repeat until all the cookies and buttercream have been used.

get new posts via email: