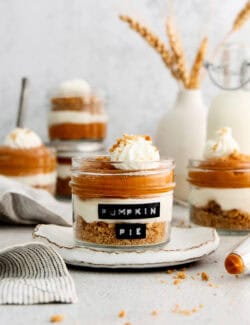
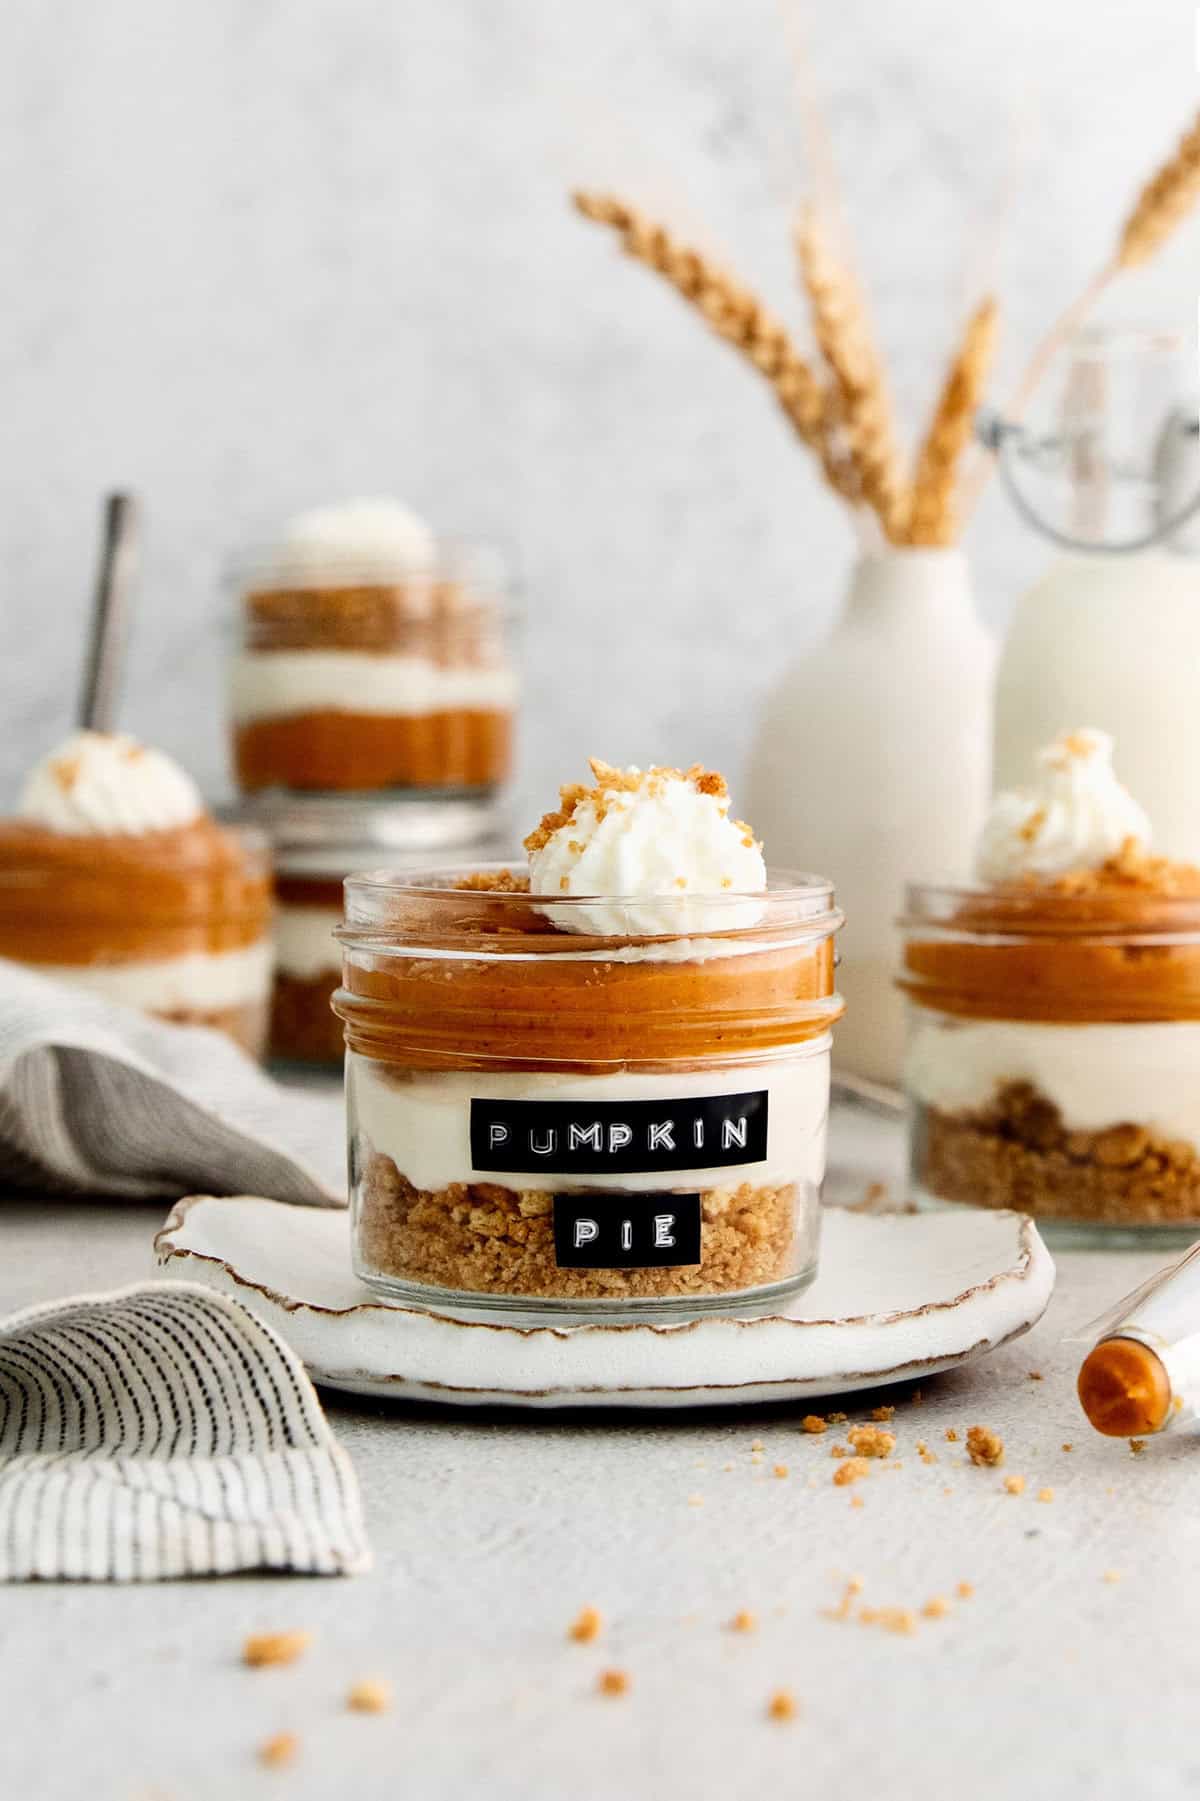
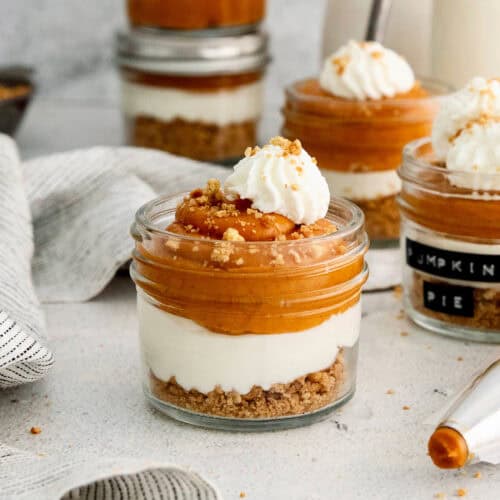
This Pumpkin Pie in a Jar recipe is my favorite way to enjoy the warm spiced flavors of traditional pumpkin pie. It’s an easy, no-bake dessert that’s fun in jars, with layers of graham cracker crust, fluffy cheesecake, and creamy spiced pumpkin. Plus, you can make it in advance!

This creamy Pumpkin Pie in a Jar, with its delightfully buttery graham cracker crust, promises to be your new go-to for the holiday season. It’s always the first pumpkin dessert to disappear – EVERYBODY loves it!
Why I ❤️ Love This No Bake Dessert
You might recall that I’m not the biggest fan of traditional pumpkin pie. While I like the flavors of pumpkin pie, I’m just not so crazy about the texture. I’d much rather eat other kinds of pumpkin desserts, such as pumpkin ice cream, pumpkin cheesecake bars, or pumpkin layer cake. And, of course, this pumpkin pie in a jar. Here’s why I love it!
- EASY & fun. Ever since our daughters were very young, they’ve liked to make (and taste!) the different layers, and then layer them into jars. You don’t even need any special piping bags; just layer everything in with a spoon. Such a fun individually portioned dessert!
- NO-BAKE & chilled. After the savory holiday feast, these chilled, no-bake dessert jars offer an element of refreshment. Also be sure to check out my no-bake pumpkin icebox cake!
- GREAT for the holidays. Pumpkin pie is a classic holiday flavor from Thanksgiving to Christmas. You just can’t go wrong. AND. With this no-bake dessert that’s easy to make ahead, it saves time and energy on the big day!
“OMG, these were the hit of Thanksgiving! Def will keep this recipe in the “permanent” file :-) I thought there was going to be fight to take home the leftover jars. thanks for the great post.”
Jacqui
Recipe Ingredients
This recipe is the perfect pumpkin pie + pumpkin cheesecake mash-up! It’s divided into 3 layers of deliciousness – see below for what you’ll need for each yummy layer. And scroll to the printable recipe card at the bottom of this post for exact ingredient amounts.
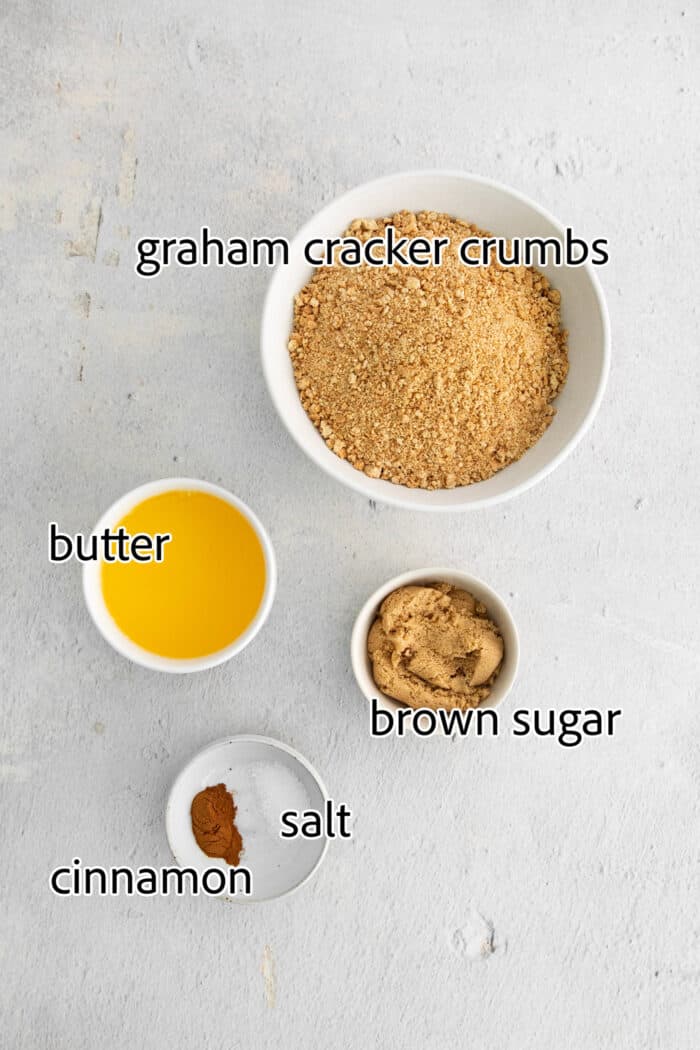
Graham Cracker crust
- Graham cracker crumbs – Crush them yourself or use store-bought ones.
- Brown sugar – Go for light or dark brown sugar.
- Cinnamon – This offers a warm, complimentary flavor.
- Salt – A little salt provides a tasty contrast to the sweetness.
- Butter – I always used unsalted butter in baking. If you use salted, do not add additional salt.
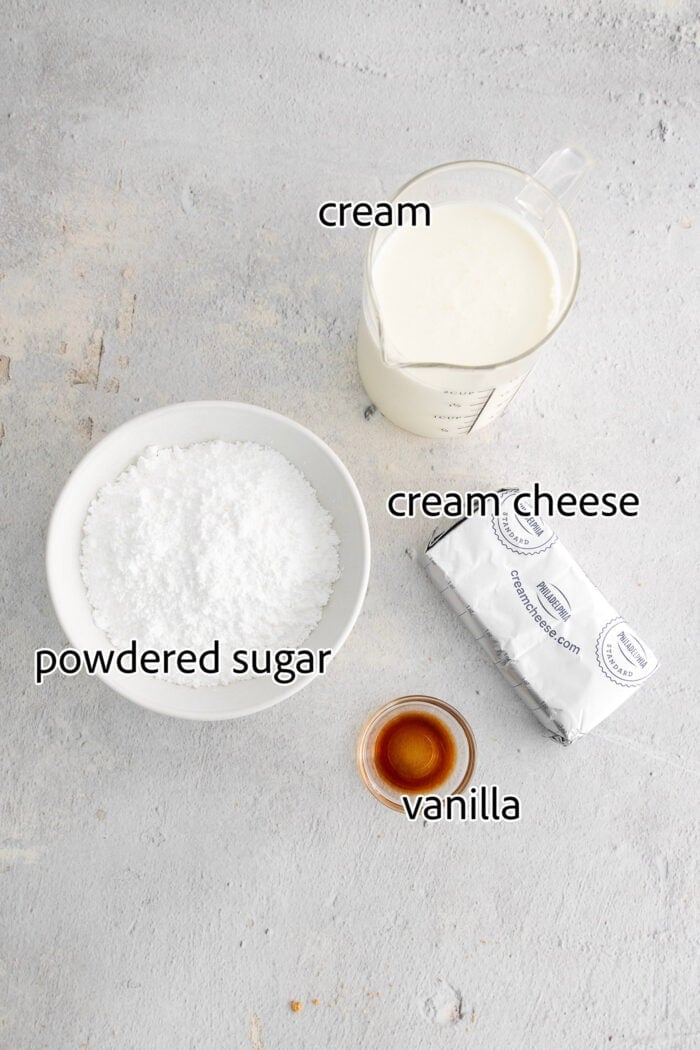
cheesecake layer & whipped cream Topping
- Cream – Use heavy cream here, as you’ll need to whip it until it’s stiff.
- Cream cheese – I recommend full-fat cream cheese, for the richest flavor and texture.
- Powdered sugar – This sweetens the cream and cream cheese, in a light, fluffy way.
- Pure vanilla extract – This gives a flavor that’s soft and delicate.
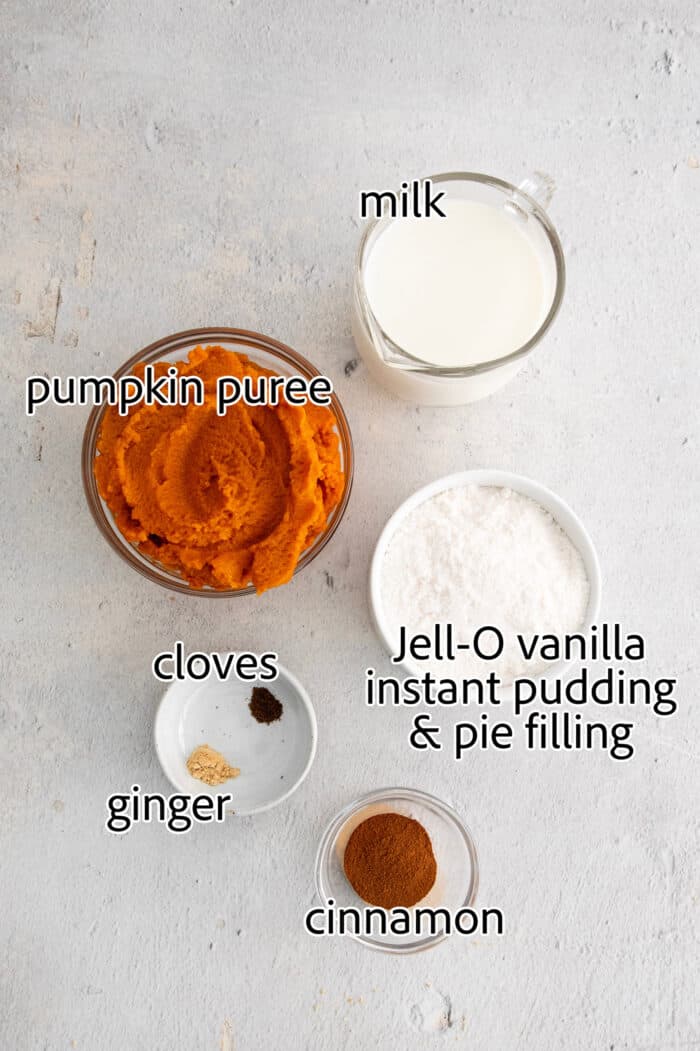
pumpkin layer
- Milk – I usually use 1%, 2%, or whole milk.
- Pumpkin purée – Avoid pumpkin pie filling because that has sweetener and spices added.
- Instant vanilla pudding – Jell-O instant vanilla pudding adds a fun flavor and thickened, creamy texture to the pumpkin. It makes for a very fun mix!
- Ground spices – You’ll need ground cinnamon, ginger, and cloves.
How To Make Pumpkin Pie in a Jar
Now comes the fun part. Let’s make this dessert! Scroll to the bottom of the post for the full recipe card.

- Prep. Preheat the oven to 350°F. Place the mixing bowl and beaters in the freezer to chill.
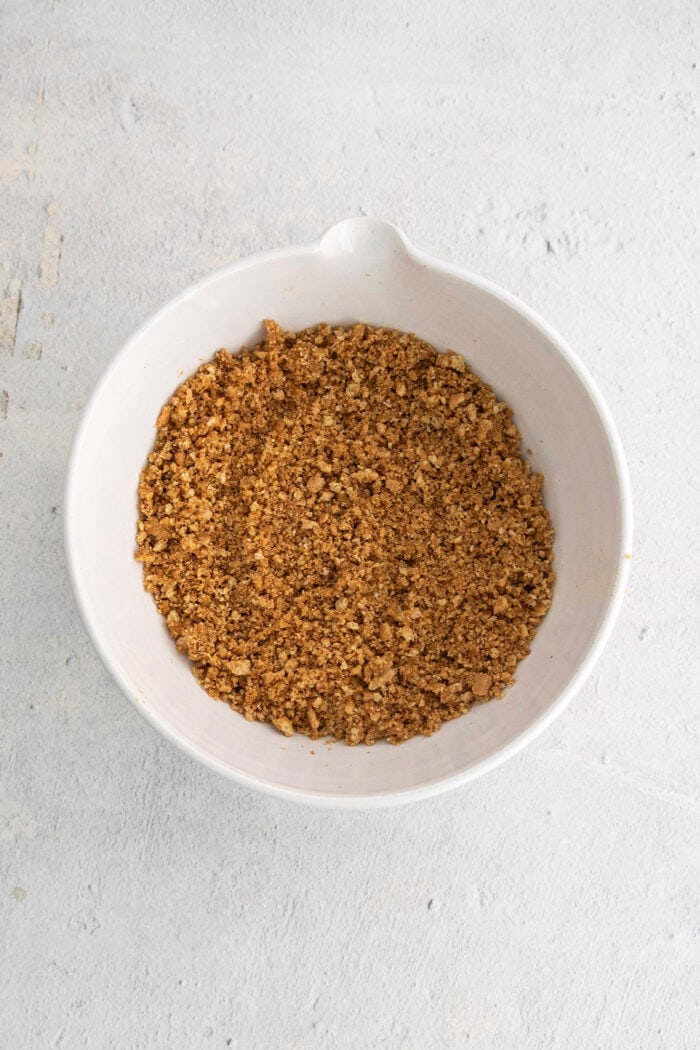
- Make the crust. In a bowl, stir together the graham cracker crumbs, sugar, cinnamon, and salt – then stir in the melted butter. Spread the mixture in a 9″x13″ baking pan and bake for 5 minutes. Stir gently and continue baking until golden brown. Remove from the oven and let cool completely.
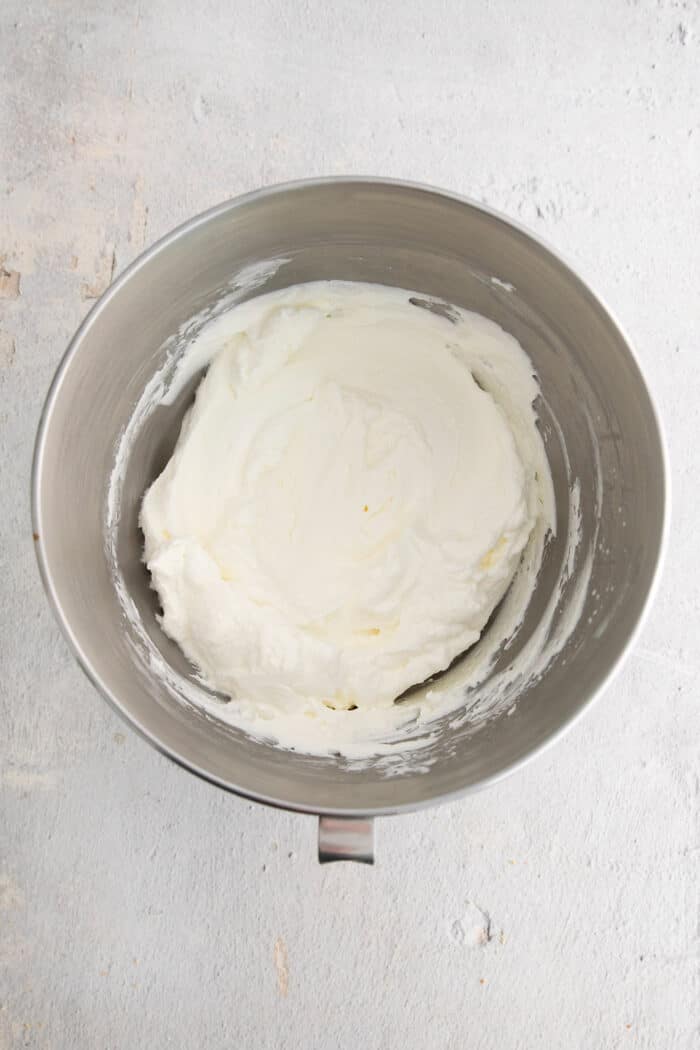
- Make the whipped cream & cheesecake mixture. Grab the chilled bowl and beaters from the freezer. Add the heavy cream and beat at high speed until stiff. Add the powdered sugar and beat briefly to combine. Transfer the whipped cream to a separate bowl and refrigerate it. Add the cream cheese to the chilled bowl and beat it over high speed until light and fluffy. Add the vanilla and half of the whipped cream back into the bowl. Fold gently until cheesecake mixture is well combined. Return the remaining whipped cream to the refrigerator until the final step.
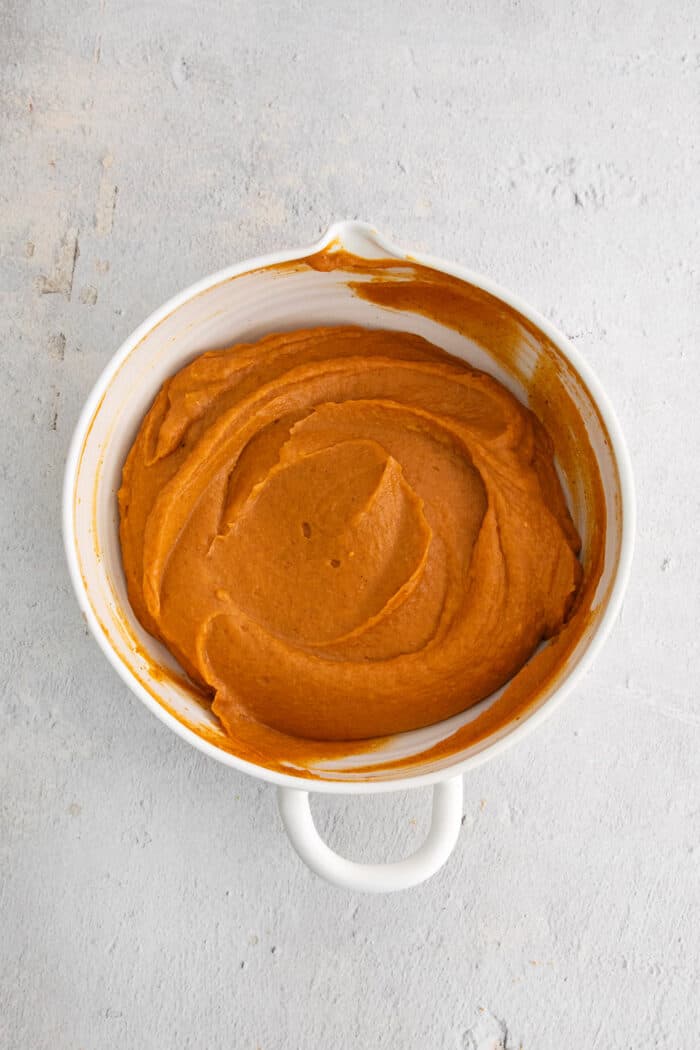
- Whisk the pumpkin pie layer. Add the milk, pumpkin purée, pudding mix, and ground spices to a large bowl. Whisk for 2-3 minutes, or until completely smooth. The mixture should be quite thick.


To assemble the layers
- Press the crust. Sprinkle 2 tablespoons of the baked graham cracker crumbs into each jar. Press them gently along the bottom of the jar to create the crust.
- Add cheesecake. Fill a pastry bag fitted with a large round tip with the cream cheese mixture. Pipe it over the crust. Repeat for each jar.
- Add the pumpkin layer. Fit another pastry bag with a round tip and fill it with the pumpkin mixture. Carefully pipe it over the cheesecake mixture in the jars.
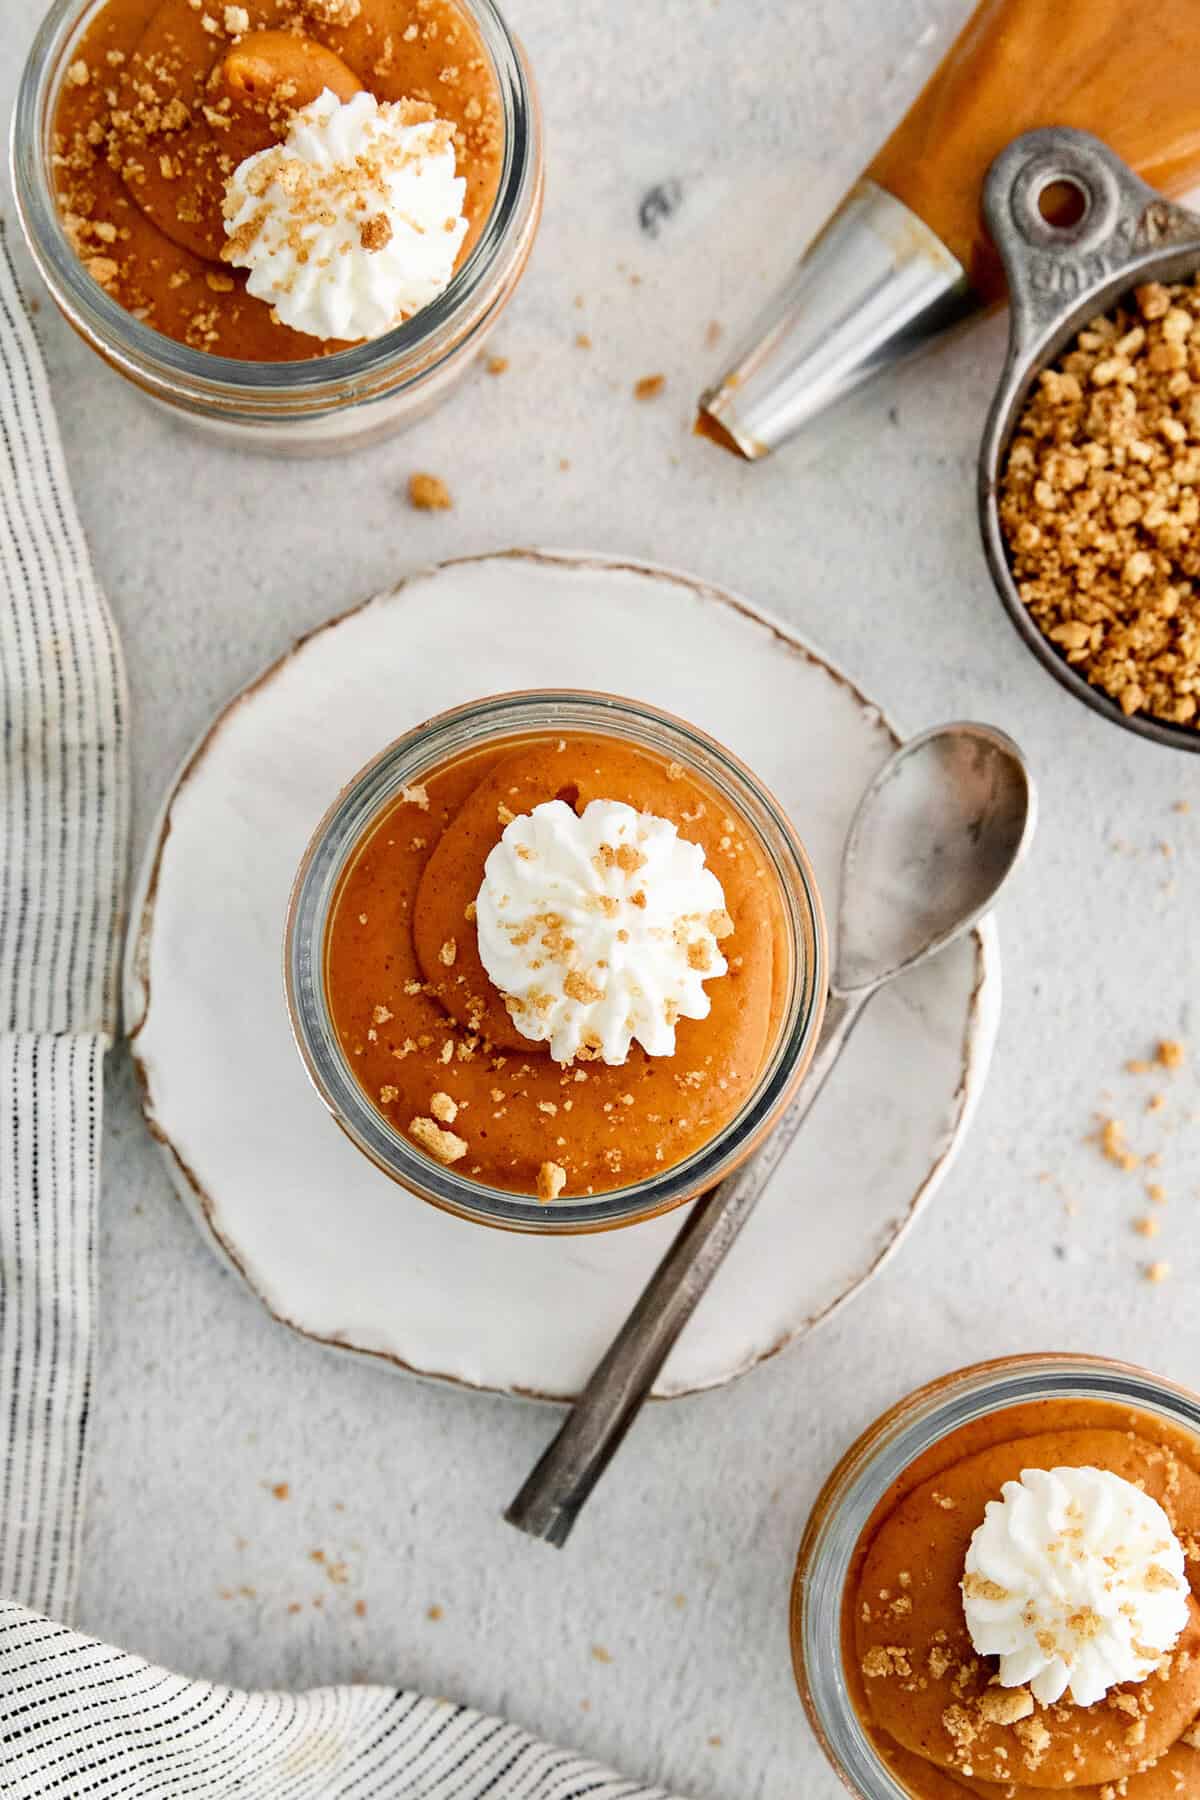
- Finish. Top with the reserved whipped cream (no cream cheese added). Sprinkle with more graham cracker crumbs, if desired. Refrigerate until ready to serve.

Tips & Variations
- Use toppings. Topping the jars with a salted caramel drizzle, shredded coconut, chocolate shavings, or dried cranberries gives this dessert more flavor and texture.
- Prep ahead. Bake the graham cracker crumbs or prepare the mixtures up to 2 days in advance to save time on the day of your gathering. All you’ll have to do is assemble the pies.
- Fancy it up. You can pipe the whipped cream into swirls or rosettes to make the pies look prettier, but a simple dollop works too.
- Add protein. Stir 1 scoop of vanilla protein powder into the whipped cream or cream cheese mixture for extra protein.
Proper Storage
This creamy pumpkin pie in a jar reaches its peak deliciousness after being completely chilled overnight. Just twist a lid onto each jar, nice and snug, and store in the refrigerator for up to 3 days.
More Easy Thanksgiving Desserts
No Bake Pumpkin Pie in a Jar
Ingredients
Graham Cracker Crust
- 1½ cups graham cracker crumbs
- 3 tablespoons packed brown sugar
- ½ teaspoon cinnamon
- ½ teaspoon Morton kosher salt
- ¼ cup unsalted butter, melted and slightly cooled
Cheesecake Layer & Topping
- 2 cups heavy whipping cream
- 1½ cups sifted powdered sugar
- 8 ounces cream cheese, softened
- 2 teaspoons pure vanilla extract
Pumpkin Layer
- 1 cup milk
- 1 can (15 ounces) pumpkin puree (not spiced pumpkin pie filling)
- 2 packages (4-serving size) Jell-O vanilla flavor instant pudding & pie filling
- 1½ teaspoons cinnamon
- ¼ teaspoon dried ginger
- ⅛ teaspoon cloves
Instructions
- Preheat oven to 350°F. Place a mixing bowl and beater(s) into the freezer to chill, for beating the cream. Gather twelve wide-mouth 8-ounce glass jars.
Graham Cracker Crust
- Stir the graham cracker crumbs, sugar, cinnamon, and salt in a large bowl. Then add the melted butter and stir until evenly moistened. Spread the mixture in a 9"x13'' pan. Bake for 5 minutes. Stir and bake for another 1-2 minutes or until nicely browned. Remove from oven and let cool completely while you prepare the other pie layers.
Cheesecake Layer & Topping
- Using the chilled bowl and beaters, whip cream until stiff. Add powdered sugar and beat until just combined. Transfer the mixture to another bowl and set it in the fridge.
- Add cream cheese to the same chilled bowl and beat until smooth, about 1 to 2 minutes. Blend in vanilla.
- Add half the whipped cream back into the bowl with the cream cheese, gently folding them together. Place the remaining whipped cream in the refrigerator, to add at the end of assembling the jars.
Pumpkin Layer
- Pour milk into a large bowl. Add pumpkin, pudding mixes, and spices. Beat with a wire whisk for 2 minutes or until very well blended.
To Assemble
- Add 2 tablespoons of graham cracker crumbs to each jar and press them into the bottom of the jar.
- Fill a pastry bag fitted with a large pastry tip (I use Ateco #808 Plain Pastry Tip) with the cheesecake mixture. Pipe a layer of this mixture over the graham cracker layer. Fit another pastry bag with a large round tip and fill it with the pumpkin mixture. Pipe it over the cheesecake layer in the jars. Top with the reserved/refrigerated whipped cream. Sprinkle with additional graham cracker crumbs, if desired.
Notes
Nutrition Information:
This post was first published in 2011, then updated in 2024.

I am sure that these are amazing…and they are just so stinkin’ cute. ;) Soooooooo festive!
Thank you so much, Kelli. They taste great and are super fun!
Made these for my family thanksgiving (We’re in Canada) and they worked out awesome! Way better when chilled over night, will definitely be making some to bring back to university!
Wonderful! I’m so happy to hear this – thanks, Kristen!
wow I can see from the number of comments this was a popular post!! looks delicious. great party dessert!
Do you think these would travel ok by mail if they were sealed correctly?
I don’t think these would travel well. They would need to be kept cold and upright.
Fifteen ingredients and a messy kitchen for that?
No way. I’ll do the quick and dirty method with a ready made pie. :D
How far in advance could I make this? I’m hosting Christmas this year (a first!) and I’d love to make this the day before everyone gets here! Thanks for the recipe! It looks so yummy and I cannot wait to make it!
Hi Natalie! I actually like them better after they’ve been refrigerated overnight. You can definitely make these the day before. Perfect, huh?! :) Best wishes with your first Christmas hosting!! Hope you and your guests like these!
OMG, these were the hit of Thanksgiving! I got twelve from the recipe. Def will keep this recipe in the “permanent” file :-)
I thought there was going to be fight to take home the leftover jars. thanks for the great post.
This is just way too adorable!!! I am thinking these would be such a great take home for my guests to have with the plate of leftovers they take home!!
Wow. Yes, that would be an awesome gift to send home guests with. Great idea!!
I am so in love with this! Pinned & Facebooked!
Thank you so much, Marla! {super appreciated}
These are so cute! They would make a great gift for the holidays!
Thanks, Amber. And – yes – they would!!
This looks like so much fun! I have always loved the layered pumpkin pie, too.
Just found your blog today! (I was reading about the virtual baby shower on Bake at 350.) I love your posts!
Thanks, Heidi – wonderful to hear from you!
This is such a stinkin’ cute idea! The shot of the jar opened up with the whipped cream on top made me drool just a little :)
Thank you so much, Sally! They’re pretty fun!
What did you use for the tops of the lids? It looks like a decorative paper or something. :)
Hi Amy! It’s just a light natural colored burlap, cut into a circle. Easy peasy!
These should have been named “heavenly little jars of goodness” I made these for a birthday dinner for our son in law. We were having the dinner out in our woods & had to carry everything so these were perfect…..and heavenly! thanks for sharing!
xo
katie
That sounds like so much fun! I am so happy you liked the pies, and love your new name for them. Thanks for letting me know!!
I’d totally fogotten how much I like that double layer pie! And I LOVE anything in a jar, so this is right up my alley! Beautiful job!
Thank you so much, Glory – lovely to hear from you!
I am drooling this looks so delicious! Thanks so much for this recipe! I cannot wait to make it for my family’s Thanksgiving dessert!
Thank you, Natalie – I hope you like it!!
I am obsessed with any and every dessert in a jar! These are going to be the star of my dessert spread this year. Thanks for the inspiration!
Yay! I hope you like them. So nice to hear from you, Kelly!
These are beautiful and what a great idea. I just “pin” this on Pinterest. :)
Thank you so much, Amy – wonderful to hear from you!
They look so pretty and delicious…these would make friendly little gifts too!
Thank you, Liz – so nice to meet you…and fun to learn you’re from MN, too!
Just curious, what size jar did you use in the picture? Thanks!
Hi Kim! Thanks for bringing that to my attention – I should have included that info! I used 8-ounce wide mouth Mason jars. I updated the recipe to reflect this. Hope you like them!