This Chili Cheese Dip recipe is a quick and easy 2-ingredient appetizer. It’s cheesy and robust with chili flavor, perfect for game day, movie night, and any other casual gathering!

Easy Hormel Chili Cheese Dip
Throw together this Chili Cheese Dip recipe in just a few minutes – one of the quickest appetizer recipes around! I’ve enjoyed this easy 2-ingredient appetizer, a blend of Hormel Chili No Beans and creamy Cheez Whiz, since I was a teenager. Perfect for game day, movie night, and any other casual gatherings, this dip is packed with flavor and ready in a snap!
Why You’ll Love This Chili Cheese Dip
In high school, my friend Scott often invited friends over to watch movies on the weekends. And his mom would make this Hormel chili cheese dip for us. I’ve been making it ever since! Here’s why you’ll love this recipe, too:
- Irresistible. Seriously. Who can turn down a flavorful melted cheese dip?! It’s perfect for scooping up with Fritos, tortilla chips, or chunks of soft bread.
- Quick & easy. Yes, this is a top reason why so many people like this appetizer. You only need two ingredients and you can make it in the microwave or on the stovetop, in just 5-10 minutes!
- Portable. This chili cheese recipe is a great dish to take to a party. You can either make it in advance and reheat it when you get there or take it in a small crockpot to cook and keep warm during the festivities.

Recipe Ingredients
Two ingredients – that’s really all you need to make this chili cheese dip recipe. Scroll down to the printable recipe card at the end of this post for the exact ingredient amounts.
- Chili – I use canned Hormel Chili No Beans.
- Cheez Whiz – I use Kraft brand Cheez Whiz Original Cheese Dip.
How to Make Hormel Chili Cheese Dip
A minimum of steps keeps prep easy and the finish line quickly in sight. Here’s how to put together this chili cheese dip. Check the recipe card at the end of this post for the detailed instructions.
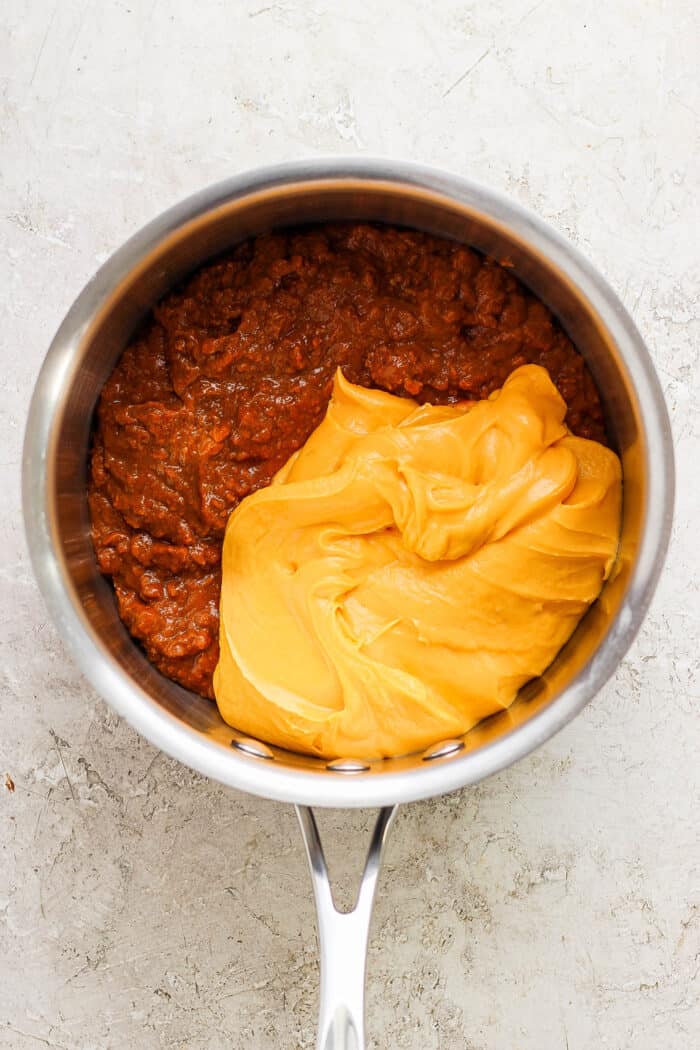
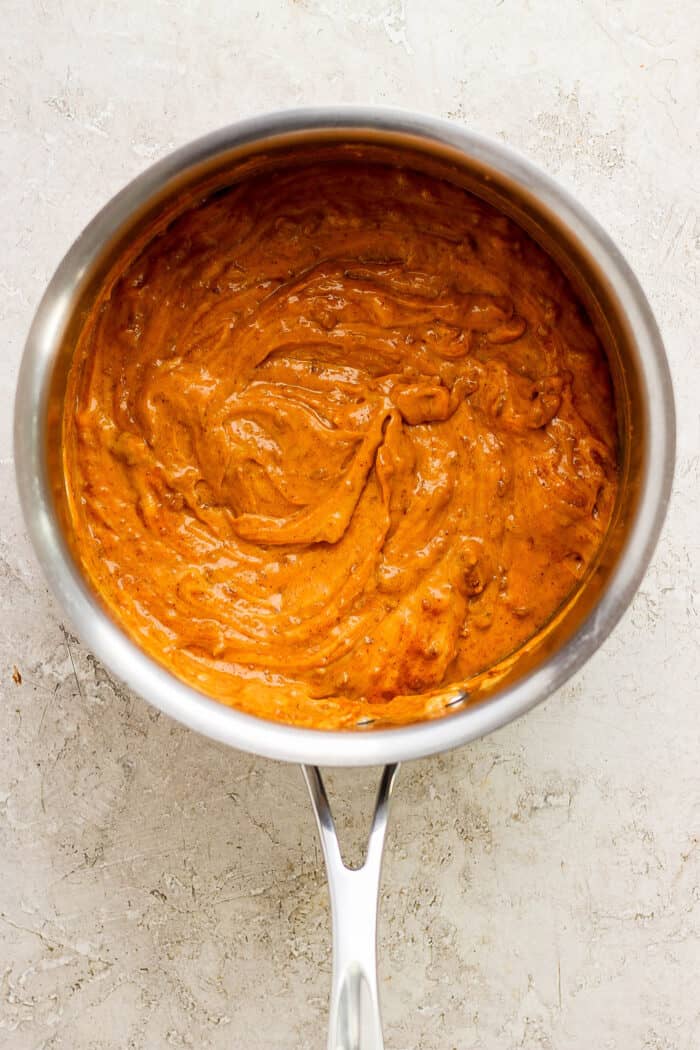
- Combine. Stir together both ingredients in a small saucepan over medium-low heat. Or do this in a microwave-safe bowl in the microwave (see microwave instructions in the recipe card below).
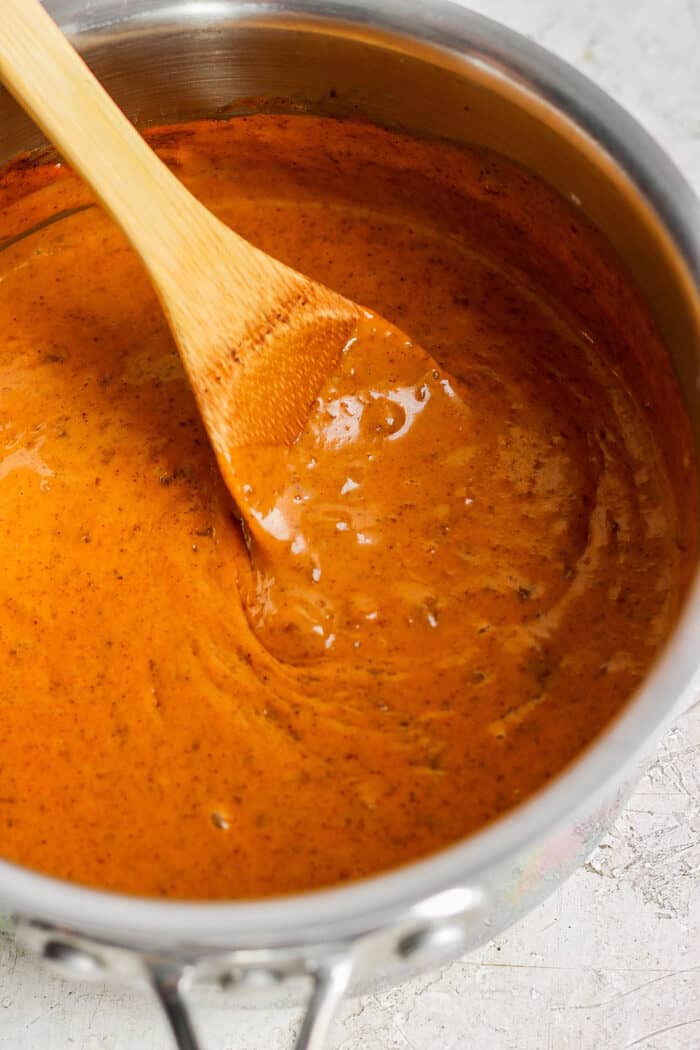
- Heat. Stir the dip regularly, until the cheese is warmed and melty and perfectly dippable.

- Serve. Serve straight from the pot or transfer the dip to a bowl. Serve hot.
Tips & Variations
This Hormel chili cheese dip is ridiculously easy to make, but here are a few tips and variation suggestions:
- Stir regularly. When making the dip on the stovetop, make sure the heat is not too high, so the dip doesn’t scorch – and stir it regularly, scraping the bottom of the pan. If you make it in the microwave, be sure to cover the bowl. Then microwave on high, for 3-5 minutes or until hot and cheese is melted, stirring every minute.
- Keep it hot. This dip is best when it’s enjoyed hot, or at least warm. We often serve it straight from the saucepan on the stovetop, with the burner turned off. Then if it needs a warm-up, we turn the burner on low until it’s warmed up again. A small crockpot also works really well.
- Spice it up. For those of you who like heat, add in a few dashes of your favorite hot sauce, sprinkle in some cayenne pepper, or toss in some minced jalapeno.
- Double the recipe. This recipe is easily doubled or even tripled if you need to feed a crowd. Keep your pantry stocked with cans of chili and Cheese Whiz so you’re ready to make this dip at a moment’s notice.
- Add tomatoes. Stir in a 10-ounce can of diced tomatoes with green chiles – drain it for a thicker consistency or add the juices for a thinner dip.
- Use Velveeta instead. Swap out the Cheez Whiz for the same weight of pasteurized prepared cheese product, such as Velveeta. Cut it into 1/2″ cubes and heat with the chili until melty.
- Go vegetarian. Easily make this into a vegetarian chili cheese dip by substituting the Hormel chili for a can of vegetarian chili.
- Add toppings. This is a great dip for incorporating toppings that you’d normally think about when serving chili. Like shredded cheddar or Jack cheese, sour cream, green onions, tomatoes, and sliced avocado.

Serving Suggestions
My favorite way to eat chili cheese dip is with Fritos scoops, Here are a few more ideas for serving:
- Chips. Like I just said, Fritos scoops are my #1 choice for dipping. But tortilla chips are also great.
- Bread. I like to swipe chunks of soft, warm bread through this dip. Small soft pita puffs are also a favorite with my family.
- Serve alongside salsa. I like to pair salsas with this cheesy dip. Try my restaurant style salsa, pico de gallo, or cowboy salsa recipes.
- Guacamole. Fresh guac is wonderful alongside this dip. Try my classic guacamole or holiday guacamole.
- Drinks. If you’re looking for a refreshing cocktail, try my lime-spiked ranch water, a watermelon margarita, or a citrusy bootleg cocktail. There are also many more cocktail recipes and non-alcoholic drinks to choose from!

Proper Storage
If you have any leftover chili cheese dip, here’s how to store it:
- Fridge – Place the cooled dip in an airtight container and store it in the fridge for up to a week. You can also freeze this dip, just store it in a freezer-safe container for up to 3 months.
- To Reheat – Simply place the dip in a microwave-safe bowl and reheat it in the microwave at 30-second intervals, stirring with each interval, until heated through. Or, place the dip in a small saucepan over medium heat, stirring regularly until hot.
More Cheesy Dip Recipes
- Spinach Artichoke Dip
- Shrimp & Crab Dip
- Queso Fundido
- Reuben Dip
- Pizza Dip
- Queso Blanco
- Cheesy Corn Sausage Dip

Chili Cheese Dip
Ingredients
- 1 can 15 ounces Hormel Chili No Beans
- 1 jar 15 ounces Kraft Cheez Whiz Original Cheese Dip
Instructions
- Combine both ingredients in a small saucepan over medium-low heat. Stir regularly, scraping the bottom of the pan, until hot throughout, for 5-10 minutes. Or heat in the microwave, covered, stirring every minute or so, until hot throughout – about 3-5 minutes total.
- Serve straight from the saucepan, super casual. Or transfer to a serving bowl. Or use a mini crockpot to keep it warm. You could also combine the ingredients right in the crockpot and heat until thoroughly melty and hot.



Simply Great!