
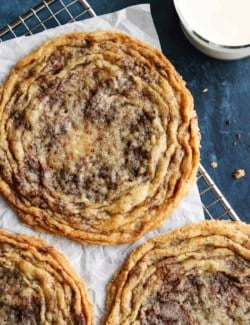
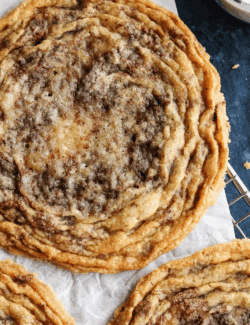
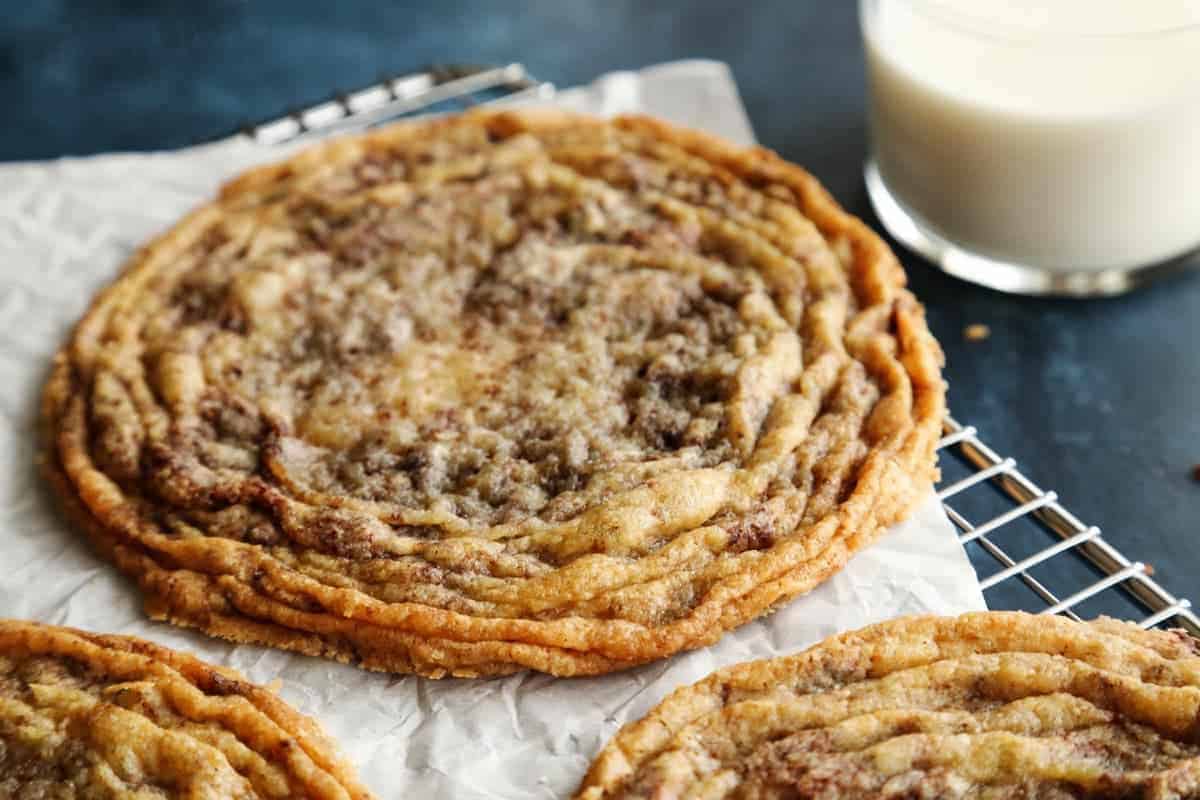
These buttery, GIANT Chocolate Chip Cookies, also known as Pan-Banging Chocolate Chip Cookies, boast perfectly soft, chewy centers that ripple out into crinkled, crispy edges. They’re HUGE in size (big-as-your-head!) and their flavor and texture is so crazy good – EVERYONE loves this recipe!
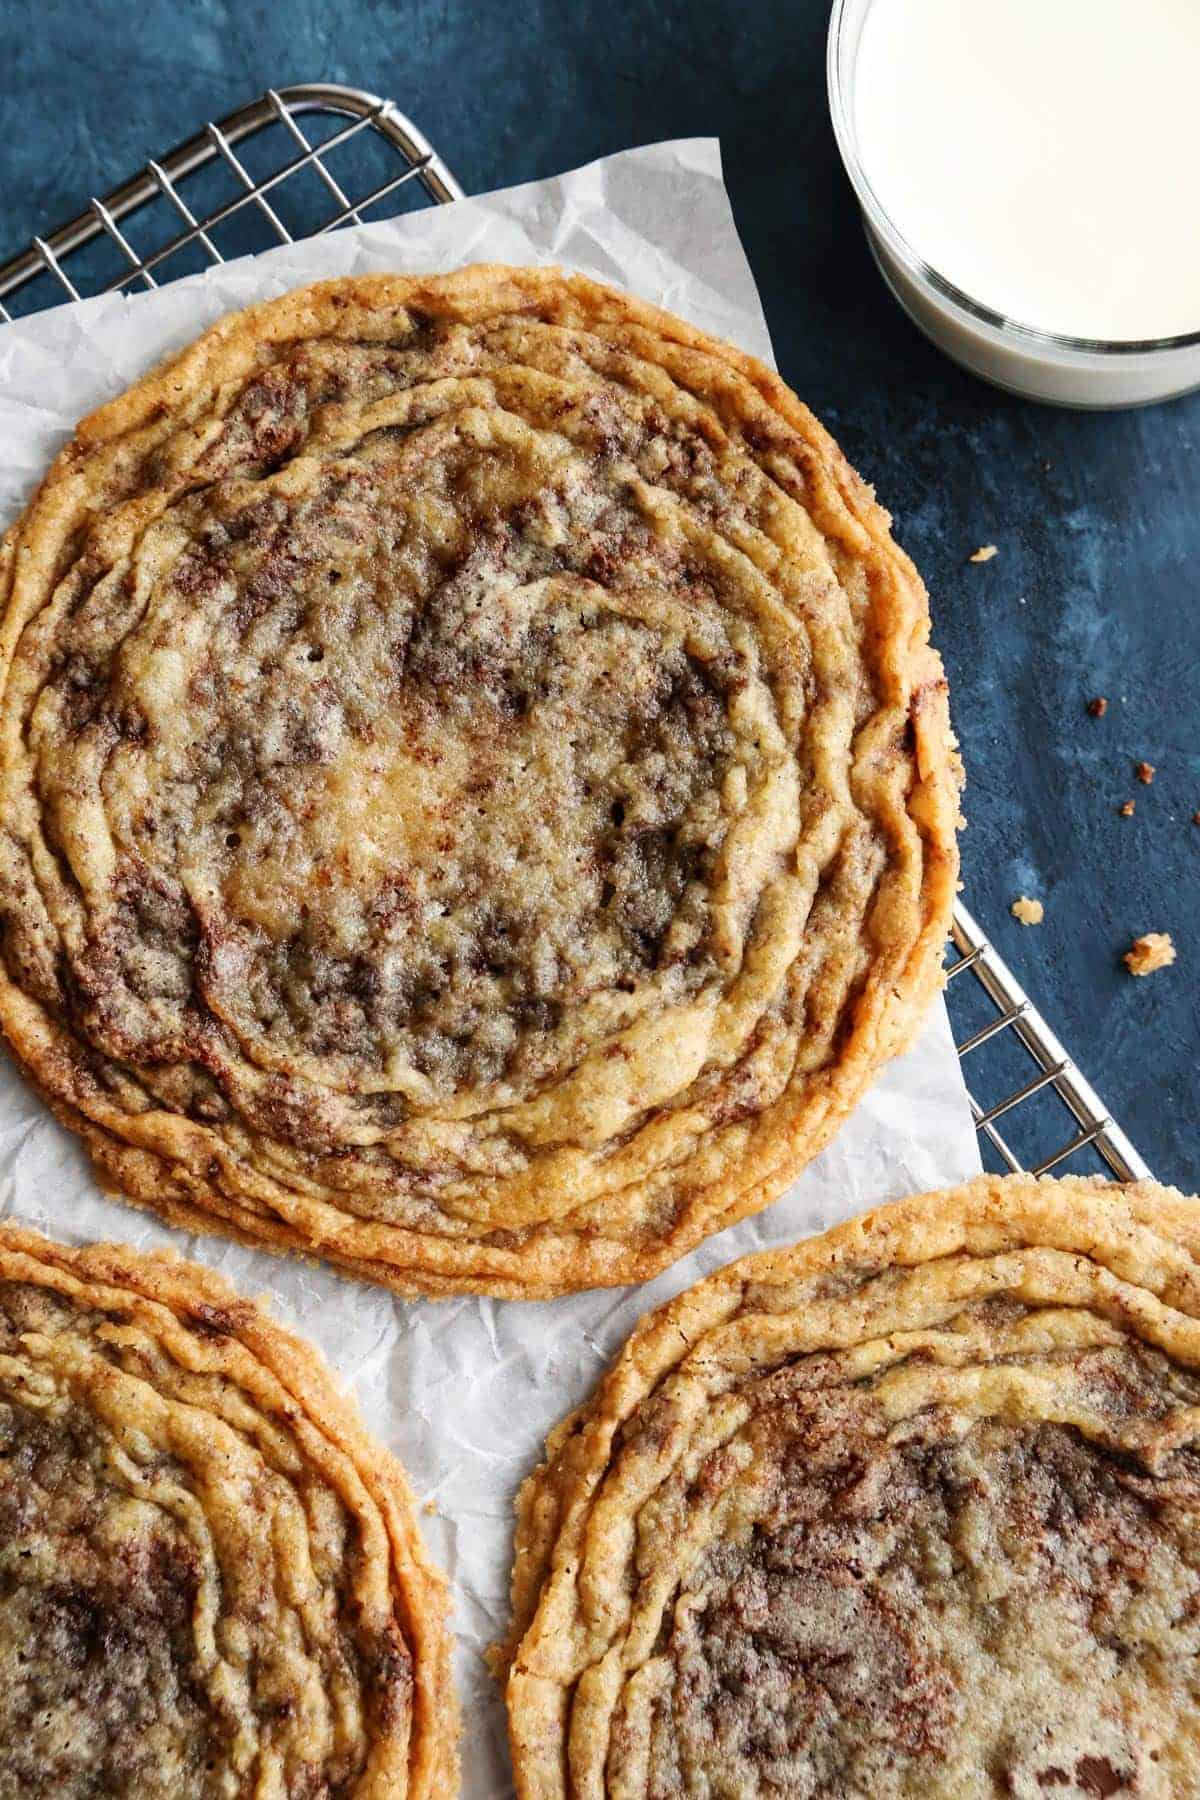
These GIANT Chocolate Chip Cookies are truly larger-than-life. They’re not only huge in size, but also extraordinary with rich, buttery flavor, gooey pools of chocolate, and a fantastic chewy-crispy texture. The recipe also boasts the most unique, fun “pan-banging” method for making them – it has you literally banging the baking pans on the oven racks while they’re baking! Once these are gone, be sure to try my Peanut Butter Blossoms and Monster Cookies!
Why EVERYONE Loves These Giant Chocolate Chip Cookies

I still remember the first time I shared a great big stack of these cookies at a gathering. The giant cookies caused such a delightful ruckus – simply because this recipe is so different, and so crazy fun. For those who couldn’t finish their cookie (I’m not kidding – they’re GIANT!), they wrapped a napkin around the remainder and stuffed it in their pocket. They were not sharing it or leaving it behind. Yes, these cookies are THAT good!
- The “most different” chocolate chip cookie ever. While CCC’s are a classic cookie flavor, this recipe’s pan-banging method and giant spreading cookie are definitely not traditional.
- AMAZING flavor and texture. This buttery, chocolatey cookie recipe gives you an ultra flat cookie with a soft and chewy center, surrounded by crinkly, wrinkly prettiness that is the perfect crispy texture.
- Makes people HAPPY! Every time I bake these cookies, I see smiles from ear to ear, on every single face. I just LOVE that!
For more cookie recipes that always bring smiles, try my Chocolate Peanut Butter Ritz Cookies and Chocolate Covered Cherry Cookies!
Enjoy!

What You’ll Need
It’s amazing how this list of common baking ingredients makes such an incredible cookie. It really is all about the unique method! Scroll to the printable recipe card at the bottom of the post for exact ingredient amounts and the full instructions.
- Flour – All-purpose flour provides the base structure for these cookies.
- Baking soda – This reacts with the acidic brown sugar to produce carbon dioxide gas, which causes the cookies to rise just a bit, and to spread. It also offers chewy texture, crispy edges, and lovely browning.
- Salt – I use Morton kosher salt.
- Butter – I use unsalted butter.
- Sugar – Granulated white sugar adds sweetens, plus helps with spreading and crisping up those beautiful ripply edges.
- Brown sugar – Use light brown sugar for this recipe. It offers a deeper flavor to the sweetness, plus some moist texture.
- Egg – This adds rich flavor and texture, and helps to bind the dough together.
- Vanilla extract – Use only pure vanilla extract for the very best flavor.
- Water
- Bittersweet chocolate – This darker chocolate is perfection with the other flavors. I know plenty of people who say they don’t like darker chocolate – but they LOVE this cookie!
Tips & Variation Ideas
Here are a few tips for making these the best giant pan-banging chocolate chip cookies possible!
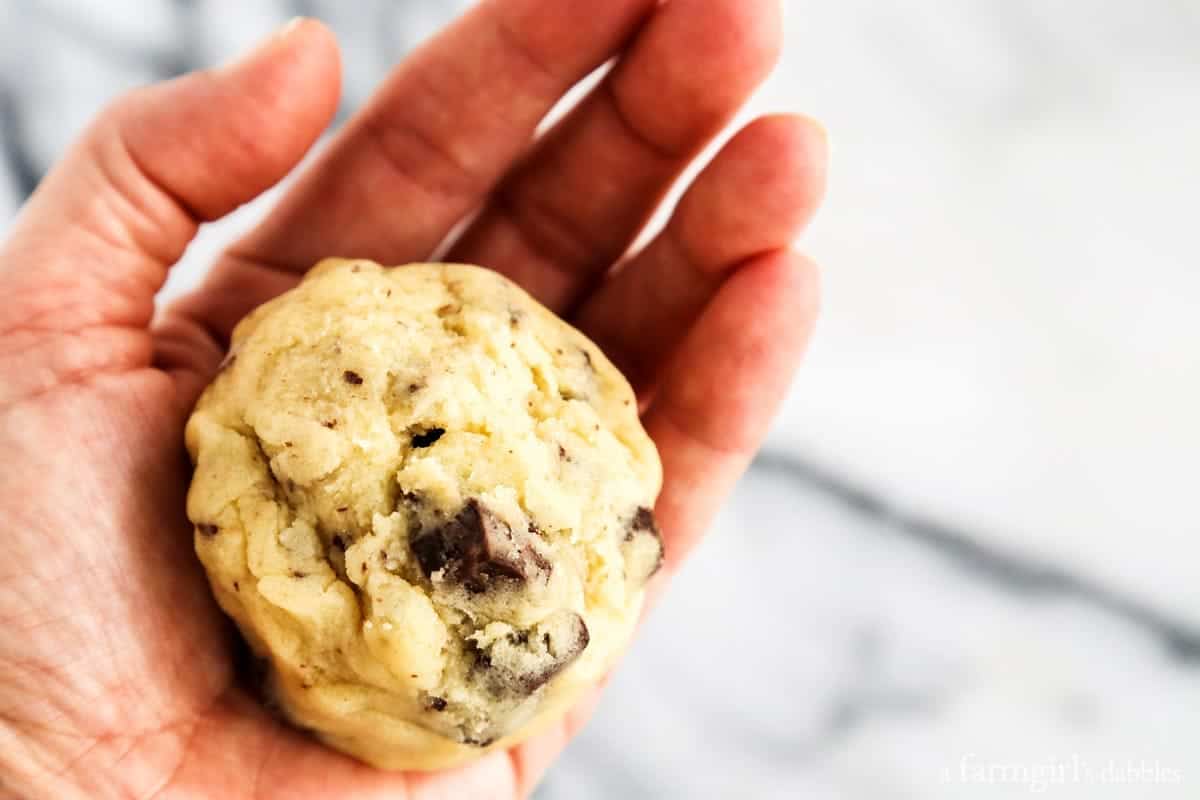
- Don’t skimp on the dough. I use a kitchen scale to weigh the dough, so I’m sure to get the same GIANT cookies that I love, every single time. If you want smaller cookies, just know that using less dough will not give you as many ripply ridges and the centers will not be quite as chewy.
- Do use the aluminum foil. The recipe’s directions includes lining baking pans with foil dull-side-up. This is key in getting cookies that spread better, with perfectly crispy bottoms. You could also use parchment paper, but you won’t get quite the same results.
- Do freeze the dough balls. The dough will spread too much on the pan, and will not form the outer ripples, if you do not freeze the dough balls first.
- And absolutely DO bang the pans! I get it. It does seem a bit bizarre to lift and drop the baking pans of dough balls in the oven every two minutes while baking. But just trust me – this works brilliantly to spread the dough nice and thin, and create those gorgeous crispy ripples. And it’s really FUN!
- Add more ingredients. You can experiment with adding other ingredients (like nuts, m&ms, other chips, etc.), but know that too many add-ins will keep the dough from spreading as this recipe intends.
- If your baking sheet doesn’t fit in the freezer. We have a small chest freezer, so that works great. If your freezer is too small, just place the dough balls on a plate and place it in the freezer, then transfer the dough balls to a baking sheet when you’re ready to bake.
How to Store These Cookies
- Counter: Place them in an airtight container and store on a cool kitchen counter for up to 4 days.
- Fridge: After the first day, I prefer to store these cookies in the fridge, in an airtight container. I like to eat them cold!
- Freezer: Wrap each cookie in plastic wrap. Transfer to a freezer-safe container or bag. Freeze for up to 3 months. Thaw overnight in the fridge or on the counter for 15 minutes.
More Cookie Recipes to Try
Giant Pan-Banging Chocolate Chip Cookies
Ingredients
- 2 ups all-purpose flour (284 g)
- ½ teaspoon baking soda
- ¾ teaspoon Morton kosher salt
- ½ pound (2 sticks) unsalted butter, at room temperature
- 1½ cups granulated sugar (297 g)
- ¼ cup packed light brown sugar (50 g)
- 1 large egg
- 1½ teaspoons pure vanilla extract
- 2 tablespoons water
- 6 ounces bittersweet chocolate bar, chopped into bite-size pieces averaging 1/2" with some smaller and some larger. (170 g)
Instructions
- Adjust an oven rack to the middle position. Preheat the oven to 350° F. Line three baking pans with aluminum foil, dull side up.
- In a small bowl, whisk the flour, baking soda, and salt.
- In the bowl of a stand mixer fitted with a beater blade, beat the butter on medium until creamy, about 2 minutes.
- Add the granulated sugar and brown sugar, and beat on medium until light and fluffy, 2 to 3 minutes.
- Add the egg, vanilla, and water and mix on low to combine.
- Add the flour mixture and mix on low until combined. Add the chocolate and mix on low into the batter.
- Form the dough into balls weighing 3½ ounces (100 g) each. This is approximately a heaping ⅓ cup each. Place four balls an equal distance apart on prepared pan and transfer to the freezer for 15 minutes before baking. Do not skip freezing the dough, as it's essential in keeping the dough from spreading too much, and aids in the creation of the crinkly outer layer. After putting the first baking pan in the oven, put the second one in the freezer.
- Place the chilled baking pan in the oven and bake 10 minutes, until the cookies are puffed slightly in the center. Lift the side of the baking sheet up about 4" from the oven rack and let it drop down against the rack, so the edges of the cookies set and the inside falls back down. After the cookies puff up again in 2 minutes, repeat lifting and dropping the pan. Repeat a few more times to create ridges around the edge of the cookie. Bake 16 to 18 minutes total, until the cookies have spread out and the edges are golden brown but the centers are much lighter and not fully cooked.
- Transfer the baking pans to a wire rack; let cool completely before removing the cookies from the pan.
Notes
Nutrition Information:
I received a complimentary copy of The Vanilla Bean Baking Book for my use and review. This post was originally published in 2017, then updated in 2025.

Just made these, first time baking since moving into our new home. I needed a special cookie to initiate the oven. These were fun to make and they came out beautifully. Show stoppers and so, so good. Thanks for sharing the recipe!
These look amazing! I will have to give them a try! Pinned it!
Hi Brenda,
Wow they came out perfectly. I do have a question: I literally only baked two cookies. Am I able to freeze the dough for an extended period of time and what method would you suggest?
I followed the recipe exactly… but did not end up.with ripply cookies :(
I had high expectations. I found these cookies quite greasy. I also think they’d be better with semisweet chocolate. In my opinion, they’re too high maintenance….not worth the effort (dropping the pan every 2 mins x 3 batches).
These are not a quick cookie, but a special cookie experience. They definitely ARE high maintenance. But in my (and my family’s and many of our friends’) opinion, totally worth it. Sorry you found them greasy. I like to think of them as rich in butter. :)
The original description it was said that it may be both crispy and soft because of all the butter. If you have a low tolerance for lots of butter maybe you should shy away from recipes like this that express how buttery they are and go with dry granola bar cookies. These may not be for everyone but nobody forced you to make them. Next time read your ingredients more carefully and the same goes for wanting a lower sugar content.
Most recipe’s can be made your own way and that’s part of the love of baking, changing and stirring up things to make them your own.
Wow..such thinly veiled vitriole on a recipe page..lol. I know you are defending the recipe author, but this actually does the opposite. Kinda ugly.
I have never tried the originals but decided to make your recipe. They were very good, my man loved them. They turned out looking exactly like your picture. Thank you for the recipe.
Thank you so much for coming back to comment. I’m so glad these cookies were a hit. And I think I need to make them again SOON!!!
I love this recipe and these cookies. Thank you.
Hi Leah, so glad you like these cookies! Your comment about that idiom had me looking it up. And you’re right – although “chomping” has been deemed (sometimes??) acceptable to use, “champing” is the original way this phrase came to be. Thank you!
Have you or anyone ever tried making these cookies with almond flour, coconut flour, or any type of paleo baking flour? I try not to eat wheat but am really wanting to make these! I’m just wondering if a substitution would work or if anything else in the recipe would need to change.
Hello Joanna – I have not varied from this recipe myself. Please let me know if you play around with it!
Thanks so much for the recipe.. I Mostly love trying new chocolate chip cookie..
Hi Brenda.
I don’t usually leave comments but after trying this recipe today, I wanted to let you know that these giant cookies hit the spot! They came out perfect. I just followed your instructions. Thanks for not leaving anything out.
These cookies are my new favorite. Thank you!
I made these cookies today and they are absolutely lovely!! The best of both worlds….crunchy on the edges and chewy in the middle! Thanks for sharing!!
I love your site. Ive bookmarked several recipes! I cant wait to try this cc cookie recipe! I have a spreadsheet of over 40 recipes I have tried. I am a bit obsessed. hahahahahah. You mentioned your moms cc cookie recipe…..is it on your blog or is it a secret family recipe?
Thank you!
Betty B! You are bad ass with your CCC spreadsheet. I love it (and I want it)!
Brenda, I don’t know what kind of farm girl you are, but these cookies resemble cow pies.
Your comment made me laugh. I know that they do. But, ohhhhhhh. If you could taste these. SO GOOD!
I made these cookies exactly as you stated including weighing the dough and they were delicious. I wonder how it would be to add walnuts. Thanks for sharing recipe
I’m so glad you’re enjoying this recipe! I crave these cookies!!
Should I used dark brown sugar or light brown sugar?
I also followed the directions and my mixture came out more watery than a dough type consistency so I added more flour. Dropped like suggested and got not a ridge lol. Cookies still taste good.
Thanks so much for the recipe! If I were to reduce the sugar a bit do you think that would greatly impact the cookie?
Hello Deanna – yes, it would affect the cookie.
These cookies look delicious and I can’t wait to try them! I was just wondering if you need to spray the dull side of the foil with nonstick cooking spray prior to putting the cookie dough on it? I wasn’t sure if that was needed to help with the cookie spreading? Thank you so much!
Hello Erin – do not spray the foil!
Just made these….crazy good!!! My new favorite cookie recipe! :-) Thanks for sharing!
YAAAAAAYYYYY!!! So glad you love these, too!
Saw these on my Instagram feed and knew I’d soon be making a batch! This weekend’s bake project. So keen to try this new choc-chip cookie. Thanks for sharing the recipe.