
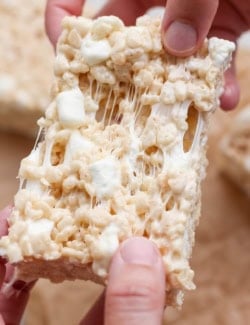
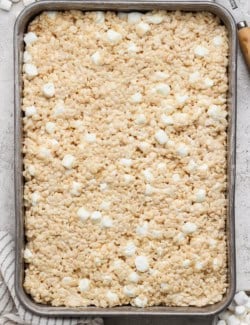
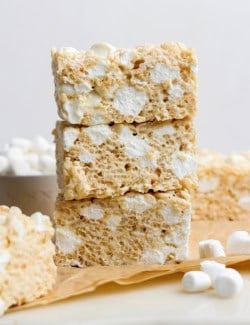
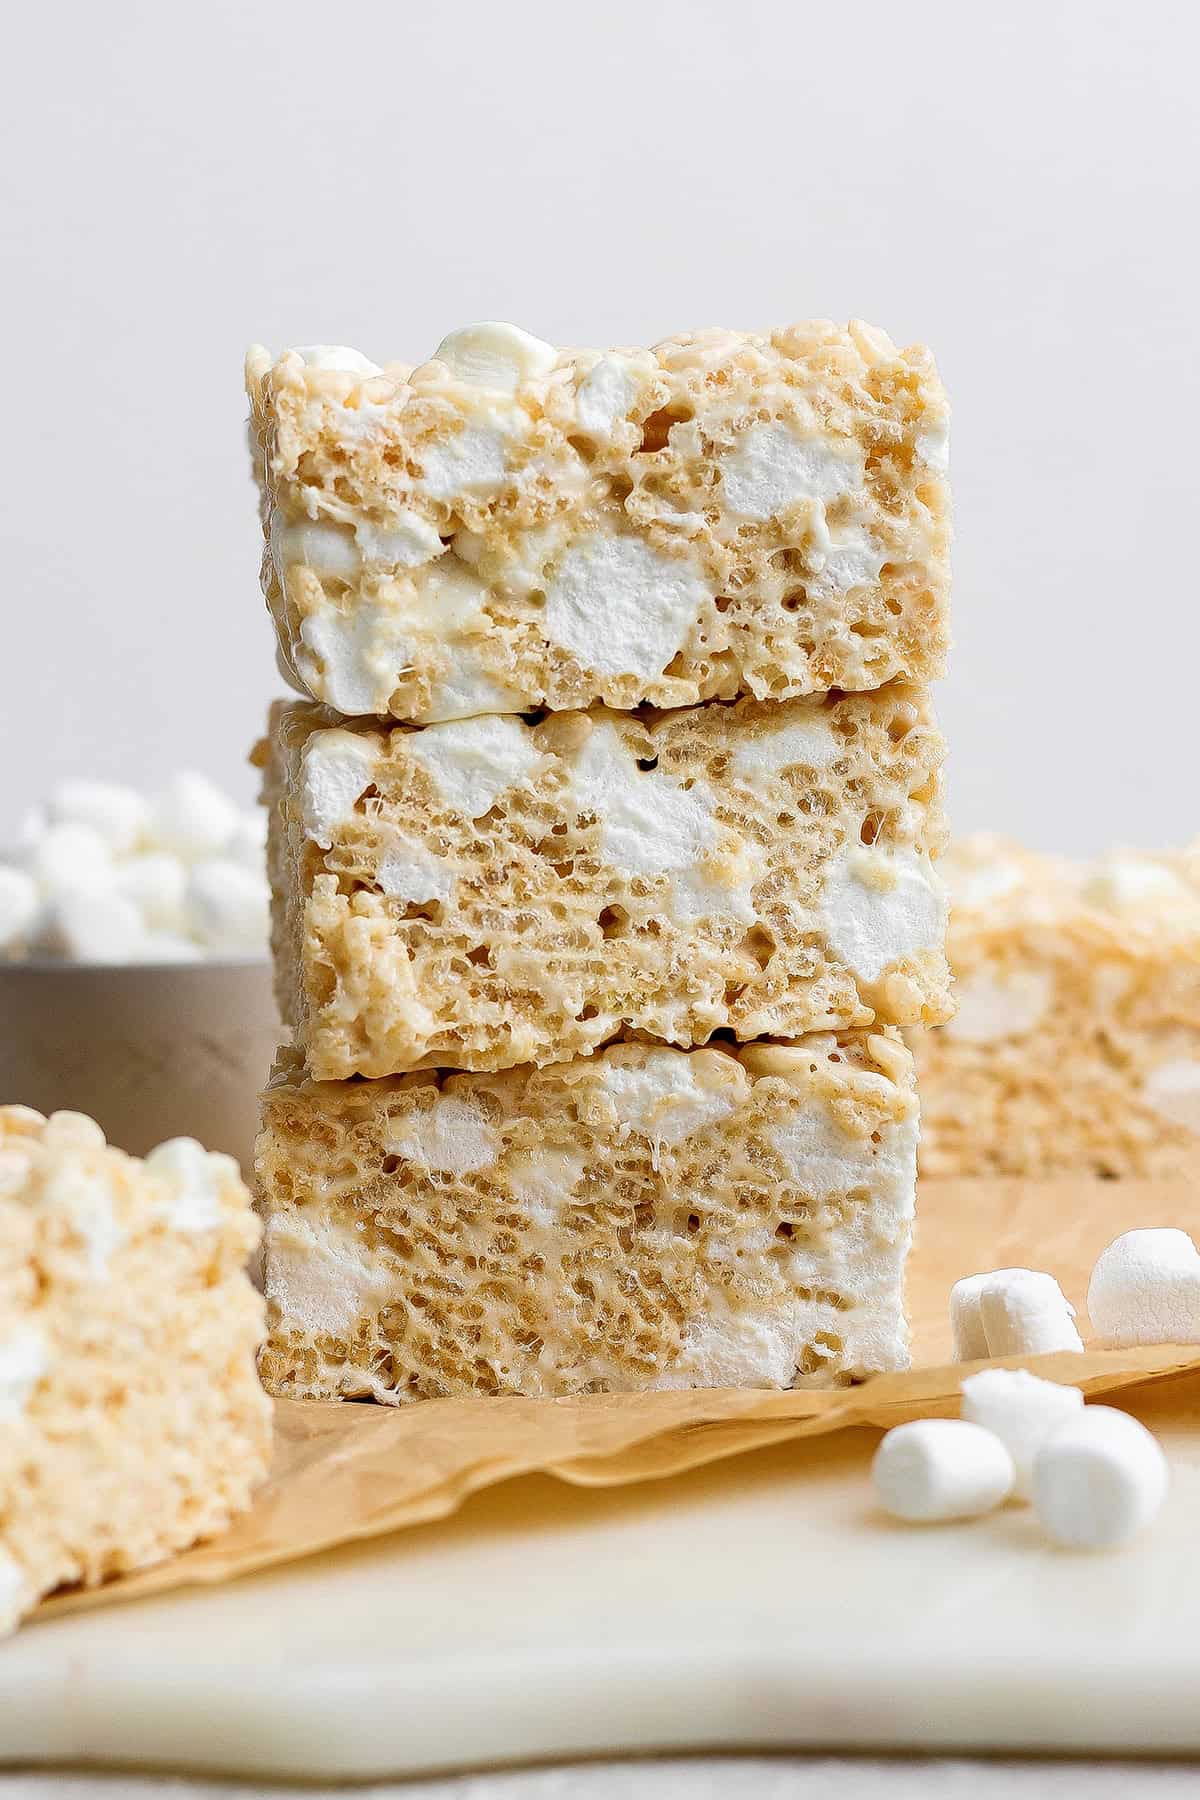
My Salted Brown Butter Rice Krispie Treats are crispy and chewy, and full of rich, toasted flavor thanks to starting with browned butter. I stuffed extra marshmallows into this recipe to make each bar irresistibly gooey, and then sprinkled in a bit more salt than usual for noticeable sweet-salty contrast. These small changes give a big upgrade to the classic childhood treat. Easy to make in about 20 minutes, with just a few ingredients!
I’ve loved rice krispie treats since I was a kid. Especially my aunt June’s version that includes melting chocolate chips right into the marshmallow mixture. Her chocolate rice krispie treats quickly became my gold standard. And then about ten years ago, I was needing to feed dessert to a crowd. So I created an amped-up version of June’s recipe: my big-batch extra-marshmallow chocolate rice krispie treats has LOTS of marshmallows, including a bag that’s folded in right at the end. It gives you pockets of puffy whole marshmallow that are absolutely fantabulous.
Now, more than forty years later, I’m so happy to say that I have a traditional (non-chocolate) rice krispie treats recipe gold standard, too. I brought over the extra-marshmallow factor because it’s been such a hit with our family and friends. I’m 1000% confident you’re gonna love it, too!
These Are NOT The Rice Krispie Treats You Grew Up On!

I never knew about rice krispie treats with browned butter until this past fall, when our Life Group host couple set some out before we sat down to discuss Ephesians. I reached for one, skeptical that the browned butter would actually make much difference. (Now I wonder why I ever doubted, already knowing the amazingness of this brown butter chocolate chip skillet cookie!)
Turns out, the simple technique of browning the butter makes a reeeeeally big difference, adding warm caramel-like notes and nuttiness. That sweet encounter was life-changing to my rice krispie treats world. And because the treats came from our local Kowalski’s, there was no asking our friends for the recipe. I knew my next assignment!
Kowalski’s browned butter version was awesome. But I was set on making my recipe extraordinary, with bigger, taller bars stuffed with more crispy rice cereal, more butter, and lots more marshmallows — at the perfect ratio, for the softest, chewiest bites.
My brown butter rice krispie treats recipe accomplishes all of that. It’s full of nostalgia with the same basic ingredients you grew up on, but with a fun twist of modern, decadent, adultified deliciousness!

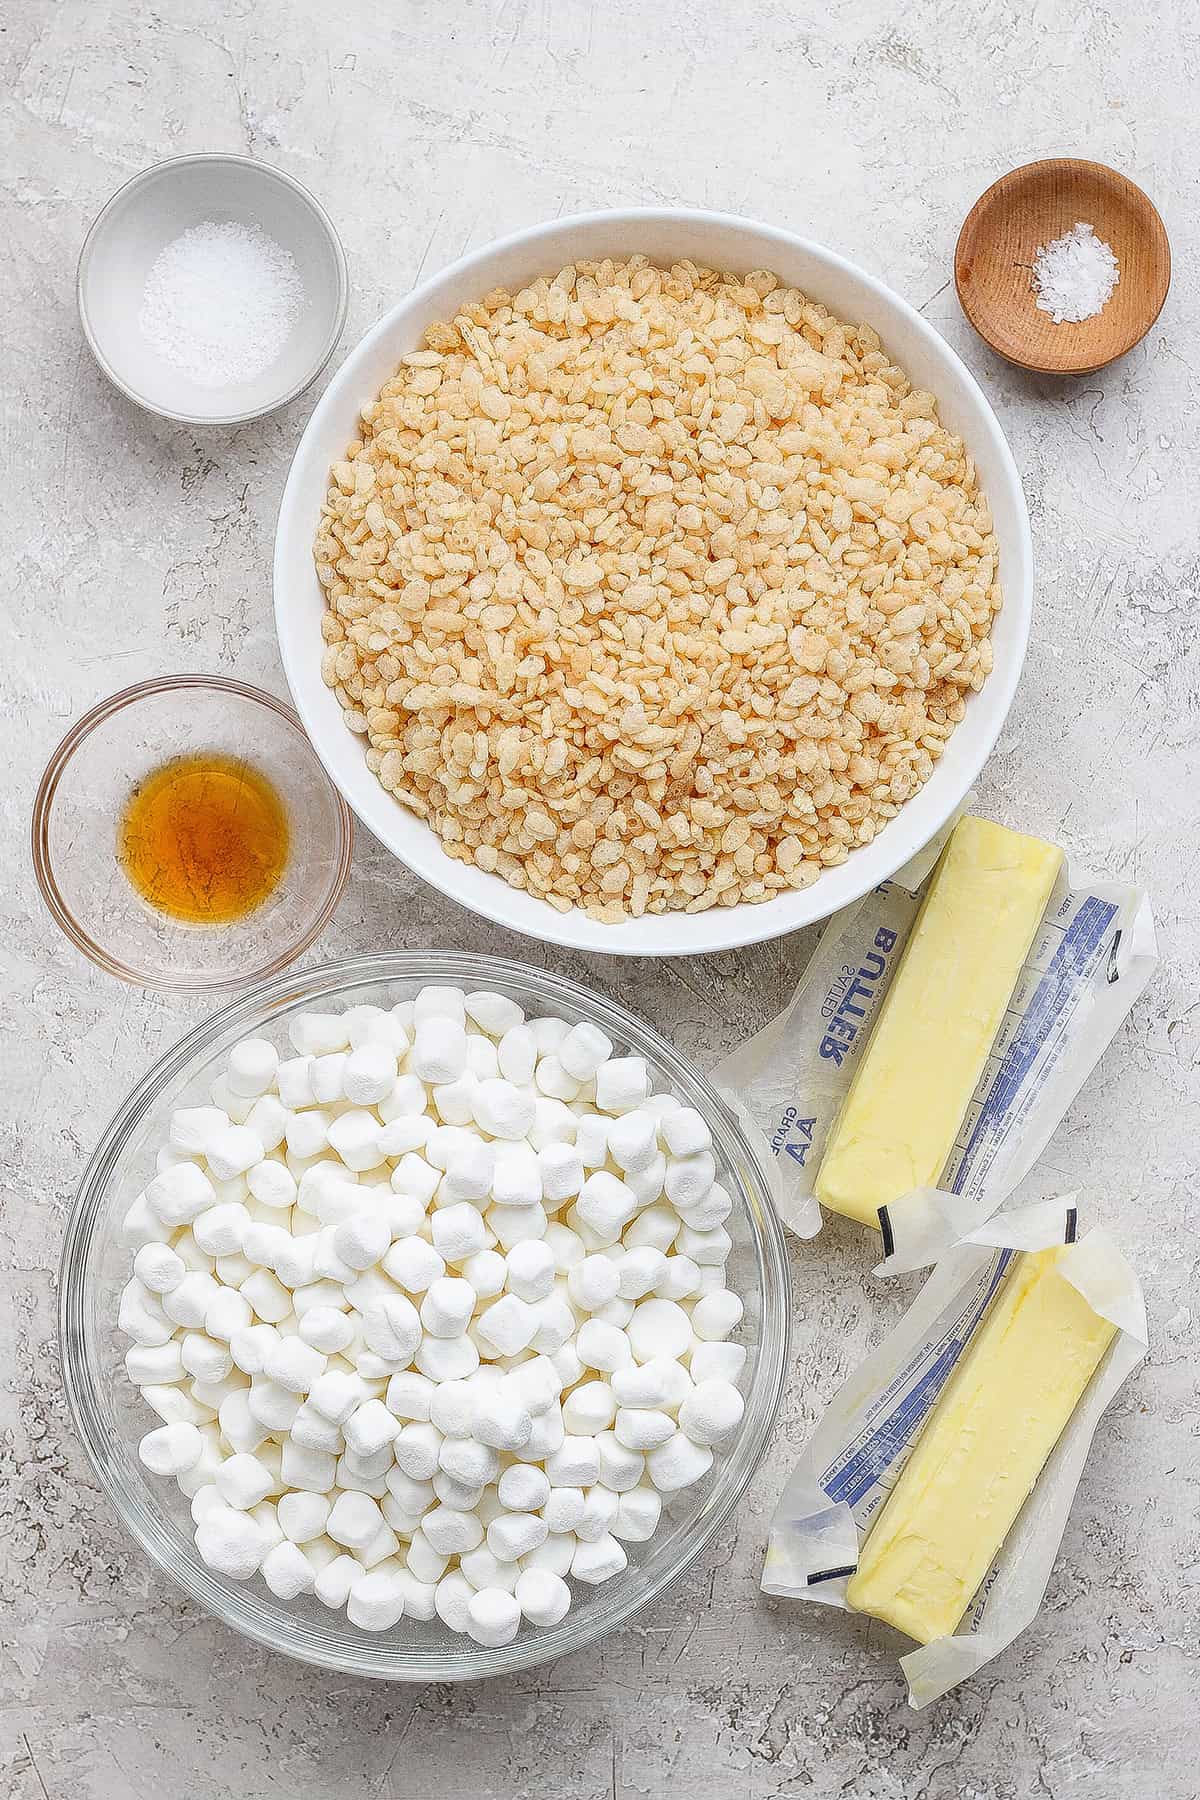
The Same Classic Ingredients (In Different Quantities And Proportions)
I wanted this recipe to remind people of the fun, gooey treats they grew up with, so I was sure to stick with those same basic ingredients.
Here are some ingredient notes from my testing, plus my recommendations for any variations and/or substitutions:
- Butter – I always use cold, unsalted butter. I like to unwrap a stick partway and rub the butter over the inside of the pan (instead of using cooking spray). And then I hold onto the butter wrappers; they’re perfect for pressing the rice krispie treat mixture into the pan without getting it all over your hands. I realize this recipe calls for a lot of butter, but it’s needed for the right flavor and texture of these taller-than-normal rice krispies treats.
- Marshmallows – Make sure the mini marshmallows are fresh and soft and puffy. Stale, hard marshmallows will not give you the same great results. Use any brand that you like.
- Vanilla extract – Some rice krispie treats recipes include vanilla, and others do not. It’s really up to you, but I do like what it does for the overall flavor. I always recommend using pure vanilla extract (not imitation), for the very best flavor.
- Salt – I add Morton kosher salt to the rice krispie treats themselves, and at a bit more quantity than other recipes. Then I sprinkle some Maldon sea salt flakes over the top to finish. If you don’t have Maldon flakes, feel free to sprinkle a little additional Morton kosher salt over the top. This offers a bare taste of only the salt when you take a bite, which is striking against the sweet bars.
- Crispy rice cereal – Here again, freshness counts. Use any brand of crispy rice cereal, just make sure it has a crispity-crunchy texture and fresh flavor.
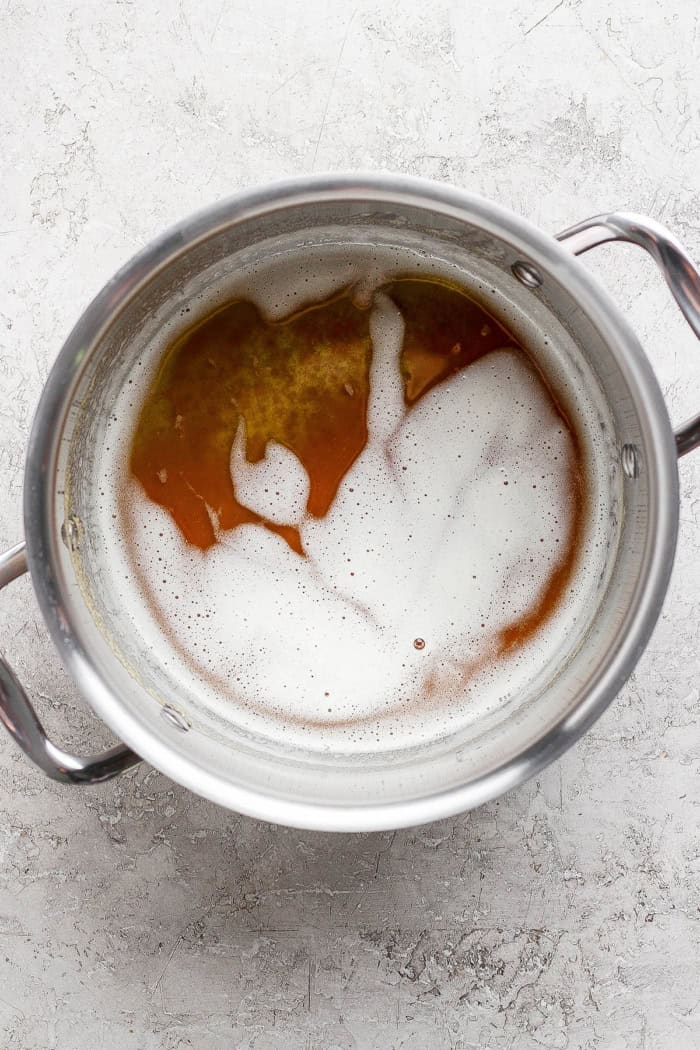
But Different Techniques: HOW TO MAKE BROWN BUTTER RICE KRISPIE TREATS
And when I say “different techniques”, I simply mean browning the butter, folding in whole marshmallows at the end, and finishing with a sprinkle of flaky salt over the bars. Our daughters have leaned in to learn how to make browned butter, so they can make these treats for their friends!
- Prepare the pan. Butter a 9×13-inch baking pan or lightly coat it with nonstick spray.
- Brown the butter. Set a large stainless steel pot over medium-low heat. Add both sticks of butter and cook it gently by lifting the pot just a bit above the burner to swirl it occasionally, every minute or so. This keeps the butter from sitting still and burning. The melted butter will have lots of large bubbles that keep popping. After a couple minutes, the large bubbles will turn to small, foamy bubbles. (Keep swirling occasionally.) After 8-10 minutes, the butter will turn a deeper golden color, have a delicious nutty aroma, and darkened bits will start to appear in the bottom of the pot. Once the bits turn to a deeper golden brown color, the butter is done browning. IMMEDIATELY reduce heat to low.
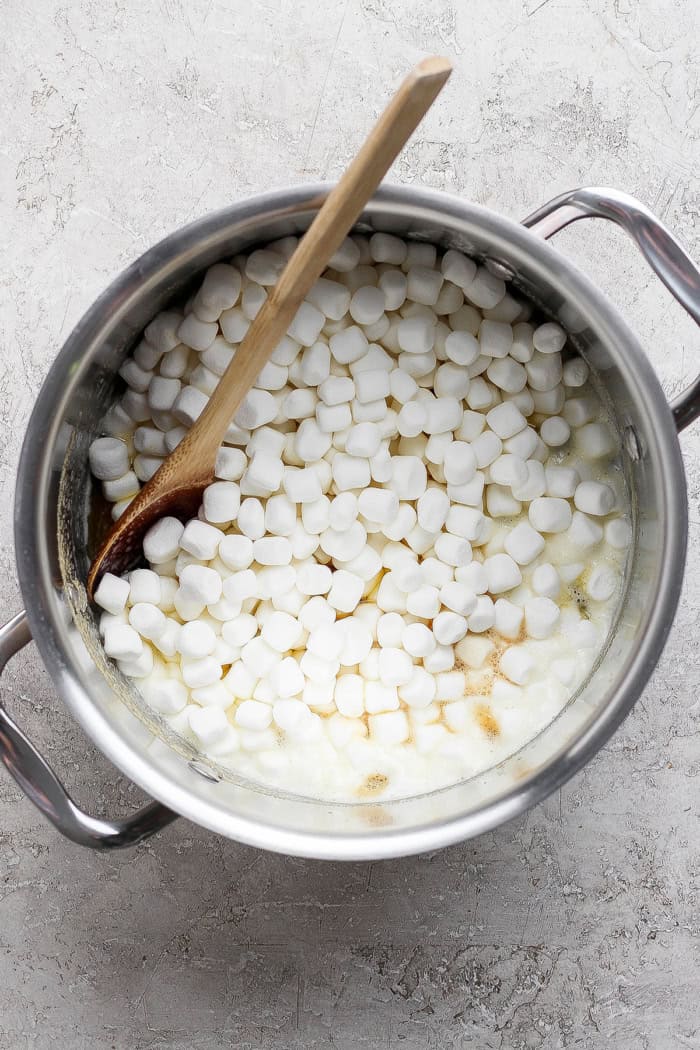
- Melt the marshmallows. Quickly add two bags of the mini marshmallows, plus the vanilla and kosher salt. Stir the mixture until it’s completely smooth, scraping the bottom of the pot all the while so the mixture doesn’t burn.
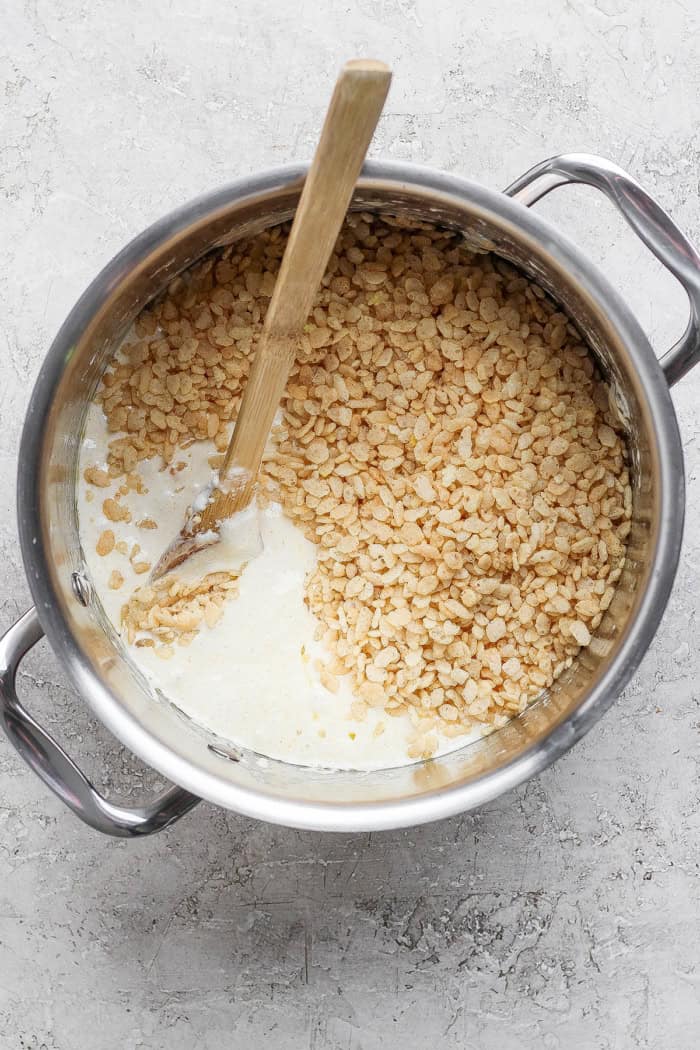
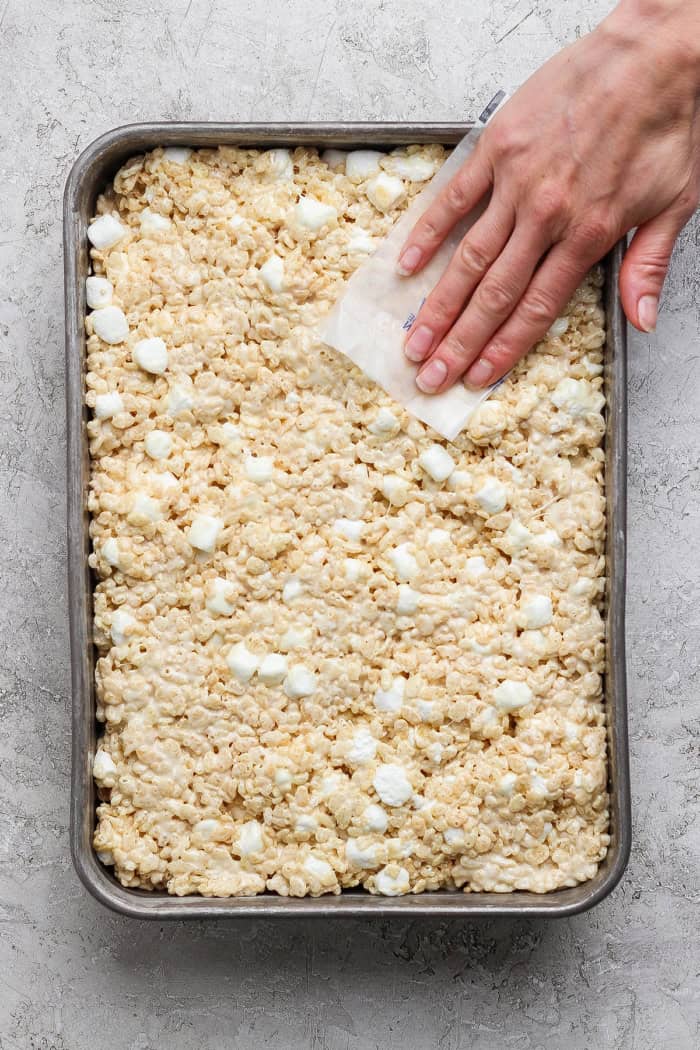
- Add the cereal. Fold the crispy rice cereal into the melty marshmallow mixture until evenly coated.
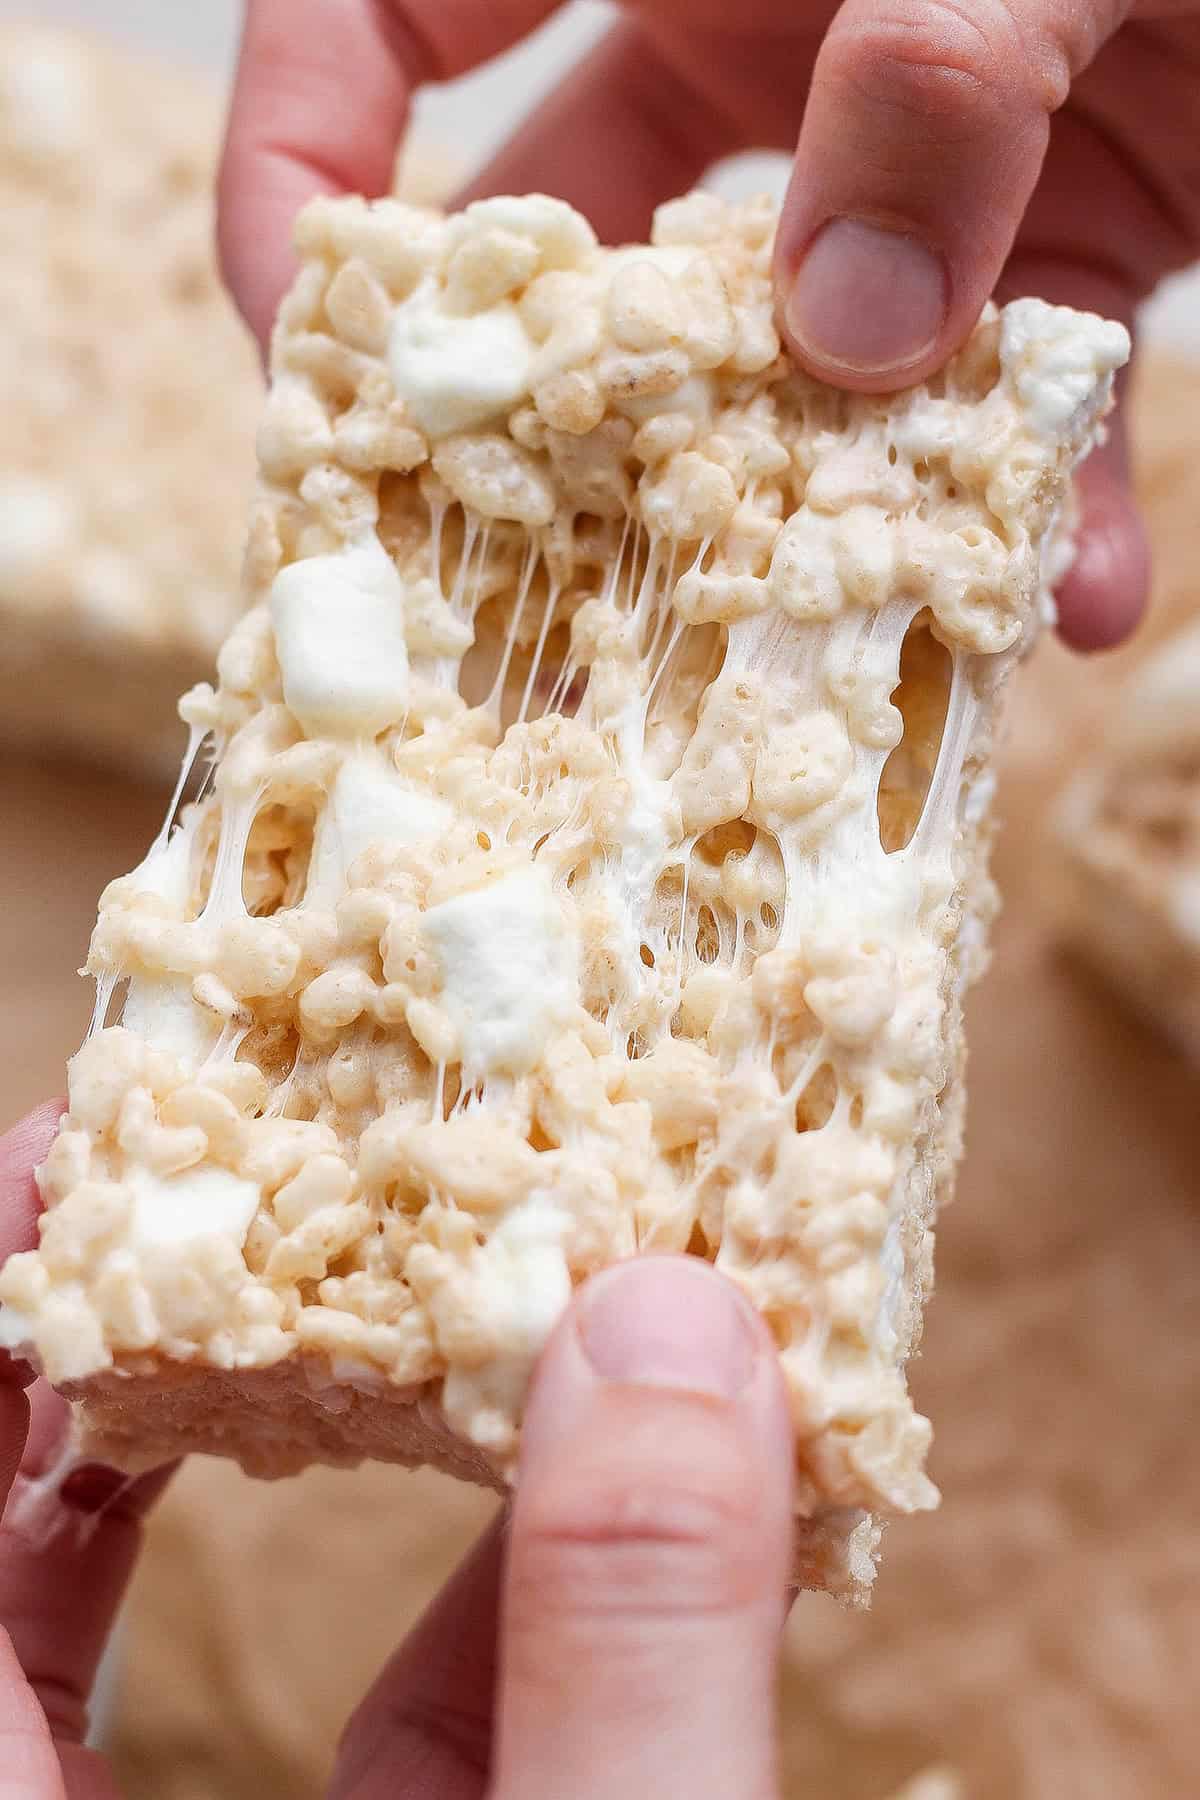
- Fold in more marshmallows. Gently fold in the remaining mini marshmallows. Do not smash the marshmallows; the goal is to have them stay whole.
- Press into the pan. Transfer the mixture to the prepared pan and gently press it into an even layer. I shared earlier about using the reserved butter wrappers for this. You can also just keep a little bit of butter next to you, and dip your fingers into it as needed. The mixture is very sticky!
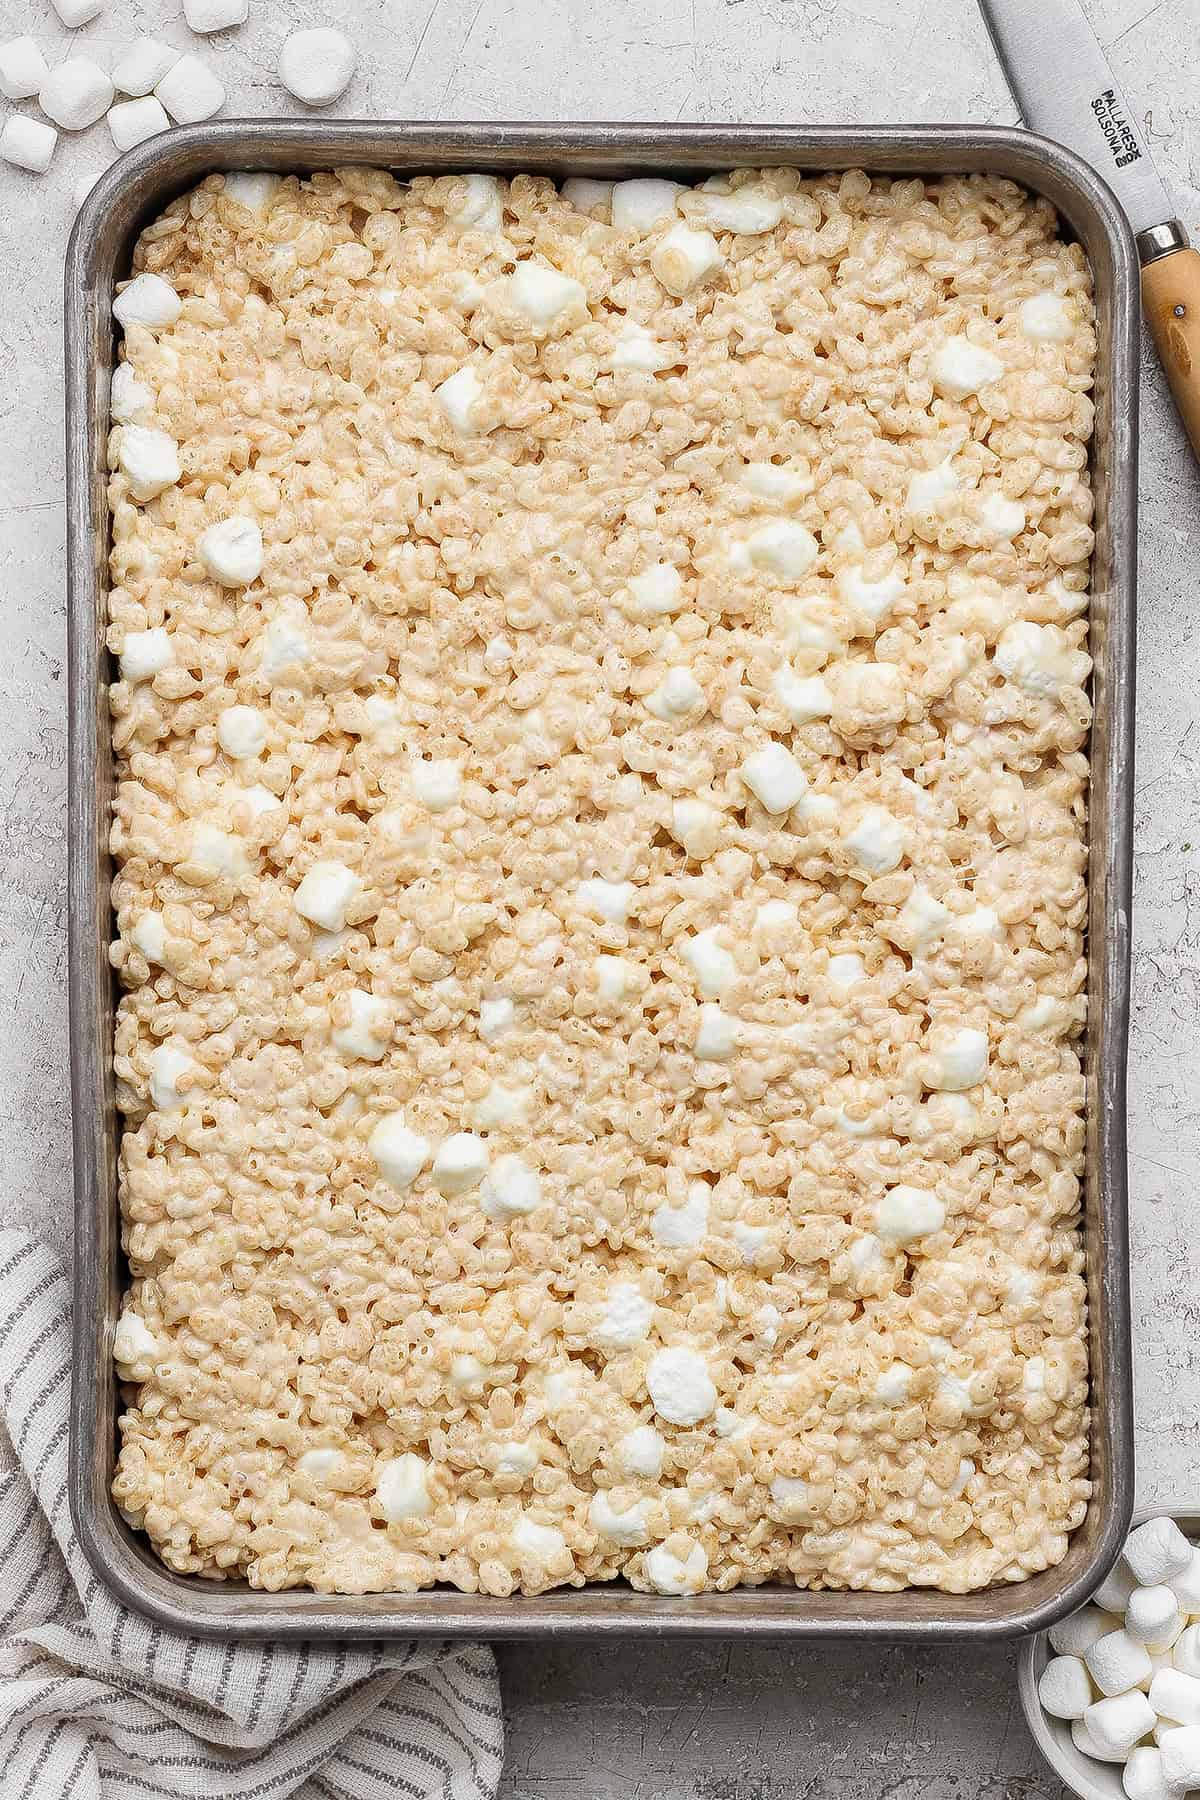
- Finish and cool. Sprinkle with a little bit of lightly crushed flaky sea salt, then let the treats cool completely before cutting into squares.
BRENDA’S TIPS
- Watch the butter closely. Brown butter can go from nutty and toasty brown to burnt in seconds, so keep the pan moving and reduce the heat as soon as it’s ready.
- Don’t over-press the mixture. Aim for a firm yet gentle press. If you press too hard, you’ll compact the bars and give them a tough texture.
- Don’t mix the last bag of marshmallows in too much. Remember, you want to keep those marshmallows intact, so use a large, folding motion until they’re evenly distributed.
A Fun, Unexpected Way To Enjoy This Recipe. Grab A Spoon!
I made these treats while my niece Kate and her fiancé Russell were staying with us a few months ago. Kate eats gluten-free, so this was an easy way to make a sweet treat that she could also enjoy. (Not all crispy rice cereal is gluten-free. I use ALDI brand.) It was fun to show them how to brown butter. And even more fun to see their faces when they saw how many marshmallows were going into the pan!
Once the mixture was all folded together, everyone started grabbing spoons and digging into the pot. Hasn’t that always been the best part of making rice krispie treats? Cleaning up the warm, sticky-crunchy, left-behind bits on the sides of the pot? So I embraced the moment. I handed out more spoons! Now this is what we always do. Everyone gets a big spoon of the warm, melty mixture before pressing the rest in the pan!
MORE EASY DESSERT BAR RECIPES
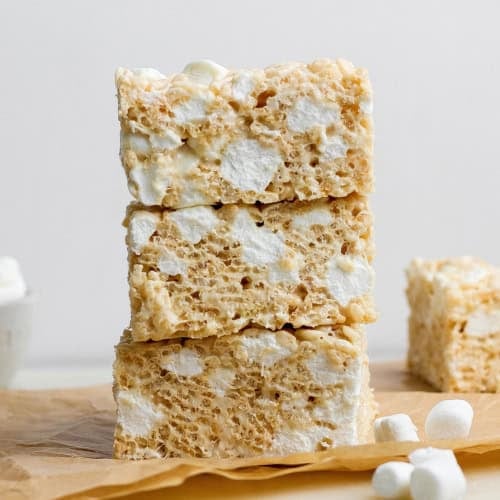
Extra-Gooey Rice Krispie Treats with Brown Butter
Ingredients
- 1 cup (2 sticks) unsalted butter, cold, divided (save the butter wrappers)
- 3 bags (10 ounces each) mini marshmallows, divided (See Notes below)
- 1 teaspoon pure vanilla extract
- 1 teaspoon Morton kosher salt
- 9 cups crispy rice cereal (See Notes below)
- ¼ teaspoon Maldon sea salt flakes, optional (and add more if you like!)
Instructions
- Unwrap the end of one stick of butter and lightly rub it over the bottom and halfway up the sides of a 9" x 13" baking pan. Or spray lightly with nonstick spray.
- Now unwrap both sticks of butter (save the wrappers) and add them to a large stainless steel pot over medium-low heat. Gently cook the butter to brown it, lifting the pot just a bit above the burner to swirl it occasionally. It's key to not let the butter get too hot and burn – keep the pot in occasional motion, so the butter doesn't sit still and burn. The melted butter will have lots of large bubbles that keep popping. After a couple minutes, the large bubbles will turn to small, foamy bubbles. (Keep swirling occasionally.) The butter will turn a deeper golden color, have a nutty aroma, and darkened bits will start to appear in the bottom of the pot. It usually takes 8-10 minutes total to get to this stage. Once the bits turn to a deeper golden brown color, it is done browning >> IMMEDIATELY reduce heat to low (it can quickly go from "browned" to "burnt"), and add two bags of the marshmallows, vanilla, and kosher salt to the pot. Stir constantly, scraping the bottom of the pot, until marshmallows are completely melted. Remove pot from heat.
- Add crispy rice cereal to marshmallow mixture and stir with a large wooden spoon until cereal is evenly coated. Add remaining one bag of marshmallows and quickly fold to evenly incorporate. Keep these marshmallows intact, so there are visible marshmallow bites scattered throughout the bars – do not smash them.
- Transfer mixture to prepared pan and use the buttery side of the reserved butter wrappers to press the mixture evenly into the pan. Press firmly, yet gently, to ensure delightfully chewy bars once set.
- Lightly crush the sea salt flakes with your fingers and sprinkle over the top.
- Let cool completely and then cut into squares. Store in an airtight container at room temperature for up to 3 days.

get new posts via email: