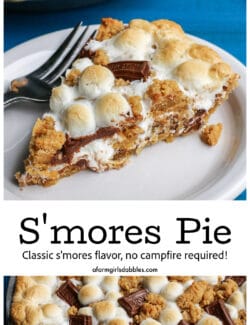
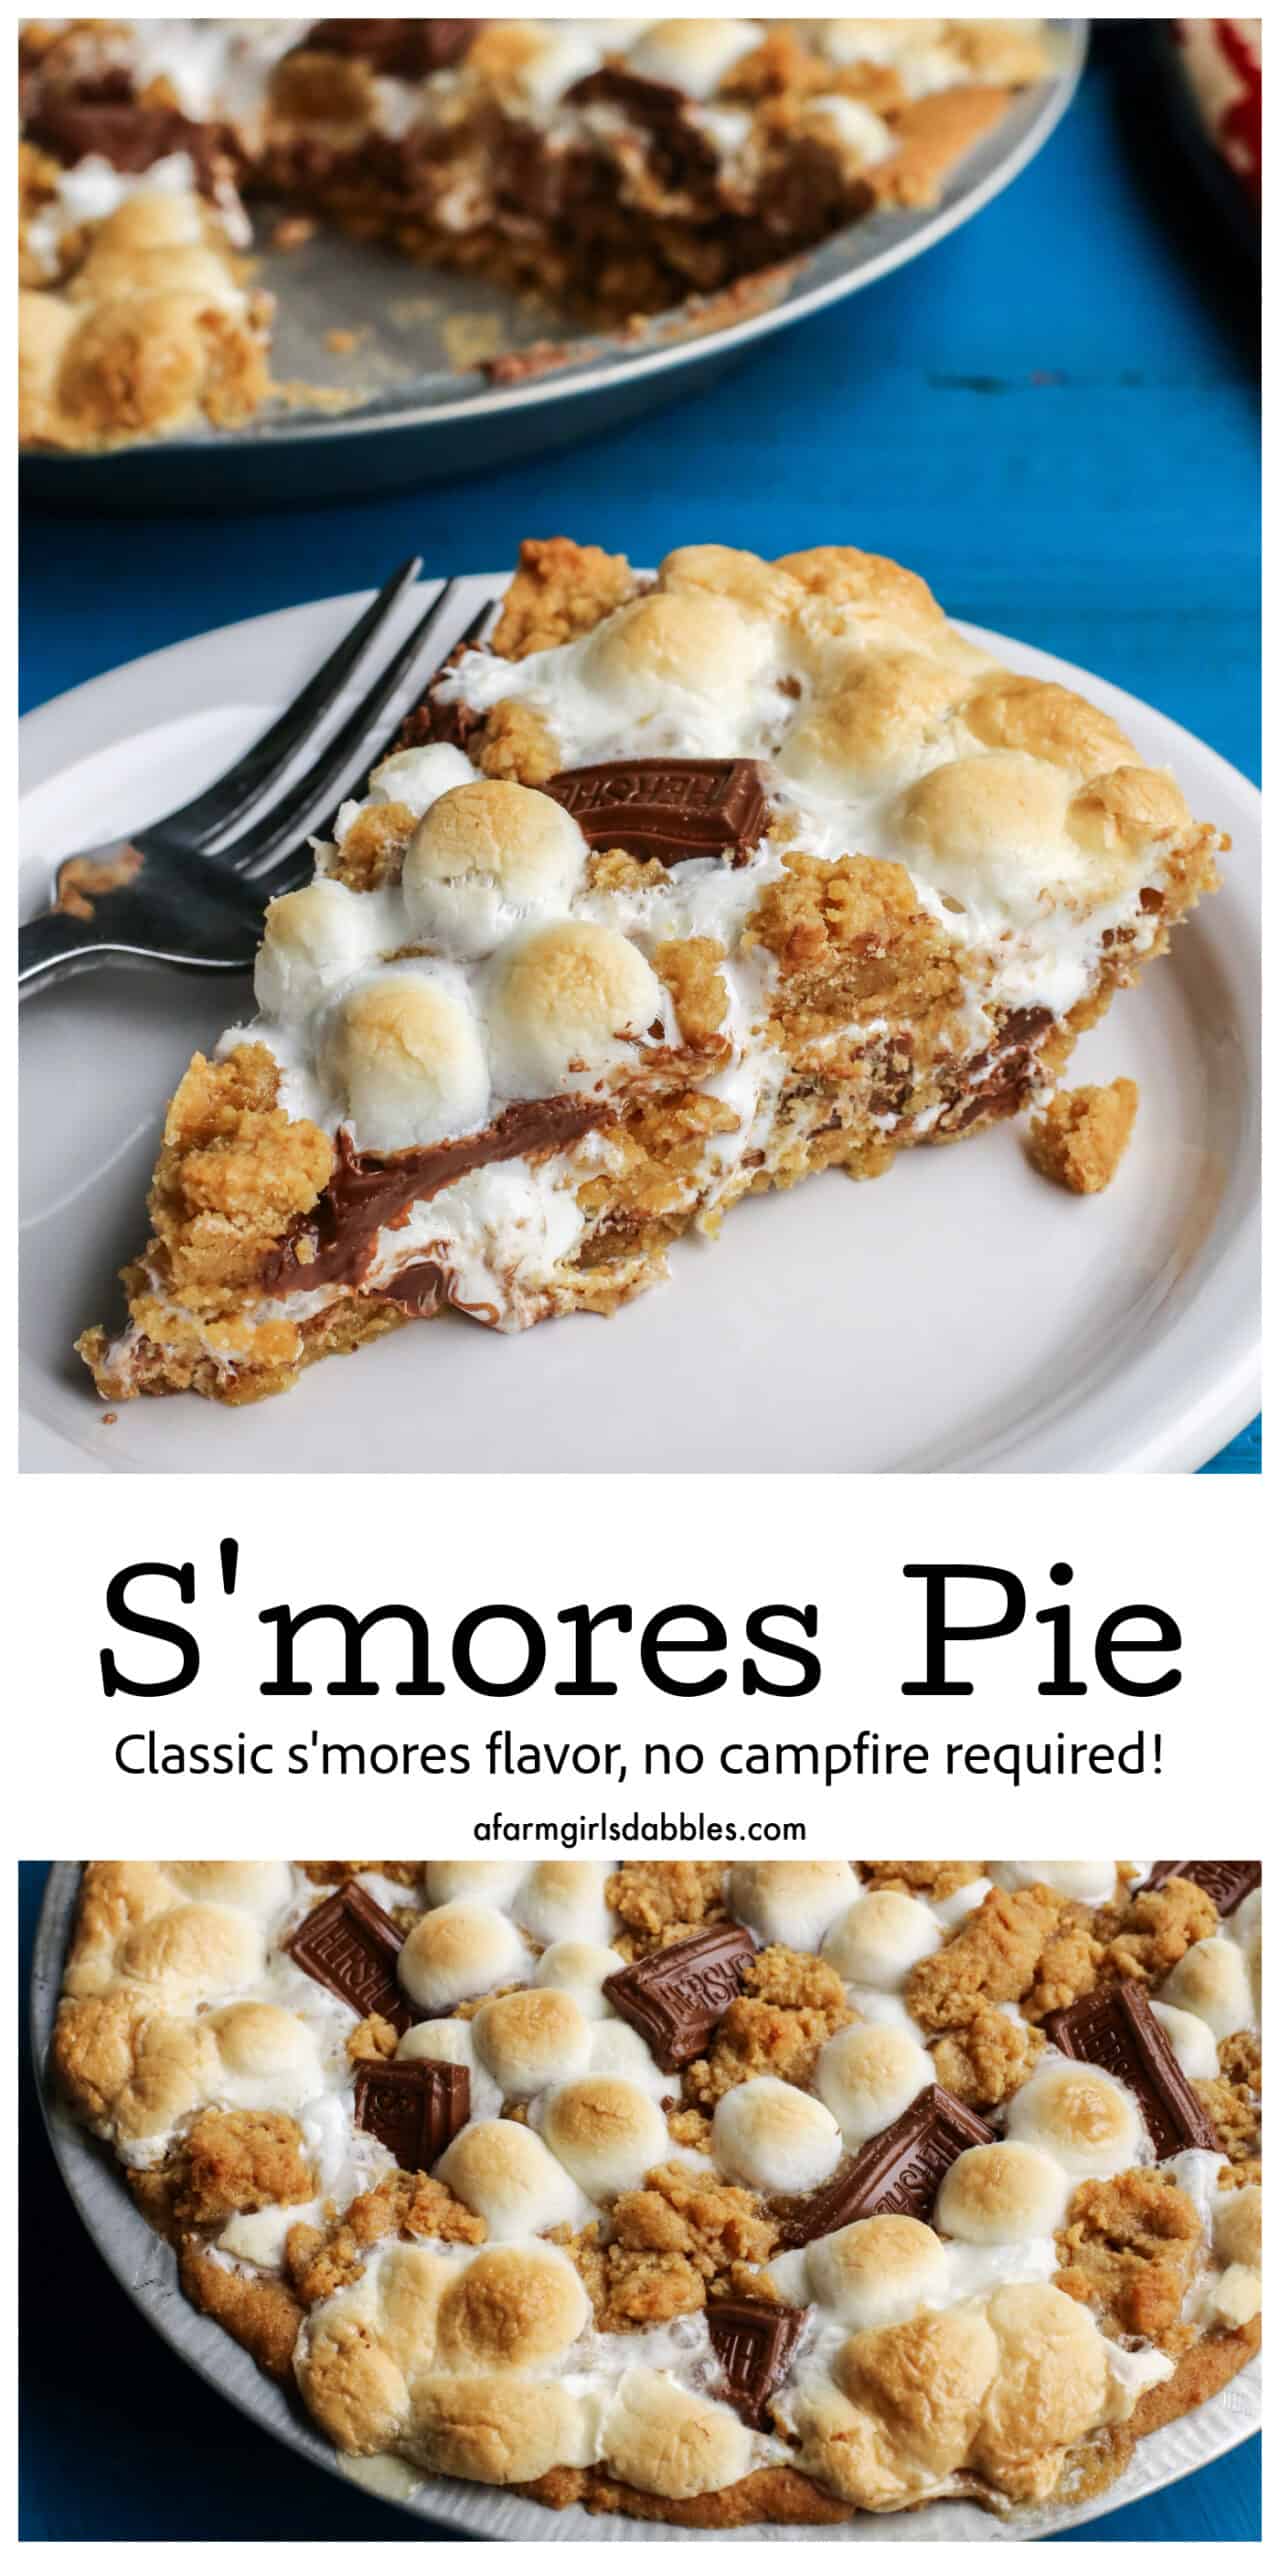
This S’mores Pie lets you enjoy the flavors of the classic summertime treat any time of the year. It’s gooey, chocolatey, and utterly delicious with its buttery graham cracker crust. S’mores, no campfire required!

Easy S’mores Dessert
This S’mores Pie made its first appearance when we needed to take a treat to our neighbor’s tailgating party. The pie was gone in a flash, everybody loved it – I knew I needed to share the recipe!
I love that we can enjoy this s’mores treat whenever the fancy strikes us, any time of year, without needing a bonfire. It’s gooey and chocolatey and so dang delicious with its buttery graham cracker crust.
This is a go-to treat in our family – one that’s quick and easy to make, plus it’s a guaranteed crowd pleaser. Even Blake, who’s never been a fan of s’mores, says “This pie is way better than any s’more I’ve ever had!”
Go ahead. Make it. See what we’re talkin’ about!!
“Easy to follow recipe to make a delicious pie! It made our family’s backyard-camping sleepover so much more fun!”
Siena

What You’ll Need
This s’mores dessert begins with your classic s’mores ingredients, plus a few extras to bring it altogether in pie form. Scroll down to the recipe box for the full measurements.
- Unsalted butter – When combined with the graham cracker crumbs mixture, this makes an incredibly flavorful crust!
- Sugar – Sweetens the crust.
- Egg – Helps the crust hold its shape.
- Vanilla extract
- Flour
- Graham cracker crumbs – Buy prepackaged crumbs at the store or you can make them yourself with regular graham crackers.
- Baking powder
- Kosher salt
- Marshmallow creme – Marshmallow creme is gooey and spreadable, adding a variety of marshmallow textures to the pie.
- Hershey’s – I used classic Hershey’s milk chocolate bars but if you’re a dark chocolate fan, do substitute for Hershey’s dark chocolate bars!
- Marshmallows – Mini marshmallows fit perfectly into the empty spaces around the other ingredients. I love how they puff up and brown just like when you roast marshmallows over a campfire! If you have regular/large marshmallows, cut them into smaller pieces.
How to Make S’mores Pie
If you want your own pie to have the same textural appearance as mine, be sure to follow my layering instructions. (I promise – it’s super easy!)
- Make the crust mixture. This gets used 2 ways – as the bottom crust and as a top crumble. Beat the butter and sugar, then add in the egg and vanilla, followed by the flour, graham cracker crumbs, baking powder, and salt. Press part of the crust mixture on the bottom and up the sides of the pie pan. Reserve the rest of the mixture for the top crumble.
- Add the marshmallow creme & chocolate. Spread the marshmallow creme over the bottom of the crust, then add some of the chocolate squares on top. Top with a layer of mini marshmallows.
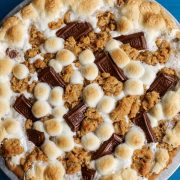
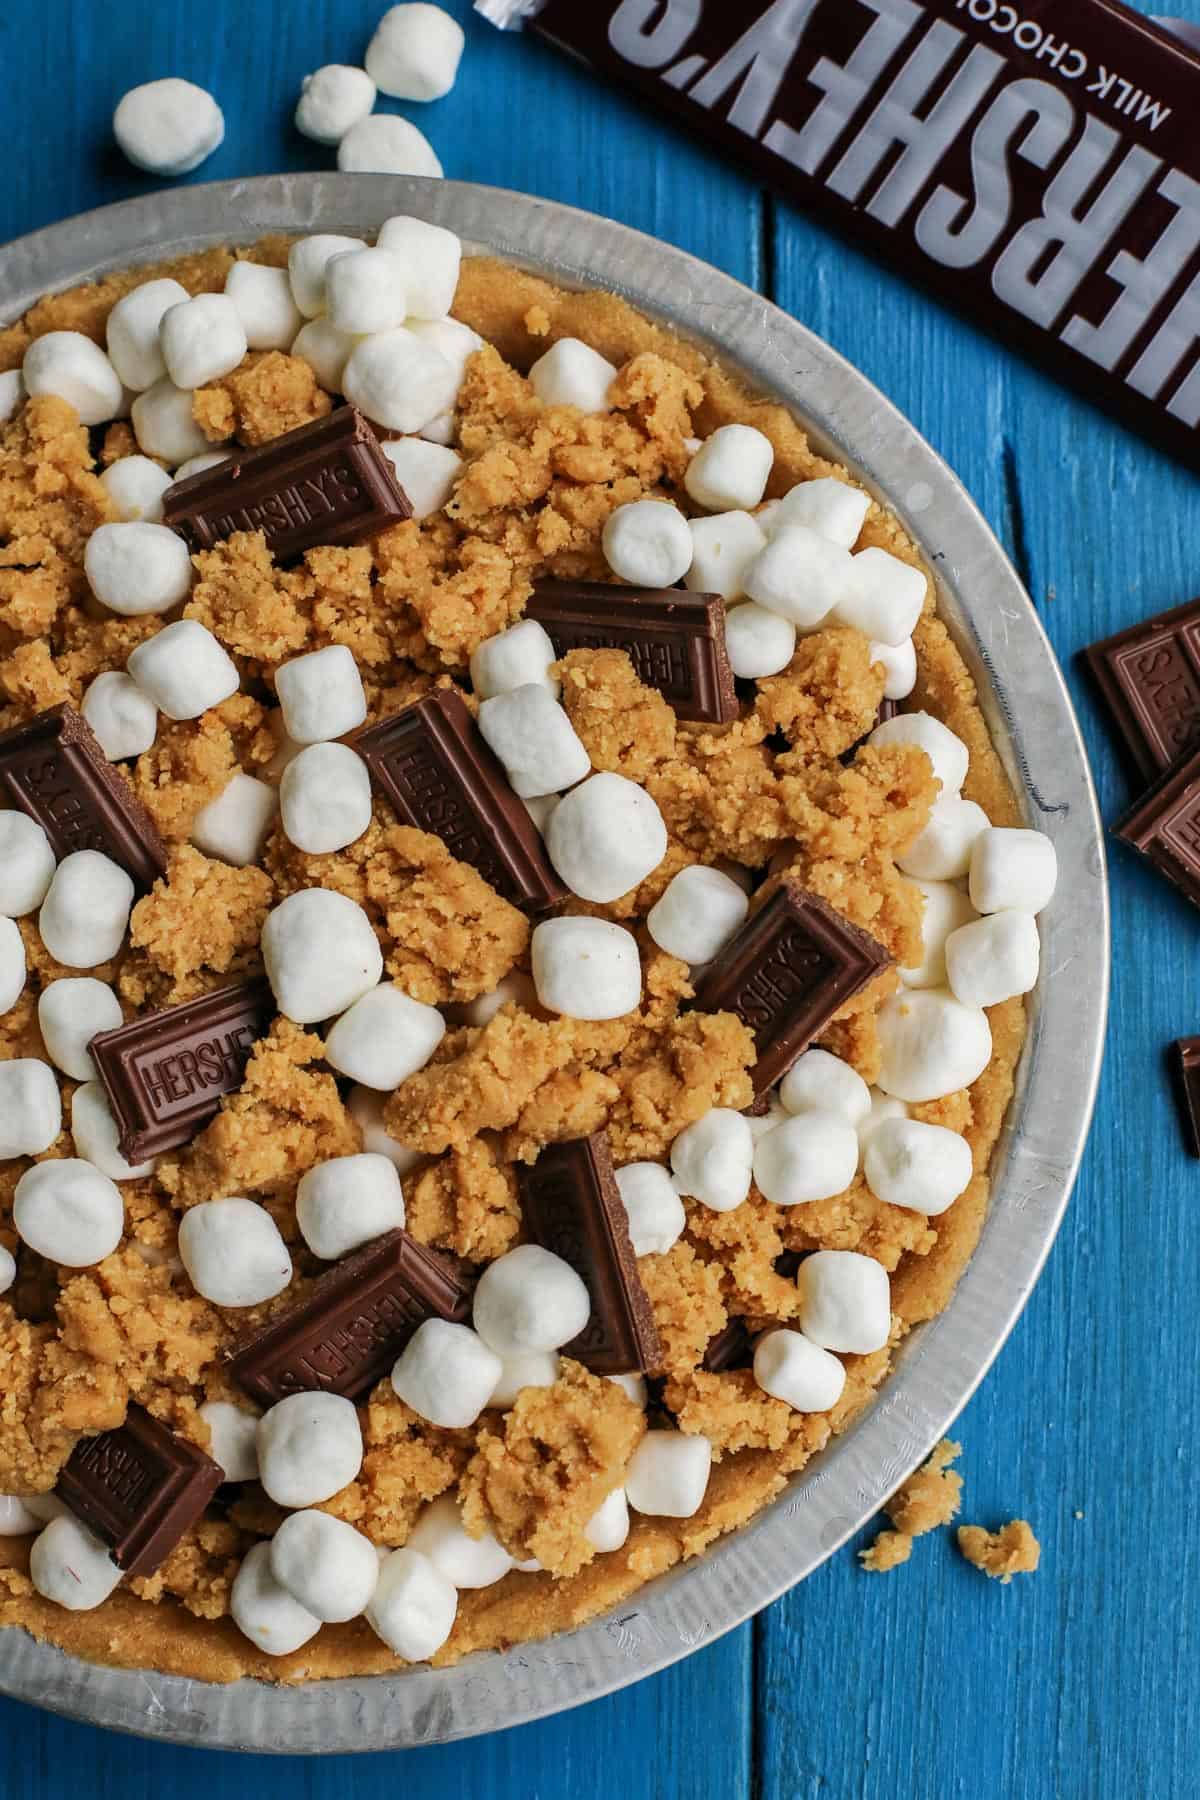
- Add more crust and marshmallows. With the remaining crust mixture, add the top crumble by dropping jagged clumps over the marshmallows layer. Then top with the rest of the marshmallows and chocolate squares.

- Bake. Bake for 18 to 20 minutes, until nicely browned. Let cool, then slice and enjoy!

I find it so hard to wait for this s’mores pie to cool. It fills the house with such an amazingly wonderful sweet and buttery smell.
If we’re not saving the pie to enjoy later with company, I simply cannot resist eating a piece while the pie is still warm and super gooey. When the marshmallows have that delightful toasted exterior, just like they were roasted over an open fire!

Tips for Success
Here are a few tips for making the best s’mores dessert.
- Keep a little butter handy. I like to keep an extra tablespoon of butter nearby when working with the crust. I just dap my fingertips into the butter, which helps the crust not stick to my fingers.
- Don’t smooth out the top. Isn’t that top crust fun? I love the texture of that buttery graham cracker crust! To achieve that same jagged, crumbly appearance, do not press the top in. Just drop jagged clumps of the crust mixture onto the pie and let them be!
- How can I tell when the pie is done? When the pie is in the oven, the marshmallows will puff up in the most delightful way. You’ll know the s’mores pie is done when the marshmallows are beautifully browned and the squares of Hershey’s chocolate bar are all soft and melty from the heat.
- Use Hershey’s chocolate. While technically you can use any chocolate you want in this recipe, I encourage you to stick with a classic Hershey’s bar. Hershey’s is pretty much synonymous with s’mores, and gives this dessert its authentic s’mores flavor.
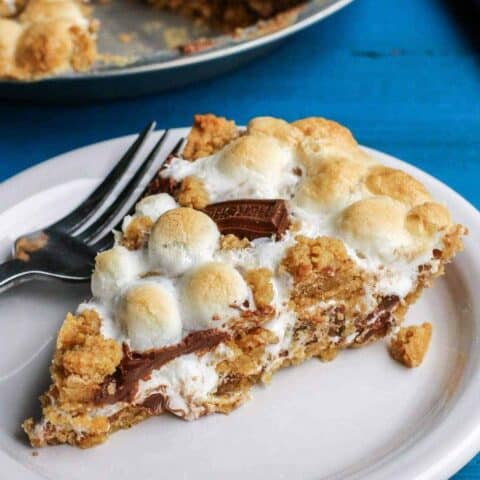
- Let the pie cool completely. For the cleanest cuts of pie, be sure to let the pie cool completely before cutting into individual pieces. If it’s still warm, the marshmallow creme will not be set and will want to spread…which isn’t bad or wrong! It’s equally delicious, just has a different texture!

Serving Suggestions
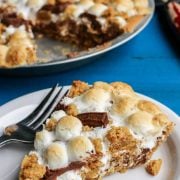
The photo above – this is what a piece looks like when you have the patience to let the pie cool before cutting into it. Ha!
To extra-ensure clean-cut edges, I would even recommend refrigerating the pie for up to 30 minutes after it has cooled to room temperature.
This is a sweet pie. So a glass of cold milk or a cup of coffee goes great with it.
How to Store
S’mores pie will keep well for up to 2 days at room temperature, or up to 4 days in the refrigerator. Just cover the pie pan tightly with plastic wrap or transfer individual pieces to an airtight container.
If you want to enjoy a piece warm, just pop it into the microwave for a few seconds.
I do not recommend freezing this pie.
More Easy Chocolate Desserts:
- Chocolate Chip Cookies
- Pumpkin Chocolate Chip Muffins
- Butterscotch Chocolate Chunk Blondies with Smoked Salt
- Chocolate Wacky Cake
Like this recipe? Save it to Pinterest!
S’mores Pie
Ingredients
- ½ cup unsalted butter softened, plus 1/2 T. more for coating your fingers to press in pie crust
- ½ cup sugar
- 1 large egg
- 1 teaspoon pure vanilla extract
- 1 cup all-purpose flour
- 1 cup graham cracker crumbs
- 1 teaspoon baking powder
- ½ teaspoon kosher salt
- 1 container 7 ounces marshmallow creme
- 5 whole 1.55 ounces each Hershey’s Milk Chocolate Bars, divided
- 1½ cups mini marshmallows divided
Instructions
- Preheat oven to 350° F. Lightly spray a 9" pie pan with non-stick spray.
- In a large bowl, beat butter and sugar until combined. Add egg and vanilla, and beat again until combined. Add flour, graham cracker crumbs, baking powder, and kosher salt. Beat just until combined.
- Press slightly more than half of the mixture into the bottom and up the sides of prepared pie pan. The crust mixture can be sticky, so I like to keep a tablespoon of butter beside me, to dip my finger tips in as I press in the crust.
- Spread marshmallow creme evenly over the bottom crust. Break 4 of the whole chocolate bars into individual pieces (smaller rectangles) and lay them evenly over the top of the marshmallow creme. Top with one cup of the mini marshmallows.
- With the remaining crust mixture, portion small to medium-sized jagged clumps. Do not press the crust mixture together; touch it as lightly as you can to keep its jagged texture. Drop clumps over the top of the marshmallows, taking care to not pat in the crust mixture. Take a look at the pre-baked pie photos in this post, to see what the top crust mixture should look like. Add the remaining 1/2 cup of mini marshmallows over the top. Then break the remaining whole chocolate bar into individual pieces and poke them randomly into the top of the pie.
- Bake for 18 to 20 minutes, or until nicely browned. Remove pan from oven and let cool on a wire rack. Let pie cool completely before cutting for the cleanest cuts. If you cut the pie while it's still warm, it will be very gooey and messy. When I want very nice, clean-cut pieces, I will refrigerate the pie for about 30 minutes after it has cooled to room temperature. And when I really don't care what the pieces look like, and I just want a gooey, chocolatey treat, I eat the pie while it's still warm. It's all up to you. :)
Notes
Nutrition Information:


Easy to follow recipe to make a delicious pie! It made our family’s backyard-camping sleepover so much more fun!
So happy to hear this – a perfect summer camping treat!! Thanks for coming back to let me know. :)
This is a good recipe! It’s very very rich and hard to eat more than a few bites at a time. It’s delicious though and will last a long time. I used dark chocolate chips which worked fine.
SO HAPPY you liked this recipe, Belinda! Thanks a bunch for coming back to leave a comment and rating. Enjoy!!
Loved this take on s’mores. I caught each of my kids sneaking a second piece! We couldn’t wait for it to cool down completely, only lasted 15 minutes before we dived in. Thank you for sharing!