
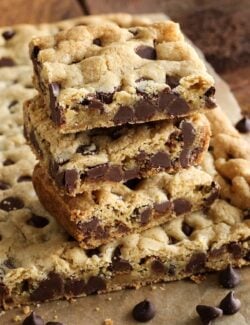
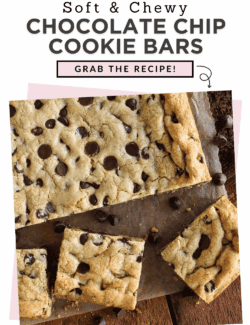
This soft and chewy Chocolate Chip Cookie Bars recipe is just like your favorite chocolate chip cookies – but baked in one pan, with no mixer and no chilling. Full of rich buttery flavor and loaded with chocolate chips, these quick & easy bars are always a hit. Finish with a sprinkle of flaky sea salt for an extra pop of deliciousness!
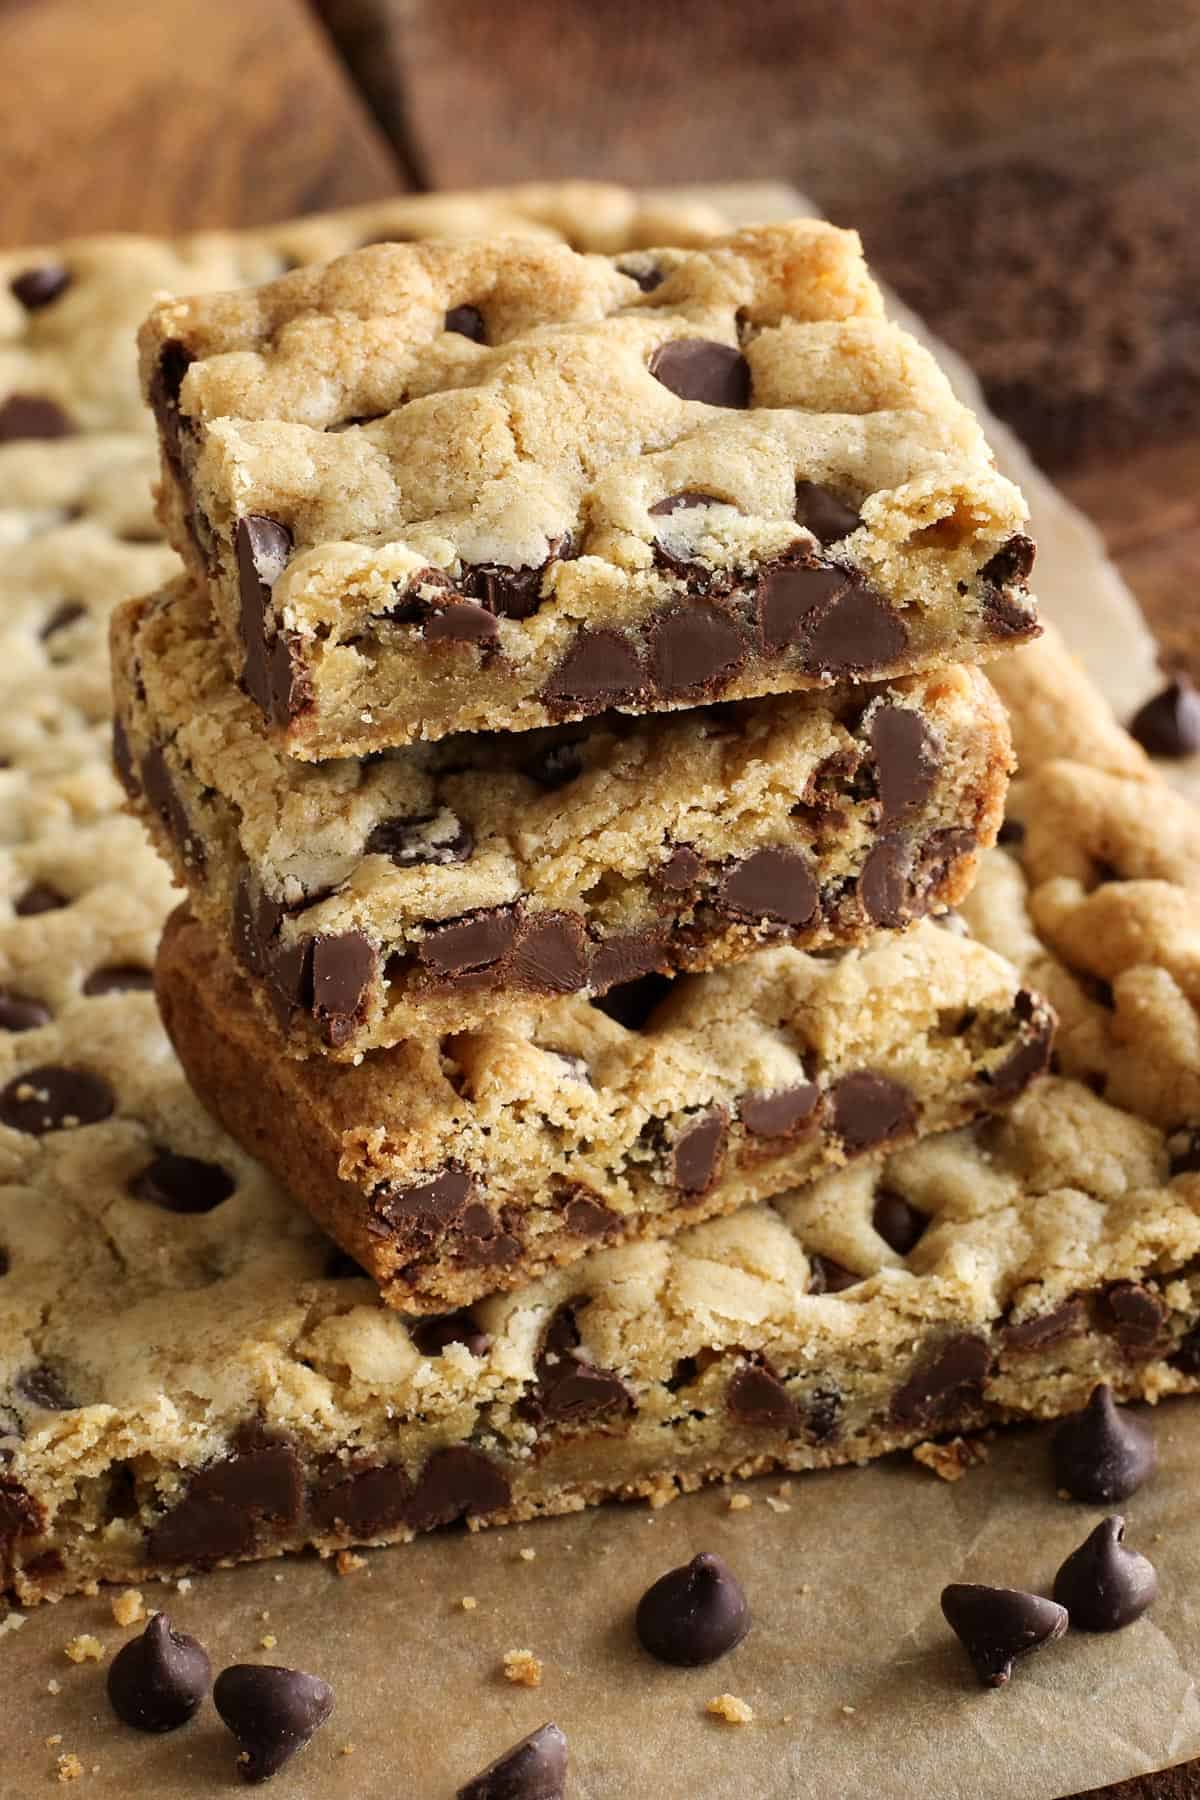
It has recently come to my attention that many people still don’t know about this crazy awesome Chocolate Chip Cookie Bars recipe that can be whipped up in less than 15 minutes! Whenever I mention these bars in my newsletter, I always get lots of great feedback from people trying them for the first time – so buttery, chewy, and absolutely fantastic. So I thought I’d bring this recipe back around!
Why Everyone ❤️s This Chocolate Chip Cookie Bars Recipe

With 1500+ reader comments, it’s obvious that this recipe is loved by many. Here’s why this is a family favorite at our house:
- “Insanely delicious“. That’s an actual quote (from Susanne), from the comments in this post – and one that my family wholeheartedly agrees with. I know that whenever I take these chewy, buttery, loaded-with-chocolate bars to a party, this will be the first dessert to disappear! (Just be ready to share the recipe, because everyone will ask for it!)
- Easy ingredients. This recipe calls for common baking ingredients. And it uses melted butter, so it’s great for impromptu baking (no need to let it soften first).
- Simple, quick method. I’ve made this recipe so many times, I can have a pan of these bars in the oven in just 15 minutes. And it comes together so easily, you don’t even need to use a mixer. If you read through the comments, some people have said that this recipe is so good and so easy that they’ll never make chocolate chip cookies again!
If you enjoy bars recipes, be sure to also check out my Monster Cookie Bars and gooey Chocolate Rice Krispie Treats!
Enjoy!

“I’ve made these several times now and they are excellent, just excellent! They are a hit with everyone! Easy and over-the-top good!”
—Melody
Recipe Ingredients
You’ll find nothing but regular ‘ol pantry ingredients in this easy bars recipe. Scroll down to the printable recipe card at the end of this post for the exact ingredient amounts.
- Flour – This recipe calls for regular all-purpose flour.
- Salt – I believe that most sweet baked treats benefit from some salt!
- Baking soda – This helps the bars to rise and develop deeper flavor and color, while keeping them nice and chewy.
- Butter – I use unsalted butter. It adds beautifully rich flavor and helps keep the bars perfectly moist and chewy.
- Brown sugar + granulated sugar – Brown sugar contains molasses, which gives these bars a moist, dense, chewy texture and deeper caramelized flavor. Granulated sugar offers a touch of crispness to the top of the bars.
- Eggs – 1 large egg plus 1 large egg yolk bind the batter together, offer extra rich flavor and texture.
- Vanilla – Pure vanilla extract adds a touch of flavor that we love in a classic chocolate chip cookie.
- Chocolate chips – I always use semisweet chocolate chips, and my favorite brand is Guittard.
- Sea salt flakes (optional) – For a finishing touch. It plays so well with chocolate chip cookies, offering a fabulous contrast in flavor. SO GOOD!!
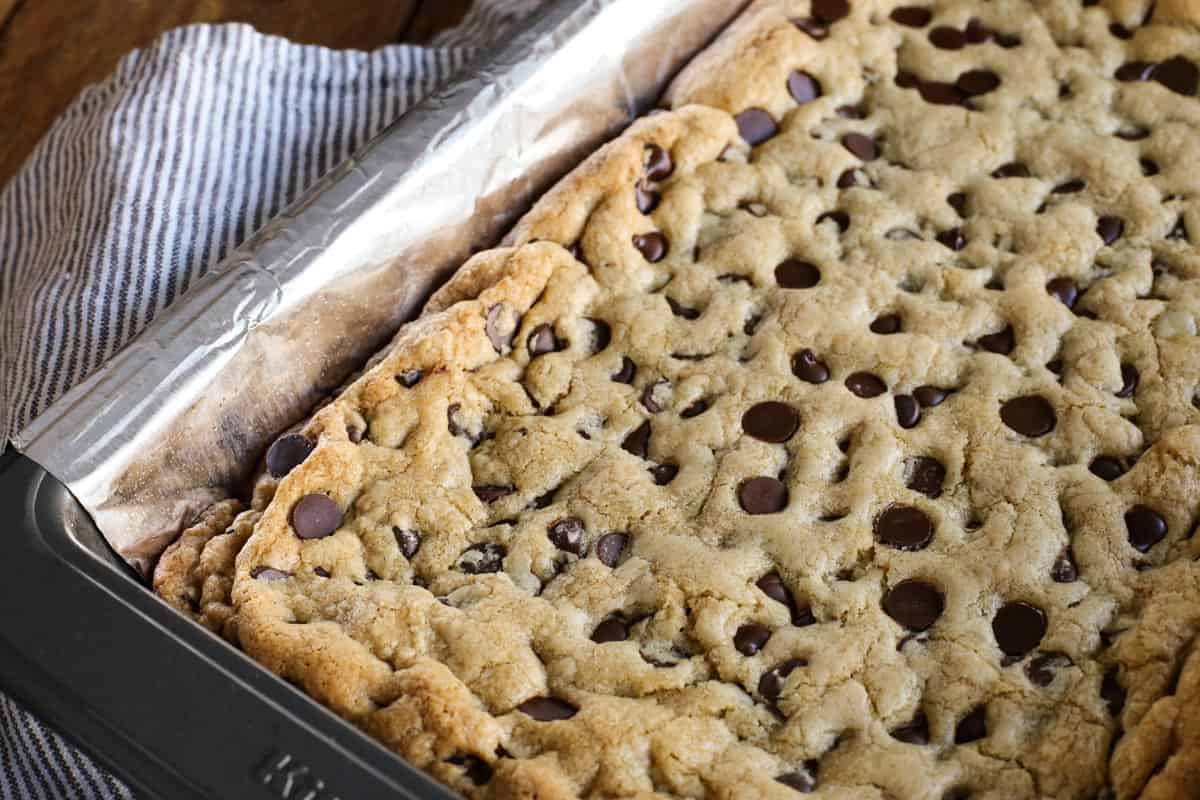
How to Make Chocolate Chip Cookie Bars
- Combine flour mixture. In a medium bowl, whisk together flour, salt, and baking soda.
- Combine butter & eggs with sugars. In another bowl, whisk together melted butter, brown sugar, and sugar. Add egg, egg yolk, and vanilla, and whisk to combine.
- Fold together dry and wet. With a rubber spatula, fold dry ingredients into the wet mixture. When about half-way combined, add chocolate chips and continue to fold until just combined. Do not over mix.
- Add dough to pan. Press dough evenly into prepared pan.
- Bake. Place pan in preheated oven and bake for about 23 minutes. Remove pan to wire rack. If desired, sprinkle some flaky sea salt over the top right after the pan comes out of the oven – YUM!
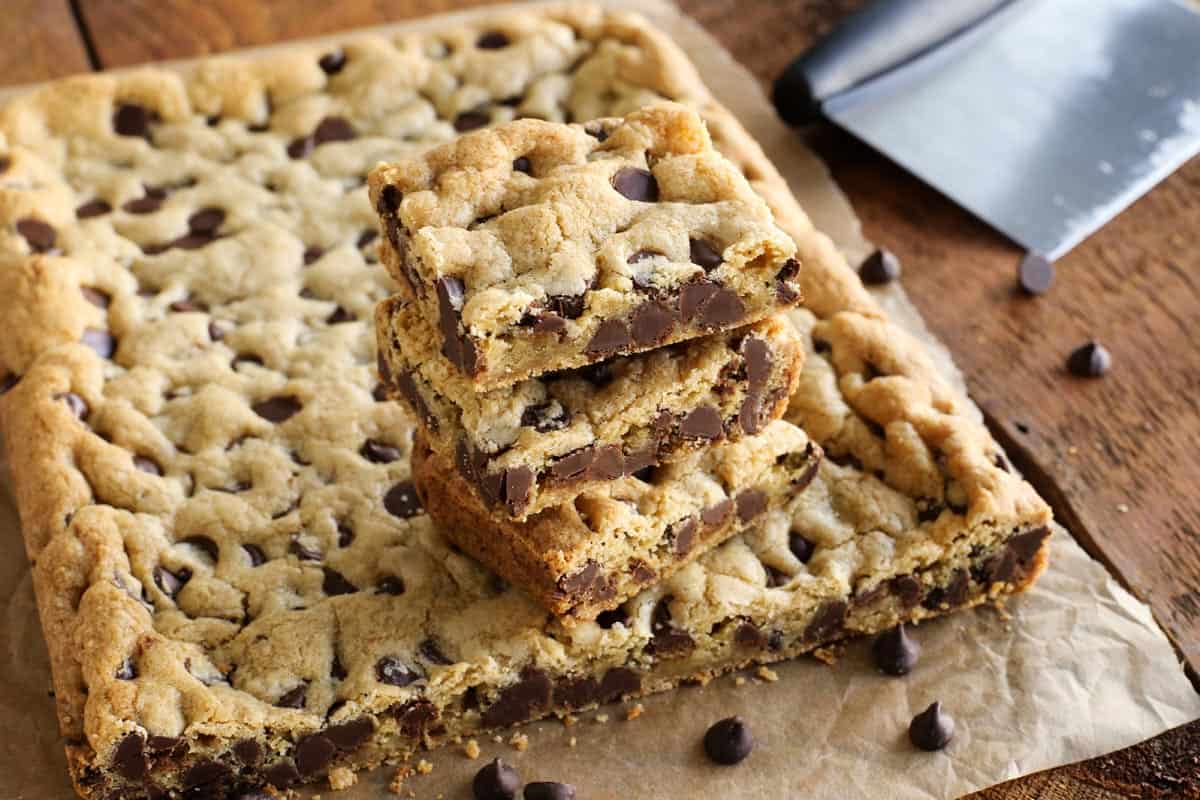
How To Get The Perfect Cuts
To achieve clean cuts to bars, brownies, and cakes, line your pan with heavy-duty foil or parchment paper, and leave an overhang on the long sides of the pan. When the bars have cooled a bit, run a knife around the perimeter of the pan, grab the foil overhangs, and lift the bars out of the pan. Place the bars on a cutting board and allow the bars to cool completely. Then use a sharp knife or rigid pastry cutter to slice into individual bars.
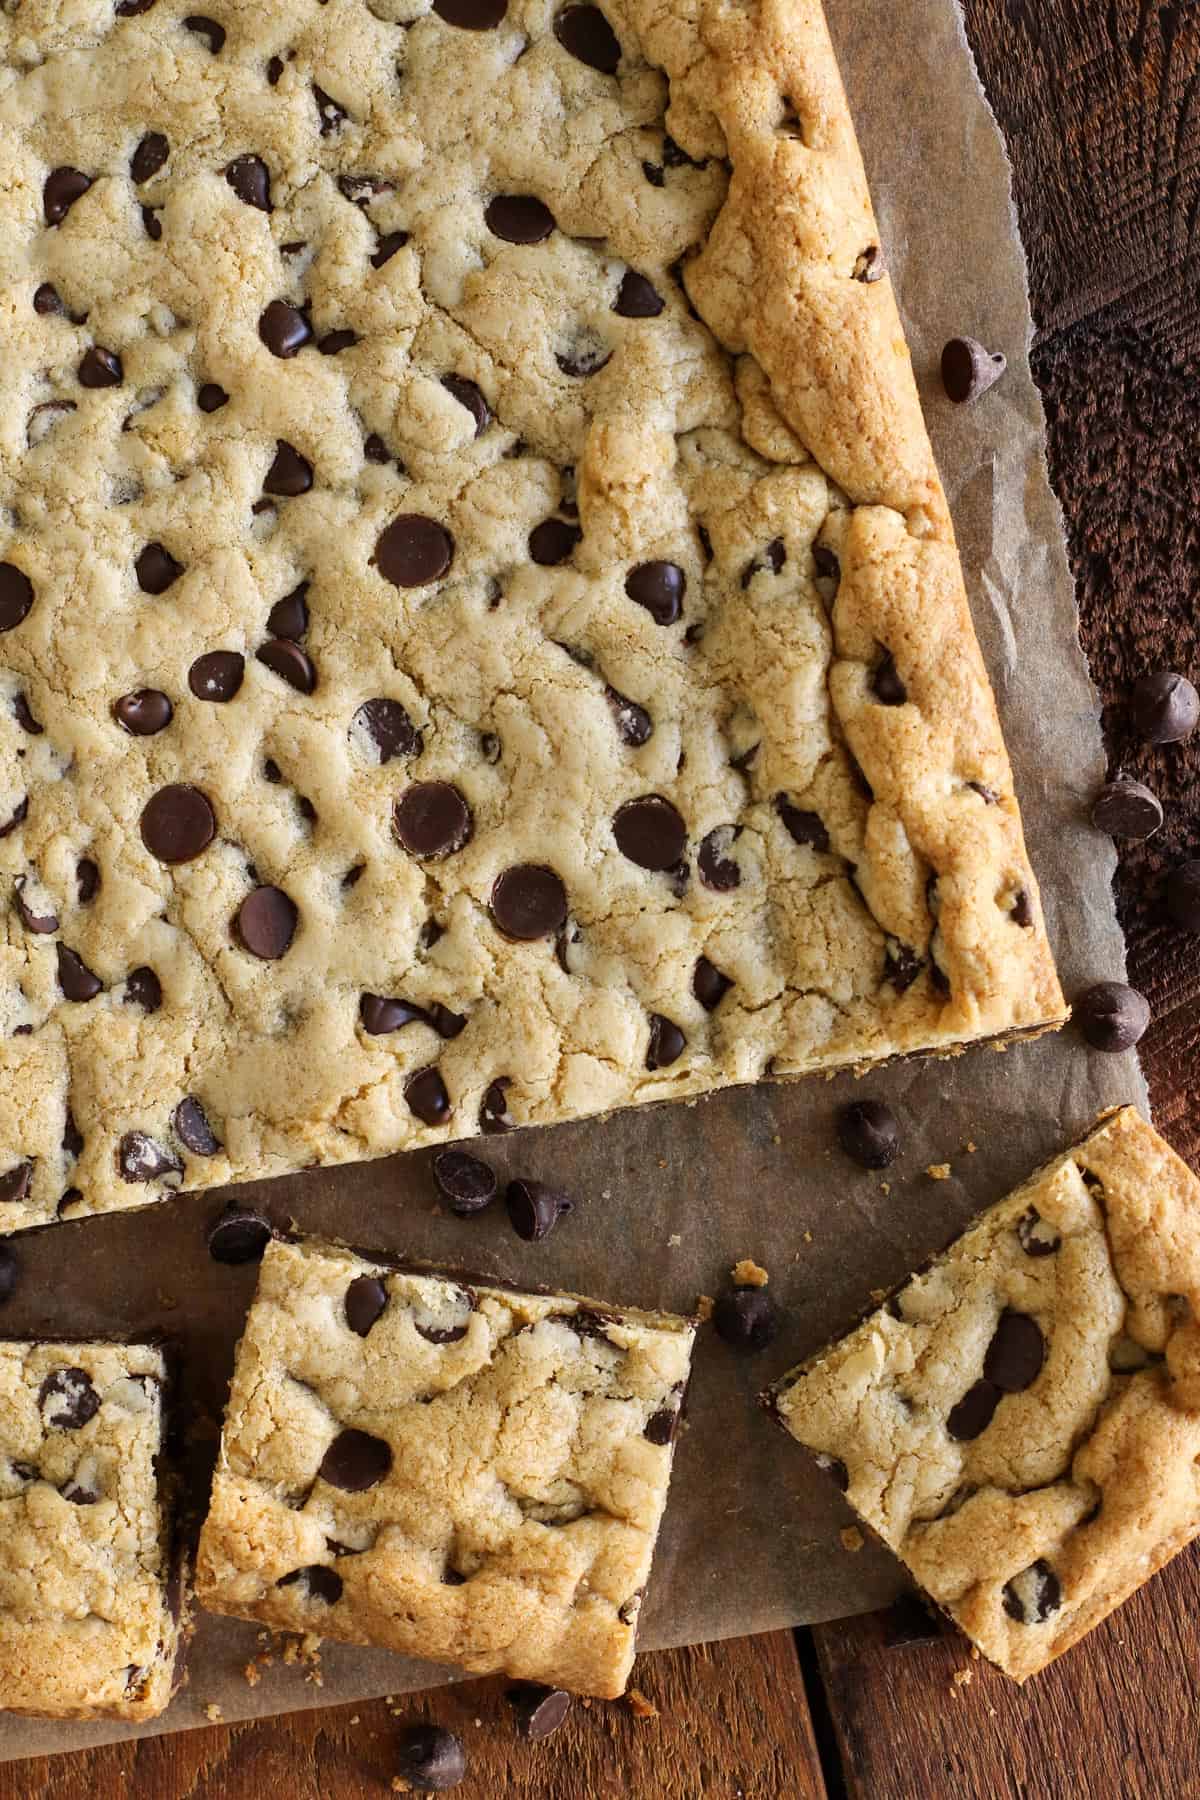
Tips for Success + Variations
Here are a few of my tips to make the best chocolate chip cookie bars!
- Don’t overmix. For the chewiest texture, take care to not overmix the dough.
- Here’s how I press the dough into the pan: The dough mixture can be sticky. To help press it evenly into the baking pan, use the buttery side of the butter wrapper to press the dough into the pan, or rub your finger tips with a little butter, and then press the dough into the pan.
- DO NOT OVER BAKE. Yes, that’s my yelling voice! If your goal is to have the softest, chewiest chocolate chip cookie bars on the planet, it’s VERY IMPORTANT to not over bake. For the ultimate soft bars, slightly under bake them!
- Add the sea salt flakes! Our family LOVES an extra hit of salt over the top – we use Maldon Sea Salt Flakes, and it doesn’t take much. Just sprinkle a bit over the top IMMEDIATELY after the pan comes out of the oven (so the flakes adhere) – YUM!
- Double the recipe. Sometimes a 9×13 pan of bars just isn’t enough! If that’s the case, you can easily double the recipe and bake it in a 13×18 pan – see the Notes in the recipe card for more details.
- Try other chocolate. Like milk chocolate or dark chocolate or white chocolate? Just swap in your favorite chocolate. Or do a combination of chocolates. We also like to sprinkle mini M&M’s over the top!
- Chop up a chocolate bar. Or, chop up your favorite dark chocolate bar for an extra indulgent treat.
- Add nuts. Throw in some chopped walnuts or pecans for a little nutty crunch. I recommend using roasted, salted nuts for the best flavor and texture.
Serving Suggestions
- Handheld treat – We most often enjoy these bars straight from the pan, as bars were meant to be eaten – with your hands!
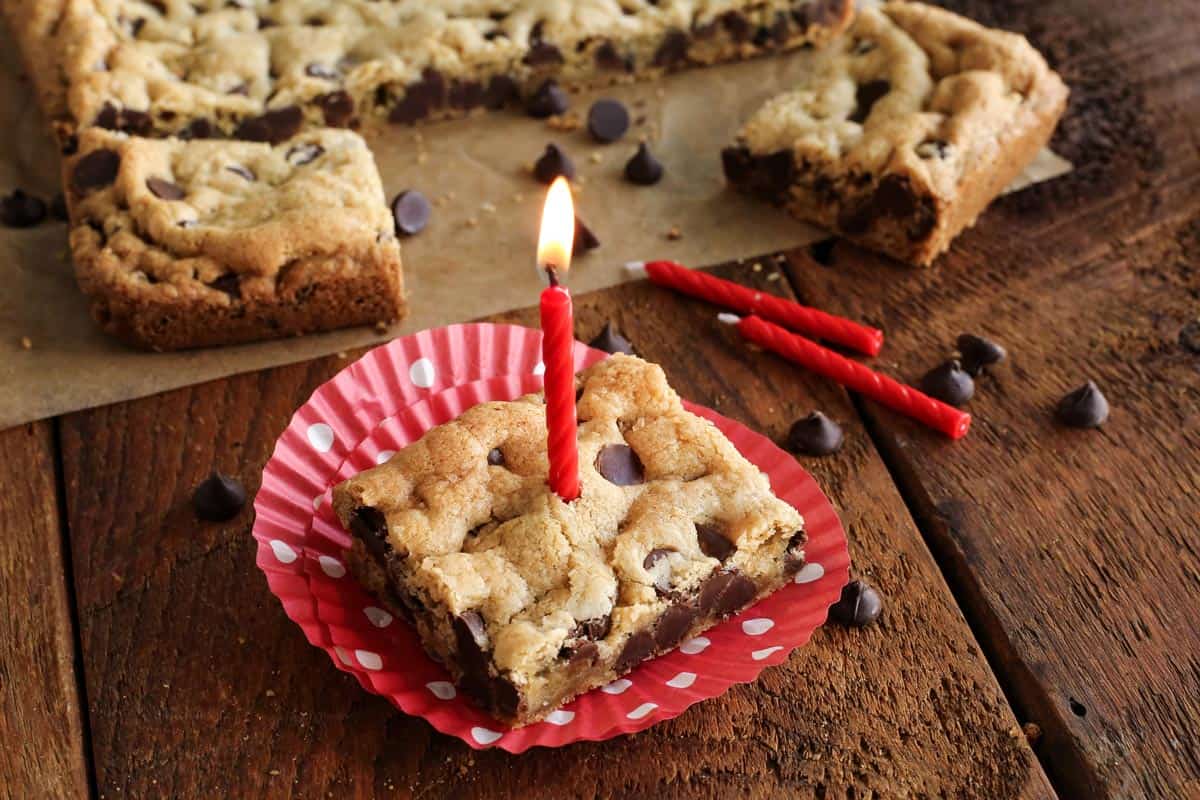
- Call it Birthday Cake! Stick a candle in it (see photo above), like we did to celebrate our daughter Hatti’s and my dad’s shared birthday. (Hatti also often requests brown butter chocolate chip skillet cookie or cookie monster ice cream that’s stuffed with cookie dough, or her favorite brownies!)
- Ice cream – A warm chocolate chip cookie bar + a scoop of ice cream is such a fun dessert! Try salted caramel ice cream, peanut butter ice cream, or butter pecan ice cream.
- Make a sundae – Stack up cookie bars with a generous scoop of ice cream, then top it with nuts, homemade sauce, and whipped cream for a treat. Add a cherry on top for extra fun!!
- Dessert sauce – Drizzle a sweet sauce like my caramel buttermilk syrup or hot fudge sauce over a chocolate chip cookie bar.
- With milk – We’re a milk-drinking family, especially when it comes to chocolate desserts. “Cookies & milk” is just the perfect combination!
- Coffee – A hot coffee drink, such as a cortadito, a floral lavender latte, or a dirty chai latte are perfect. For cold coffee drinkers, try my pumpkin cream cold brew, a dirty iced chai latte, or an iced brown sugar shaken oatmilk shaken espresso with a cookie bar!
Proper Storage
These bars will always have the best texture on the day they’re made. But, similar to chocolate chip cookies, the chocolate chip cookie bars will keep well for later noshing. Here are a few options for how to store them:
- Counter – To preserve that soft texture, leave the cooled bars in the pan (covered tightly) and store them on the counter for up to 3 days.
- Fridge – Store the bars in the pan, with an airtight cover, in the fridge for up to 5 days.
- Freezer – Place bars in an airtight, freezer-safe container, then store in the freezer for up to 3 months. Thaw the bars in the fridge before serving.
More Chocolate Chip Recipes To Try
Chewy Chocolate Chip Cookie Bars
Ingredients
- 2 cups + 2 tablespoons all-purpose flour
- ½ teaspoon Morton kosher salt
- ½ teaspoon baking soda
- 12 tablespoons unsalted butter, gently melted and then cooled to room temperature
- 1 cup packed light brown sugar
- ½ cup sugar
- 1 large egg
- 1 large egg yolk
- 2 teaspoons pure vanilla extract
- 2 cups semi-sweet chocolate chips, plus a bit more for sprinkling over the top of the dough – we like Guittard semisweet chocolate chips
- sea salt flakes, optional for sprinkling over the top – I recommend Maldon Sea Salt Flakes
Instructions
- Adjust oven rack to lower-middle position. Preheat oven to 325°F. Lightly spray a 9" x 13" metal baking pan with non-stick spray. Or, if you want really clean cuts, line the pan with heavy duty foil or parchment paper, letting the excess hang over the edges on the long sides of the pan. Then lightly spray the foil-lined pan with non-stick spray. This will allow you to pull up on the foil and lift the bars out of the pan.
- In a medium bowl, whisk together flour, salt, and baking soda; set aside.
- In a large bowl, whisk together melted butter, brown sugar, and sugar until combined. Add egg, egg yolk, and vanilla, and whisk until well combined.
- With a rubber spatula, fold dry ingredients into the wet ingredients. When about half-way combined, add chocolate chips and continue to fold until just combined. Do not over mix.
- Transfer dough to prepared pan. Dough will be thick and sticky. Press evenly into pan using a spatula and/or your fingertips. (Tip: Use the buttery side of the butter wrapper to press the dough into the pan – or simply rub your finger tips with a little butter, and then press the dough into the pan.)
- If desired, sprinkle a few more chocolate chips over the top, pressing them in a bit. It's also fun to sprinkle M&M's over the top – the mini M&M's are our first choice!
- Bake for about 23 minutes or so, or until top is light golden brown and slightly firm to the touch. For the chewiest bars, do not over bake. I might even recommend to slightly under bake!
- Remove pan to wire rack. Optional: Sprinkle some flaky sea salt over the top IMMEDIATELY after the pan comes out of the oven – YUM!
- Let cool to room temperature and then cut into individual bars. If using a foil lining, first cut around the perimeter of the pan to loosen, and then lift bars from pan using the foil overhangs. Transfer to cutting board and cut into squares with a knife or rigid pastry cutter.
Notes
Nutrition Information:

For the memory book: This photo was taken while staying with my sister’s family in Florida in 2019, when we celebrated our daughter Hatti’s and my dad’s shared birthday with – yes, you guessed it – these chewy chocolate chip cookie bars!
This post was originally published in 2019, then updated in 2024.

These were shared in an egg allergy group I’m in. The original poster subbed 3/4 of an 8 oz block of cream cheese and 2-3 tablespoons spoons of water for the egg and yolk and they turned out amazing! We are always looking for great eggless recipes and this one converts beautifully! My 3 and 6 year old both have anaphylactic egg allergies and sometimes it’s hard finding recipes for “everyday things”. It makes my Mama Heart happy to be able to give my kids something as simple as these.
I love making these. I am wondering if the recipe could be used to make it in the form of cupcakes.
absolutely delicious!!! i have never had a chocolate chip cookie recipe come out so good!
I made these last night and they came out amazing! Thank you for sharing.
So glad you liked, Jessica! :)
These bars are amazing! My go-to recipe now instead of chocolate chip cookies!
These bars are amazing!!! Thank you for the recipe!
These are amazing!!! Thank you for the recipe!
So glad you liked this recipe, Ruthie! :)
Could I replace some of the flour with some oatmeal?
Love this recipe! I’ve made these several times and they always turn out great. I also tried to make these dairy free, but those turned out a bit wet and got darker than the original recipe.
So glad you love this recipe!! :)
I baked these for the first time today and they are delicious. I used regular sized m&ms instead of chocolate chips. My son loved them and they will definitely be a regular snack in my house….thank you!!!
From Cathie:
Can I add dried cranberries to the mix? Maybe swap out some of the chocolate chips? We LOVE them!
These are perfect and super easy and fast. But most importantly they are very good! My new chocolate chip cookie bar recipe!
Very easy and good.
Very easy to make and super delicious! My whole family loved it
Delicious!
Yay!! :)
In the oven now@
Does this really use 12 tablespoons of butter?
Hi Jennifer – the recipe card is correct.
Hi, can I bake them in a 9×9 inch pan? Do I need to change anything?
I’m trying them in an 8×8 ,I will let you know.
These cookie bars were amazing! They took no time to make, and used ingredients
I already had in the house. I under baked them a bit. They were very easy to cut and serve.
Thank you for such an easy and delicious recipe!
Hi Naomi – I’m so glad you liked this recipe! Thanks for coming back to let me know! :)
This recipe was spot on for this cookie bar. The only exception was the baking time. At 23 minutes, the bars were not at all golden on top. I set the timer for another 4 minutes and they came out just like your photo. My oven is consistent and exact in temperature. I especially like adding more chips on top as well as the sea salt! This recipe is a keeper.