Grilled Pizza

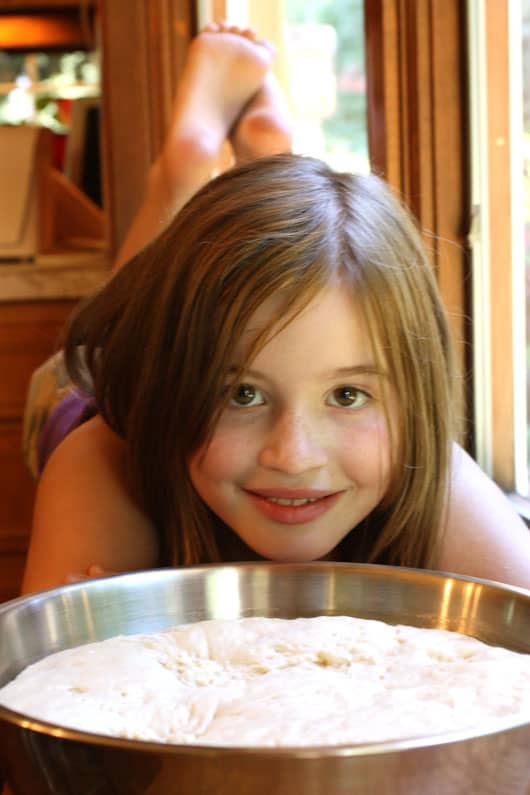
When Grilled Pizza is on the menu at our house, it’s a family event. Our daughters like to get their hands in the dough, kneading and punching it down. And we all find a job in preparing topping ingredients. Frying, slicing, and chopping, we are all brought together in anticipation of sharing a very fun and tasty meal.
We’ve been playing around with grilled pizza for a number of years. It took a couple tries to find a tasty dough that worked well, one that didn’t sag through the grill grates. What a mess we had the first time around!!
And we’ve had many friends confess they are too unsure of their skills to give grilled pizza a shot. So we want to share with you our go-to recipe. The dough is easy to make and work with. And after making these grilled pizzas a number of times, we’re now confident enough to pass it along. The recipe that follows is infilled with some photos and helpful hints. Please know that this will still probably require a bit of trial and error on your part, as grills and heat temperatures will vary. The key is to be organized once the dough is ready for the grill, so you’re not scrambling for topping ingredients.
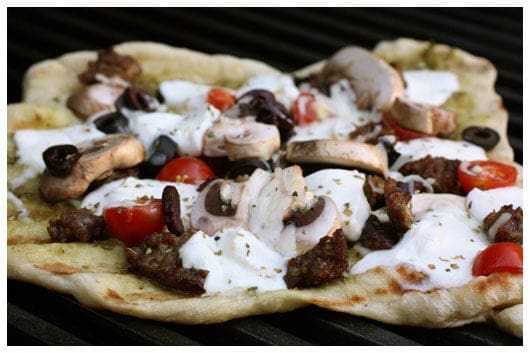
The pizzas are beautiful and taste crazy good straight from the grill. And there’s plenty of fair weather grilling left this fall. If you’ve never grilled pizza before, give it a whirl. Then give a shout back to let me know how it goes and the ingredients you used. My favorite grilled pizza uses a garlicky basil pesto as the base, with toppings of salty kalamata olives, sweet sundried or roasted tomatoes, and Italian sausage, with fresh chunks of mozzarella melted all ooey gooey chewy on top.
Grilled Pizza
Ingredients
for the dough:
- 1 c. warm water like warmed milk for a baby’s bottle, NOT hot
- 3 T. extra-virgin olive oil plus additional as needed
- 2 tsp. sugar
- 1.5 tsp. kosher salt
- 3 cups all-purpose flour plus additional for kneading
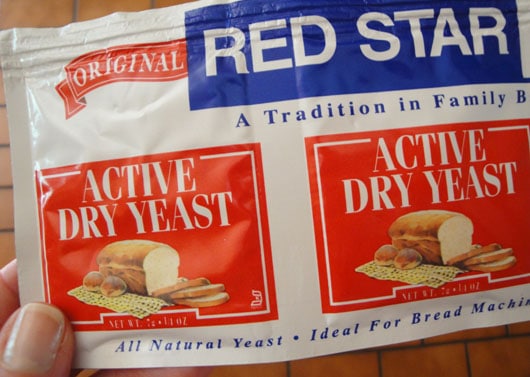
- 2.5 tsp. active dry yeast 1 package
tomato-based pizza sauce or basil pesto for the base
- pepperoni
- fried ground sausage or hamburger
- Canadian bacon
- pineapple
- black or kalamata olives
- fresh sundried, or roasted tomatoes
- sliced mushrooms
- diced or thinly sliced onions
- roasted garlic
- chunks of fresh mozzarella or shredded mozzarella straight from the bag
- crumbled goat or feta cheese
- dried Italian or pizza seasoning
- fresh basil and/or oregano
- freshly ground black pepper
- the possibilities are endless
- tomato-based pizza sauce or basil pesto for the base
- pepperoni
- fried ground sausage or hamburger
- Canadian bacon
- pineapple
- black or kalamata olives
- fresh sundried, or roasted tomatoes
- sliced mushrooms
- diced or thinly sliced onions
- roasted garlic
- chunks of fresh mozzarella or shredded mozzarella straight from the bag
- crumbled goat or feta cheese
- dried Italian or pizza seasoning
- fresh basil and/or oregano
Instructions
- To make the dough, stir warm water, oil, sugar, and salt in a liquid measuring cup until the sugar dissolves. Whisk flour and yeast in a large bowl and make a well in the center. Add liquid mixture. With a wooden spoon or your hand, gradually stir flour into the liquid to make a rough dough. Pull the dough together into a ball.
- Turn onto a work surface dusted lightly with flour. Knead until dough is smooth and elastic, about 10 minutes, adding a little flour here and there if necessary to keep it from sticking. Just try to use as little as possible to make it work.
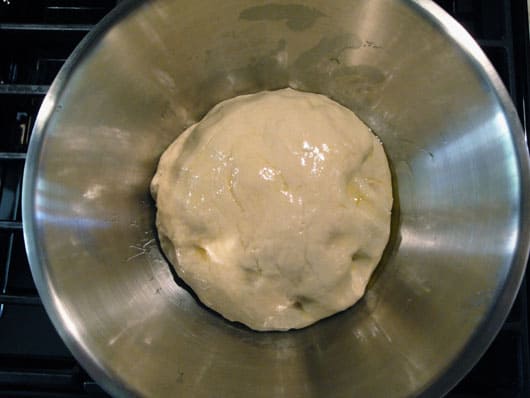
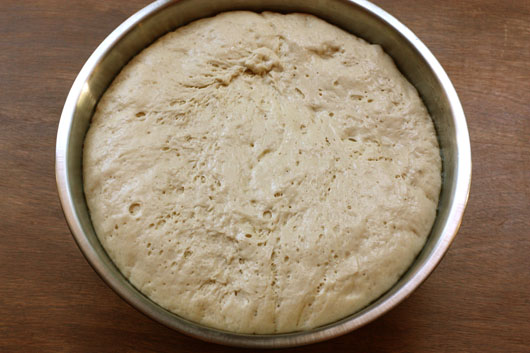
- Shape dough into a ball. Put in a large, lightly oiled bowl and turn it to coat with oil. Cover the bowl with plastic wrap and let rise until double in size, about 1 hour.
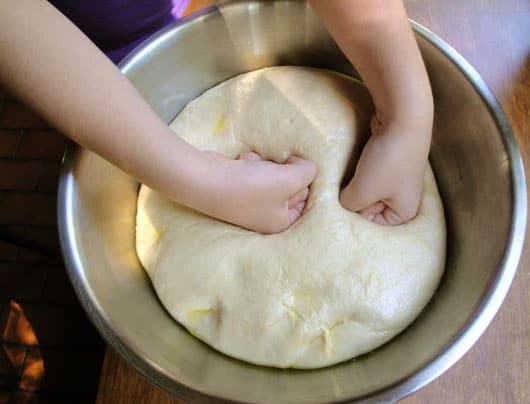
- Punch dough down. This is Hatti’s favorite part. She always calls first dibs. Knead briefly, shape into a ball, cover, and let rise until soft and puffy, about 45 minutes. Isn’t that beautiful? And it has a wonderful feel to it. Soft and full of elasticity, it’s simply fun to handle Kinda like playing with Play-Doh. Only better. Much better.
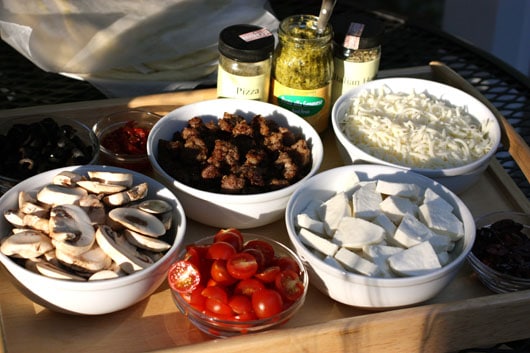
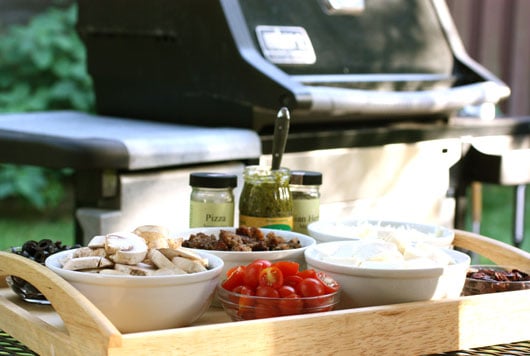
- While the dough is rising, get your pizza toppings ready. Organization is your best friend here. We like to fill bowls with toppings and place them on a tray, for easy transportation to the grilling area. Preheat gas grill to medium-low. Most grilled pizza recipes will tell you to grill at medium-high, which will cook much faster and make for a crispier crust. Not that we don’t like crispy crusts, but we have found we like the “low & slow” method better, as it affords us a bit more time to add the toppings to the dough on the grill, and the girls like a little softer crust. If you like crispy, turn the heat up!
- Dust your work surface lightly with flour. Divide dough evenly into 4 balls and press into flour, flipping to dust both sides. Hold one piece of dough up like a steering wheel and rotate and stretch it to make an 8″ disk. Don’t be tempted to make it larger in diameter, as thin dough will cause trouble on the grill! Place your dough disk on a piece of plastic wrap (Absolutely don’t use wax paper, we learned that the hard way!) and cover with a kitchen towel to retain moisture. Repeat with the remaining dough, keeping disks separated with plastic wrap.
- Brush the top side of a dough disk with oil. Place oil side down on grill grate. Now brush the new top side with oil. As soon as the bottom has turned golden and the dough is easily moved on the grates, go ahead and flip. This should only take a minute or two. Here is where you have a couple of options of how you want to top your pizza dough. We have a system down where all the ingredients are handy at the side of the grill, and quickly “decorate” the dough as it sits on the grill. If you’re not comfortable with adding toppings over the hot grill, you can remove the dough to a plate once the second side has turned golden and is easily movable. Then add your toppings and return them to the grill to finish up.
- If you find that your cheese isn’t melting as fast as the crust is cooking, you might want to experiment with turning the heat down to low (or completely off) and shutting the lid for a minute or two. Experiment with the lid open and shut – it’s a great way to control your temperature when grilling pizza. Another way to make sure your cheese gets all melty is to put it on before the rest of the ingredients, letting it sit right on the warm grilled dough. Experiment. Have fun with it. And enjoy!
Notes


Will be trying these for the first time this weekend!!
And?!
Thank you for sharing this – I’ve been on a huge homemade pizza kick, but thought that you needed a pizza stone in order to do it on the grill. This is something I think I could conquer now :)
Hi! It was great to meet you! I wouldn’t recommend using a pizza stone on the grill. When we first started experimenting with this, a stone cracked on us. After looking into it further, I found out that happens regularly on the grill, unless you know how to set up your heat perfectly. Just try this recipe directly on the grates – it works! (You can, however, use a pizza stone in the oven with this pizza recipe.)
I am so excited to try this out with my family. We too have family Pizza night, but as I mentioned before , I Normally purchase the dough. However, now that you were kind enough to share your recipe, I am going to make my own now!!! Thank you again.
Mrs. Mix It (got it right this time!) – please let me know what you think. Have fun!
I’ve never heard of grilling pizza. Yours looks wonderful and the pizza dough looks awesome. Thanks for posting the recipe.
Paula, this is really a fun meal. So many aromas and textures. It just makes everyone happy. :-)