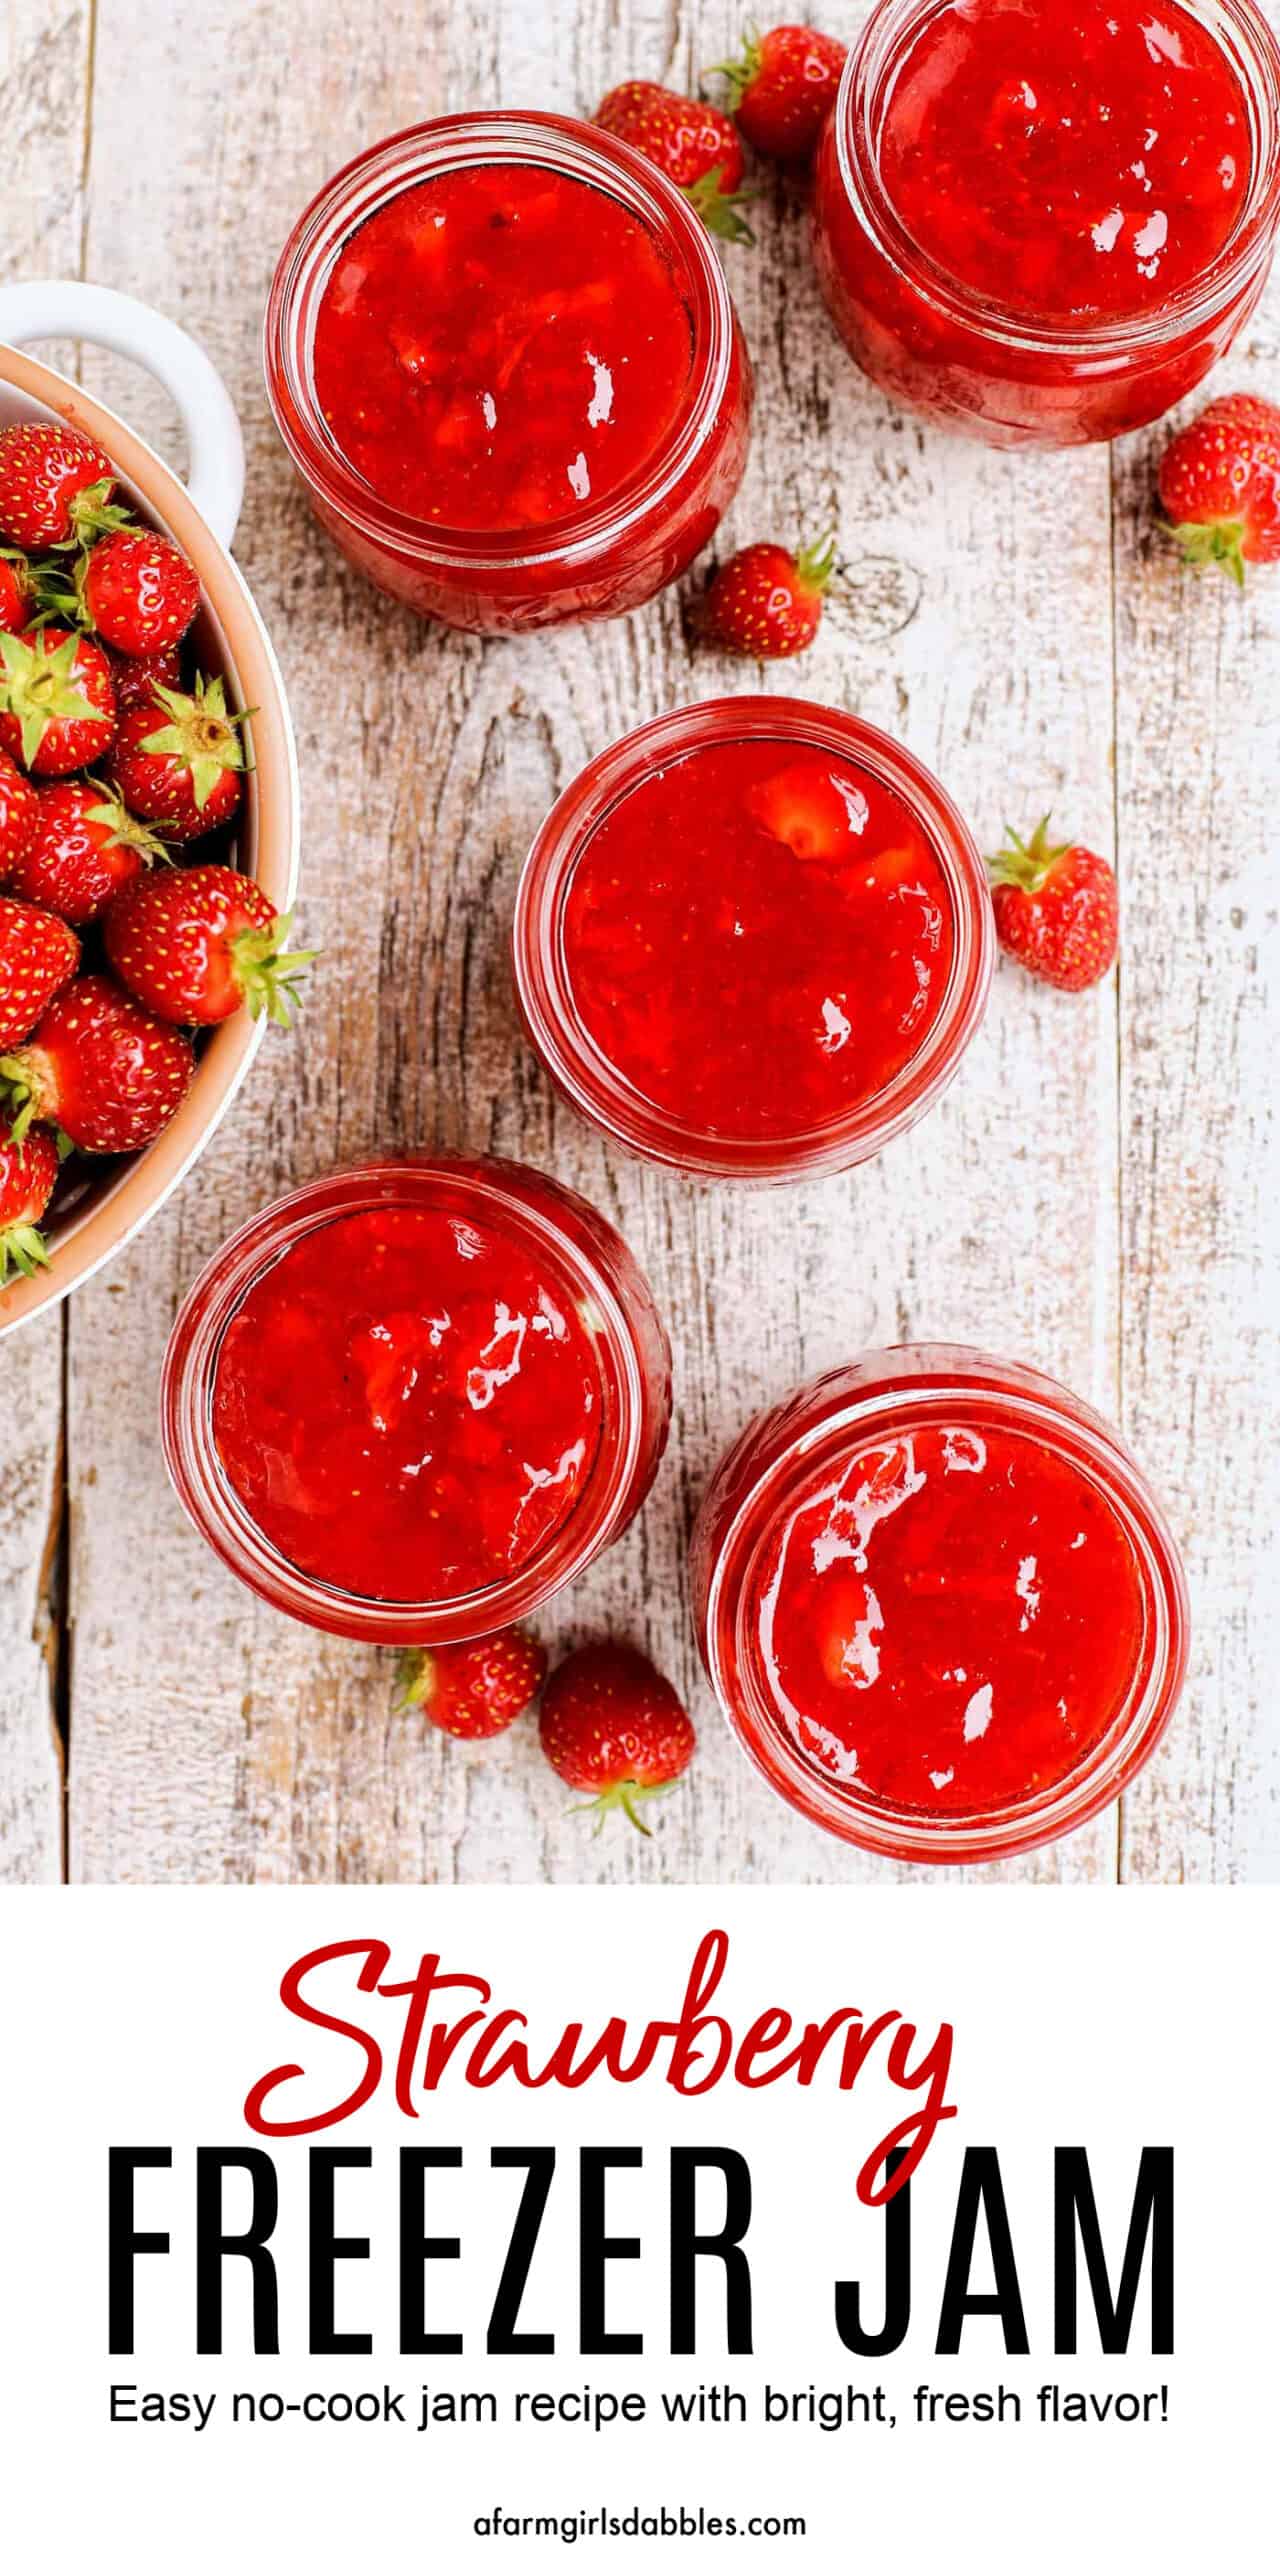
Easy No-Cook Strawberry Freezer Jam
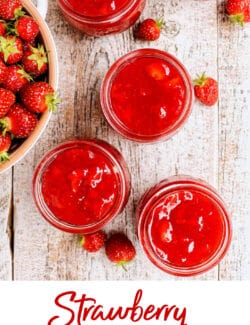
If you’ve ever wondered how to make jam, this easy recipe is for you! A super simple Strawberry Jam recipe that requires no cooking and sets in the freezer.

Simple Strawberry Freezer Jam
Growing up on a farm, food preservation was a way of life. My parents always had a large garden. And Mom preserved MANY jars of fruits and veggies, which she stored on shelves in the basement, tucked beneath the stairs.
It was always such a treat, especially in the middle of winter, to dig into that preserved goodness. It was so much better tasting than anything we could buy at the store!
While I do take on a canning project now and then, it is definitely not part of my regular life. But easy freezer jam? I can always fit that in! You’ll love this beautiful Strawberry Freezer Jam recipe. It’s quick and easy to make, and packed full of bright, sweet summer flavor!
Mom’s canning bounty included jars of beans, peaches, pears, cherries, apple sauce, spiced apple rings, pie apples, pickled beets, cucumber pickles of many different kinds, watermelon pickles, tomatoes, tomato sauce, sweet relish, a variety of salsas, sauerkraut, various fruit jams and jellies, plus my great grandmother’s recipe for rhubarb jam with orange slices (so fun and pretty!). Mom also froze sweet corn and raspberries from the garden in a big chest freezer. Whew!!
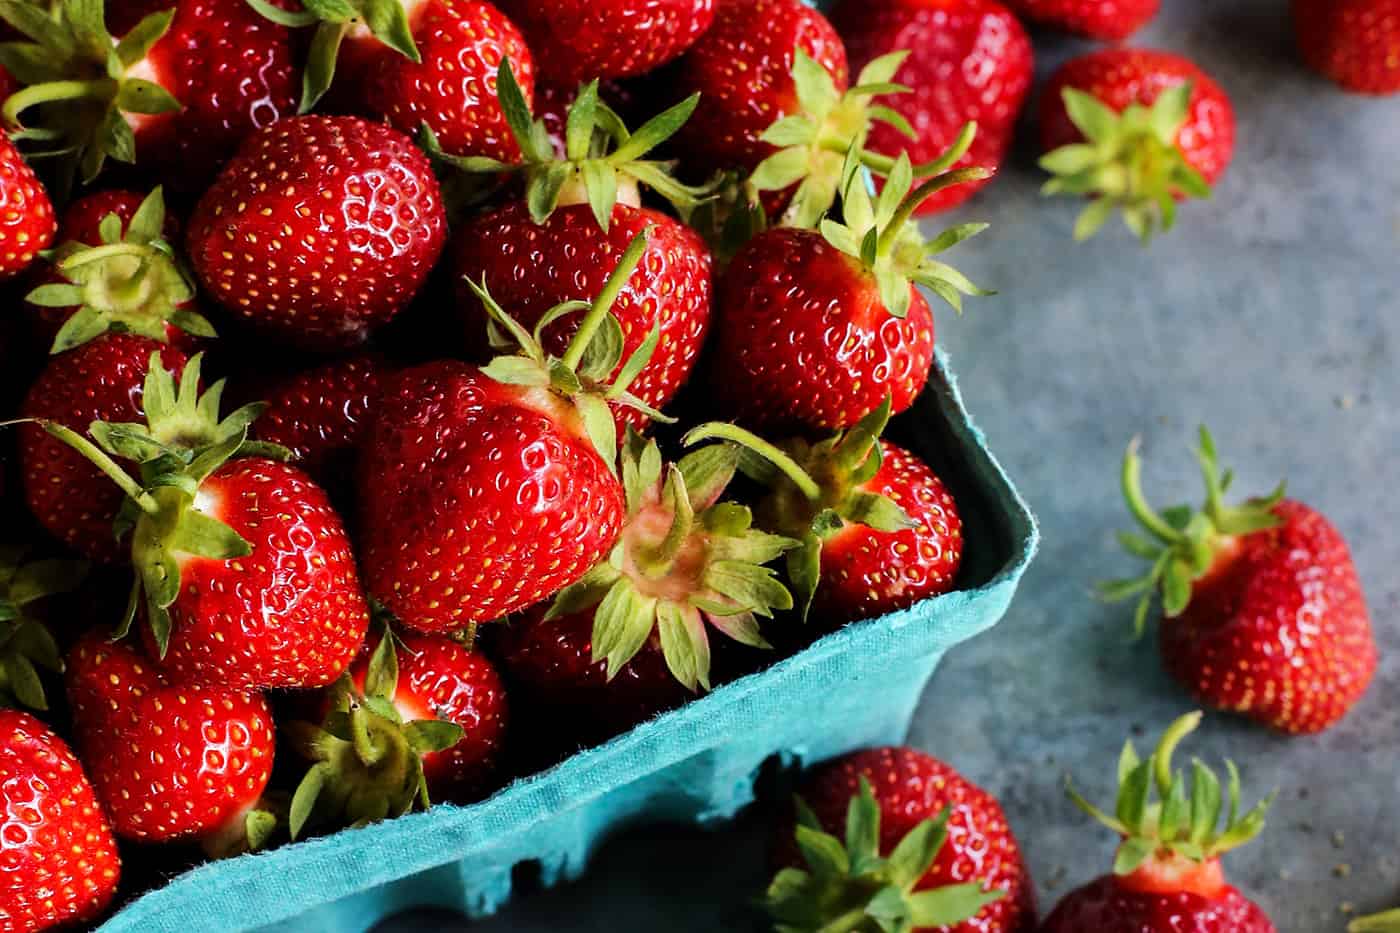
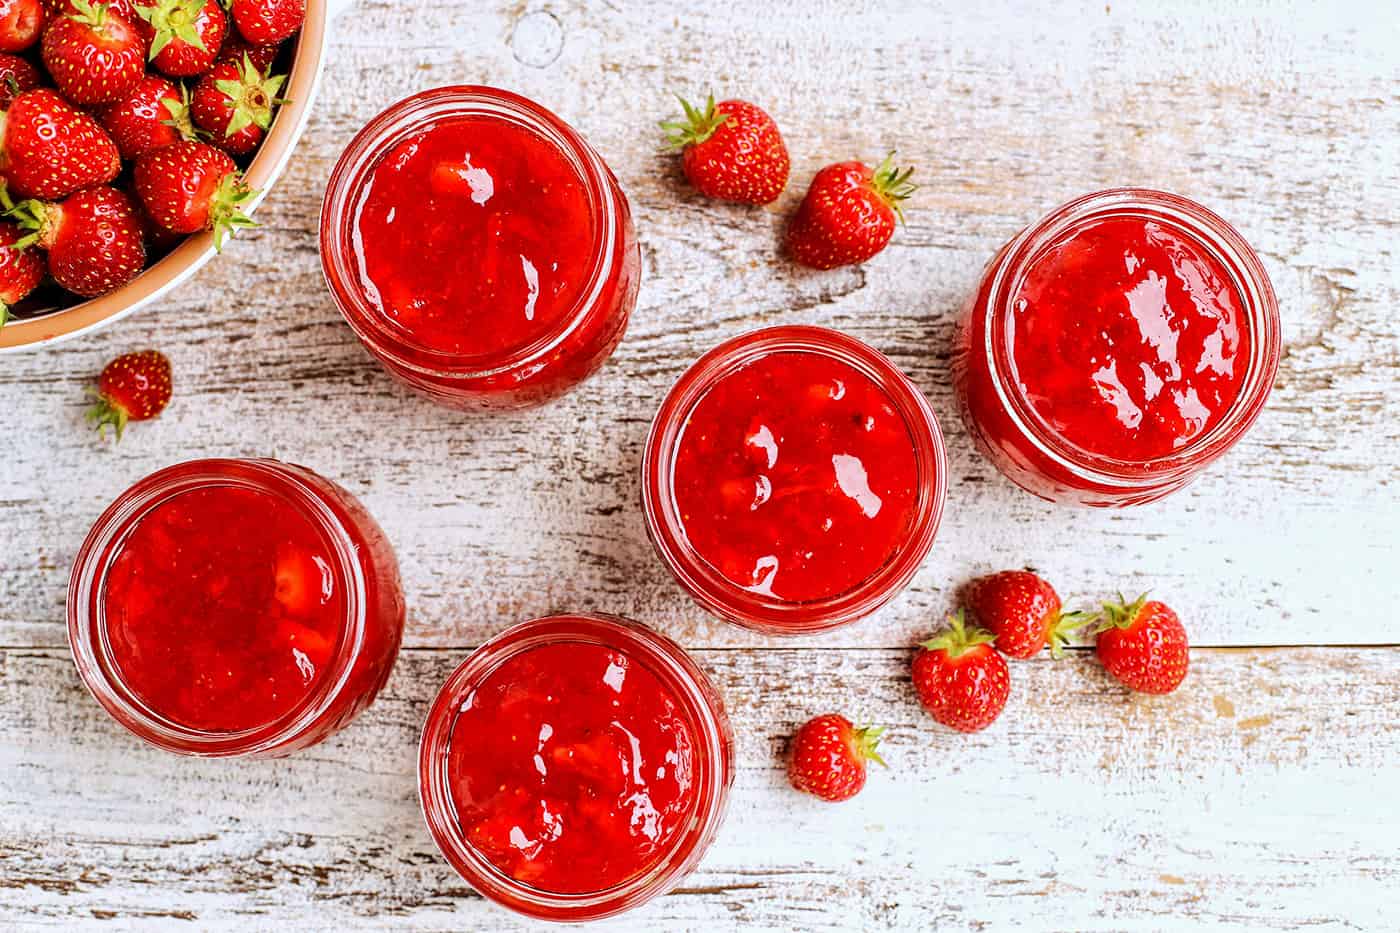
Every June, we make at least one trip to a local strawberry u-pick farm. Nothing beats a big box of tender, sweet, fresh-picked strawberries. And they make the most delicious strawberry jam!
What is Freezer Jam?
There are a few big differences between regular jam and freezer jam:
- The fruit is not cooked. When you make a traditional jam, the fruit is generally cooked on the stovetop with sugar and sometimes lemon juice or pectin. The cooking time is usually several minutes, until the fruit breaks down and thickens a bit. By contrast, freezer jam uses fresh fruit (or minimally cooked fruit).
- You don’t need to sterilize jars or use a water bath to can the jam. With traditional jam recipes, you sterilize your jars before adding the cooked fruit, then you seal the jars in a boiling water bath. This is necessary because most jams are stored on shelves, so you have to kill any bacteria that might cause issues. While you still need to use clean jars for the freezer method, since you aren’t going to be storing your jam on a shelf it doesn’t need to be shelf stable. Therefore you can skip this more complex part of the traditional canning process.
- Freezer jam needs time to set. Most freezer jams require about 24 hours of rest time on the counter before going into the freezer. This gives the pectin ample time to set before you freeze the jam.
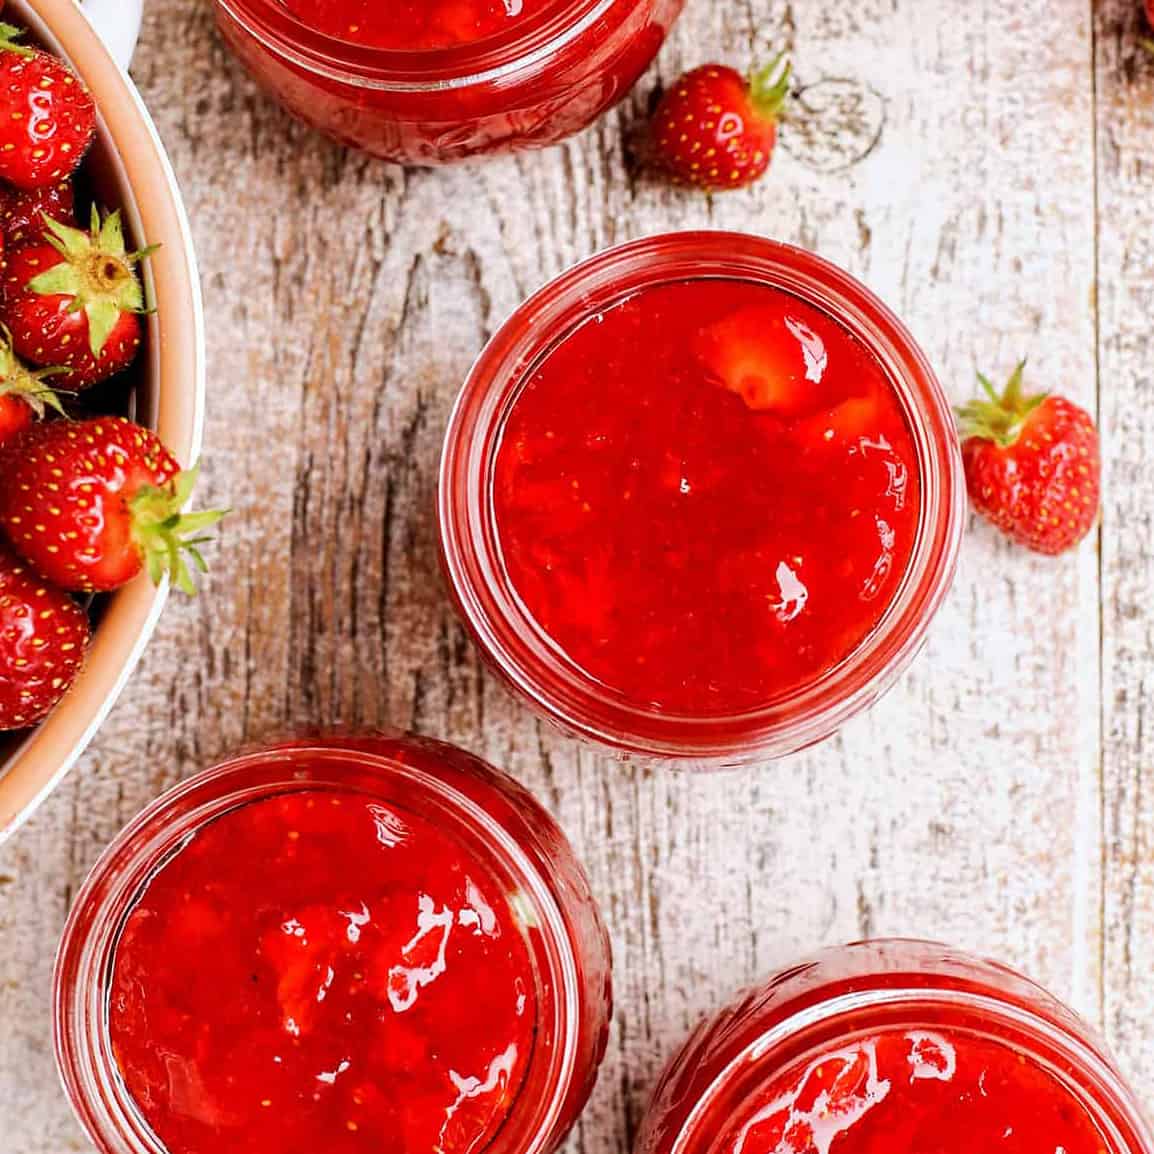
- Freezer jam generally has a looser consistency than jam made the traditional way. With freezer jam, the fruit is not cooked, giving it a brighter, fresh-from-summer color and flavor. Traditional jams are made by cooking the fruit, placing the jam in hot jars, and then boiling the jars in a big pot of hot water—a much lengthier process that heats up the kitchen real fast.
- Stored in the freezer. And of course, as the name implies, freezer jam is stored in your freezer instead of on the pantry shelf!
What You’ll Need
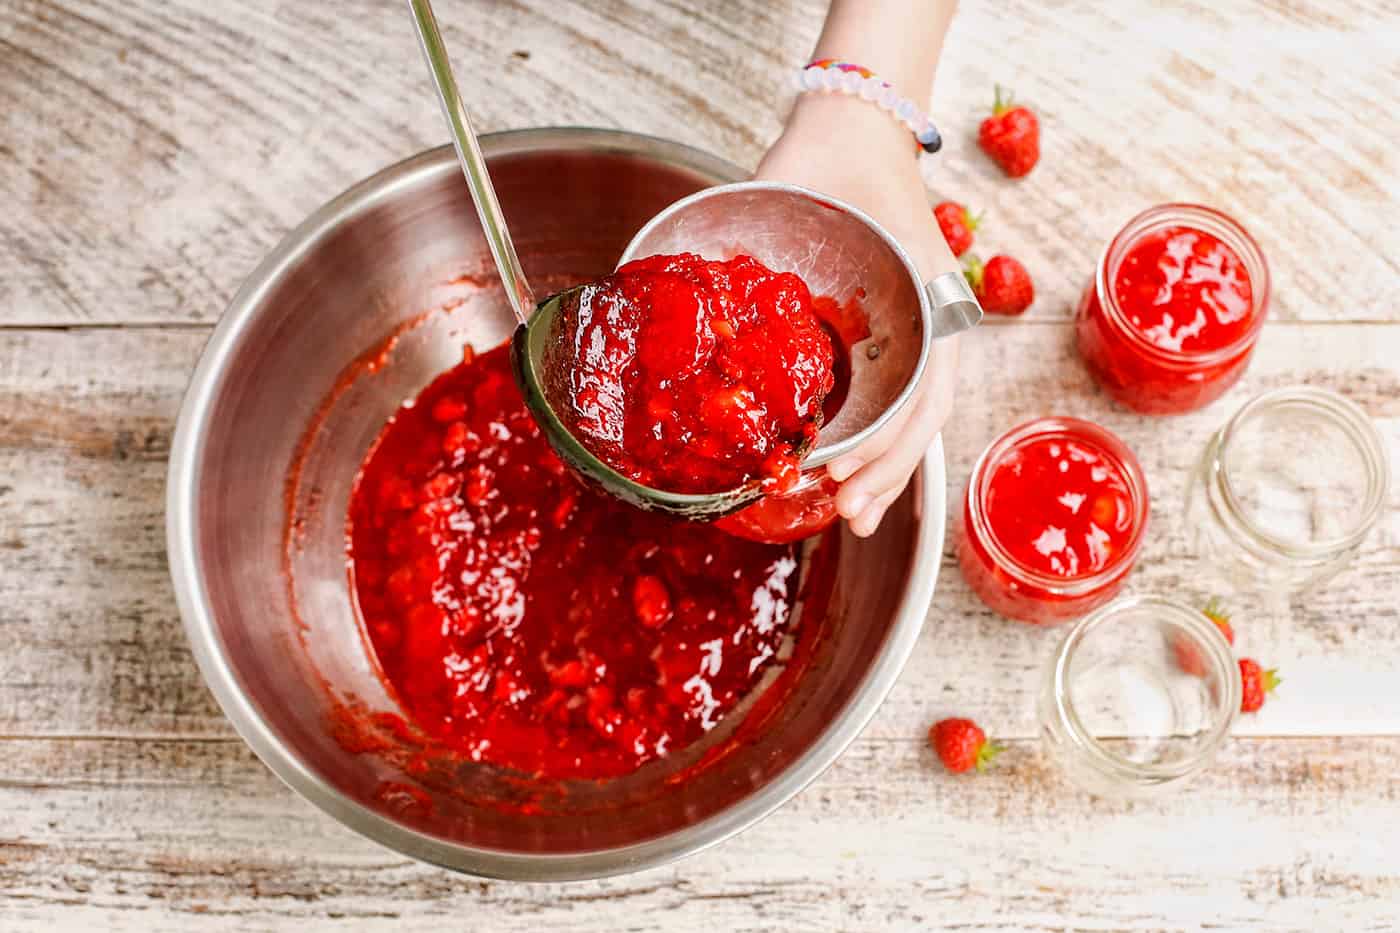
Making freezer jam is such an easy process that I can now walk away from the kitchen, leaving our daughters in charge. They’ve helped to make freezer jam since they were young! (See that metal canning funnel in our daughter’s hand in the photo above? That once belonged to my grandma, one of my favorite kitchen tools.)
Special Equipment:
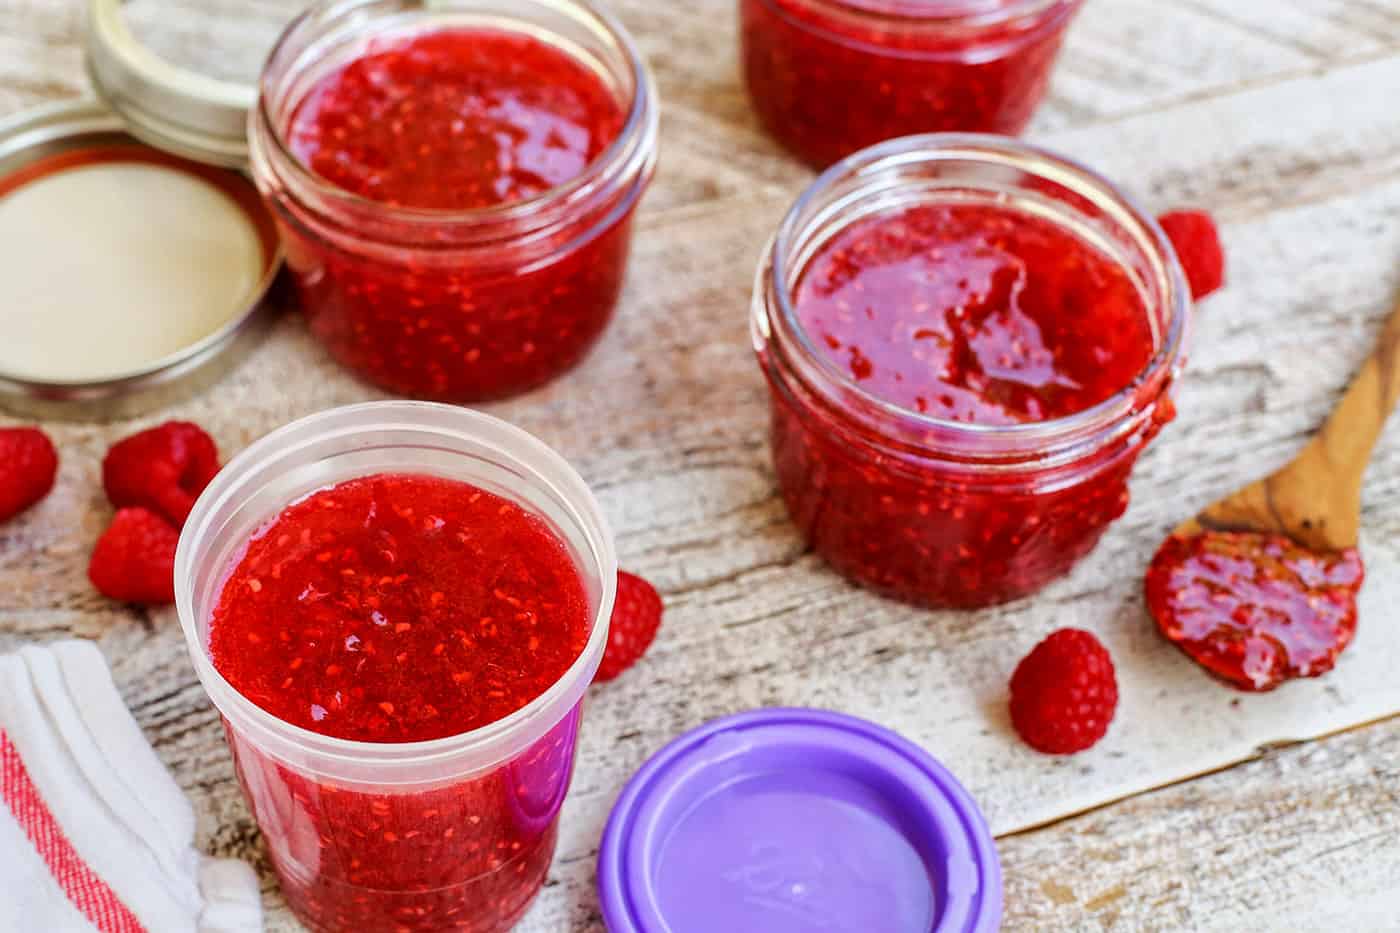
- Canning jars – I like to use 1/2-pint glass canning jars. But other sizes of jars or other freezer-safe containers with freezer-safe lids will also work. I know that some people don’t like to store their freezer jam in traditional glass canning jars, afraid of the glass breaking in the freezer. But I’ve never had any issues with that, and I really do prefer glass over plastic. If you’d rather use plastic, there are some great options out there. Just look for freezer-safe plastic containers in the canning supplies section.
- A wide-mouth funnel – This simple tool makes it easier to spoon the jam into your jars without making such a mess of the jars. It’s not a necessity, but I do like to use one myself.
For the Strawberry Jam:
Here’s what you’ll need to make strawberry freezer jam. Be sure to scroll down to the recipe card for specific amounts. Measure ingredients EXACTLY. Altering the recipe or ingredients could cause the jam to fail to set properly.
- Strawberries – Use firm perfectly ripe fruit for best flavor and set. Inferior fruit will produce inferior jam.
- Sugar – Regular granulated white sugar.
- Fruit Pectin – This is what will help the jam thicken, to give you that “jam” consistency. I use this pectin.
- Water
How to Make Strawberry Freezer Jam
Ok. Are you ready to make this simple strawberry jam? Here’s how to do it:
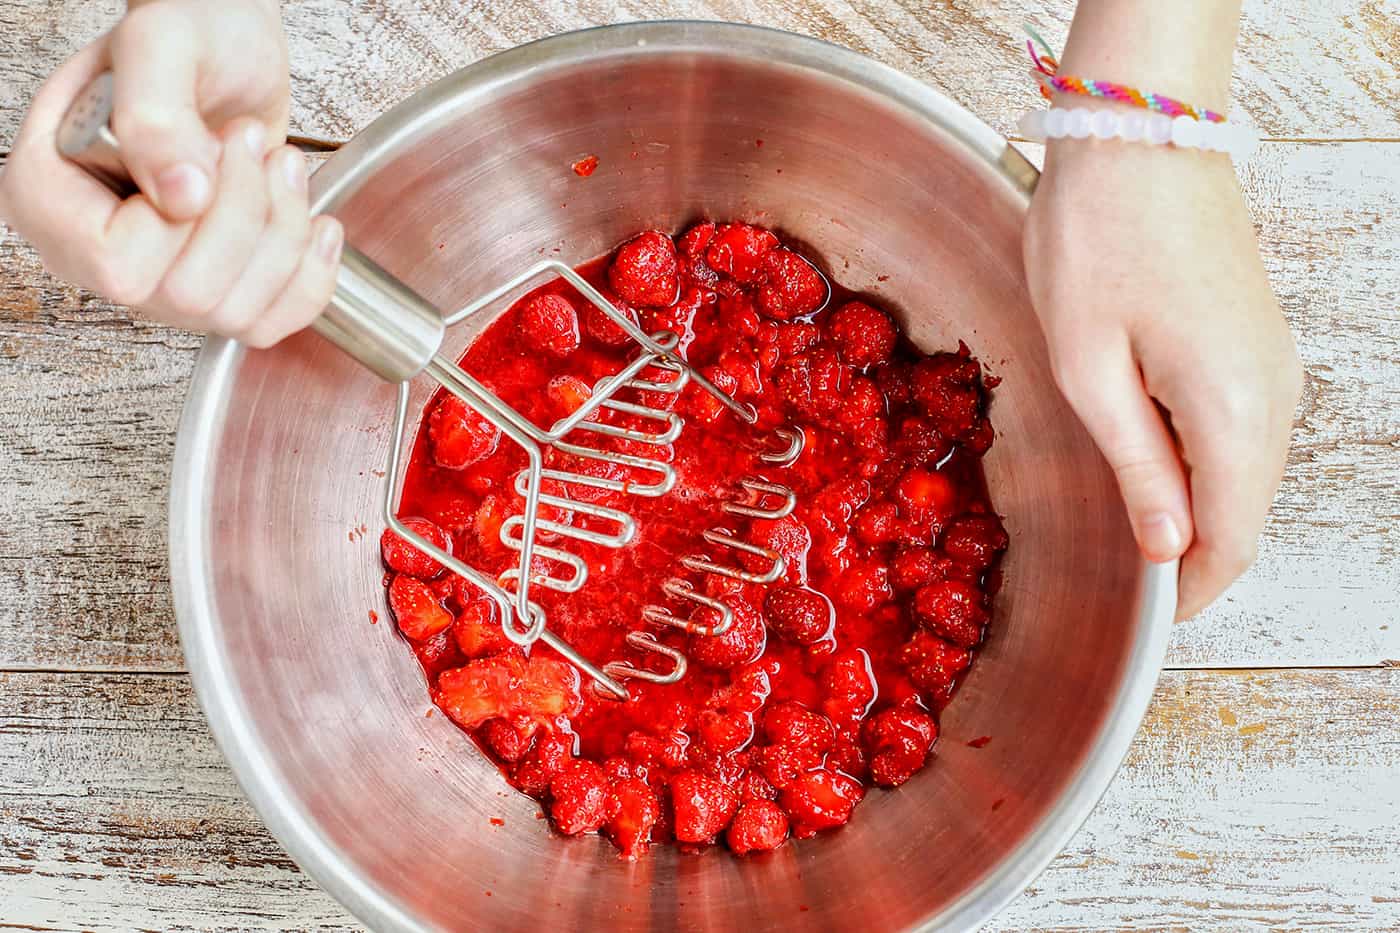
Smash the berries: Place your berries into a bowl, then crush them with a potato masher or rigid pastry cutter. You can also use a food processor but be sure to not over-process the berries. You want them to still have a nice amount of chunkiness, with small bits of fruit. Do not puree! Then measure out the precise amount of crushed berries per the recipe.
Mix in the sugar: Add the sugar to the crushed berries and stir to combine. Let sit for 10 minutes, stirring occasionally.
Combine water and pectin: Stir pectin and water in small saucepan. Bring to a boil over high heat, stirring constantly. Boil for 1 minute, stirring constantly. Remove saucepan from heat.
Add the pectin mixture to the berries: Pour the pectin mixture over berry mixture and stir for 3 minutes, or until sugar has completely dissolved. If a few sugar crystals remain, that’s alright.
Fill your jars: Using a ladle (and a wide-mouth funnel, if you have one!), immediately fill jars, leaving 1/2 inch of space at the top. Clean any jam from the jar rims with a wet paper towel. Cover jars with lids.
Let stand at room temperature for 24 hours.
Store the jam: To use immediately, store in refrigerator for up to a month. Otherwise store in the freezer for up to one year. Then simply thaw in refrigerator before using.
Tips for Success
This jam recipe is pretty simple, but there are still a few things to keep in mind:
- Wash and dry your jars. Always thoroughly wash jars in hot, soapy water before use. Then dry them.
- Don’t skip the 24 hour rest. It is tempting to simply pop the jam into the fridge or freezer, but this 24 hour rest period gives the pectin time to set, creating that jam-like consistency. Also, it’s not a good idea to put hot jam into your freezer as it can lower the ambient temperature for foods next to the jars.
- Don’t over fill the jars. Freezing can cause the jam to expand a bit, so leave at least 1/2 inch of empty space at the top of your jar. This way your jam has somewhere to go!
How Long Does Freezer Jam Last?
Freezer jam will last for up to one year in the freezer. When you are ready to use it, just thaw it in the fridge overnight. If you prefer to use your jam right away, you can skip the freezer and store it in the fridge for up to 1 month.
How To Use Freezer Jam
I adore the fresh flavor of freezer jam! I like to swirl a spoon of the jam into a bowl of yogurt and top it all with some homemade granola. Or spread it on a toasted English muffin or piece of toast. Or top waffles or buttermilk pancakes, and then add a dollop of whipped cream. Delish!
Also be sure to check out my other favorite freezer jam recipe, Raspberry Blackberry Freezer Jam!
Like this easy recipe? Save it to Pinterest!

Easy No-Cook Strawberry Freezer Jam
Ingredients
- 2 cups crushed strawberries
- 4 cups sugar
- 1 box 1.75 ounce SURE-JELL Premium Fruit Pectin
- ¾ cup water
Instructions
- Measure exact amount of crushed strawberries into a large bowl. (To crush the berries, I prefer to use a potato masher or rigid pastry cutter. If using a food processor, pulse lightly to still have a nice amount of chunkiness, with small bits of fruit. Do not puree.)
- Add exact amount of sugar to the crushed berries and stir to combine. Let sit for 10 minutes, stirring occasionally.
- Stir pectin and water in a small saucepan over high heat and bring to a boil. Boil for 1 minute, stirring constantly. Remove saucepan from heat.
- Pour pectin mixture over berry/sugar mixture and stir for 3 minutes, or until sugar has completely dissolved. If a few sugar crystals remain, that’s alright.
- Using a ladle, immediately fill jars (I like to use 1/2-pint jars, which will give you about 5 jars of jam), leaving 1/2 inch of space at the top. A wide-mouth funnel is helpful for filling the jars. Clean any jam from jar rims with a wet paper towel and cover jars with lids. Let jars stand at room temperature for 24 hours.
To use immediately, store in refrigerator for up to 1 month. Otherwise store in the freezer for up to one year. Then simply thaw in refrigerator before using.
Notes
Nutrition Information:
This post was originally published in 2016, and then updated in 2021. You can also find this information over on The Pioneer Woman!


In place of the Sure-Jell fruit pectin; I use 5 T. of the Real Fruit Freezer Pectin( is what I had on hand)
Oh I just came across this and it sounds just like what my grandma used to makeFresh tasting and wonderful on fresh bread.Now my question is can I use the strawberries I just froze for this?I realize it should be fresh berries but I just picked my yearly batch of strawberries and froze them. and usually take out a bag and make cooked without pectin jam then freeze it but now I’d love to make this recipe.
I just made some of the peach vanilla freezer jam from one of your older posts. So excited, the’ remnant’ at the bottom of the bowl tasted so good I can’t wait to have it on an English muffin! Thanks for sharing your recipe.
I’m so glad you liked it. Thanks, Mary!
So creative! I bet you get so much more of that fresh berry flavor with a no cook jam!
I love homemade jam! It’s probably one of my favorite parts of summer. Growing up my mom would give us scoops of warm jam over vanilla ice cream, just before she canned it. THE. BEST.
What a fun memory and awesome treat!!
No begging needed for me to try this, awesome!!
Awesome. :)
I had no idea making jam was so easy! We usually just grab it at the farmer’s market. This looks beautiful! Simple but delicious :).
It really is very easy, our kids make it all on their own.
My grandma used to a make a freezer jam a lot like this! I perfect way to enjoy the sweet, summer berries in the middle of winter!
Winter is the perfect time to savor those berries! Thanks, Jessica.
I just realized that you will not know the answer to this because this blog post is totally The Pioneer Woman’s! Sheesh!
Which is correct? 3 weeks or 3 months? Also, do you think this will work with peaches?
This easy-to-make freezer version also requires a different means of storage, thus the name “freezer jam”. It is not shelf-stable like traditional jam, so it can’t be stored in the pantry. It must be refrigerated (for up to 3 months) or frozen (for up to 1 year).
Or
To use immediately, store in refrigerator for up to 3 weeks. Otherwise store in the freezer for up to one year. Then simply thaw in refrigerator before using.
Thank you! deb in Georgia
I did write this post for The Pioneer Woman’s site – I’m a contributor there. 3 weeks in the fridge. Thank you! Enjoy the jam!
It’s a wonderful sauce for making a Poke Cake besides using it on ice cream, pancakes, waffles, etc.
Ohhhhhh, that sounds WONDERFUL! Thanks, Colleen!